Pattern Type: Video Tutorial & Pattern by Michelle. So, be sure to support the Lady!
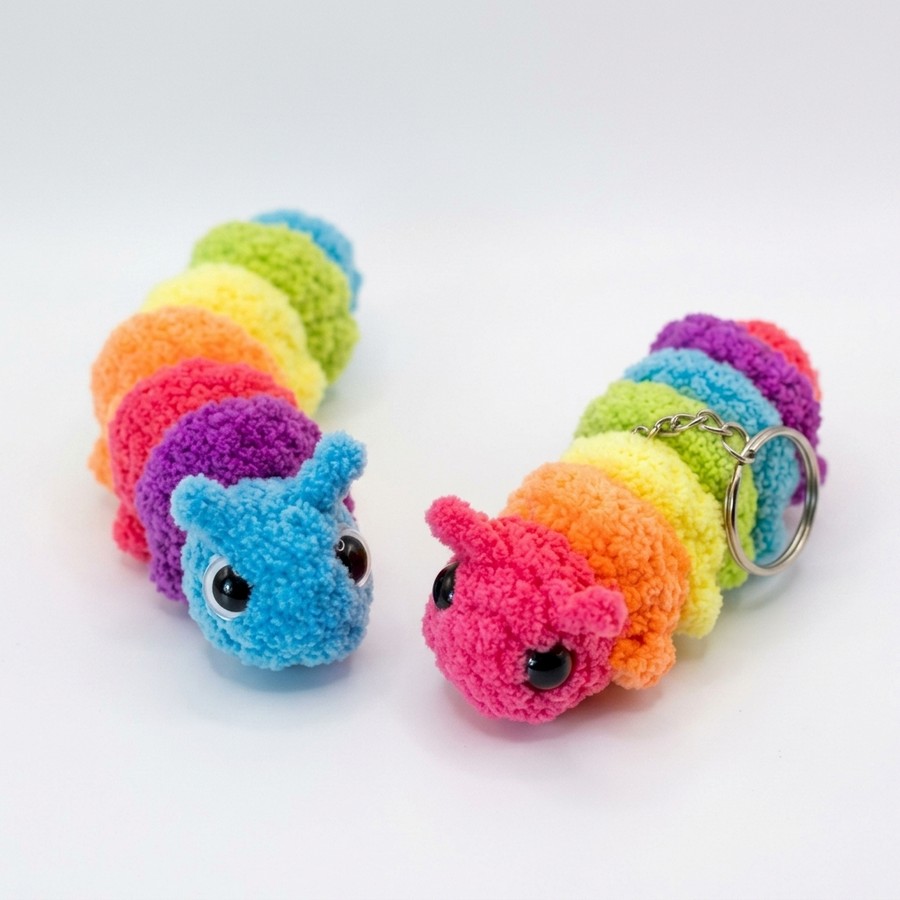
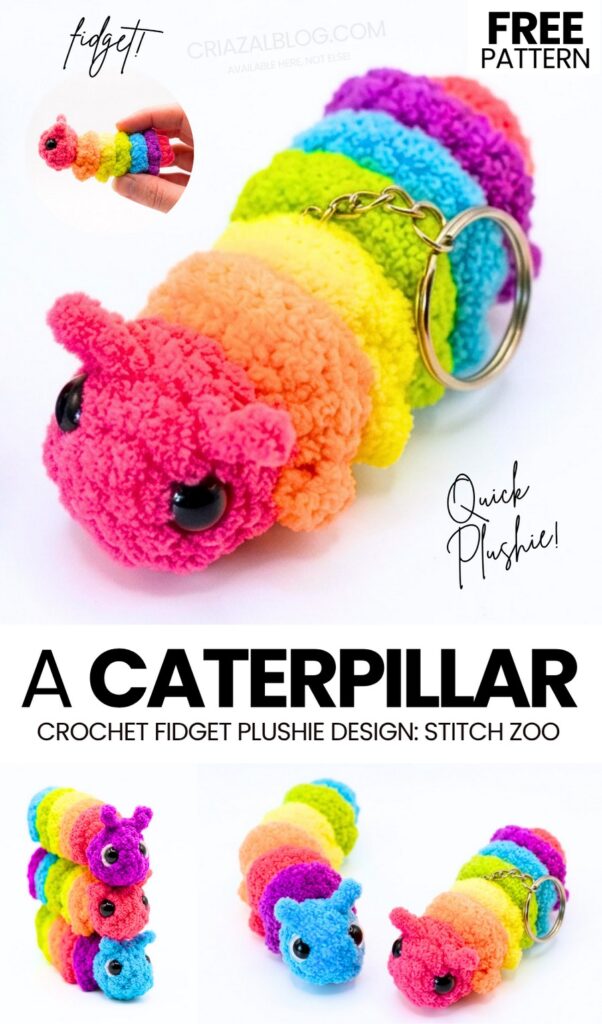
I am so thankful for your LOVE for the “crochet little fidget toy” series! Today, I am featuring a MUCH cuter, more anti-stress, and colorful crochet plushie tutorial from the “plushies that use all rainbow colors” series. So, learn how to crochet this oh-so-cute and last-minute rainbow caterpillar plushie with a step-by-step tutorial for absolute beginners. This is a modular amigurumi plush and perfect if you are looking for a sensory toy for a little one. Two months ago, I also shared an amigurumi keychain version of this caterpillar fidget toy, and you all loved it so much.
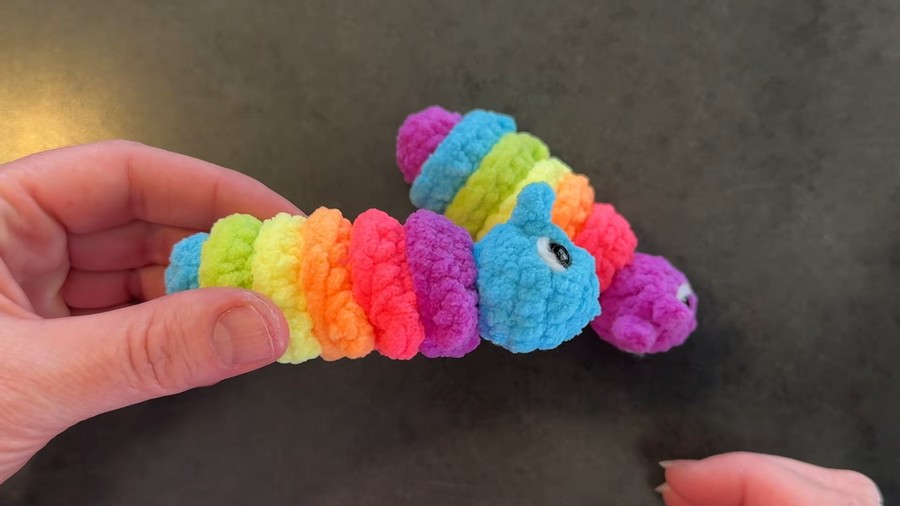
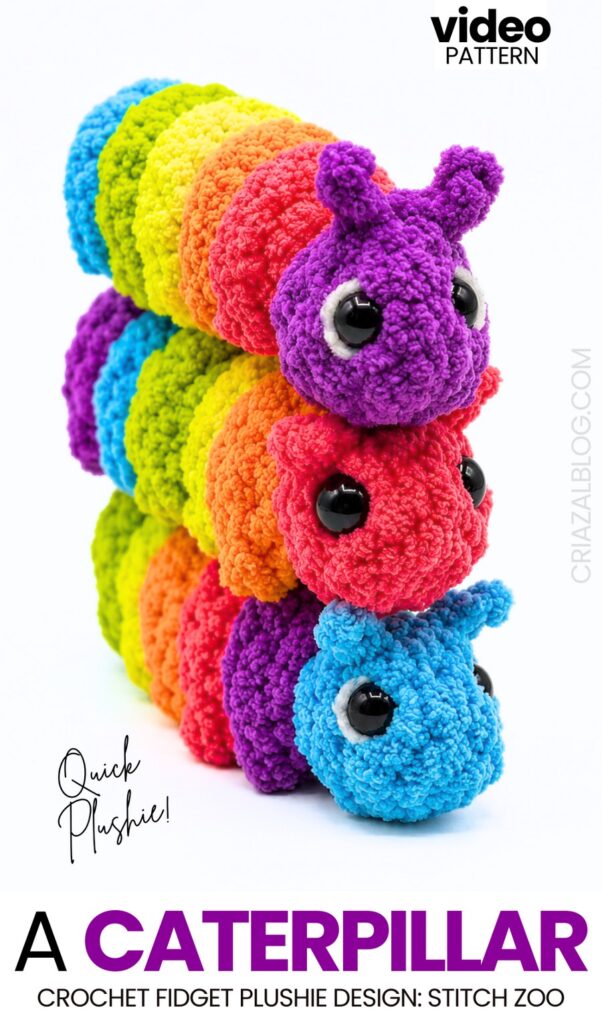
Crochet this a bit bigger caterpillar amigurumi using super-bulky yarn, following the tutorial. You can also bust your stash; each caterpillar body unit is quick and needs a small amount of yarn. Choose from blue, purple, yellow, light green, and pink yarn.
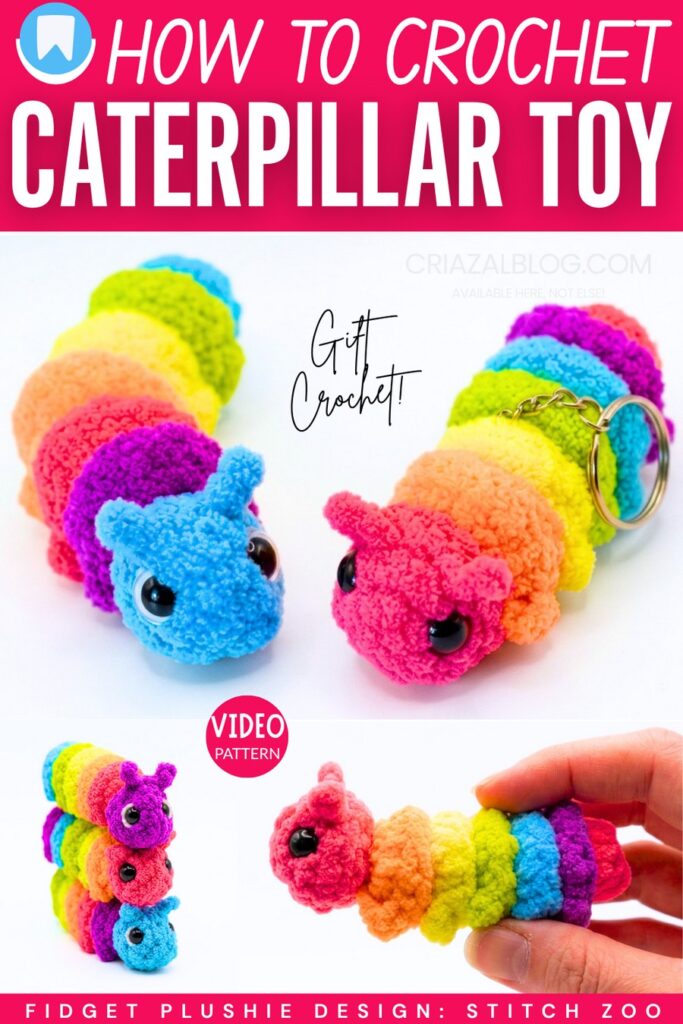
You only have to learn the ear and the caterpillar plushie head pattern separately. With the unit pattern, you can crochet your caterpillar any longer with any number of colors. Soon, I will also bring a tutorial to crochet the fidget push-and-pull caterpillar toy plushie. You can choose from the eyes with the embroidered white part or glitter eyes. Now, continue reading to learn more about this crochet plush caterpillar bug project!
[ez-toc]
Tutorial to Crochet the Colorful Caterpillar Plush
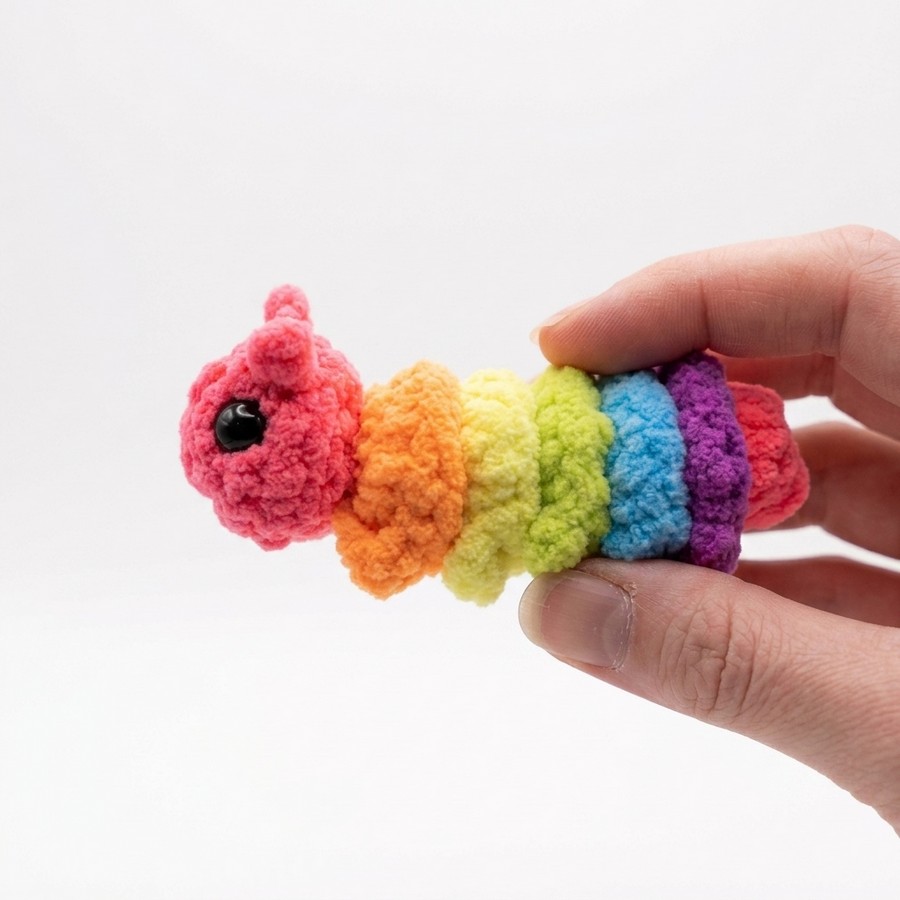
This tutorial teaches you how to crochet a tiny unstuffed caterpillar fidget toy or keychain. You will make separate pieces including a head, a tail ball, and several middle body parts with small feet. Each part begins with a magic ring. The head includes safety eyes, antennae, and invisible decreases in the back loops only.
The body pieces require combined stitches to shape small feet. Finally, you string all the pieces together tightly using strong yarn on a needle, tying them off securely. This technique makes the caterpillar bendable and fun to spin like a true fidget toy.
Difficulty Level: Intermediate. This is because it requires working with very small pieces, placing safety eyes in tight spaces, making invisible decreases in awkward loops, using an ultimate finish technique to close holes, placing multiple stitch types in one single space to create feet, and stringing all parts together on a single sturdy string with exact tension to create a flexible moving joint.
Pattern Abbreviations
- MR – Magic ring
- SC – Single crochet
- INC – Increase
- DEC – Decrease
- CH – Chain
- DC – Double crochet
- BLO – Back loops only
- FLO – Front loops only
Materials
- Super bulky Plush yarn for the body pieces
- 1-2 yards of Sturdy thin yarns for stringing pieces together
- 4mm Crochet hook
- 10mm Safety eyes
- Stitch marker
- Yarn needle
- Scissors
Difficult Stitch Details: There are two tricky stitches in this project.
First, the invisible decrease on the head is worked in the back loops only. Because of the sharp angle of the second back loop, pulling the hook and yarn back through both loops can be rigid and difficult.
Second, creating the feet requires you to single crochet, chain one, double crochet, chain one, and single crochet all in one single stitch. On the next round, you must single crochet into the first single crochet of the foot, fold the foot flat together, and awkwardly turn your hook at an angle to single crochet directly into the last single crochet of the foot cluster to make it pop out securely.
Learn Crocheting Now!
Better learn the whole method of crocheting this little rainbow caterpillar tutorial:
Written Pattern?
The 31-minute tutorial has all the instructions to learn to crochet this cute rainbow plushie! You can also use the “ask” feature of the tutorial to retrieve the quick pattern. This pattern-getting method is designer-compliant!
Share on Social Media!
See More:
Tester Call: How to Crochet the Mr. Googly Sphere Witch Fidget Toy Plushie
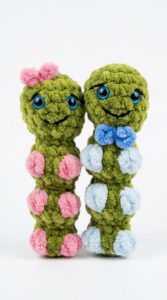
Featuring: How to Couple Gift Fidget Caterpillar Pair Plushie (no-sew!)
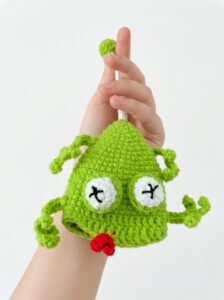
Featuring: How to Crochet Fidget Funny Animal Key Holder for Gifting
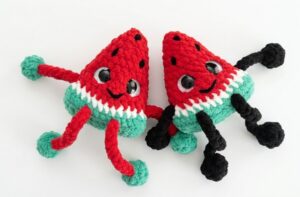
Featuring: How to Crochet A Watermelon Slice Buddy Fidget Toy Plush
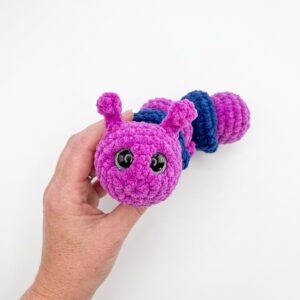
Featuring: Crochet “Push & Pull” Caterpillar Fidget Pop Toy Plushie for Kids
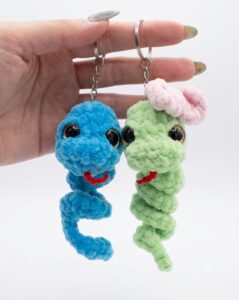
How to Crochet Couple Gift Snake Fidget Toy Plushies
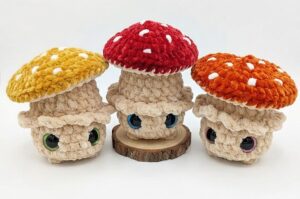
Featuring: How to Crochet the Fall’s CUTEST Fidget Toadstool Mushroom Plushie Tutorial
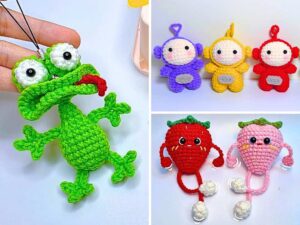
How to Crochet Fidget Toy Amigurumi

Featuring: How to Crochet A Plush Blushing Flying Mr. Soul Ghost Plushie for Halloween