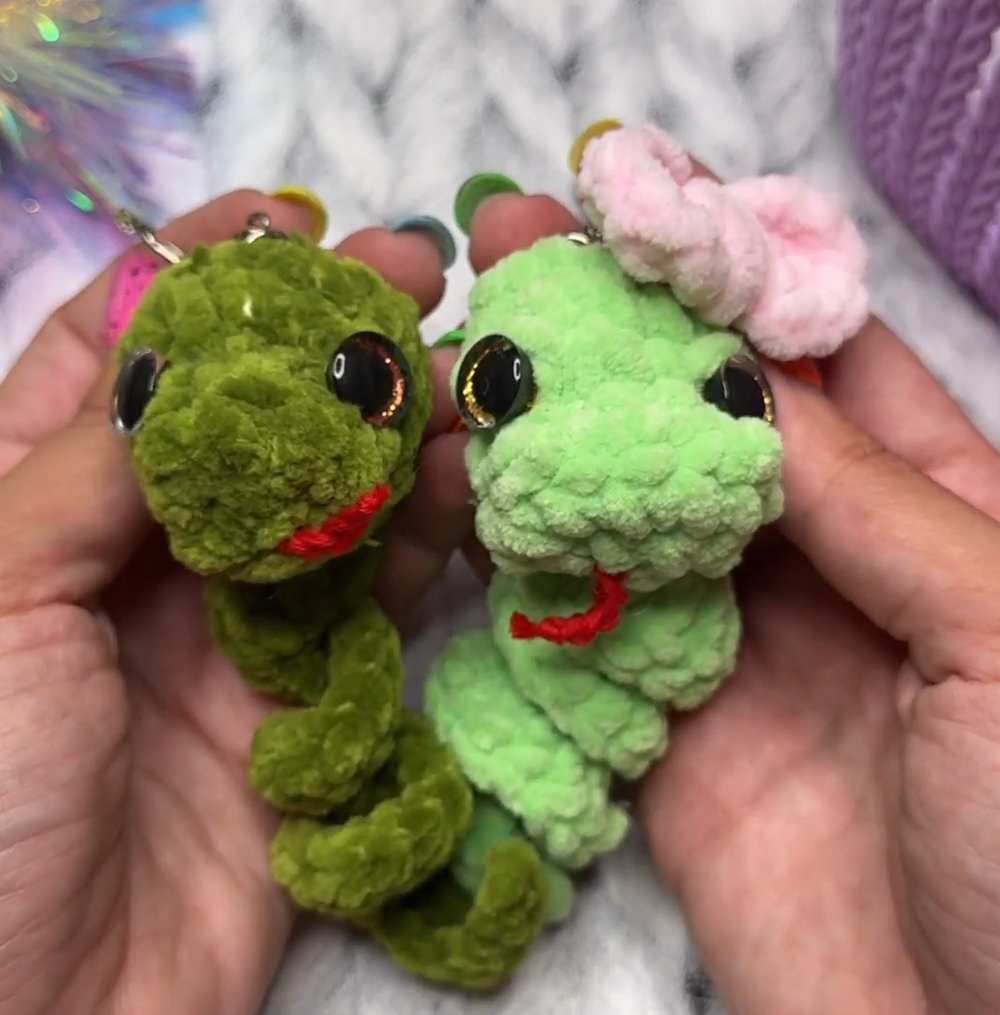
You will love these two coiled-body crochet snake plushies for three reasons: they are no-sew, quick, and make irresistible gifts for couples. You can play with them by pulling their coiled bodies like a spring. Includes a boy snake version in dark green with yellow glitter eyes and a girl snake variant with a light green body and an additional cute crochet accessory (a small bow on its head). You can easily complete the set of these 2 miniature snake plushies following the 2-in-1 tutorial below in less than 20 minutes. You can also crochet them as New Year ornaments, festive charms, or fidget toys for kids.
Since the spiral coil pattern for the body of these crochet snakes is repetitive and based on foundation chains, you can have snake plushies in any length. For example, for table decoration around a crochet apple plushie, you will need a longer snake plush.
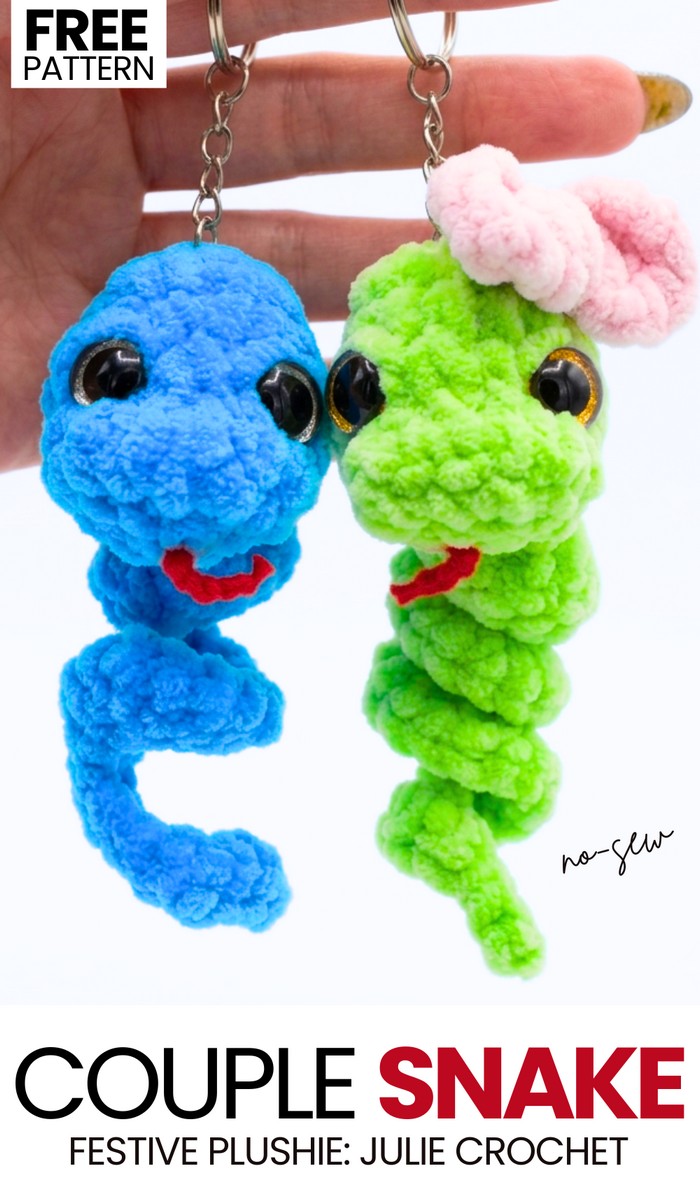
However, the pattern below will suggest that you make the 4 coils that perfectly balance the proportions with the crochet snake head and make them look like baby snake plushies. I have already discussed many of these crochet snake plushies, including even the stuffed ones (yes, that one needs a little stuffing because of the coiled body). You can also check them. Now, continue reading to learn more about this crochet stuffed snake project and the pattern.
[ez-toc]

Pattern to Crochet the Miniature Snake Plushies
This is a small snake toy. It is cute and easy to make. You need only a little yarn. It is a very fast project. You can use it as a key chain. You can make many of them in a short time. It is a good gift for friends and family. It is a nice thing to make for the new year.
Materials Needed
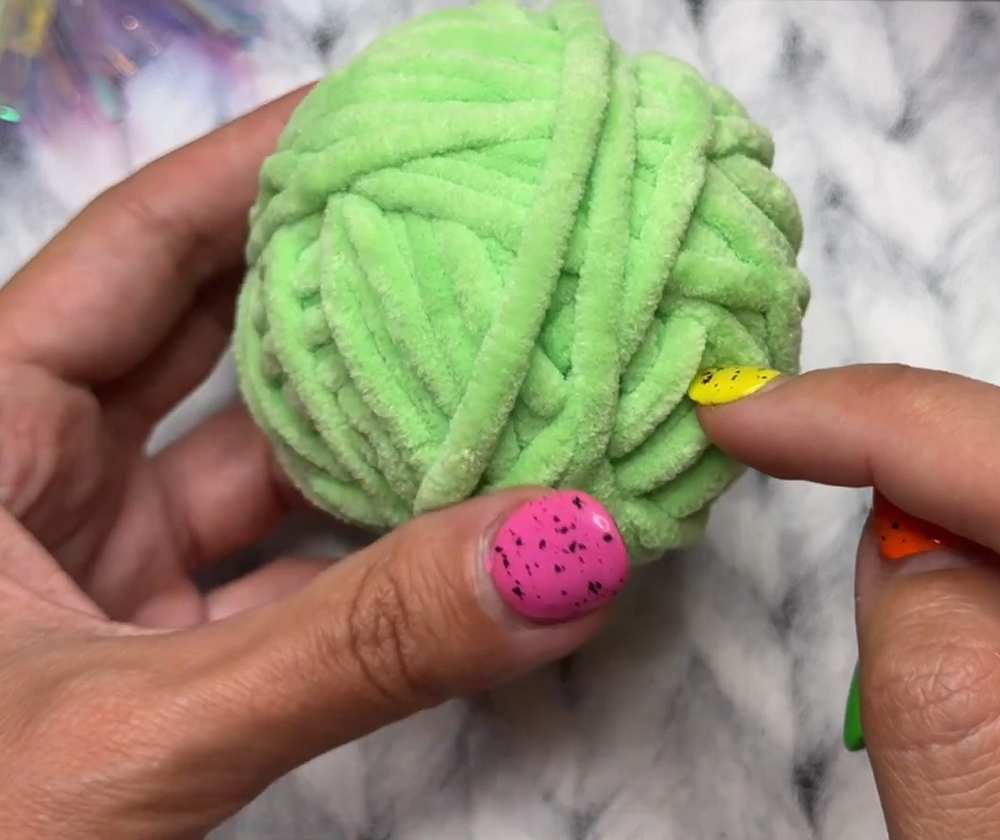
Main Yarn: Plush/chenille yarn (like YarnArt Dolce) in green or the color of your choice. You only need a very small amount, making it a great scrap yarn project.
Tongue Yarn: A very small amount of thin red cotton or half-cotton yarn.
Crochet Hook: A hook size that matches your plush yarn (so that the stitches are tight), plus a smaller hook for the tongue.
Eyes: Safety eyes with plastic backings (the creator uses eyes with a shiny colored iris on a plastic stem).
Stuffing: A small amount of hollowfiber or toy stuffing.
Tools: Scissors, a stitch marker, and a large-eye plastic needle for sewing and face shaping.
Hardware (Optional): Keychain ring and pliers to attach it.
Abbreviations (US Terms)
ch = chain
sc = single crochet
sl st = slip stitch
hdc = half double crochet
dc = double crochet
inc = increase (2 stitches in the same space)
hdc inc = half double crochet increase (2 hdc in the same space)
dc inc = double crochet increase (2 dc in the same space)
dec = decrease (crochet 2 stitches together)
st / sts = stitch / stitches
Are you a Beginner? Learn Crocheting Easily!
You can learn to crochet better with the crochet snake plushies for couples with the following tutorial, or continue to the written pattern:
Detailed Crochet Pattern
1. The Head
Note: The head is worked in continuous rounds. Do not join at the end of the round. Use a stitch marker to mark the first stitch of each new round.
Round 1: Chain 4. Starting in the 2nd chain from the hook, crochet: 1 inc, 1 sc. In the last chain, crochet 4 sc into the same stitch. This will automatically turn your work so you are crocheting down the opposite side of the starting chain. On the other side, crochet: 1 sc. In the last stitch, crochet 1 inc. (Total: 10 sts)
Round 2: 10 sc around. (Total: 10 sts)
Round 3: (1 sc, 1 inc) repeat this sequence 5 times around. (Total: 15 sts)
Round 4: 15 sc around. (Total: 15 sts)
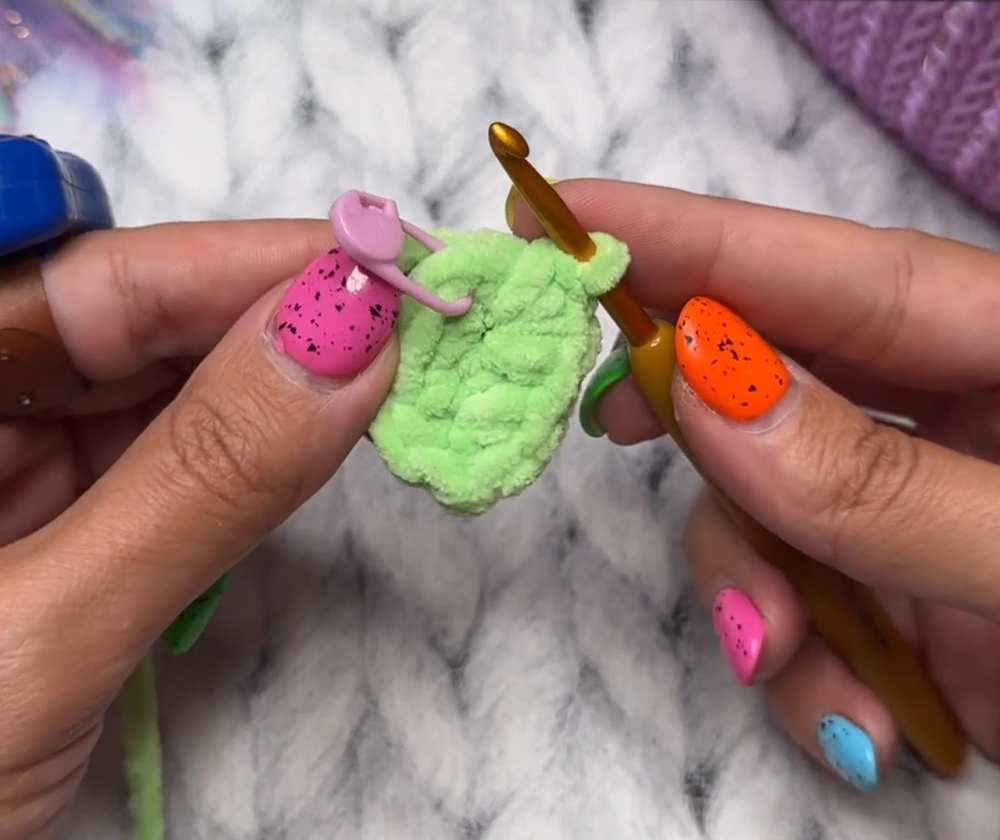
2. The Muzzle (Short Rows)
In this section, you will create a flap for the snout by turning your work back and forth, and then you will blend it back into the round to create a 3D face shape.
Step 1: Chain 1 and turn your work. Crochet 6 sc along the stitches you just made.
Step 2: Chain 1 and turn your work again. Crochet 6 sc back across the flap.
Step 3: Now, you will work your way back to the stitch marker to round out the head.
Crochet 1 sc into the side edge of the muzzle flap you just built.
Crochet 3 dec along the main stitches of the head.
Crochet 1 sc.
Crochet 1 dec (this decrease should connect the main head stitches with the opposite side edge of the muzzle flap).
Finish the round by crocheting: 1 sc, 1 dec, 1 sc, 1 dec.
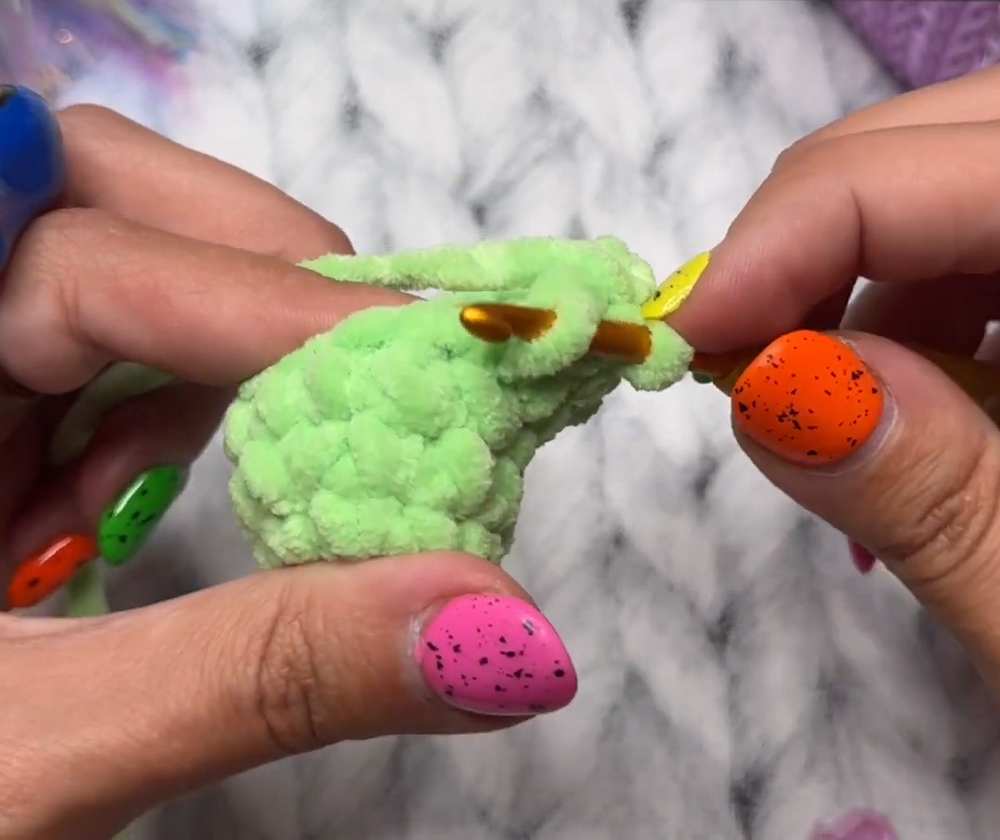
3. Attaching Eyes and Stuffing
Eyes: Insert your safety eyes at the fold where the round head meets the flat muzzle flap. Place them evenly on the sides.
Backings: Secure the eyes with the plastic washers tightly.
Stuffing: Add a small amount of stuffing into the head cavity. Do not overstuff; plush yarn can stretch and show holes.
4. Closing the Head
Round 6 (and on): Continuously crochet decreases (dec) all the way around until the opening at the back of the head is completely closed.
Fasten off: Cut the yarn, leaving a long tail for shaping.
Shaping the Face: Thread the long tail onto your plastic needle. Insert the needle at the bottom of the head and bring it out near the inner corner of one eye. Re-insert it nearby and pull it out at the bottom (where the mouth/chin would be) to create an eye indent. Repeat for the other eye. Pull the yarn gently to create a realistic face structure (do not pull too hard, or the plush yarn might snap). Knot securely and hide the remaining yarn inside the head.
Optional: Use extra yarn to embroider a small french knot on each side of the snout to look like nostrils, or create small sleepy eyelids over the eyes.
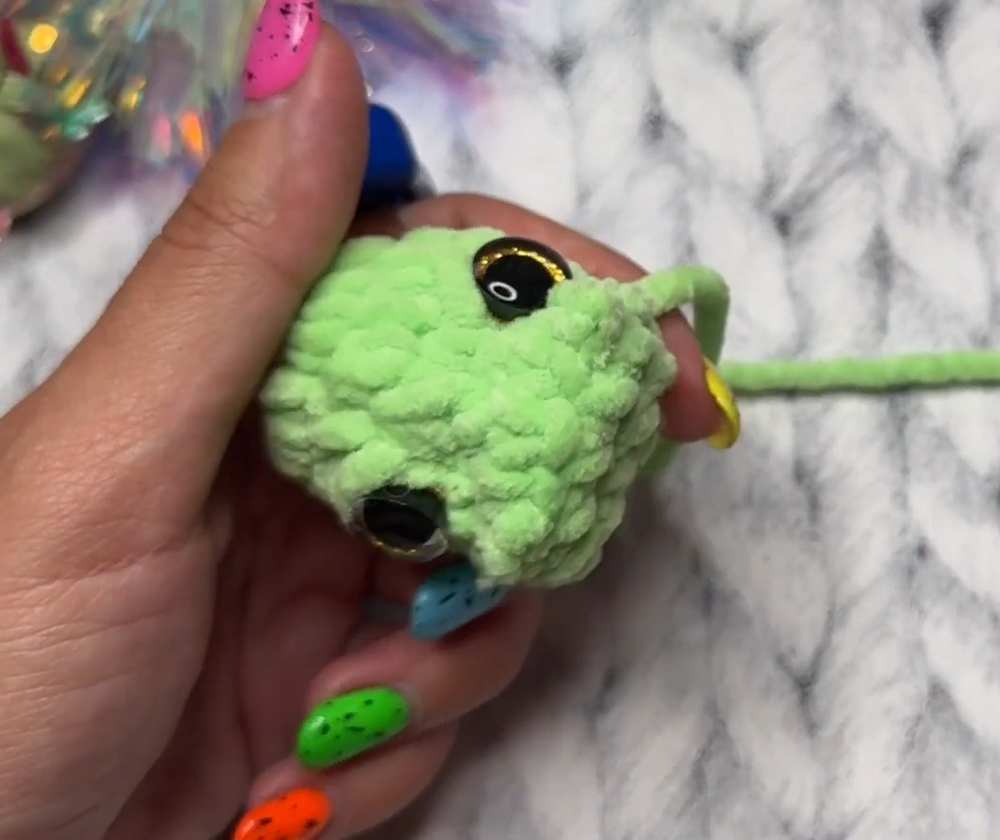
5. The Body (Coil)
The body is made in one long curling piece that you crochet directly onto the head.
Step 1: Join your green plush yarn to the back/bottom of the snake’s head (slightly off-center, behind the eye area).
Step 2: Chain 25.
Step 3: Starting in the 2nd chain from the hook, crochet your way back up the chain toward the head:
3 sl st
3 sc
12 hdc inc (2 half double crochets in each of the next 12 chains)
6 dc inc (2 double crochets in each of the last 6 chains)
Note: Because of all the increases, the piece will naturally twist and curl up like a resting snake.
Step 4: Slip stitch into the head right next to where you started the chain to secure the body. Fasten off, tie the loose ends together securely, and use your hook or needle to hide them inside the head.
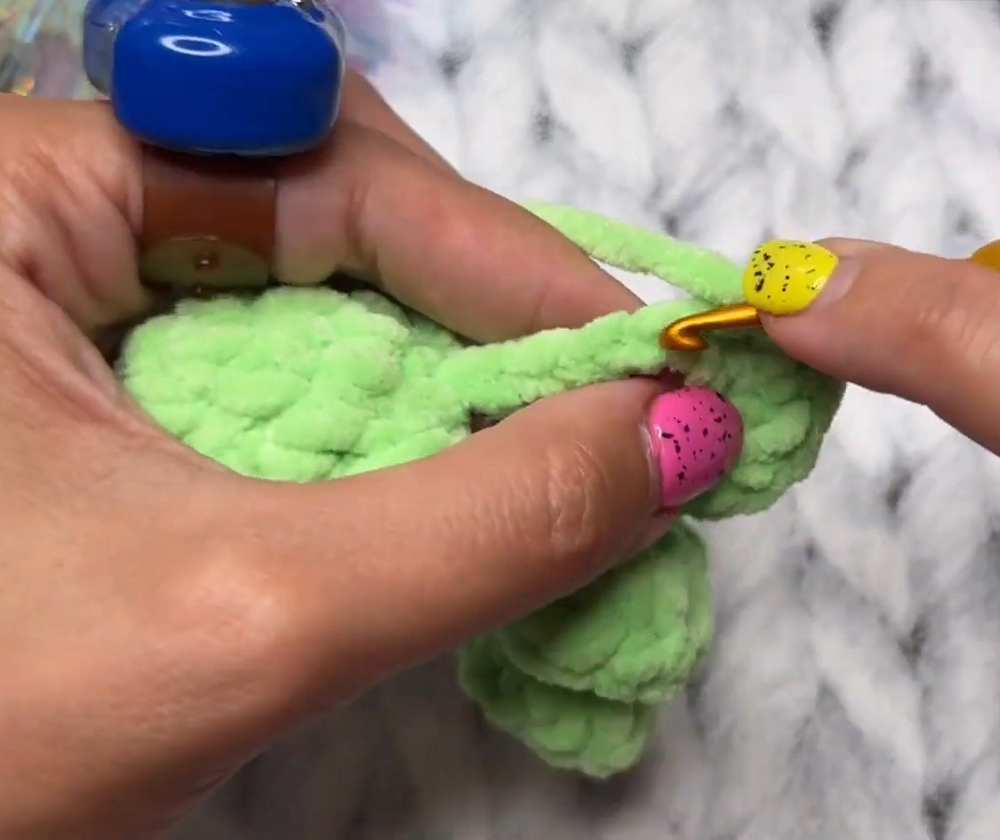
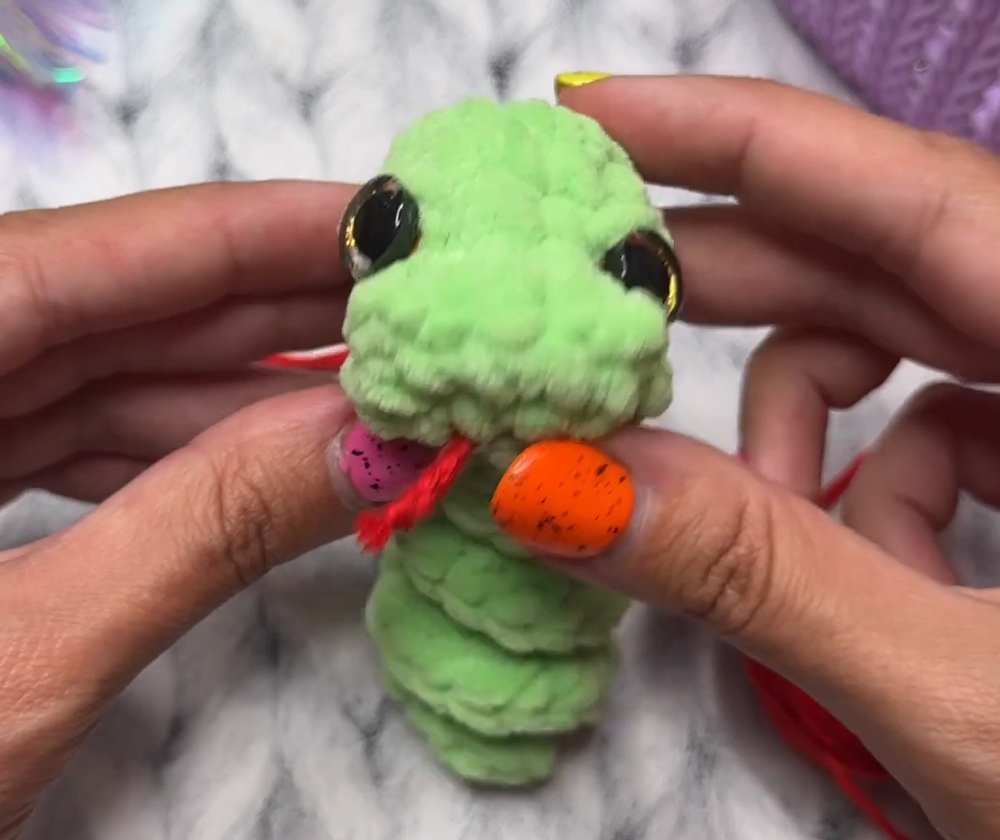
6. The Tongue
Take your thin red cotton yarn and a smaller crochet hook.
Insert the hook at the very tip of the snake’s snout and pull up a loop.
Leave a small tail hanging where you attached it.
Chain 4.
Cut the yarn, leaving another small tail. Pull the tail straight through the last chain and pull tight to make a knot.
Trim both the starting tail and the ending tail so they are short. This leaves two little red strings at the tip of the mouth, giving the illusion of a split snake tongue.
7. Final Assembly
If making a keychain, use pliers to open the jump ring of your keychain hardware.
Attach it to the top center of the snake’s head and close the ring securely.
Optional: Decorate your snake with a small crocheted bow or flower on the head for extra personality!
See More:
Tester Pattern: How to Crochet A No-Sew Mr. Red Horns Mushroom Plushie
Featuring: How to Crochet No-Sew Red & Yellow Tricera Buddy Plushie
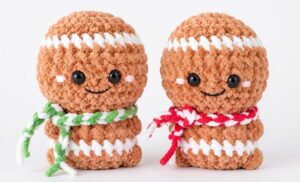
Featuring: How to Crohcet Mr. Cookie Sitting No-Sew Buddy Plushie for Gifting
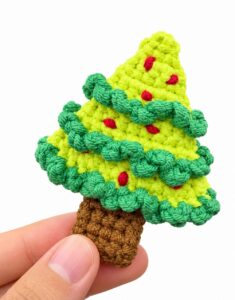
How to Crochet Mini is the Christmas Tree Holiday No-Sew Bag Charm Pattern
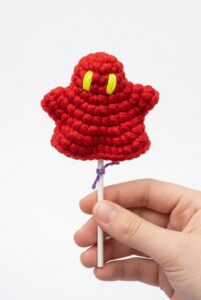
How to Crochet REALLY BOO No-Sew Pocket and Palm Buddy Ghost Gurumi
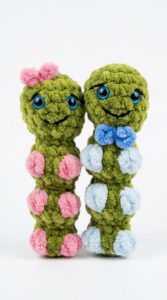
Featuring: How to Couple Gift Fidget Caterpillar Pair Plushie (no-sew!)
Crochet the Mini Wobbly Eye No-Sew Bear Cutie Plushie
How to Crochet Blue No-Sew Hedghog Superhero Plushie for Kids
How to Crochet No-Sew Red & Blue Superhero Amigurumi for Kids