Author: Talha
I am a crochet designer, macramé maker and a crafter who also loves doing MATH.
These instructions will show you how to crochet a basic flower in less than 6 minutes with both US and UK patterns. This 5-petal flower might be your first cute crochet project as a beginner, after learning to work in a magic ring. Tiny and cute, it is just a must-have for spring.
It has been a popular add-on for drawstring ends, the bodice of crochet tops, flower coasters, and tons more projects.
There are many other ways to crochet a basic flower. The one we shall learn today is a 1-round pattern using double crochet, chain, and slip stitch. It is the fastest and easiest of all other patterns. So, continue reading this tutorial to remake one with step-by-step instructions.
How is Basic Flower crocheted?
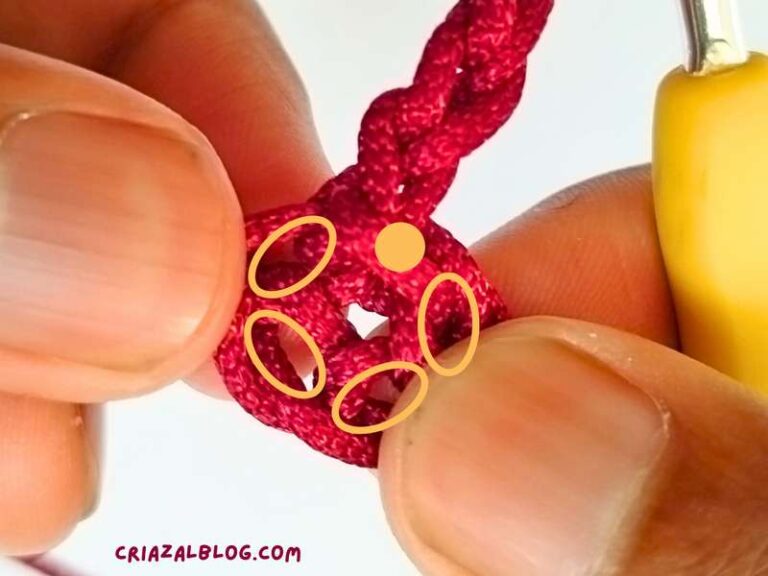
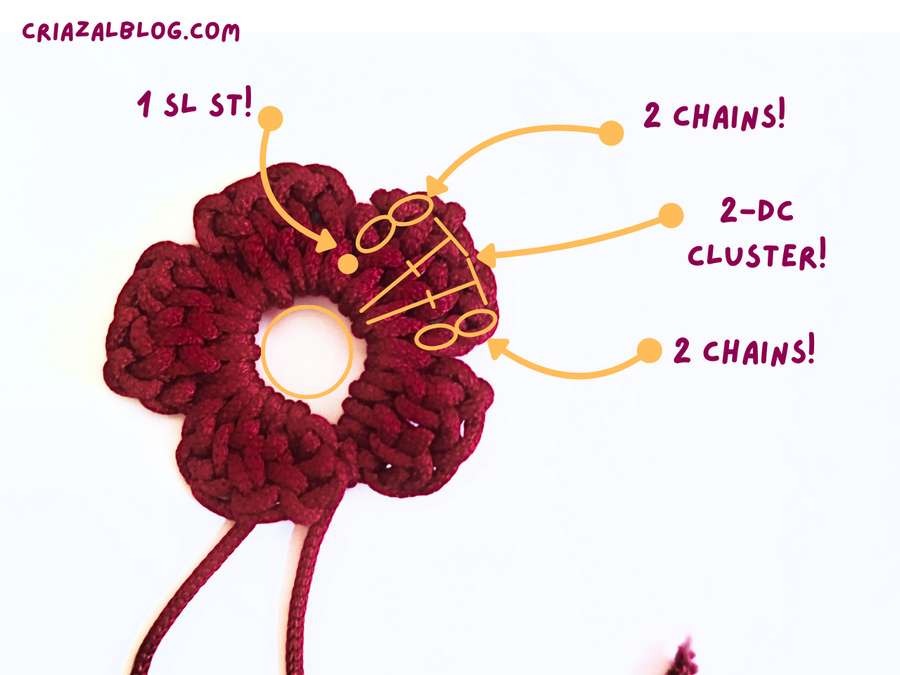
This basic flower variation requires making a set of five petals in the ring, starting and ending with two chains. There will be two double crochet stitches in between. Normally, we expect a circle by working this manner.
However, by ending each petal using a slip stitch, which has a much lower height than double crochet, we get a separation between each set.
Another pattern that requires treble crochet for a bigger flower is worked by crocheting three treble crochet in the middle and ending with a single crochet.
Note: You can also start with 4-chains as an alternative of magic ring. For the bigger variation, chain-6.

Supplies to Have
- I am using macrame cord for better visibility of the stitches, but at the cost of a slightly deformed overall structure and tight stitches. For your flower, I recommend using the standard cotton or acrylic yarn.
- 3.5mm crochet hook. You can use the recommended one on your yarn label.
Crochet Granny Square: Step-by-Step Instructions
Difficulty: Beginner – Level 3
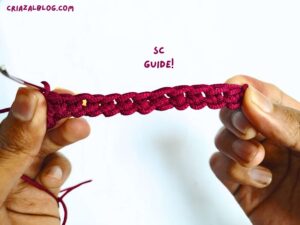
Stitches Needed: Chain, slip stitch, and double crochet.
Step #1: Magic Ring
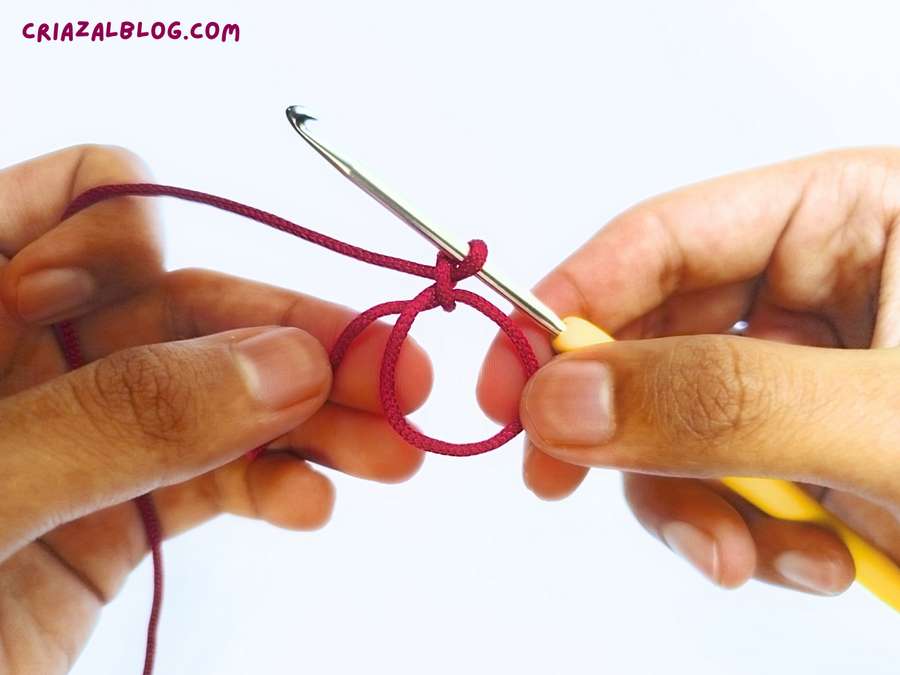
- Attach the magic knot to your crochet hook by pulling up a loop through the magic ring. You can use your preferred method to tie the magic knot. To learn how to tie the magic ring, follow my step-by-step tutorial for absolute beginners + how to work inside the magic ring.
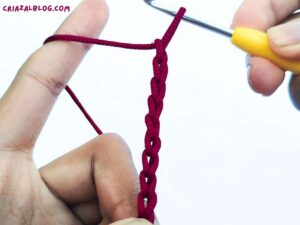
Step #2: Starting Chains
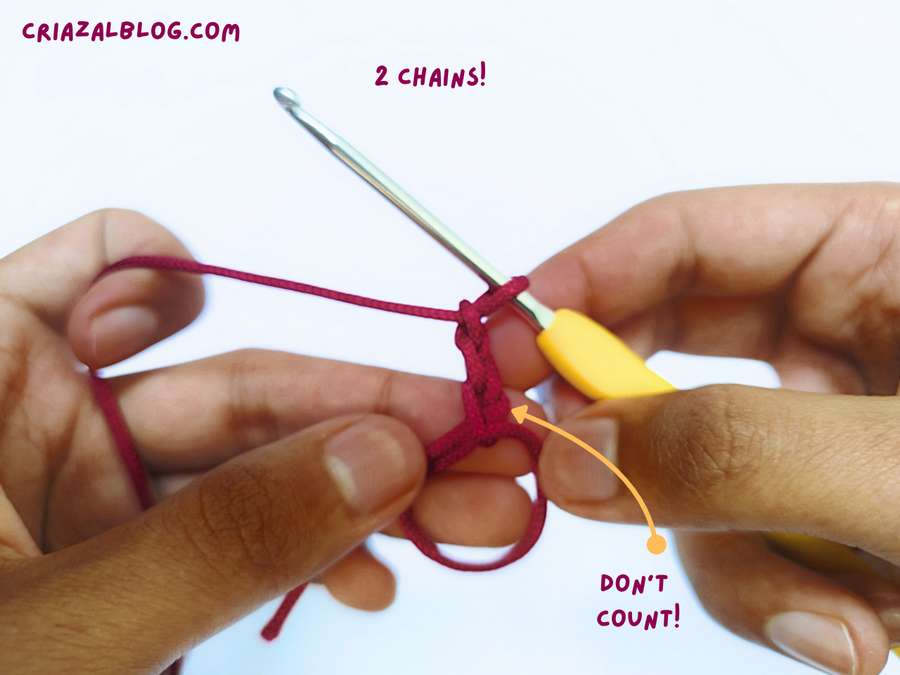
- Crochet 2 chains. To do so: yarn over and pull through the loop on the crochet hook. For learning how to crochet the chain stitch and additional information about it, follow my tutorial with pictures.
Step #3: Double Crochet Set
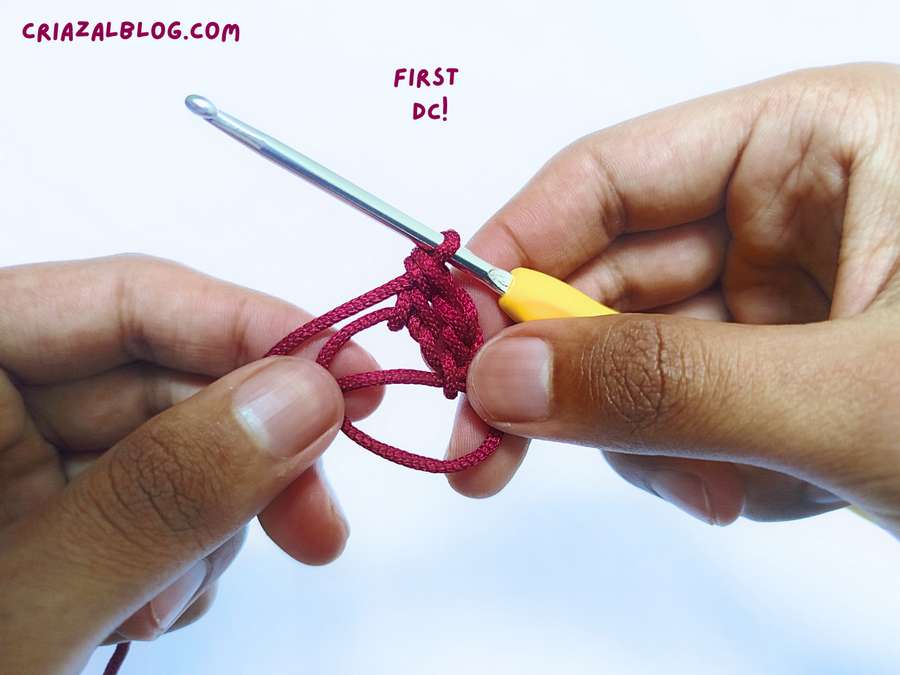
- In the magic ring, make 1 double crochet. To do so, yarn over, insert the hook into the loop of the magic ring, yarn over, and pull up a loop on the hook. Yarn over, pull through two, yarn over again, and pull through the last two stitches on the hook.

- Make another double crochet in the ring. You will have a total of 2 double crochets in the ring.
Step #4: Ending Chains
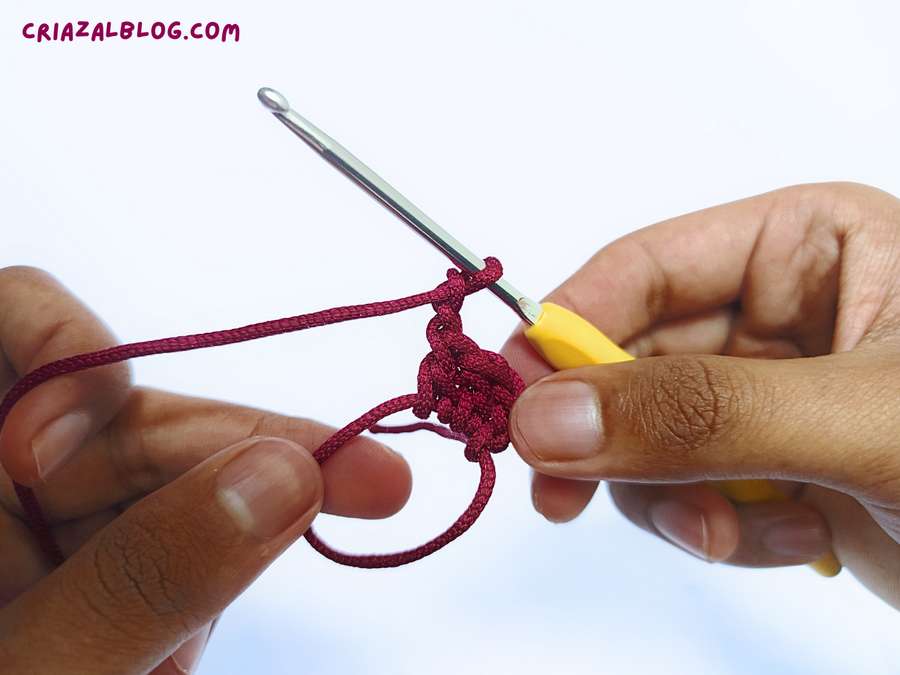
- Crochet two chains.
Step #5: Petal End
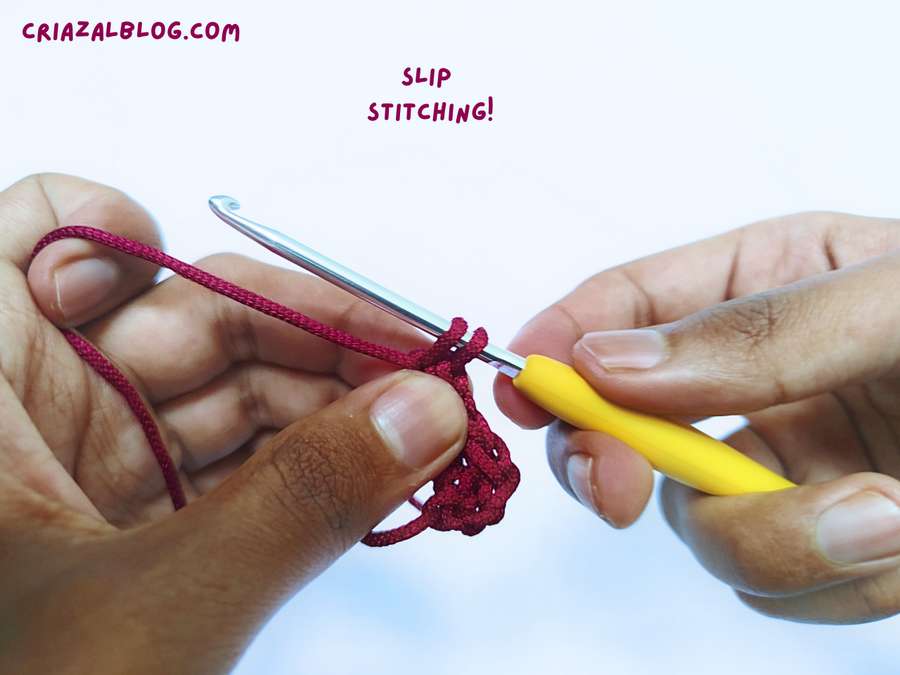
- In the ring, crochet one slip stitch. Normally, a slip stitch is used to join the ends in a crochet circle, but here we use it as a standard stitch. To do so, insert the hook into the ring, yarn over, and pull up a loop. Pull through the loop on the hook.
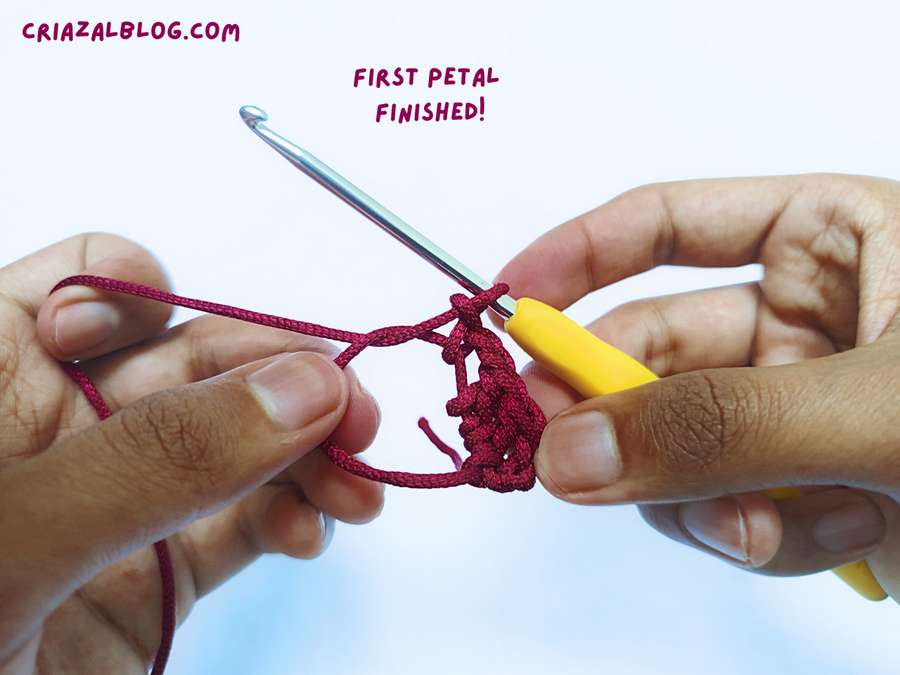
Step #6: Secure the Petal

- Crochet 2 chains and slide the slip stitch next to the double crochet cluster to make the petal more prominent.
Step #7: Repeat the Pattern

- Make two double crochets in the ring. Chain twice and slip stitch in the ring.
- Repeat [ch 2, 2 dc, ch2, sl st] three more times in the ring.
UK pattern
- In the ring [ch 2, 2 tr, ch2, sl st] * 5 times.
Was this tutorial helpful? Tell me in the comments
Your feedback is a great way for us to improve my crochet tutorials. So, share your thoughts on whether you tried this one or not, and highlight the weak points.
See More:
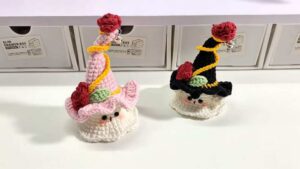
How to Crochet Baby Ghost In Flower-Decorated Witch Hat Amigurumi for Halloween
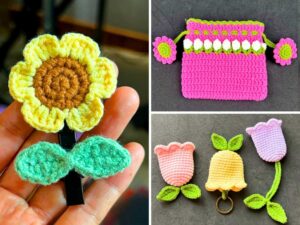
How to Crochet Flower Accessories
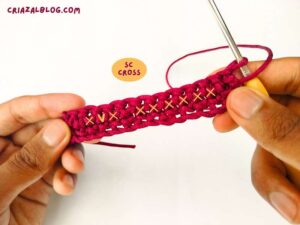
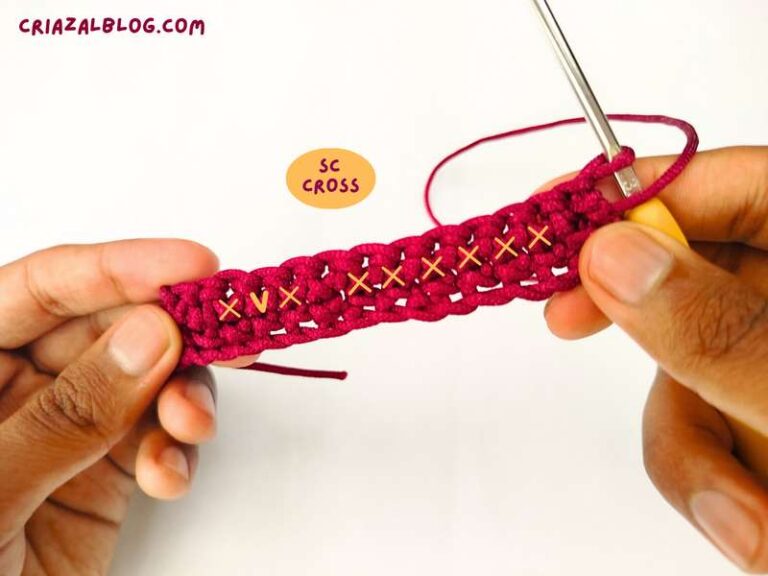
Let’s Make Single Crochet Cross Stitch
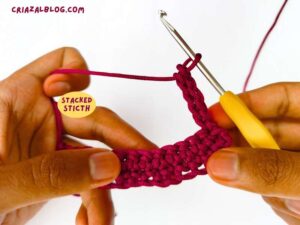
How to Do Stackable SC for Stitch in Crochet (Tutorial for Beginners)
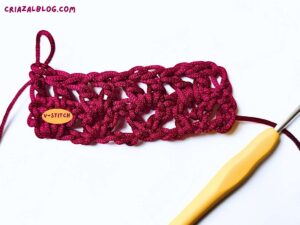
How to Crochet Classic V-Stitch (IDEAL STITCH for Beginners)
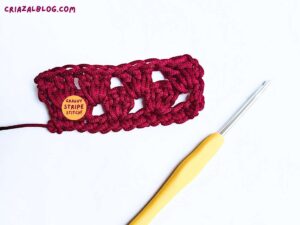
How to Crochet Back-and-Forth Granny Stitch for Beginners
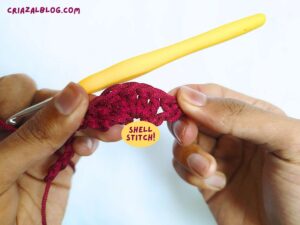
How to Crochet First Variation of Shell Stitch – with Pictures + Written Pattern
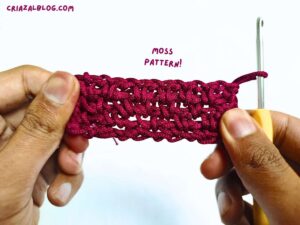
How to Crochet Solid Moss Stitch with Pictures
How to Crochet Yarn Over Single Crochet Stitch (SC)
Guide on The First Crochet Stitch (Masterclass for Beginners)