Author: Talha
I am a crochet designer, macramé maker and a crafter who also loves doing MATH.
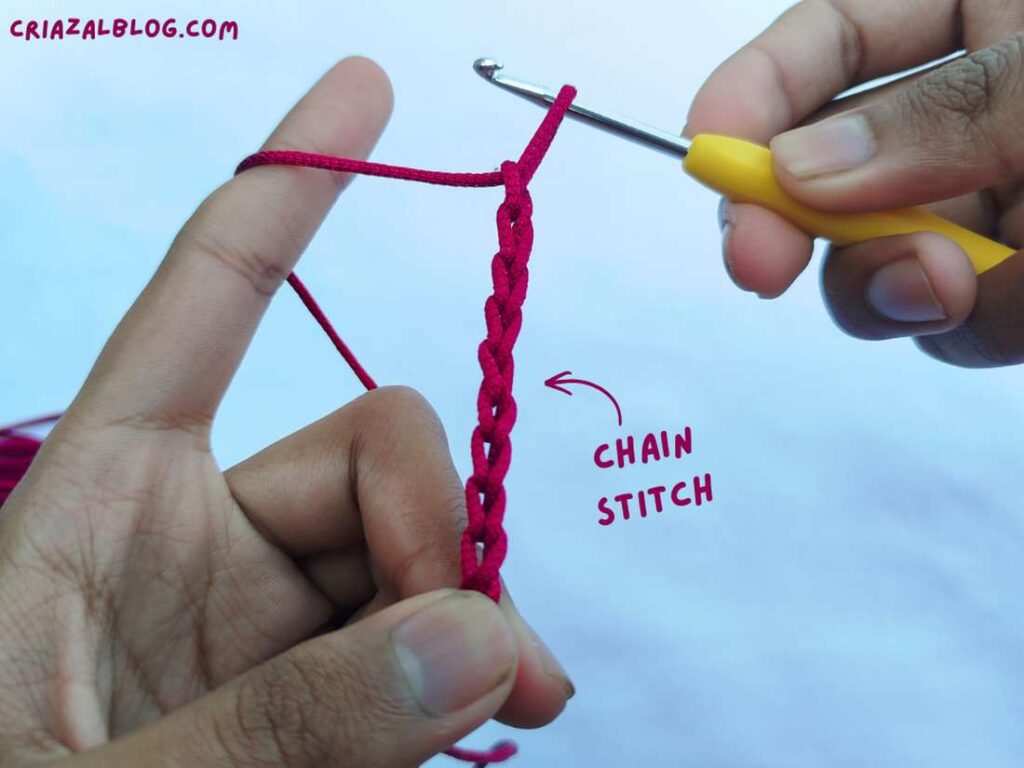
Learn how to crochet a chain stitch in 3 simple steps with this tutorial for absolute beginners. If you are not by chance inspired by the cuteness of amigurumi and learned working in spiral rounds and the magic ring, it is the first crochet stitch that every beginner learn and has to. I also learned this stitch in the beginning, and it helped me a lot in my journey.
After this one, I was able to learn many of my favorite stitches, including puff stitch and V-stitch, as it provides a foundation for them. In this tutorial, I will also share my experiences in crocheting this stitch and explain the basic steps needed to make it in detail. Plus, how can you use it in your projects, pattern reading, and tips?
My Early Experience with Chain Stitch
While the chain stitch is the most basic crochet stitch stepwise, it is difficult to perform practically. As an early crocheter, I struggled a lot with not getting my hook stuck in the slip knot and the uneven length of my chains.
The reason for this is that the active loop on the hook is adjustable in length, unless you perform a yarn over. With that said, we are unable to pull the hook through it if we hold the yarn too tightly.
Contrary to this, we may let the loop become much looser, if our tension is low, which makes kinda wide and open chain stitches.
So, while crocheting a chain stitch by yourself, if that happens to you, don’t give up. Try to find a better way of holding the hook and yarn, and gradually build the speed. Foundation chains in particular should be open enough to work more stitches inside, but not overly wide.
What is Chain Stitch in Crochet
Chain stitch in crochet (not embroidery!) is a basic crochet stitch that uses one yarn over and one pull through to interlock the loop with the previous loop on the hook. Pretty much the real chains, yes!
It is used both in the beginning and the middle of a crochet project. Unless you insist on using stacked stitches, it is a mandatory stitch for every crochet project for turning chains.
How to Crochet Chain Stitch: Step-by-Step Instructions
Skill Level: Beginner – Level 1
Abbreviation: ch (Chain) i.e., R1: ch 6. Turn. R2: (ch 2, skip 2 sts, sc).
- In the first row, make six chains. In the 2nd row, work two chains and skip the first two stitches of the previous round. Make one single crochet.
Materials:
- I recommend working with the macrame yarn as it makes the parts of stitches visible.
- For hook size, always use the recommended one. In my case, I am using a 3.5mm crochet hook with about 2.3mm yarn.
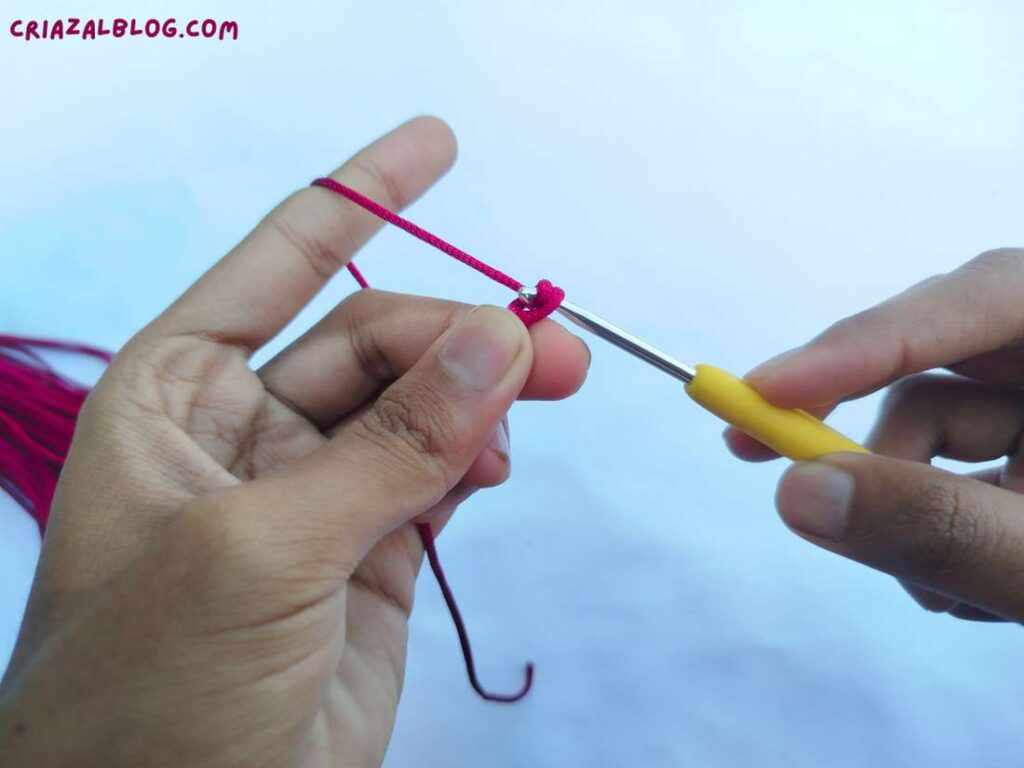
Begin by making a slip knot!
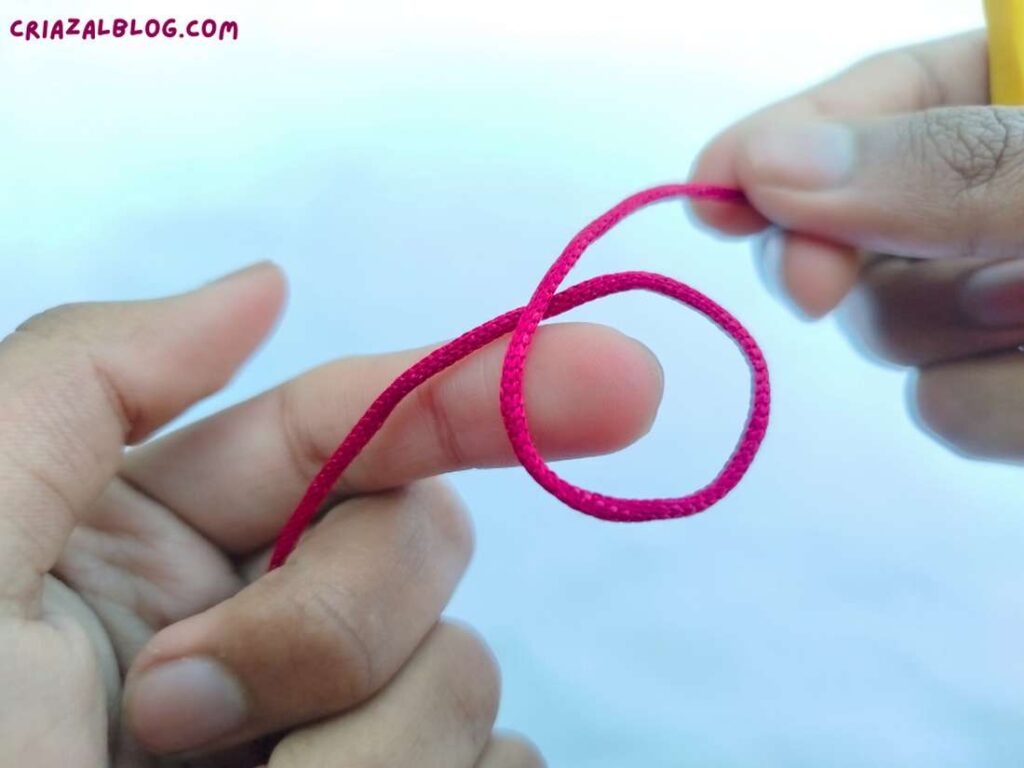
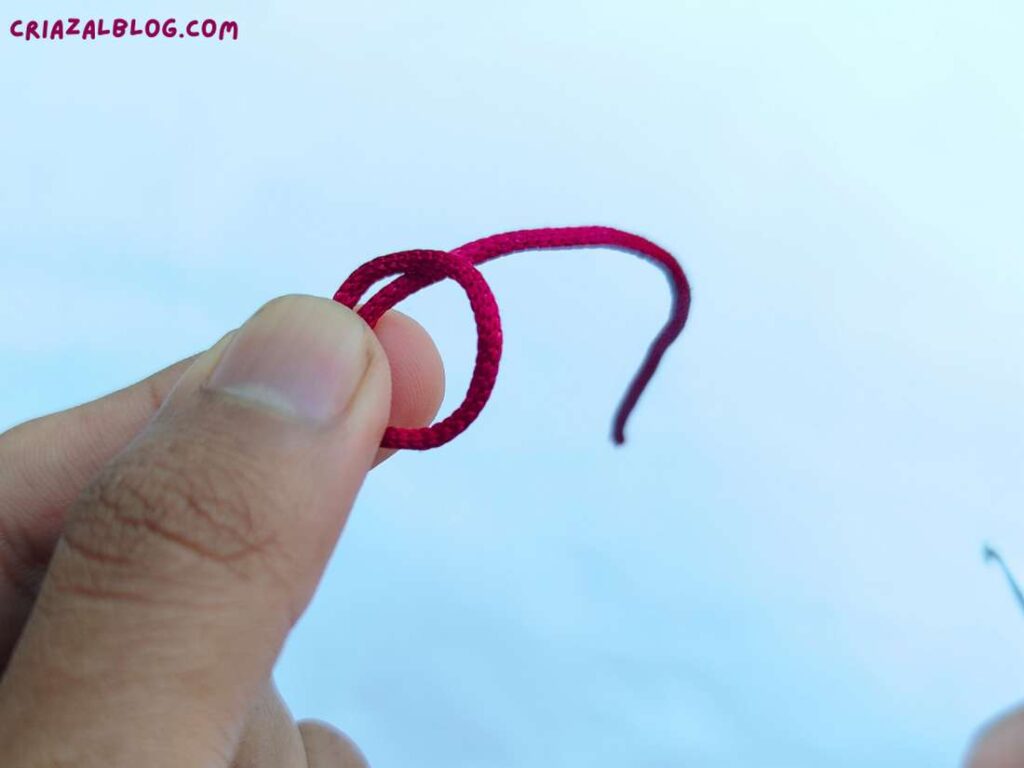
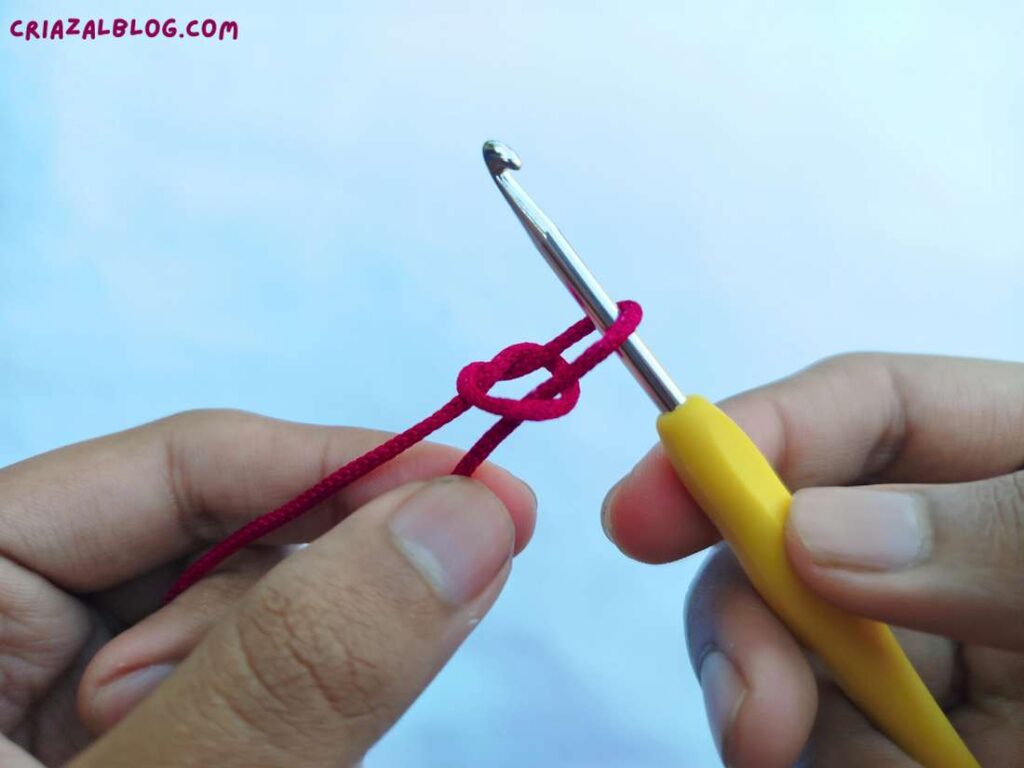

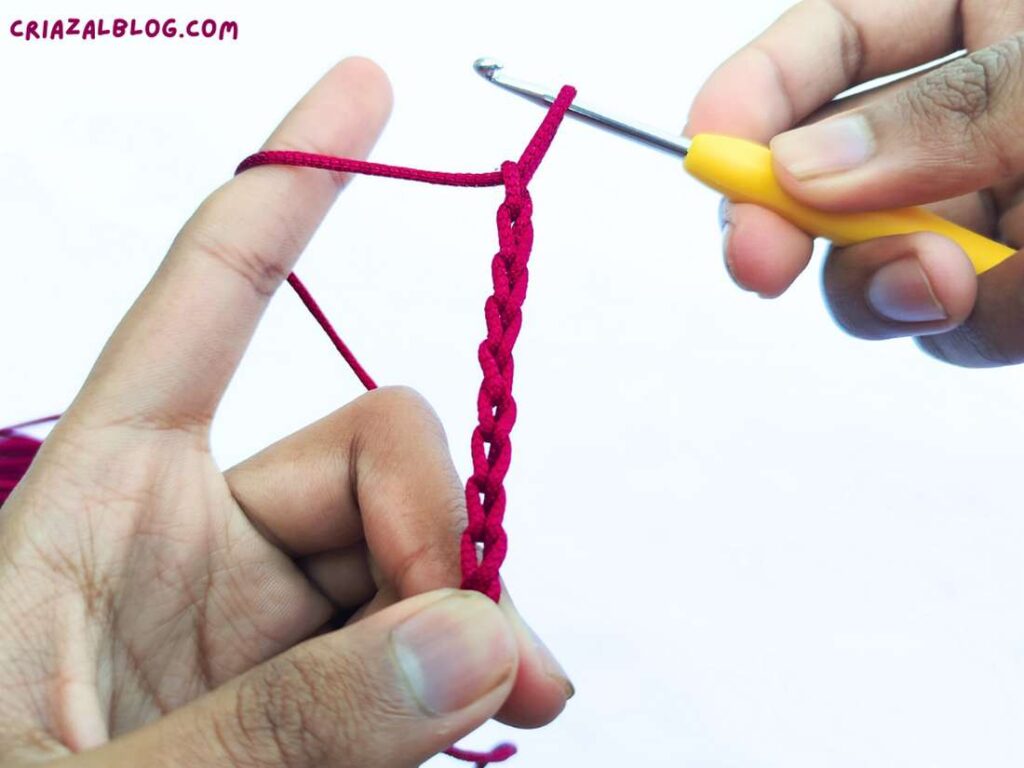
Step #1:
- Attach the hook to the slip knot and hold the crochet hook in your dominant hand, pinch the bottom of the Slip Knot tail in the other hand, and pull it down. For example, in my case, I use my right hand to hold the hook and my left hand to pinch the tail. The strand attached to the yarn ball slides onto your index finger must not be too tight.
Tip: Keep the hook about 4cm distant from your index finger and don’t let the yarn get locked by the fingers of your non-dominant hand.
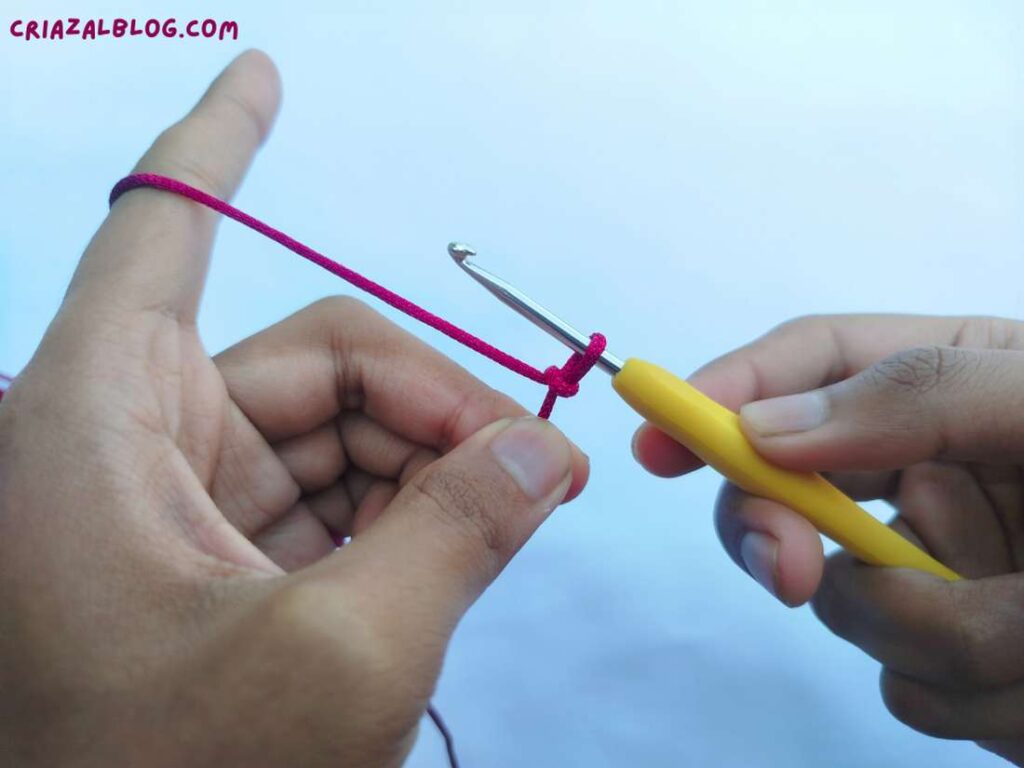
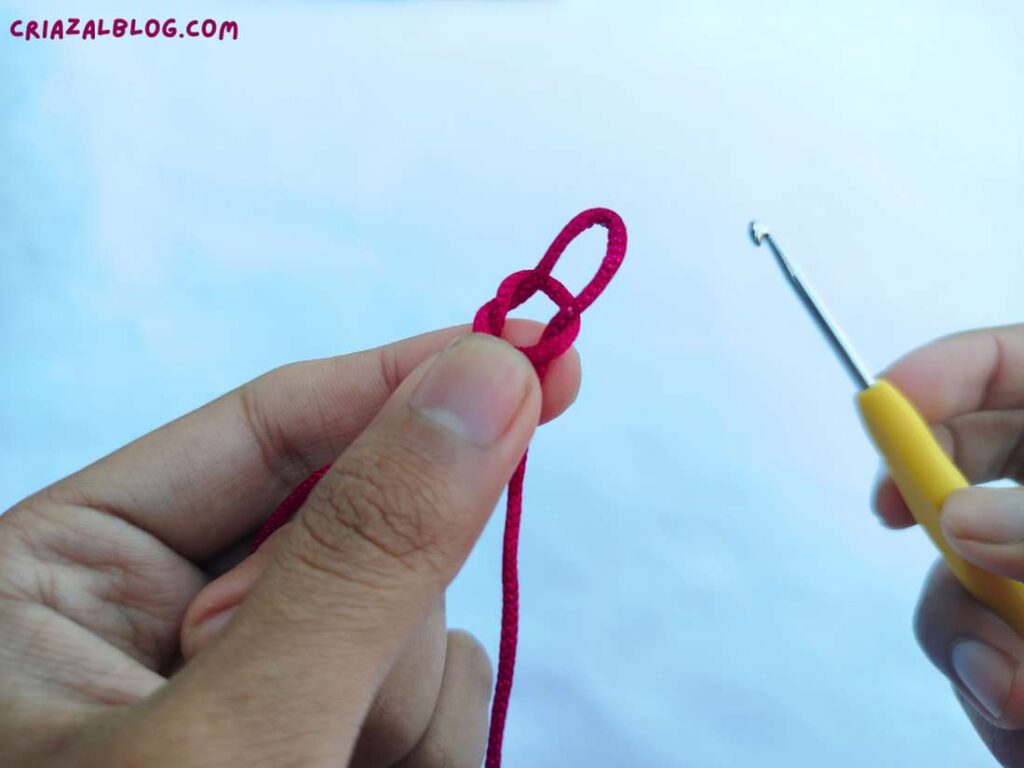
Step #2:
- Yarn Over (yo). Initially, you can do so by holding the ball end with your thumb and middle finger and wrapping it around the groove of the hook so that the yarn is over the hook. However, for pacing and correct tension, you will want to YO by the movement of the hook alone.
- To do so, align the hook parallel to the ball end and conically rotate it below the ball end, and bring it to the right of the end. Grip the yarn with the hook part from underneath.
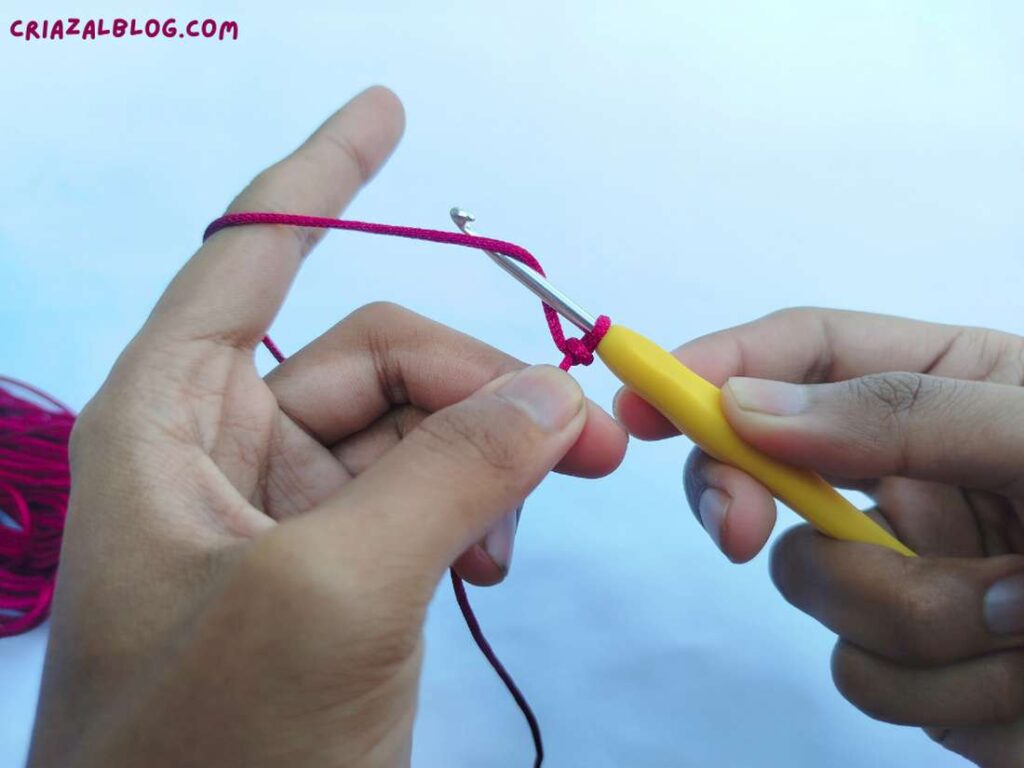
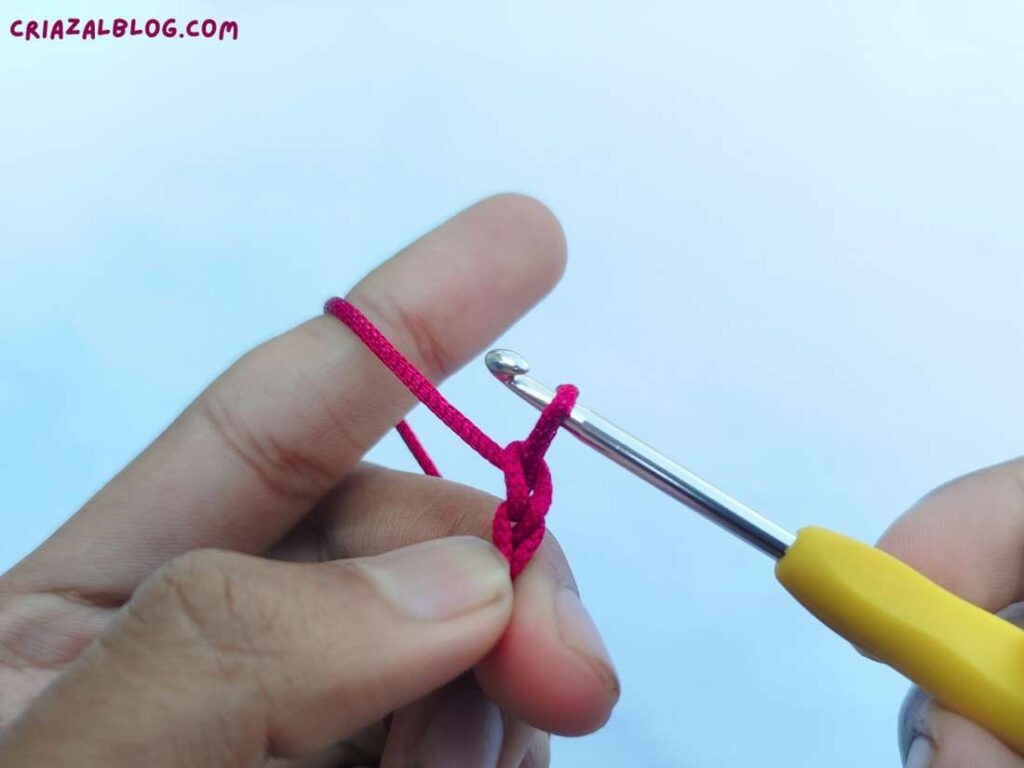
Step #3:
- Pull Through. After hooking onto the yarn, pull the hook back and through the loop on the hook. Be sure the ball end glides smoothly over the finger so that the loop doesn’t get tighter.
Pull the hook though!

That’s it! You probably have made your first crochet chain stitch. Continue with the following steps to make as many as you wish:
- Yarn Over
- Pull Through
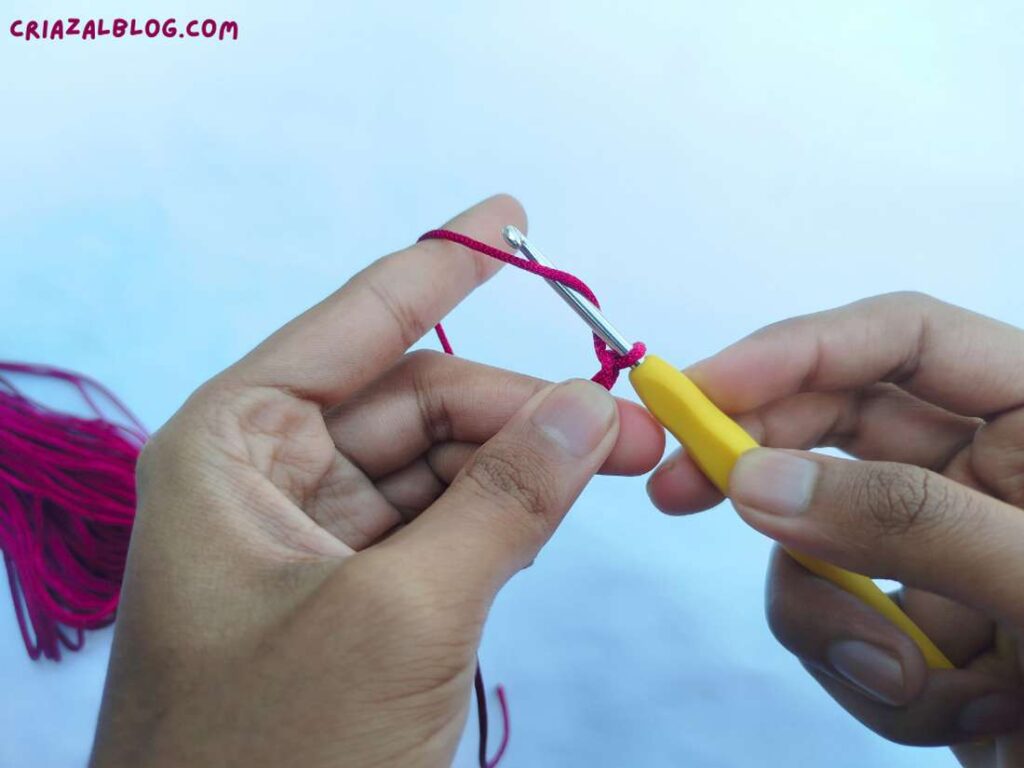
For the first time, I recommend crocheting about 20 – 30 chain stitches at a slow pace. You can remove the hook and pull the tail below to untangle the chain stitches. This way, you can practice as much with the same yarn. However, don’t bring it too far as the curly yarn is difficult to work with.
Counting the Chain Stitch
Many textured stitch and blanket patterns require you to understand how to properly count the chain stitches. One of the reasons is that you are required to have a particular multiple of chain stitches. So, even one extra or fewer chain stitches can make a difference.
Counting is a bit confusing, as the knot stitch just below the knot looks almost the same as the chain stitch. That is in the shape of a V. However, this is not counted as a chain stitch in most crochet patterns.
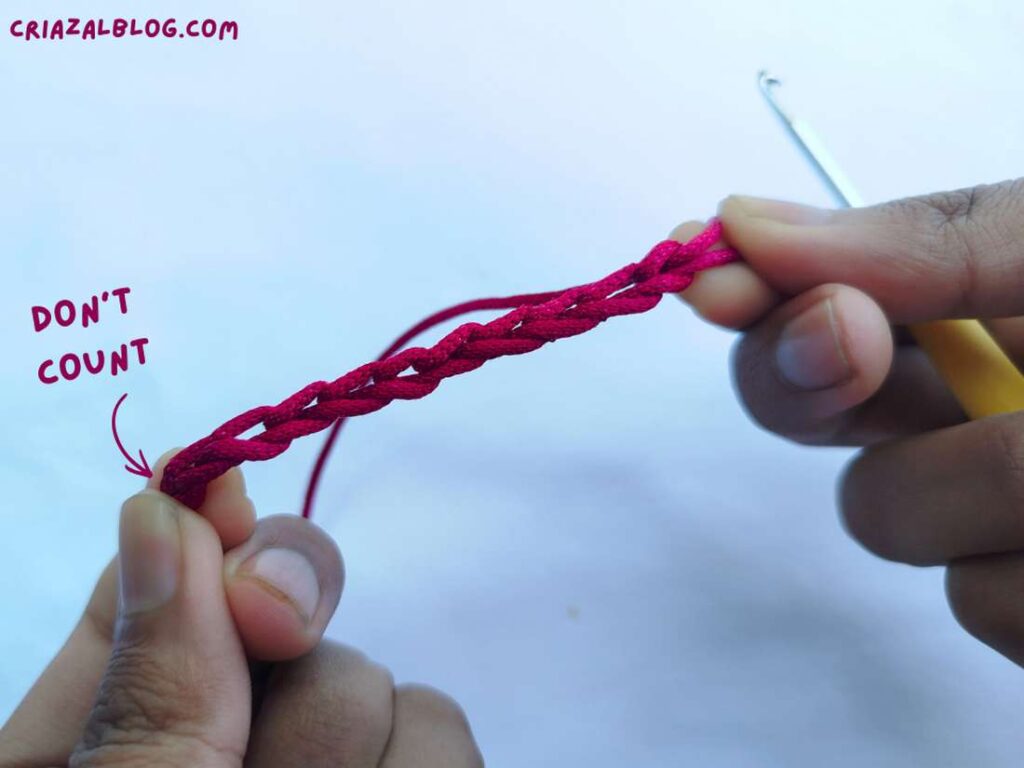
It is better to follow the standards. Skipping this stitch also lets you have a nice height for the next stitches. Now, make 10 stitches and check if you have counted well.
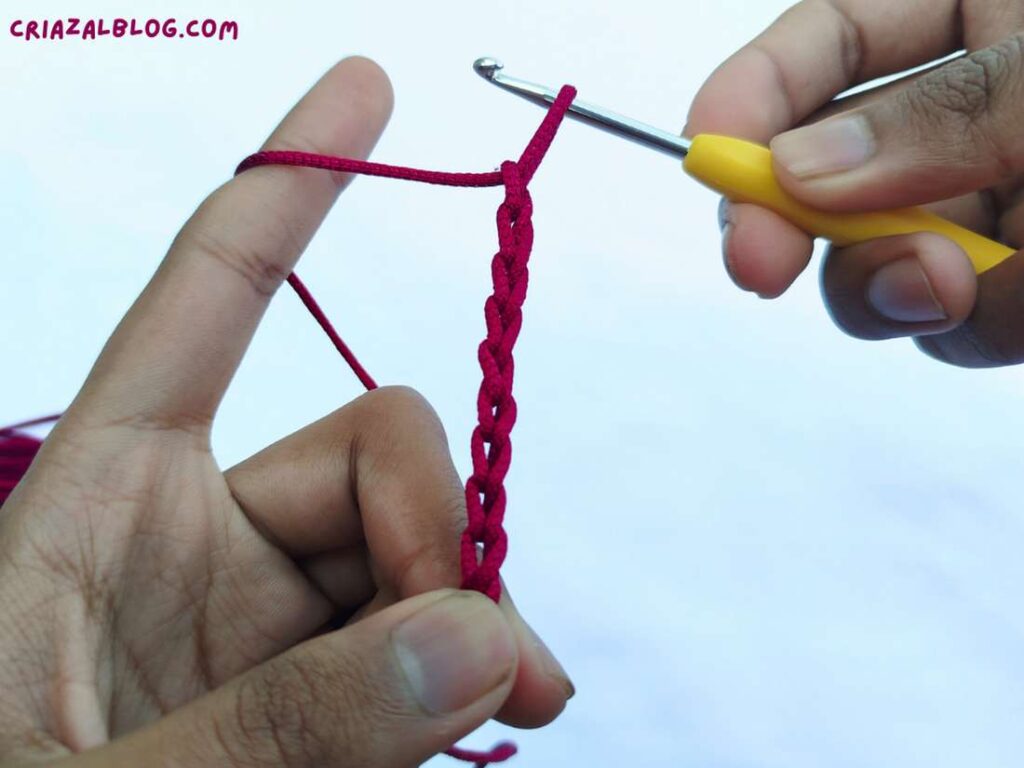
Foundation Chain
Chain stitch is generally used to start working in both back-and-forth crochet rows. To do so, we attach a slip knot to the hook and make a row of chain stitches. Then the preferred stitch, such as single crochet, is worked inside the holes of each chain to add height in the fabric. For example, most blankets and doily patterns are worked this way. You can also work in rounds by joining the chains on either side using a slip stitch.
Why chain stitch?
We can classify the crochet stitches into two families: dependent and independent stitches. Most crochet stitches, such as single crochet, double crochet, puff stitch, etc are dependent as they require the insertion of the hook into previously worked stitches to be made.
Since the chain can be crocheted directly from the starting knot, it can be made at the very beginning of the project to provide a base for other stitches. The magic ring and single crochet combo functions similarly.
Turning Chain
We make a chain stitch at the beginning of every row or round (except for spiral crochet) to provide height for dependent stitches. These chains are called turning chains. Traditionally, we use:
- 1 turning chain for Single Crochet.
- 2 turning chains for Half Double Crochet.
- 3 turning chains for Double crochet and so on.
Chain Space
While making a solid fabric using single crochet or other stitches, holes can be made by skipping a certain number of stitches and making an equal number of chain stitches.
This method lets us still provide enough stitches for the NEW rows while making a hole. For example, lacework, mesh stitches, certain textured stitches, making corners, doll hairs, etc., can be done this way.
Was this tutorial helpful? Tell me in the comments
Your feedback is a great way for us to improve my crochet tutorials. So, share your thoughts on whether you tried this one or not, and highlight the weak points.
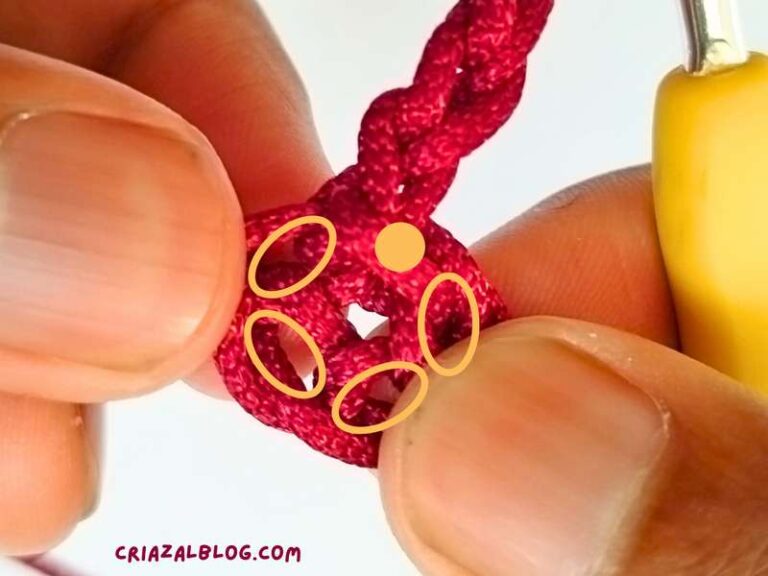
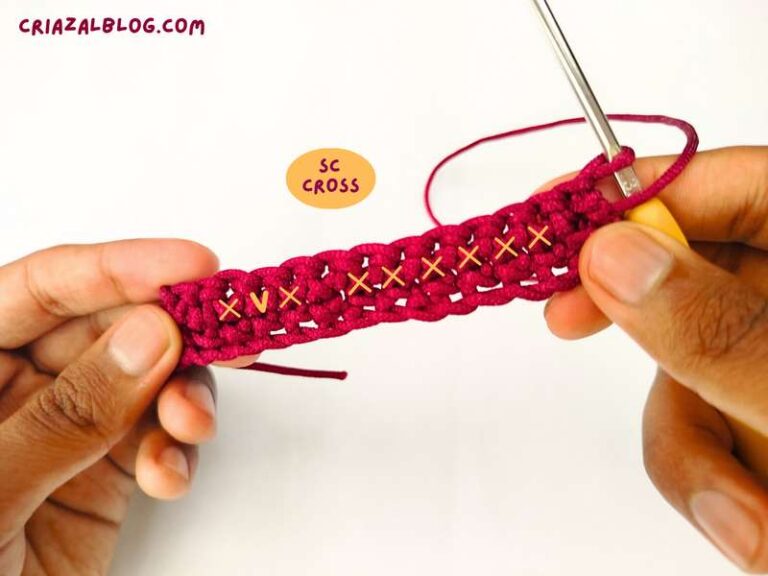
See More:
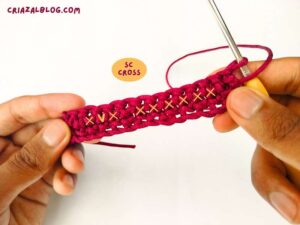
Let’s Make Single Crochet Cross Stitch
How to Do Stackable SC for Stitch in Crochet (Tutorial for Beginners)
How to Crochet Classic V-Stitch (IDEAL STITCH for Beginners)
How to Crochet Back-and-Forth Granny Stitch for Beginners
How to Crochet First Variation of Shell Stitch – with Pictures + Written Pattern
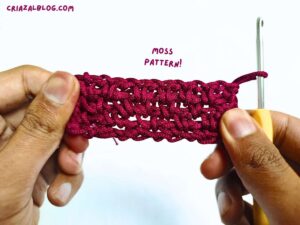
How to Crochet Solid Moss Stitch with Pictures
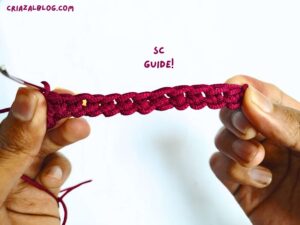
How to Crochet Yarn Over Single Crochet Stitch (SC)
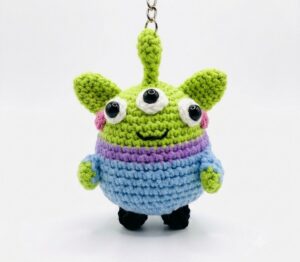
How to Crochet Toy Story’s Green Alien Amigurumi for Latest Release

Featuring: How to Crochet Baby Boo Ghost in a Pumpkin Beanie Tutorial