Author: Talha
I am a crochet designer, macramé maker and a crafter who also loves doing MATH.
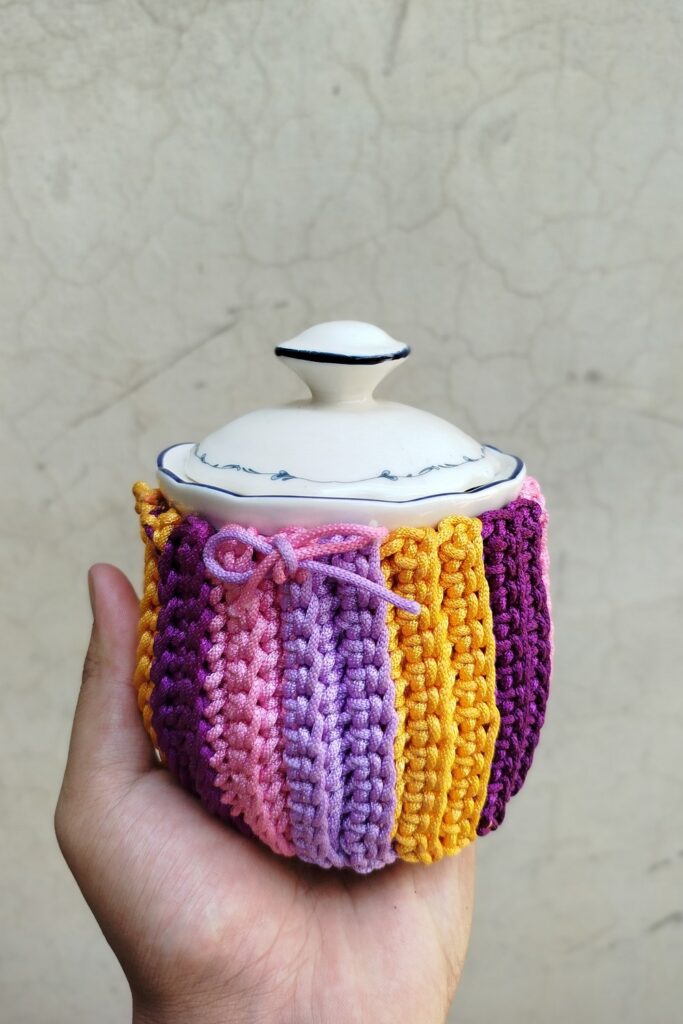
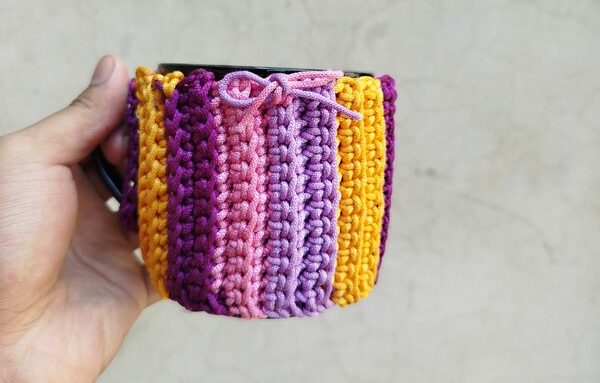
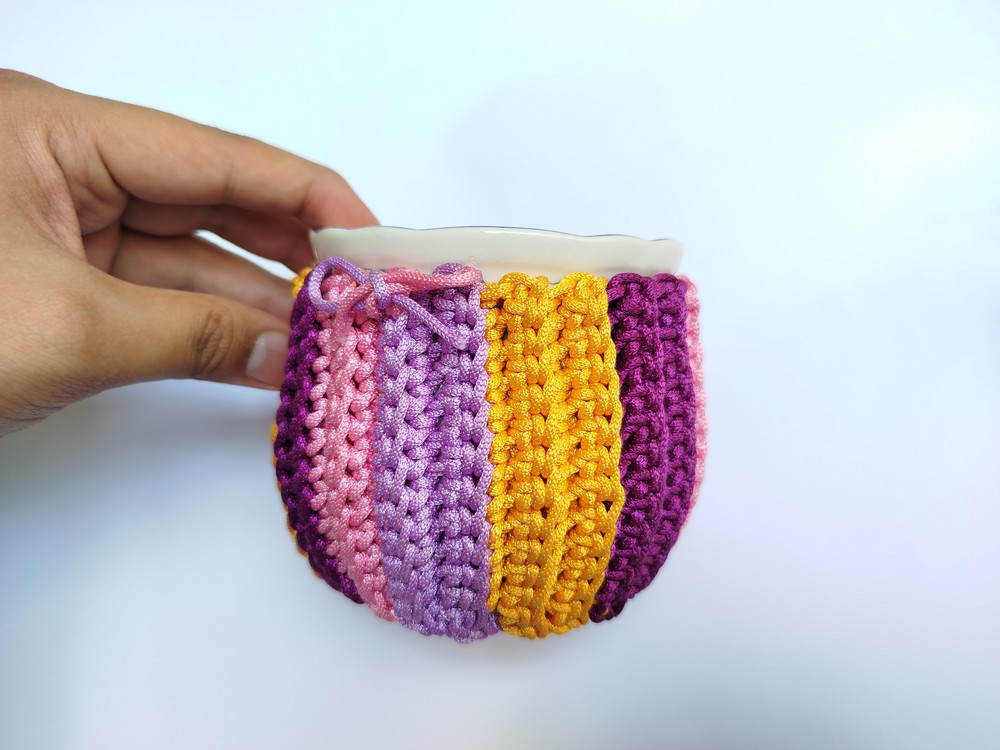
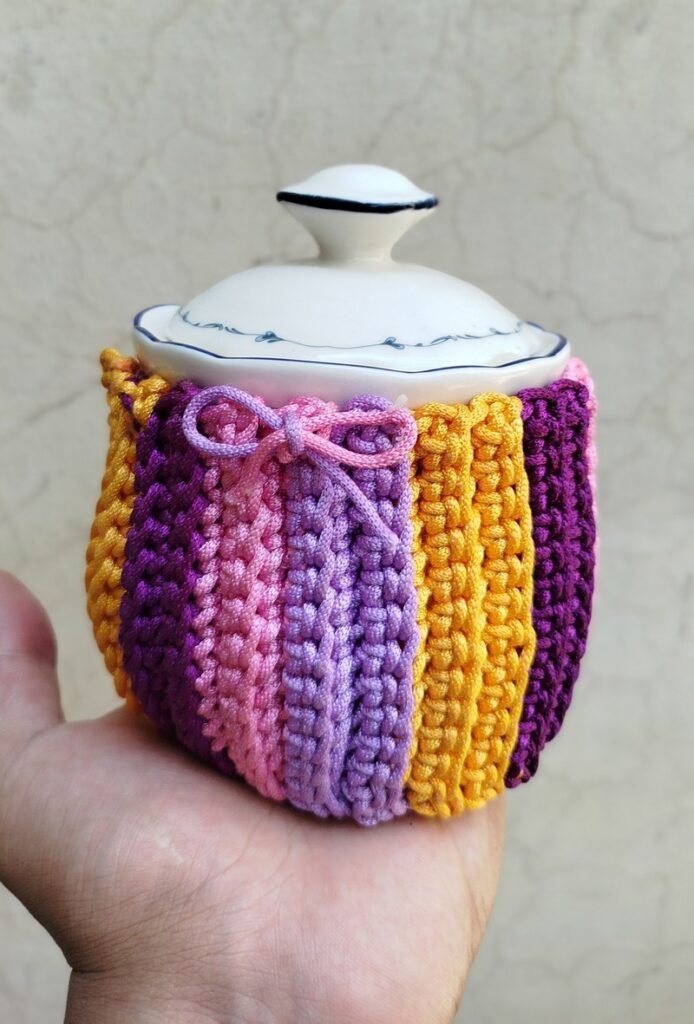
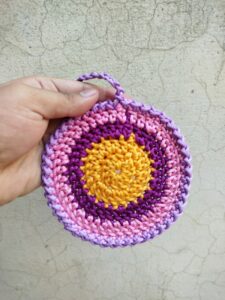
I crocheted this elegant STRIPED & RIBBED mug cozy using my favorite, CANDY POP COLORS to make my black coffee mug as colorful as my candy burst coaster. And today, I am gonna share a FREE pattern to crochet this candy burst mug cozy with a detailed guide for the size adjustment, color-change, and ribbing technique, too. So, consider it a masterclass for making the mug, cup, glass, and any-jar cozies.
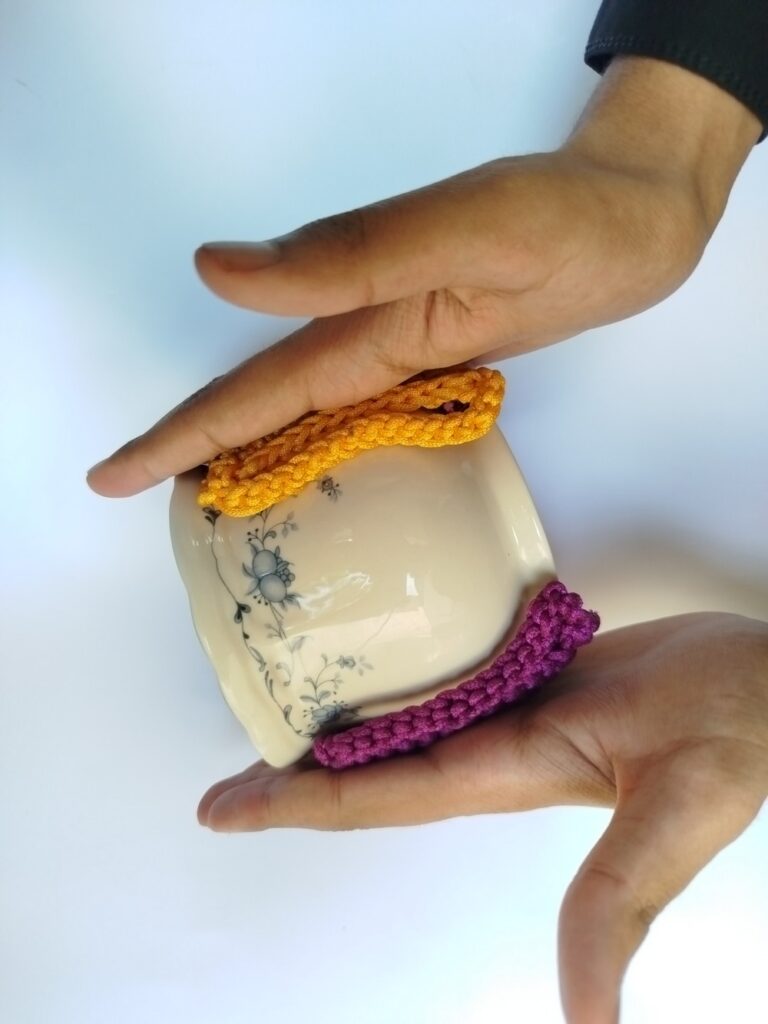
I have also put this cozy on our 10 years old sugar pot. And as it turns out, it got fitted around it REALLY well and looked even more beautiful on it than the mug for which I designed it in the first place. I have crocheted it with half I-cord handles, macramé cord, and with the foundation that I always mention as the secret to neat crochet edges.
While the single crochet ribbing with which I made it works a little slower than that of double crochet ribbing, it will end up much more flexible, sturdy, and no-hole with the single crochet ribbing. Therefore, I will be using that stitch in the demonstration.
Not making the pattern way longer than it needs to be, I will first provide you with the detailed mug cozy sample swatch and then the full quick pattern. Now, let me show you how you can also crochet this cozy!

Aspects Where My Candy Pop Mug Cozy Pattern Improves?
My crochet mug cozy pattern requires double chain foundation that makes NICELY straight edges on both sides of the cozy. Also, there are few patterns that use striped pattern for the mug cozy and it turned out to be much more elegant.
I got the non-fuzzy and professional finish of the macramé cord. Lastly, instead of the chain stitch handle, the double chain handle does not curl and is stronger.

How I made Crochet Candy Burst Cozy
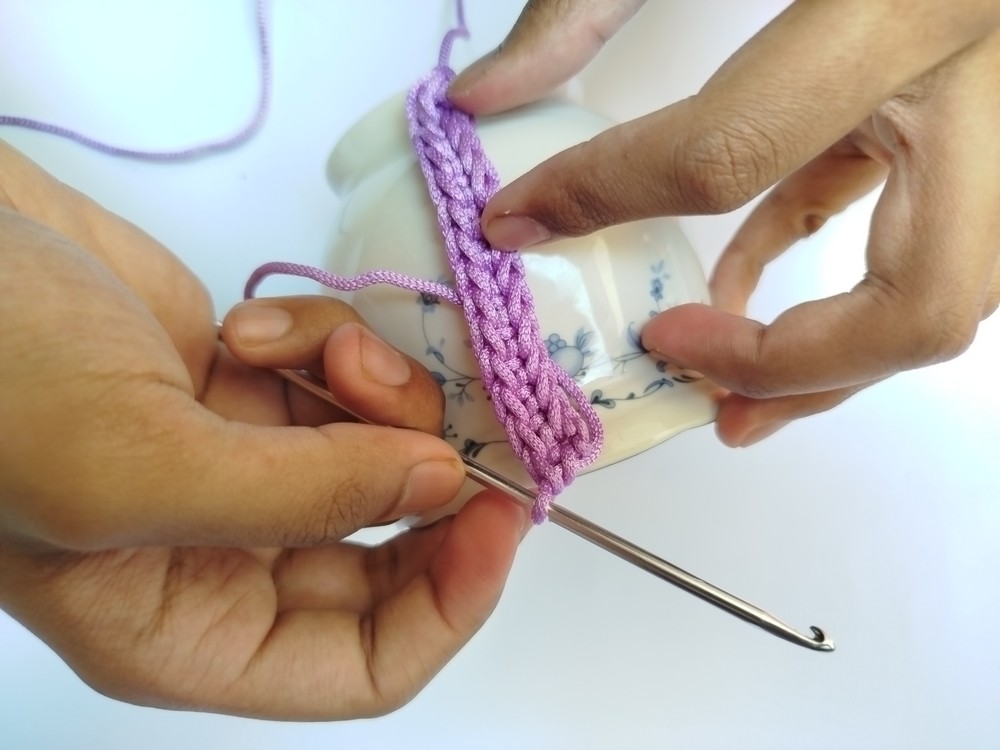
- Step 1: I started with a half I-cord as a foundation row instead of chain stitch + single crochet foundation as it provides me with the neat edges. You can also start with the foundation single crochet.
- Step 2: As I progressed through the foundation stitches, I aligned the row with my sugar pot and made it till the rim from the bottom. For mugs, as they have a straight surface, you will want your foundation to be about half inch less than the height you want to cover of the pot.
- Step 3: Chained 1 as a turning chain and worked single crochet across in the BLO of the double chain of half I-cord.
- Step 4: Turned the work and continued to work in the BLO for each of the next rows to make the ribbing.
- Step 5: Changed the color pretty randomly, so there were rows with more than 5 yellow rows and even 2 rows for the purple. However, I chose the yarn color for the handle based on the color of the last row on either side.
- Step 6: I made it till the top covered 7 cm less than circumference for the sugar pot as the single crochet ribbing is pretty flexible, though tedious to get the height for.
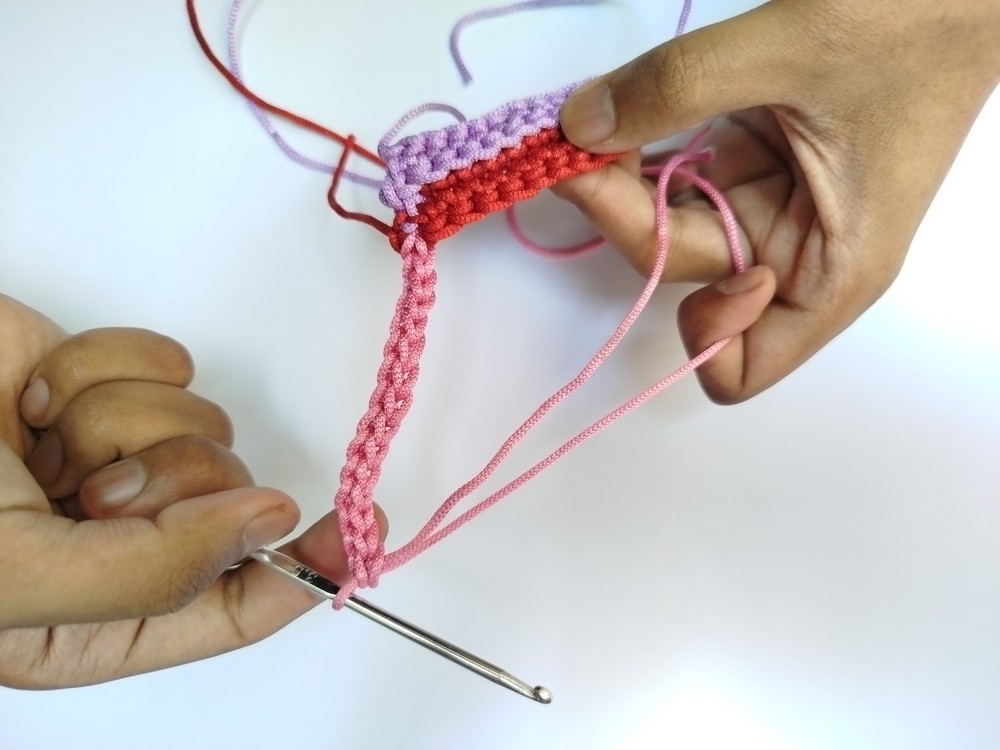
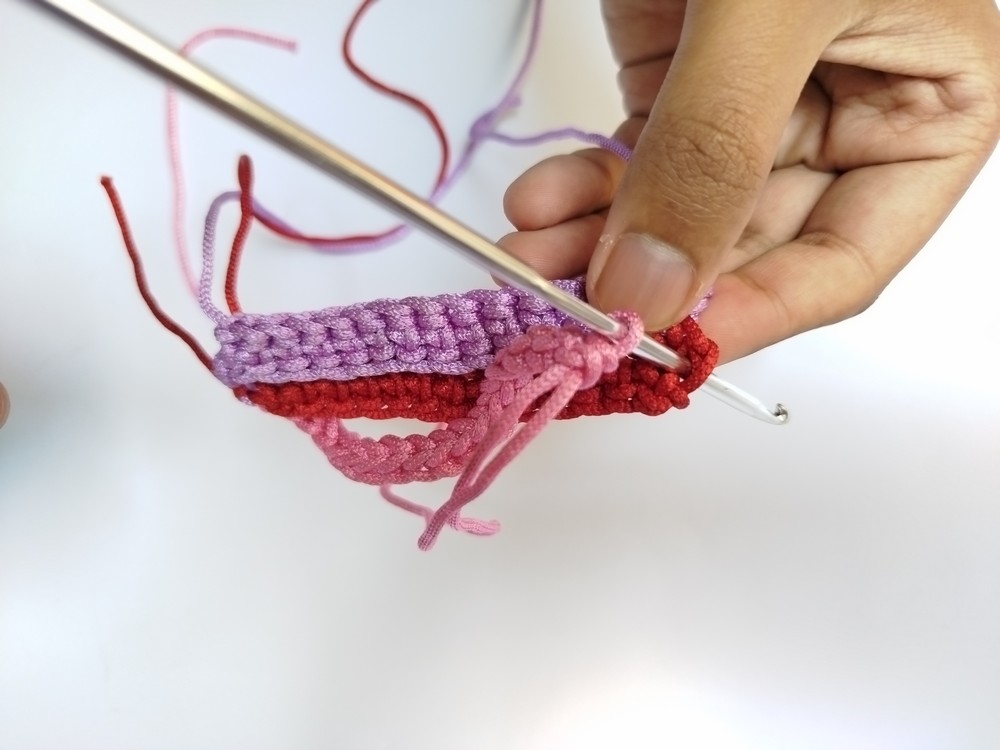
- Step 7: After finishing the last row, I just secured the yarn tail after cutting it. And reattached the yarn at the right corner. Why? Well, I wanted the double chain handles and they require making a long slip knot tail that will be used in making the double chain, too. Just slip-knotted the handle and secured it again, too.
- Step 8: Make another handle on the other side and weave in the ends.
Size Guide for Making it as a Mug Cozy
- Cozy Height: While crocheting the traditional foundation chains or double chains for this crochet mug cozy, you will want to leave about 1.5 cm from the rim. If you like a symmetrical look, you can also leave the same length from the bottom.
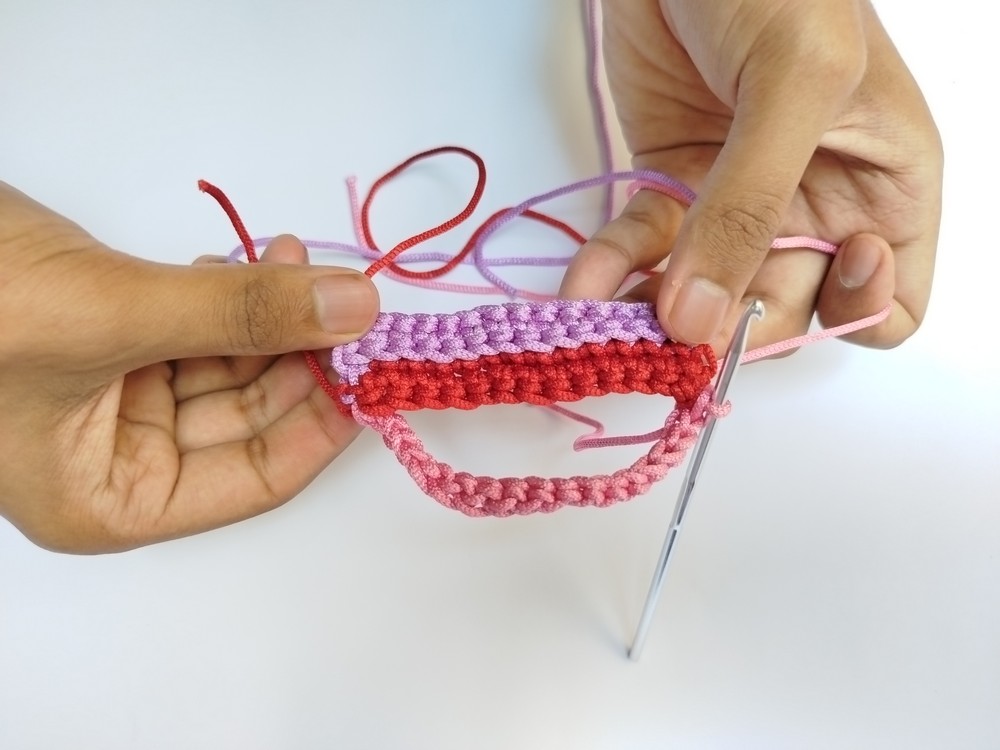
- Length of the Cozy: Then as you can crochet the mug cozy ribbed rectangle, you have to stretch rectangle from both sides till it touches both the handle sides.
- Customization: Add more rows if covering entirely feels much harder and causes the stitches to stretch so much to show off the holes. This way, yours will stay in place after crossing the handles through the mug handle.
Crochet Detailed Candy Burst Cozy Pattern (Swatch Guide + Pattern)
Below, I have a much more detailed written guide for each of the techniques used such as the color-changes, ribbing, and the whole process before providing you with the quick sugar pot cozy pattern:
Skill Level: Beginner – Level 2
Stuff I Used for Crocheting this Mug & Sugar Pot Cozy
- Yarn: Macramé cord of 1.5mm thickness in the following colors:
- Color A: Yellow
- Color B: Pastel Purple
- Color C: Pink
- Color D: Dark Purple
- Hook: 3.5mm crochet hook. If you are using regular cotton for its absorbency and ease of handling, use the recommended yarn.
- Scissor for cutting the yarn (for the seamless color-changes, I recommend changing the color at the beginning of the row, though I changed after the first stitch of new row!)
- Yarn needle (I don’t use one, but to hide the yarn tails, be sure to have one!)
My Stitch Resources
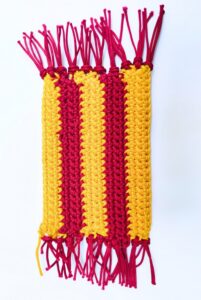
Colors used in the Sample Swatch
- Color A: Pastel Purple
- Color B: Red
Crochet Pattern
Foundation Row: Half I-Cord
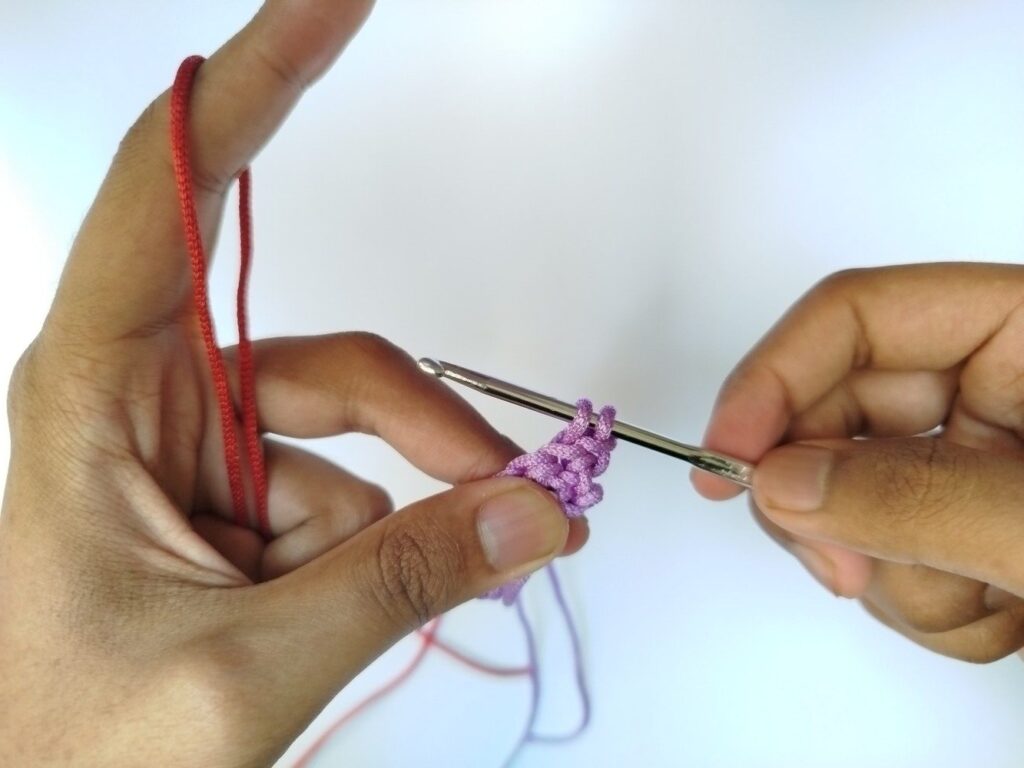
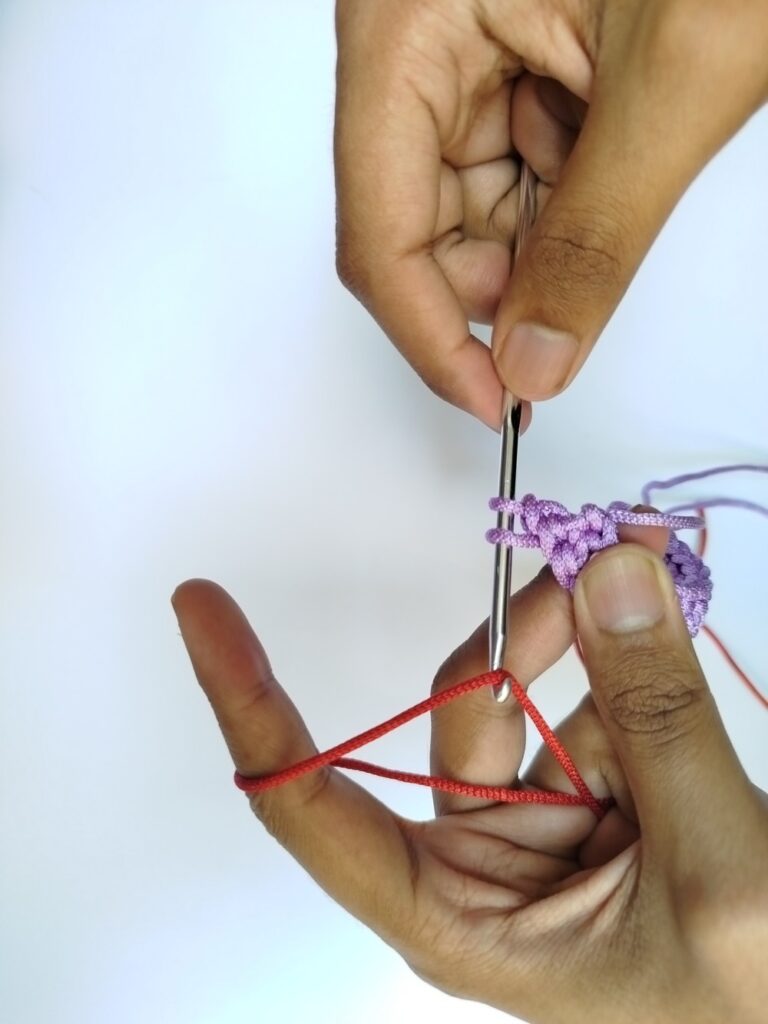
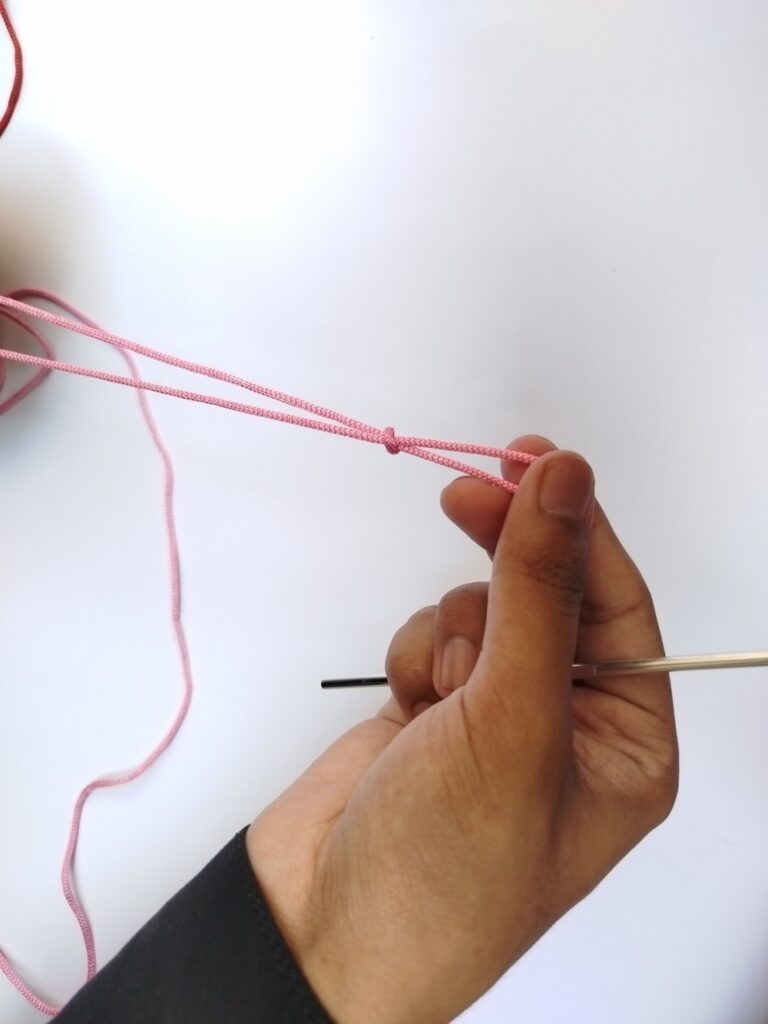
With the color A (pastel purple, here) make a slip knot leaving about 40 cm length as the tail. Usually, we only leave a tail that is about 5 cm long to secure the ends later.

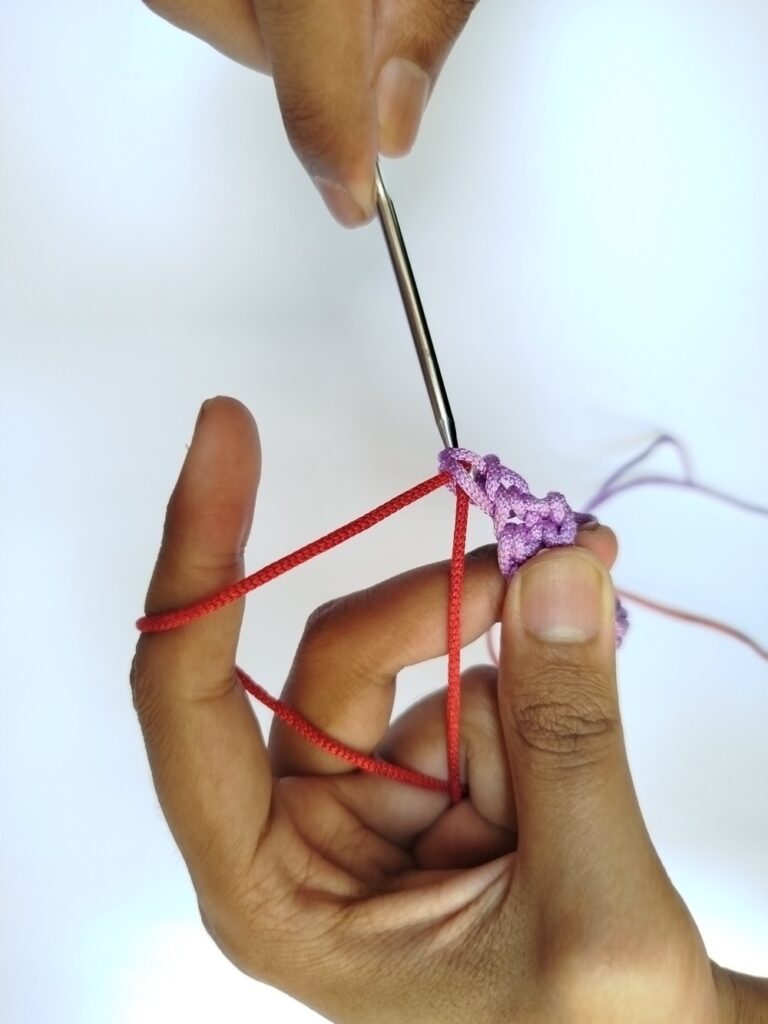
Now, to make the first double chain as the foundation, yarn under the hook with the tail end and yarn over the hook with the ball end. If you want to learn more about the difference between yarn under and yarn over, I have explained that in the cross stitch tutorial.
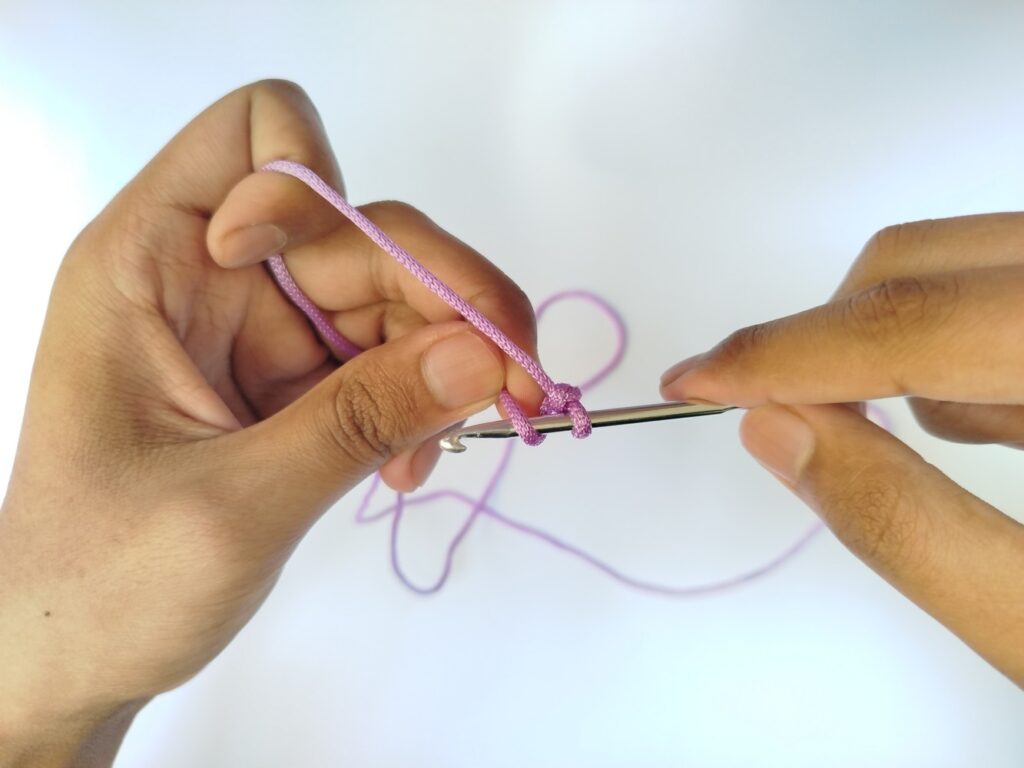
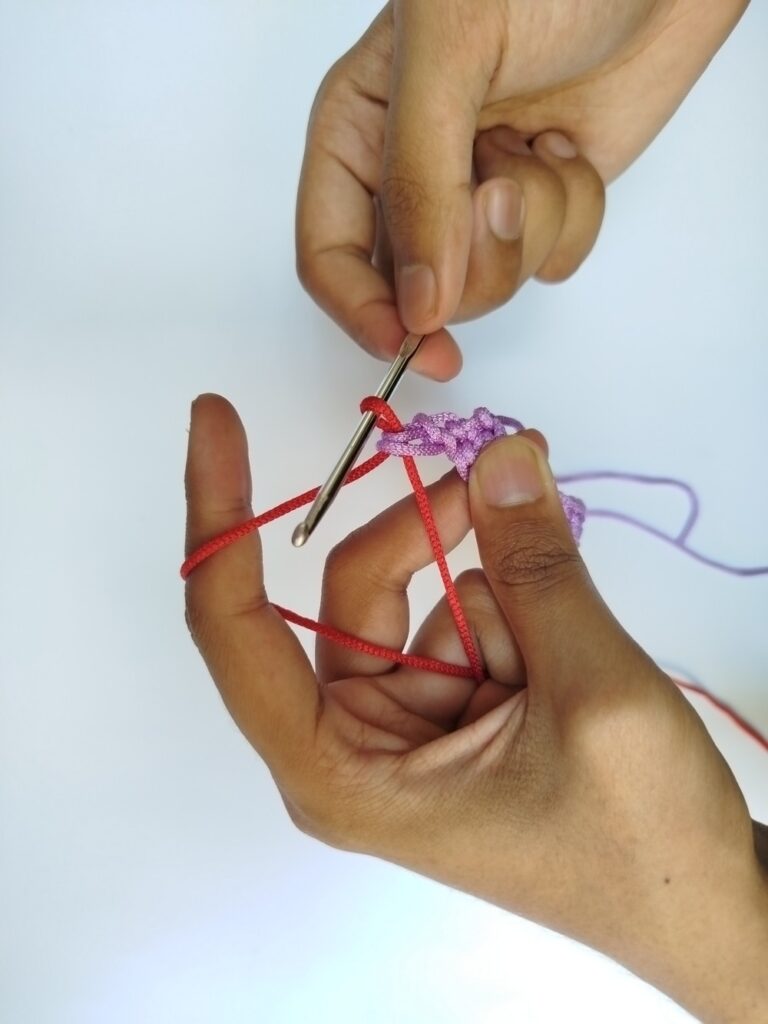
Anyway, for the first stitch, you might need to wrap the yarn by hand and as you get 3 to 4 stitches of this, you can use the fast method that just needs moving the hook and holding both the yarn with the passive hand.
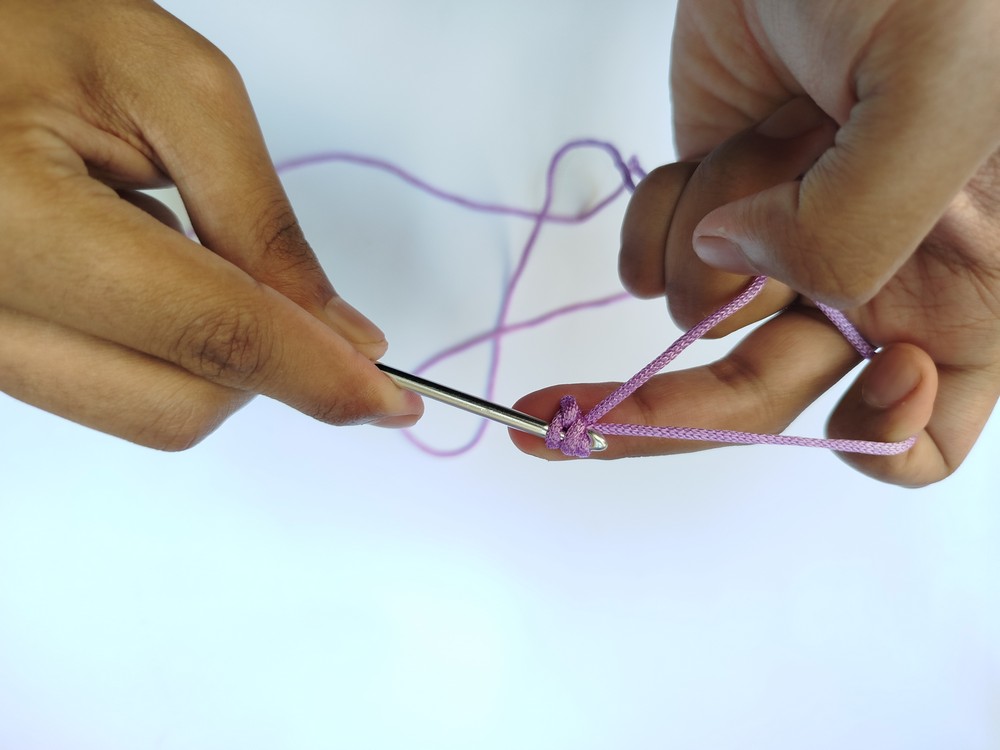
Depending upon the height of your mug, you will need 10 to 13 double chains. In my case for this swatch, I made 13 double chains using the light purple cord.

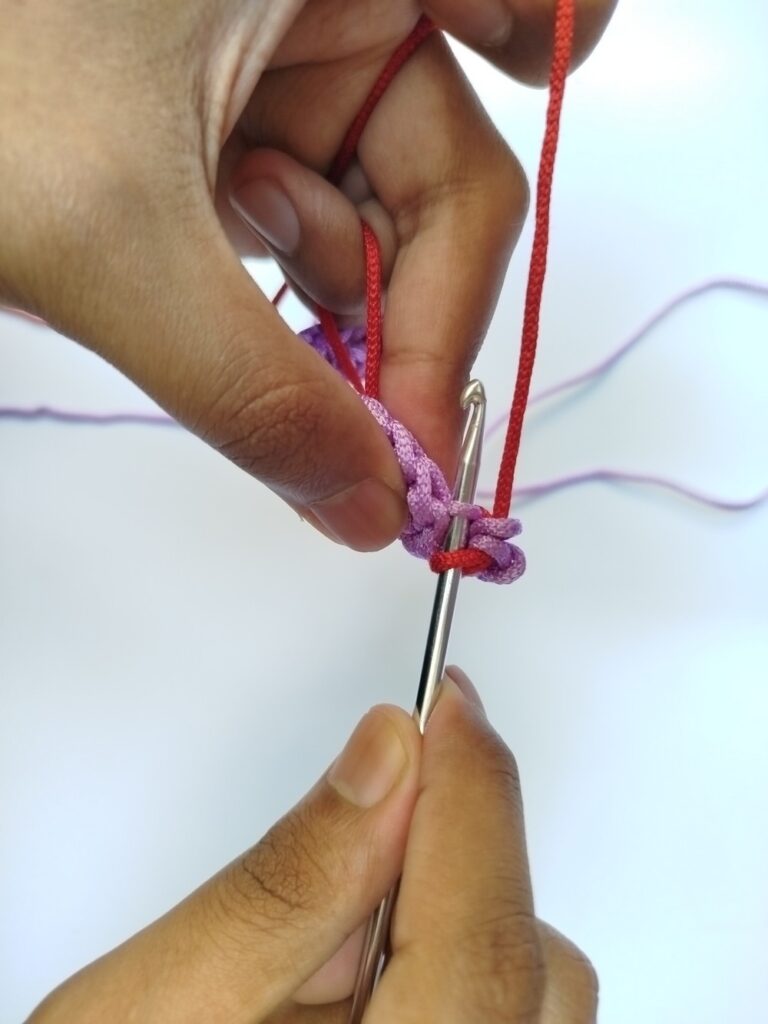
Row 1: Ribbing Pattern
As I mentioned, we will be crocheting the single crochet ribbing but the method works for the rest of the basic stitches, too. So, make turning chains such as chain 1 for single crochet.

In the Back Loop Only of the first double chain from the hook, work 1 single crochet. Repeat this for the rest of the double chains and be sure to work in the final loop, too.
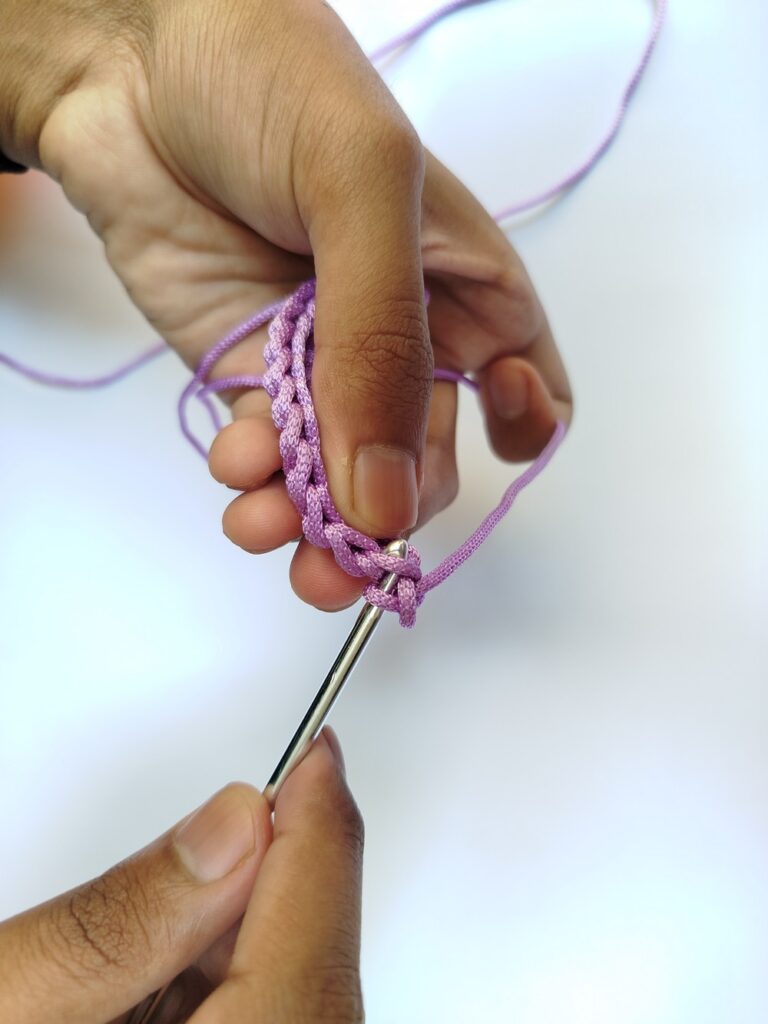
Row 2: Ribbing Pattern
Turn your work. Chain 1. In the BLO of the very first single crochet (secret to straight edges!), work 1 single crochet. Repeat across.
Note that you don’t have to work in the Front Loop as you already have reversed your work, so ribbing pattern is one of the easiest.
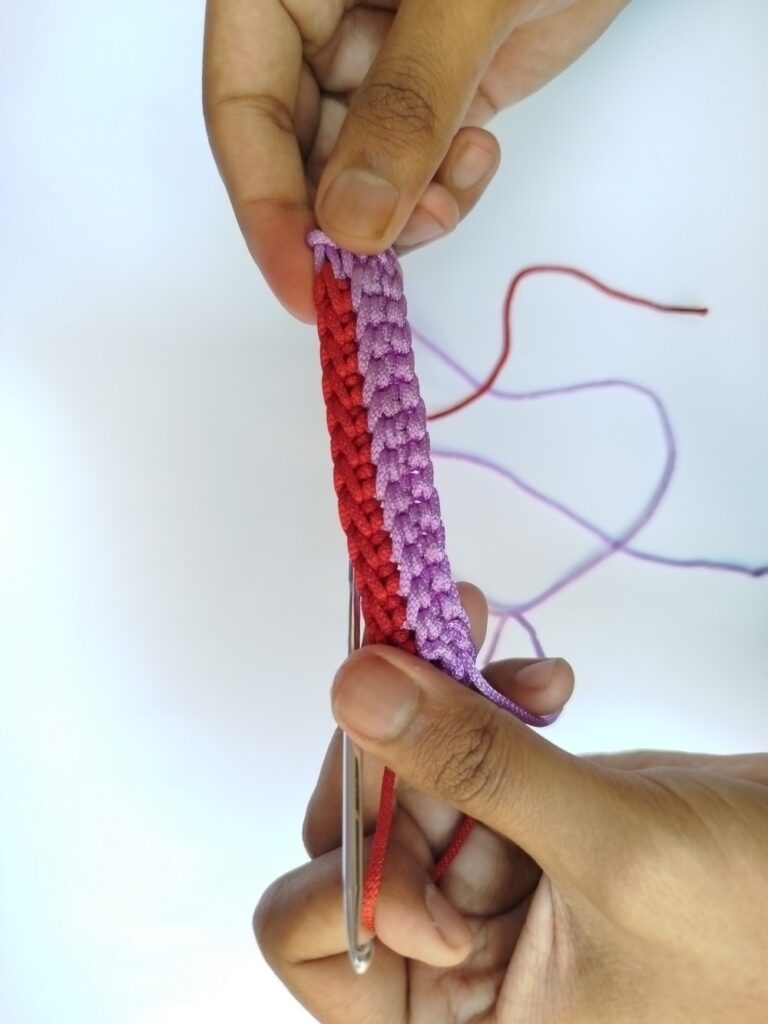
Repeat Pattern: Ribbing Pattern
Just continue repeating Row 2, ending with crocheting in always the last single crochet instead of the chain, which will let you have the straight edges along the length, too.
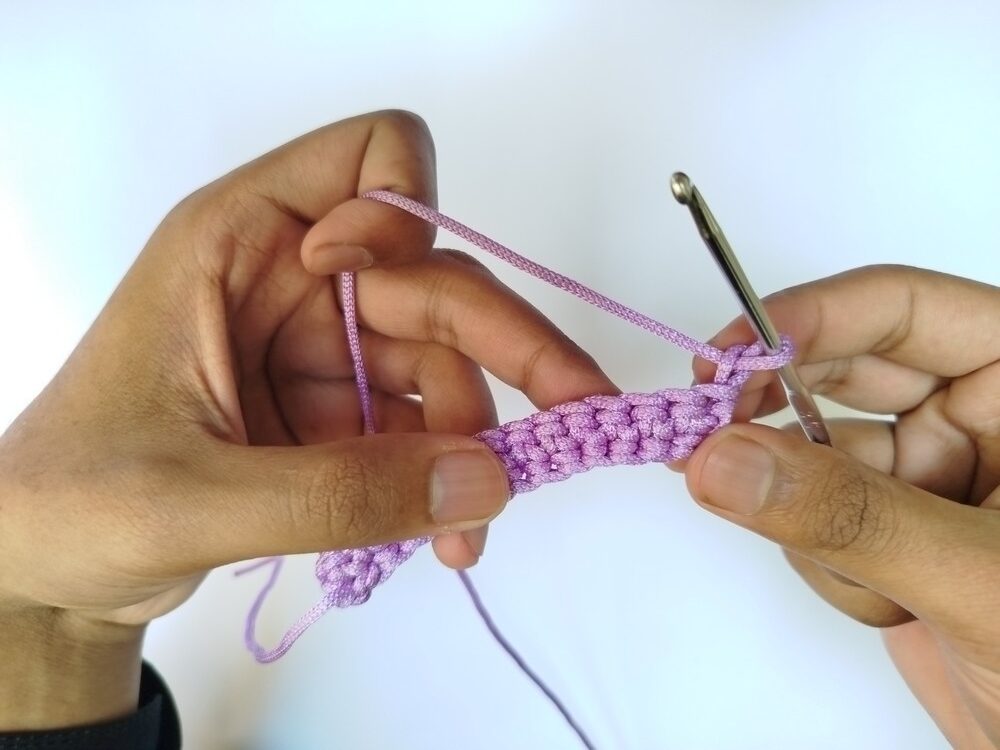
Color-Change
As I mentioned, the characteristic pattern of this mug cozy is the striped pattern. So, we have to change the color after every 3 or 4 rows (in the crochet ribbing, never change the color after every row as the stitches get overlapped to make the ribbing!).
For my practice cozy, I changed the color while making the first single crochet of the new row as it gave my turning chain stitches a uniform length and area and I didn’t have to cut and secure the yarn every time I change the color (there are lots of rows to work on!).
However, you can also change the color at the start of every row, which will let you give the turning chains a new color, too. You can choose the one you feel convenient with.
I will explain the first method for color-changes here, which is as follows:
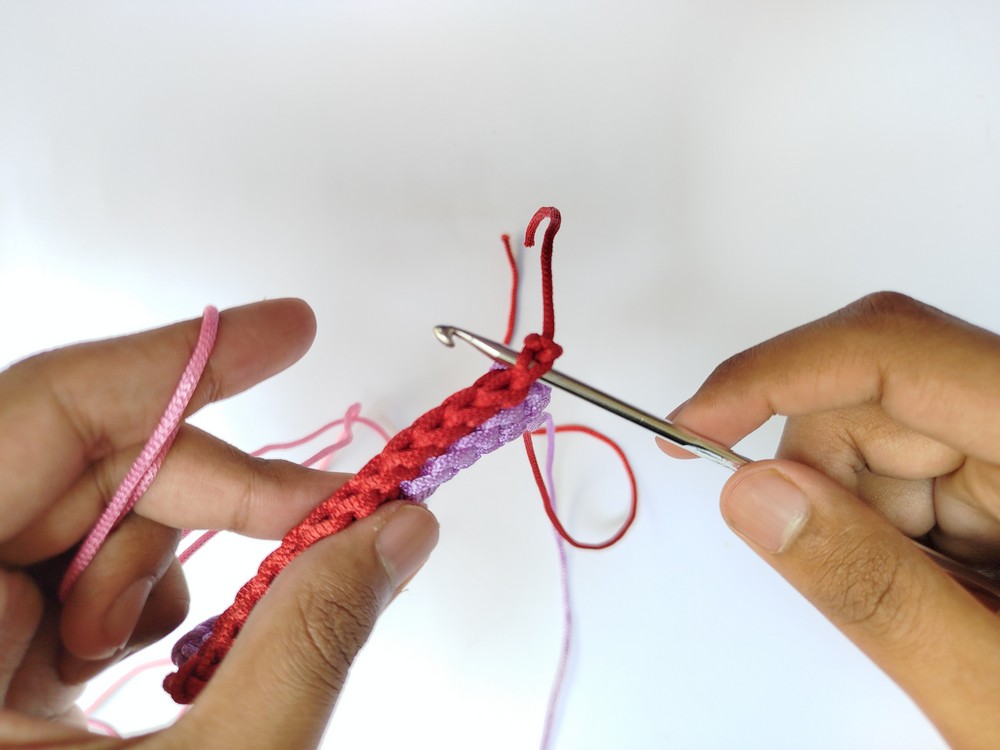
- After the 4th row, turn your work and make 1 chain as normal. Now, yarn over, insert the hook into the first stitch, yarn over again, and pull up a loop on the hook.
- Then, slide the dark purple yarn around your index finger and pinch tight with the thumb and the middle finger of your passive hand.
- Hold the loop of your purple strand with the hook while you make sure that the previous loops stay tight and pull through both the loops of unfinished single crochet.
- Pull the tail end of the new color tight to shorten the loop and insert hook into next stitch and make another single crochet in the BLO of the stitch. Continue working more single crochets to make the ribbing and work rows normally till you want to change the color again.
- For example, after 3 rows of purple, I switched to pink and then purple and then made a 4-color repeat pattern. I made about 38 rows of single crochet ribbing in total for this mug cozy and changed the colors 10 times.
My Color Pattern
- Row 0 – 3: Yellow Yarn
- Row 4 – 6: Dark Purple Yarn
- Row 7 – 9: Baby Pink
- Row 10 – 12: Light Purple
- Row 13 – 16: Yellow
- Row 17 – 20: Dark Purple
- Row 21 – 24: Pink
- Row 25 – 29: Light Purple
- Row 30 – 34: Yellow
- Row 35 – 39: Dark Purple
Note: Before you have to repeat the yellow and succeeding yarns in 13th row, you must cut the working end of that color and then reattach (you don’t need multiple skeins!).
How I Made the Handle
Note: We are gonna crochet the half I-cord handles, so as described above, pull extra yarn length from the ball for the tail end. I used about 50 cm for the handle.
As you finish the last row, lift the crochet hook tight to widen the loop and cut the working end of the yarn. You will want to leave about 4 inches as the tail to weave in the ends later on.
Also, pull the cut yarn through this loop and make a knot to secure the top edge. Now, reattach dark purple yarn at the top right corner in the following way:
- Slide the purple yarn over your index finger and pull it tight.
- Insert the hook through the corner stitch and pull the loop of dark purple yarn (pink in this case!) through both the loops on the hook.

- Chain 1 to secure this color.
Now, crochet the double chains (about 17 in my case!). You will want to continue making them until you have a semi-ellipse shape for the handle when you try to coincide its other end with the left corner.
- Insert the hook in the last stitch or the left corner and slip stitch to join the handle.
- Remove the hook and secure that end, too.
After this, crochet another handle on the other side using the same amount of crochet stitches and slip stitch using yellow yarn (it would be purple based on my swatch!).
You will want to secure the ends and weave the yarn tails, too, to finish it off. I had a nice idea to hide the tails that I got in the front by knotting a bow using two colors of yarn. I would hide the rest!
Quick Crochet Striped Mug Cozy Pattern (Candy Burst)
If you are already a nerd, you know all the techniques needed for crocheting this striped mug cozy.
Abbreviations
- A, B, C, D – different yarn colors
- ch – chain
- sc – single crochet
- dc – double chain (half I-cord stitch)
- sl st – slip stitch
- st / sts – stitch / stitches
- rep – repeat
- RS – right side
- BLO – back loop only
- YO – yarn over
- YU – yarn under
- CC – color change
- FDC – foundation double chain
Foundation Row (Half I-Cord)
With A, make slip knot leaving ~40 cm tail.
FDC: (YU with tail, YO with working yarn) to make DC.
Rep to make 10–13 DC.
Row 1 (RS) – A
Ch 1, turn.
Sc in BLO of 1st DC and each DC across.
Row 2 – A
Ch 1, turn.
Sc in BLO of 1st sc and each sc across.
Rows 3–4 – A
Rep Row 2.
Row 5 – B (CC)
Ch 1, turn.
With A: insert hook in 1st st, YO, pull up loop (2 loops on hook),
drop A, YO with B, pull through both loops (CC made).
Sc in BLO in same st and each st across with B.
Rows 6–7 – B
Ch 1, turn.
Sc in BLO across.
Row 8 – C (CC)
Ch 1, turn.
With B: insert hook in 1st st, YO, pull up loop,
drop B, YO with C, pull through both loops.
Sc in BLO across with C.
Rows 9–10 – C
Ch 1, turn.
Sc in BLO across.
Row 11 – D (CC)
Ch 1, turn.
With C: insert hook in 1st st, YO, pull up loop,
drop C, YO with D, pull through both loops.
Sc in BLO across with D.
Rows 12–13 – D
Ch 1, turn.
Sc in BLO across.
Continue Pattern
Rep same CC method every 3–4 rows, following stripe sequence:
A + B + C + D + A + B + C + D
(Fasten off yarn when rejoining same color later.)
Fasten Off
Cut yarn, pull through loop, tighten.
Handle (Make 2)
Join yarn at corner with sl st, ch 1.
Make ~17 DC (Half I-cord).
Sl st to opposite corner.
Fasten off.
Rep on other side.
Finishing
Weave in ends.
And that’s how you will want to crochet this elegant candy burst cozy for your mug and sugar pot! Be sure to send me the pictures of what you crocheted!
My message for all!
Did you like my macramé cord mug cozy and wanna try one this summer? You can tell me everything in the comment and ask the question. Also, follow me on the relevant social media!
Bye Bye! – Talha
See More:
Wanna Crochet Something Else?
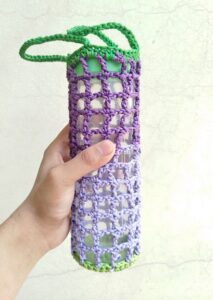
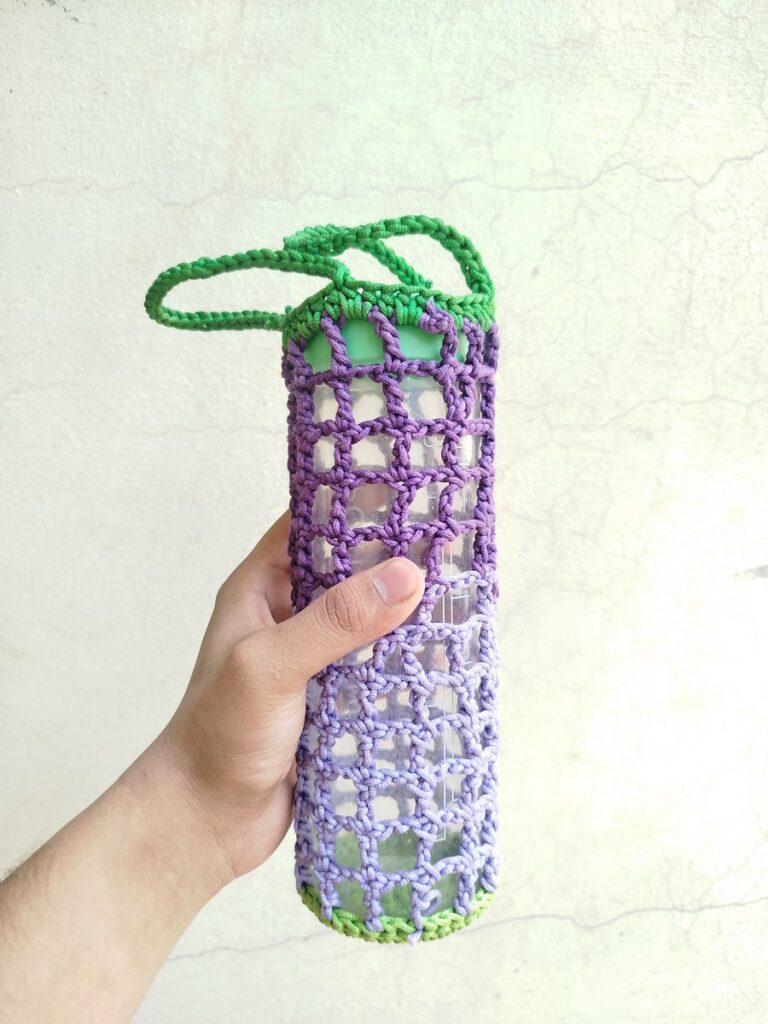
Crochet Colorwork Mesh Water Bottle Holder Pattern for Summer
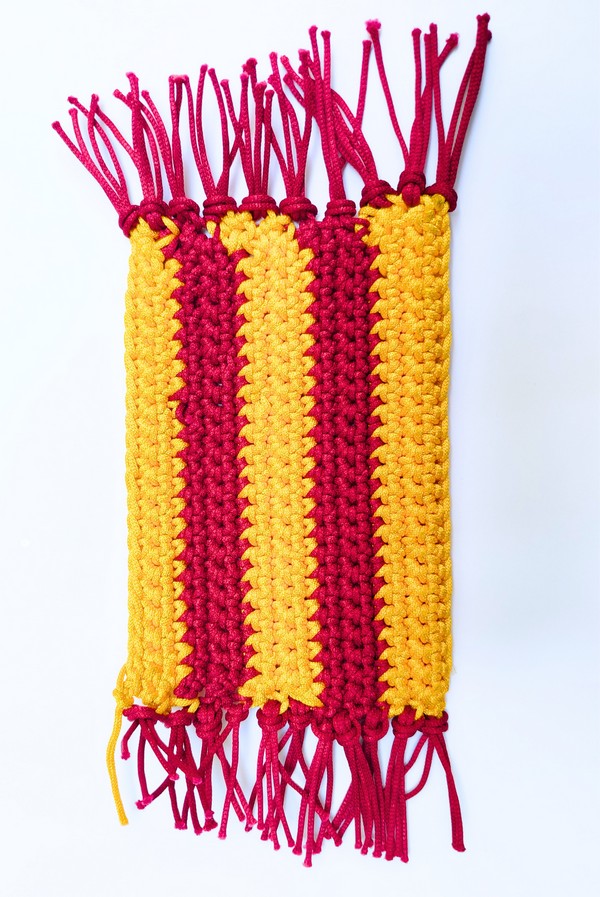
My Free Crochet Harry Potter Mug Rug Pattern
How to Crochet Classical Granny Square for Beginners
How to Crochet Heart Granny Square in 4 Rounds

Free Crochet Basic Heart Pattern for Beginners
Featuring: How to Crochet Plush Soft Soccer Ball for Fifa World Cup Tutorial