Author: Talha
I am a crochet designer, macramé maker and a crafter who also loves doing MATH.
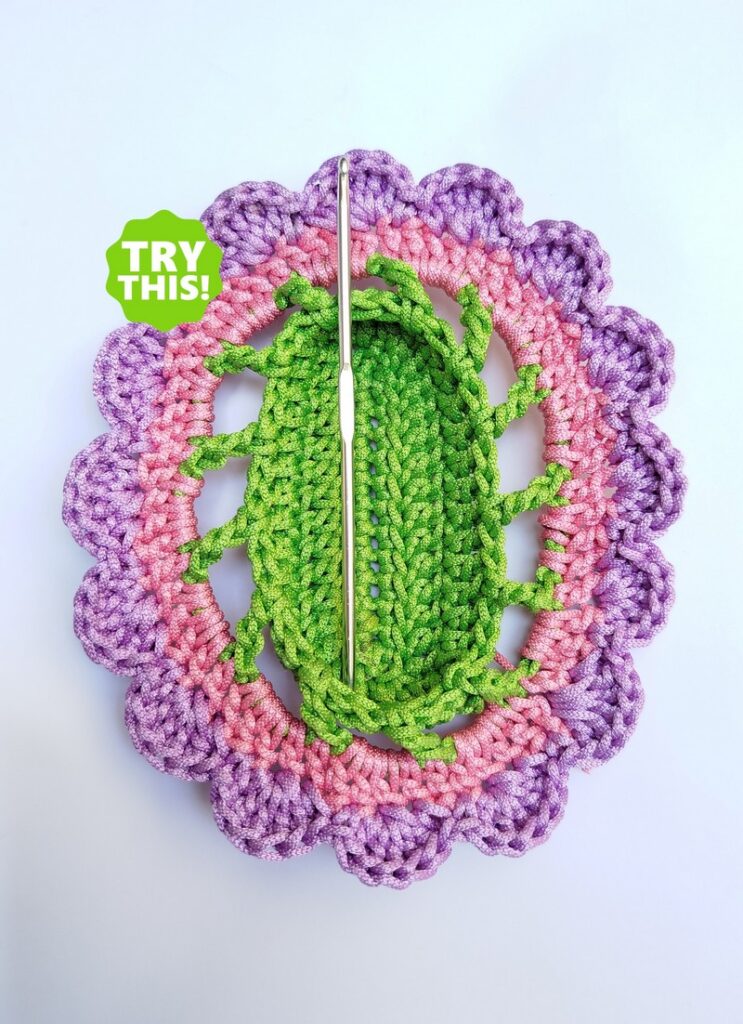
I designed this “crochet doily basket & trinket” again in my favorite, candy pop combo, to hold my USBs and 3.5mm crochet hook. It turned out to be a charm for my computer table as well and I fell in love for it. And finally, I am gonna provide you with a FREE PATTERN to crochet this elegant and UNIQUE tray holder. We will be making small oval basket that is covered by a classical doily with shell stitch edging.
For this, I had to use mesh stitch, so the work progresses down instead of above like amigurumi but it quickly became my favorite part of this project. Well, don’t miss the shell stitch, I customized it a bit so it can span over just three stitches (well, I did not know if I could make the last or left with a gap!).
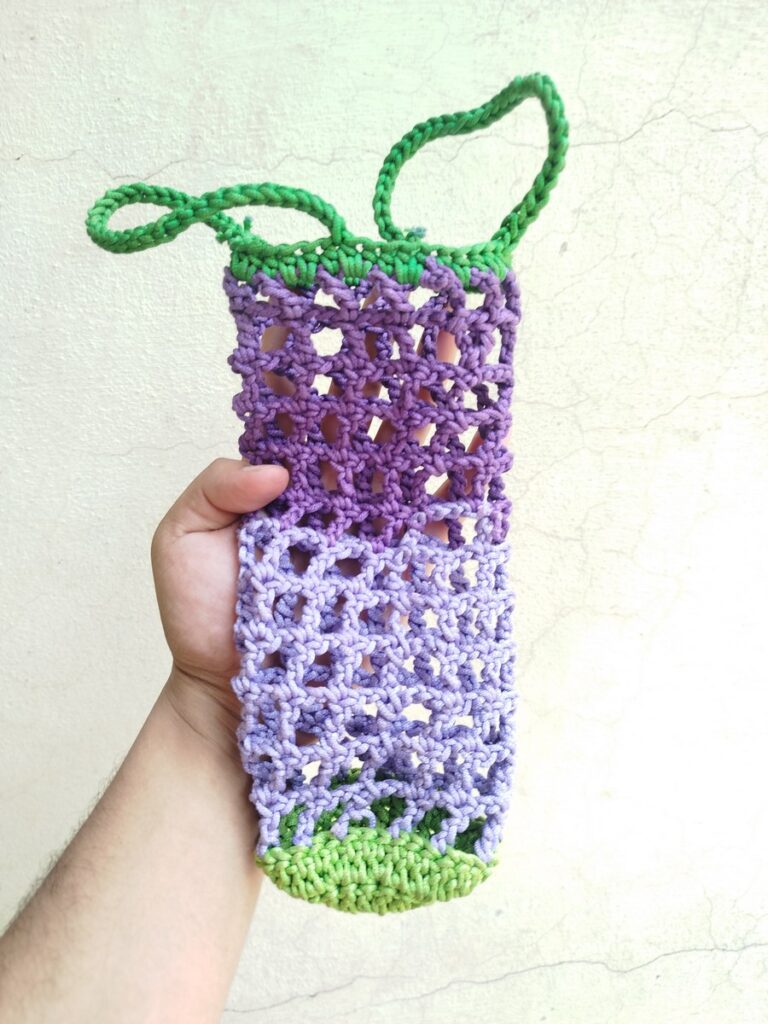
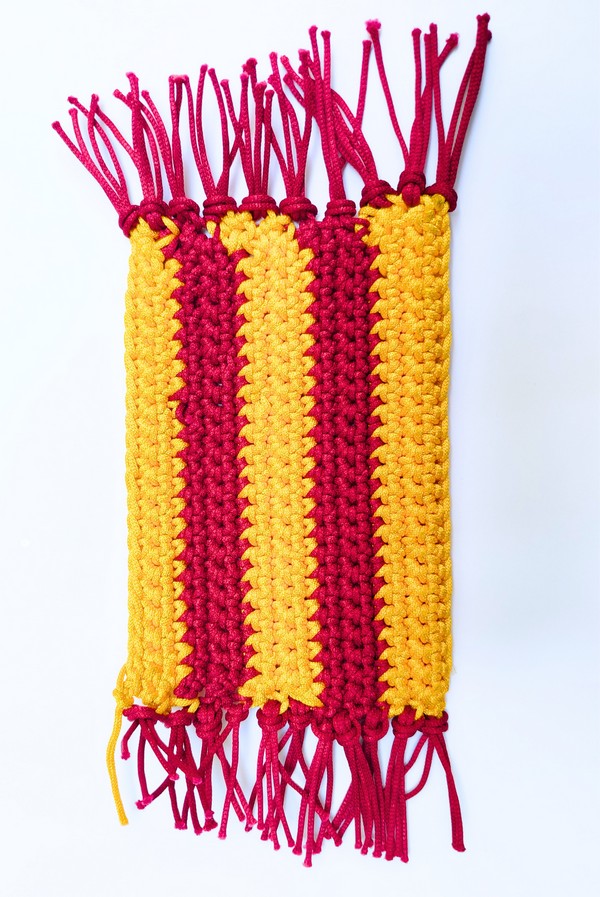
You can crochet it with any combo you can imagine using macramé cord (my luckiest yarn choice!). Or to find out how elegant is this color scheme looks, you can take a look at my candy pop & sun coaster. I also made a watermelon version, here, so you will find all my color scheme of this year, here. Now, let me show you how I made this doily trinket in under 30 minutes and you can, too, with a step-by-step pattern.
About My Doily Basket Pattern
This crochet doily basket is one of my very original crochet ideas and I cherish it much. And you can customize the tray to be even bigger by just working the oval base magic formula that I have taught you already. So, as it turns out, it is worked around an oval base instead of traditional crochet circle.
So, you can hold long things just like I put my crochet hook (it still did not cover, anyway!) in it. Such as beautiful basket is perfect to keep you stitch marker locked around those treble crochets of the mesh row.
By following this pattern, you will learn:
- how to work around the chain stitch
- how to make one of the most popular bag base
- crocheting the treble crochet mesh (start is critical!)
- how to work solid stitches over the mesh stitch
- And lastly, how to crochet a shell stitch that only spans three stitches.
How I made this Crochet Striped Doily Basket
- Step 1: I crocheted two rounds of a crochet basic oval base by working around 13 foundation chains. To make make the doily stay, I worked the 2nd round in BLO just like the sides. Note that, I have already shown you pattern for any number of rounds of a crochet oval.
- Step 2: Now, to make the side, I worked 1 round of double crochet in BLO of each stitch across.
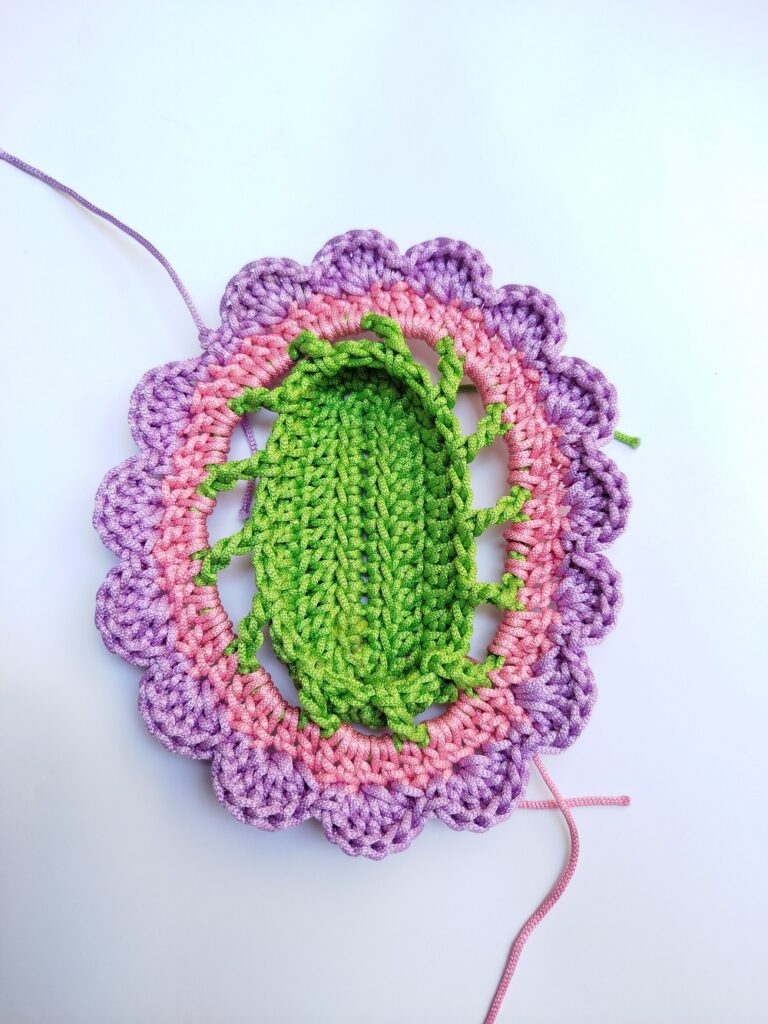
- Step 3: Then, in the 4th round, I made a row of treble crochet square mesh stitch all across. This is interesting stitch as this will let me wrap the sides with the doily.
- Step 4: Now for the doily round, I switched to pink and worked 1 double crochet in each of the treble crochet and 4 double crochets in the chain-spaces.
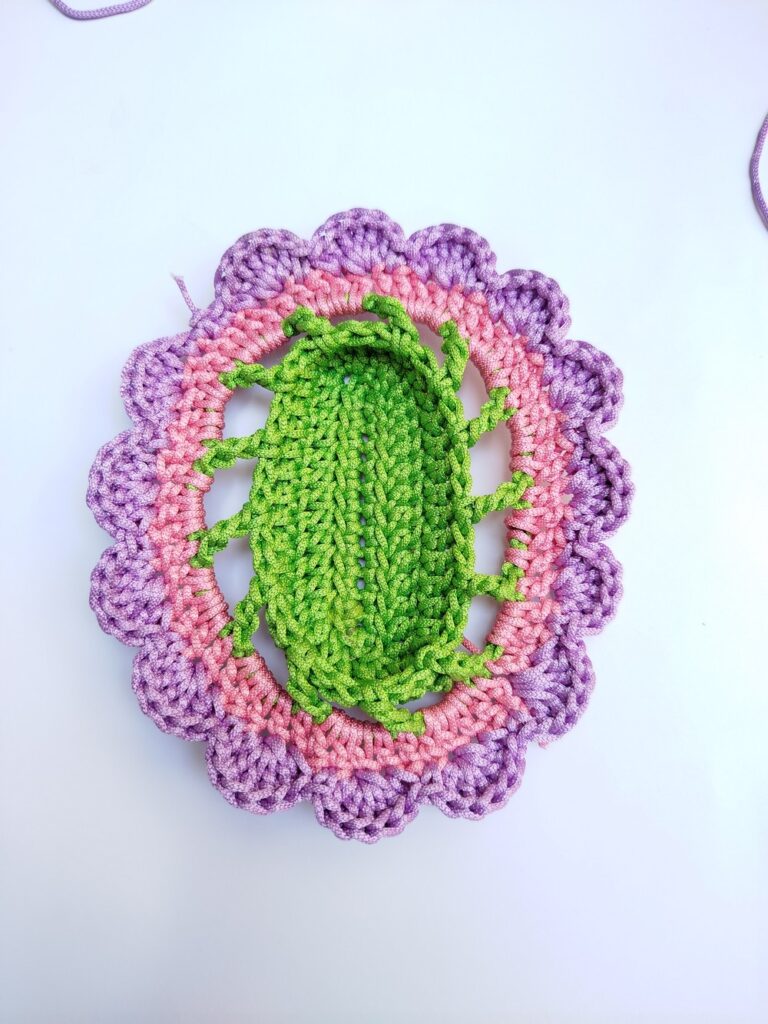
- Step 5: I switched the color again; this time to purple and made (1sc, 1 skip, 5dc, 1sc) shell stitch edging all around the pink round of the doily.
- And That’s how I made this decorative basket that you can use as a trinket, jewelry holder, USB holder or keyholder!
Crochet Striped Doily Jewelry Tray Pattern
Skill Level: Beginner – Level 3
Stuff I Used for Crocheting this Trinket
While I don’t like imposing my material choices, following recommendations will let you crochet the same elegant doily basket:
- Yarn: 1.5mm macramé cord in the following colors:
- Color A: Parrot Cord
- Color B: Pink Cord
- Color C: Purple Cord
- Hook: 3.5mm crochet hook
- Scissor for cutting the yarn ( for the seamless color-changes, I recommend cutting the main yarn)
- Yarn needle (I don’t use one but to hide the yarn tails, be sure to have one!)
Detailed Pattern
Round 1 (Oval Base):
I will be making a single crochet oval base. So, begin by making a slip knot and chain 13 or the number you like for the length of your middle trinket to be.
In the 2nd chain from the hook, work two single crochet stitches (single crochet increase). For this side, I worked only in the top loop of the chain. Next:
- Work 1 single crochet in each of the next 10 chains. In the last chain stitch, work 2 single crochet stitches.
- Turn your work upside down.
- Work another single crochet increase in the same chain and the through the same loops. Next, work 1 single crochet in each of the next 10 chains. Work 2 single crochet stitches in the last chain and slip stitch to close the round.
Round 2 (Oval Base):
For a general formula to work your oval base with rounds more than 2, you can learn through with my step-by-step guide for absolute beginners. For now, work the following pattern preferably in the BLO:
- Chain 1. Work 2 single crochet stitches each in the first two stitches.
- Work 10 single crochet stitches across.
- Work 2 single crochet stitches in each of the next 4 stitches.
- Work 10 single crochet across. Work 2 single crochet stitches each in the last two stitches.
Round 3 (Solid Row):
Chain 3. Work 1 double crochet stitch in the BLO in the each stitch across. Slip stitch to join.
Round 4 (Mesh Row):
Chain 8 (Counts as 5 turning chains and 3 chain spaces!). Skip the next 2 stitches, work 1 treble crochet in the next stitch. Repeat this pattern till the last stitch:
- Chain 3.
- Skip 2 stitches.
- 1 treble crochet in the next stitch.
After the last treble crochet, chain 3 and slip stitch at the 5th of the turning chain. Or you can insert the hook into the chain-3 space and then slip stitch. Widen the loop on the hook, remove it, cut the working yarn end leaving about 4 inches for weaving in the ends and insert this tail through the loop and make a knot.
Round 5 (Solid Row):
Insert the hook through the both the loops of one of the treble crochet stitch or through the slip stitch. Pull the pink yarn and chain 1 to secure this color. Now, work the following pattern:
- Chain 3. Does not count as a stitch, so don’t slip stitch later within it.
- Work 4 double crochet stitches in the chain-3 space.
- Work 1 double crochet in the next stitch that will be the treble crochet stitch.
- Repeat: 4 double crochet in the chain space, 1 double crochet in the treble stitch.
When you reach the end, just slip stitch the first double crochet.
Again, you will want to remove the crochet hook, cut the working yarn end leaving about 4 inches for weaving in the end. Then insert this tail through the loop and make a knot to secure the previous work.
Round 6 (Shell Stitch Edging):
Attach the green color to any of the double crochet stitch. Chain 1. Skip the next stitch. Work 1 single crochet in the next stitch. Work 5 double crochet stitches in the next stitch. Make 1 single crochet in the next stitch to complete the shell. Now, repeat the following pattern and slip stitch in the end:
- Skip the next stitch.
- 1 single crochet in the next stitch.
- 5 double crochet stitches in the next stitch.
- 1 single crochet in the next stitch.
Cut the yarn, knot through the loop and weave in all the yarn tails below the tray.
Quick Doily Basket Pattern
If you are comfortable with reading a crochet pattern with abbreviations make this doily basket with the following convenient pattern:
Abbreviations
- ch – chain
- sl st – slip stitch
- sc – single crochet
- dc – double crochet
- tr – treble crochet
- st(s) – stitch(es)
- sp – space
- sk – skip
- inc – increase (2 sts in same st)
- BLO – back loop only
Pattern
Rnd 1 (Oval Base):
- Ch 13.
- 2 sc in 2nd ch from hook, sc in next 10 ch, 2 sc in last ch, turn to work on other side,
- 2 sc in same last ch, sc in next 10 ch, 2 sc in last ch, sl st to join.
Rnd 2 (Oval Base – BLO):
- Ch 1,
- 2 sc in each of next 2 sts,
- sc in next 10 sts,
- 2 sc in each of next 4 sts,
- sc in next 10 sts,
- 2 sc in each of last 2 sts,
- sl st to join.
Rnd 3 (Solid – BLO):
- Ch 3,
- dc in BLO in each st around,
- sl st to join.
Rnd 4 (Mesh):
- Ch 8 (counts as tr + ch-3),
- sk 2 sts, tr in next st, ch 3 repeat from * around,
- sl st in 5th ch of beg ch, fasten off.
Rnd 5 (Solid):
- Join new color in any tr or sl st, ch 1,
- ch 3 (does not count as st),
- 4 dc in ch-3 sp, 1 dc in next tr repeat from * around,
- sl st to first dc, fasten off.
Rnd 6 (Shell Edging):
- Join new color in any st, ch 1,
- sk 1 st, sc in next st, 5 dc in next st, sc in next st repeat from * around,
- sl st to join, fasten off.
And that’s
My message for all!
Did you like my macramé cord trinket doily and wanna try one this summer? You can tell me everything in the comment and ask the question. Also, follow me on the relevant social media!
Bye Bye! – Talha