In this tutorial, I will show you how to crochet the basic shell stitch in any number of rounds. Whether you are searching for an elegant border to finish a crochet blanket or a textured but lightweight stitch for your crochet top, the ease and beauty of the shell stitch make it a must-have.
In fact, with all of its variations, I found the shell stitch to be one of the most repeated stitches in crochet top patterns. The one we shall learn today is a solid two-row repeat shell stitch crocheted using double crochet and single crochet.
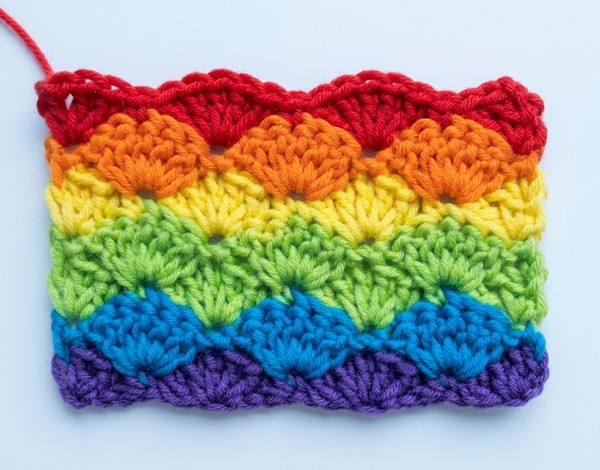
This variation is ideal for working with two colors of yarn, but it definitely looks beautiful in one. I will also briefly explain to you how to crochet the lacy, V, and Catherine wheel shell stitch here. So, you are good to go with me in this 10-minute read!
How is Shell Stitch crocheted?
Note: The standard shell stitch is not reversible, but it can be made reversible with a 4-row repeat pattern that uses two colors.
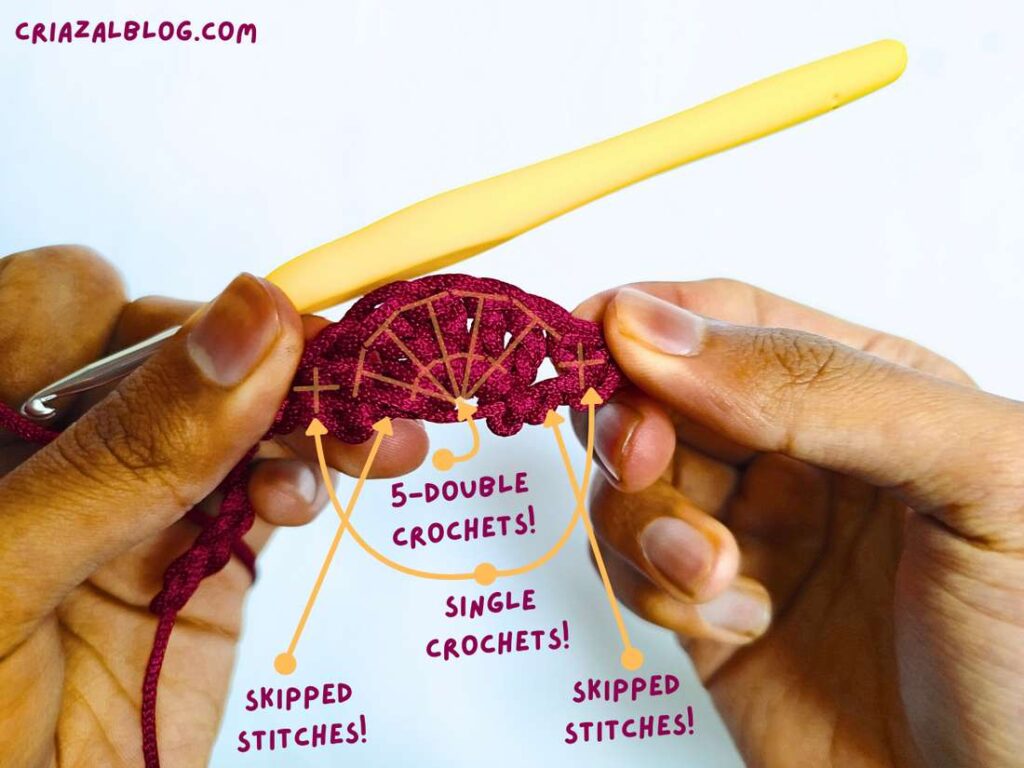
Shell stitch can be worked in foundation chains. However, with my experience, I recommend that if you are a beginner or do not have control over your tension, I recommend using single crochet as a foundation instead of chains. This will help you make a neater bottom edge. A solid shell stitch edging pattern is worked as follows (the swatch pattern is taught in detail in the next section):
- Make a single crochet.
- Skip the next two stitches.
- Work five double crochet in the next stitch.
- Skip the next two stitches.
- Single crochet in the next stitch.
Crochet Shell Stitch: Step-by-Step Pattern
Difficulty: Beginner – Level 3
Stitch Multiple: 6x + 2 (8, 14, 20, … so on)
Stitches Needed: Single crochet, double crochet, and chain stitch.
Supplies:
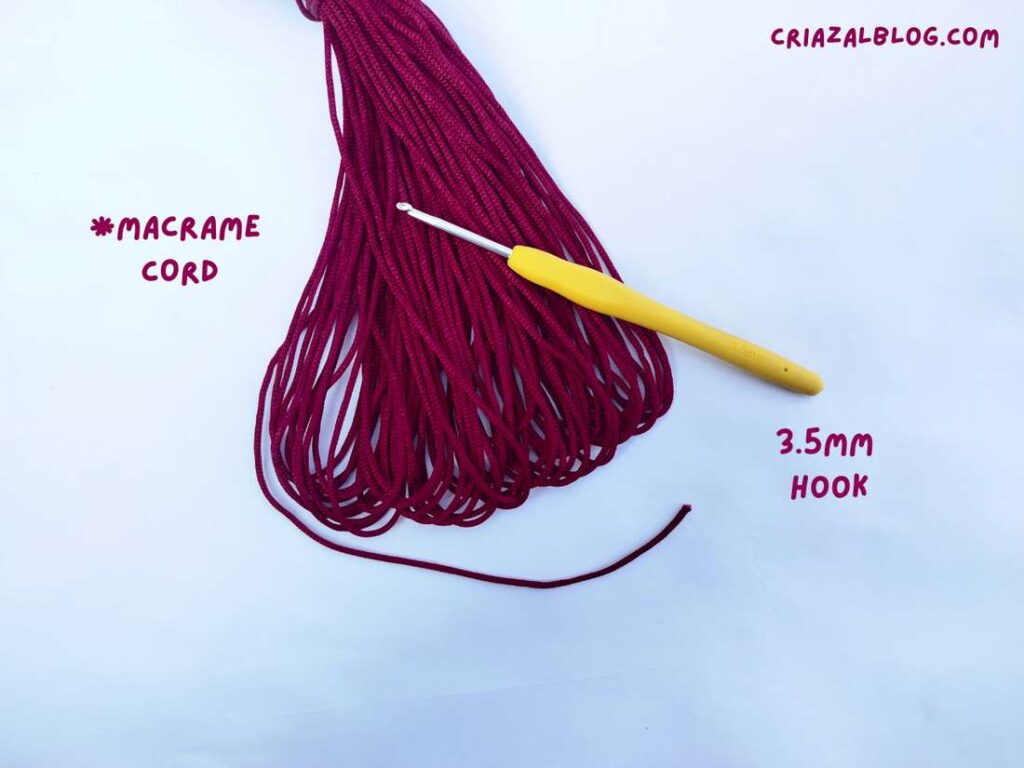
- 3.5mm crochet hook or the one on your yarn label
- 2mm – 2.5mm thick yarn works fine.
Abbreviations (US Terms)
- ch: Chain
- sc: Single Crochet
- dc: Double Crochet
- hdc: Half Double Crochet
- st(s): Stitch(es)
- Shell: 5 Double Crochets in the same stitch
Foundation Row
- Chain a multiple of 6 + 2 extra chains. If you want a small swatch, chain 20 (18 + 2). It will, however, only crochet six shell stitches.
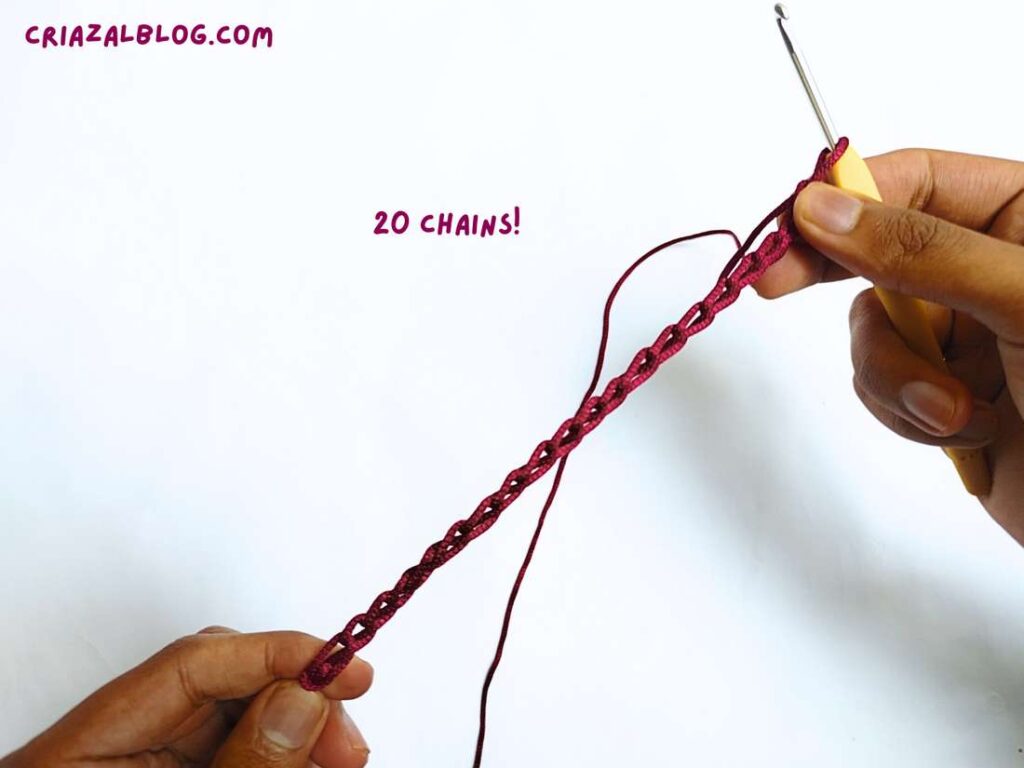
Row 1: The Base Row
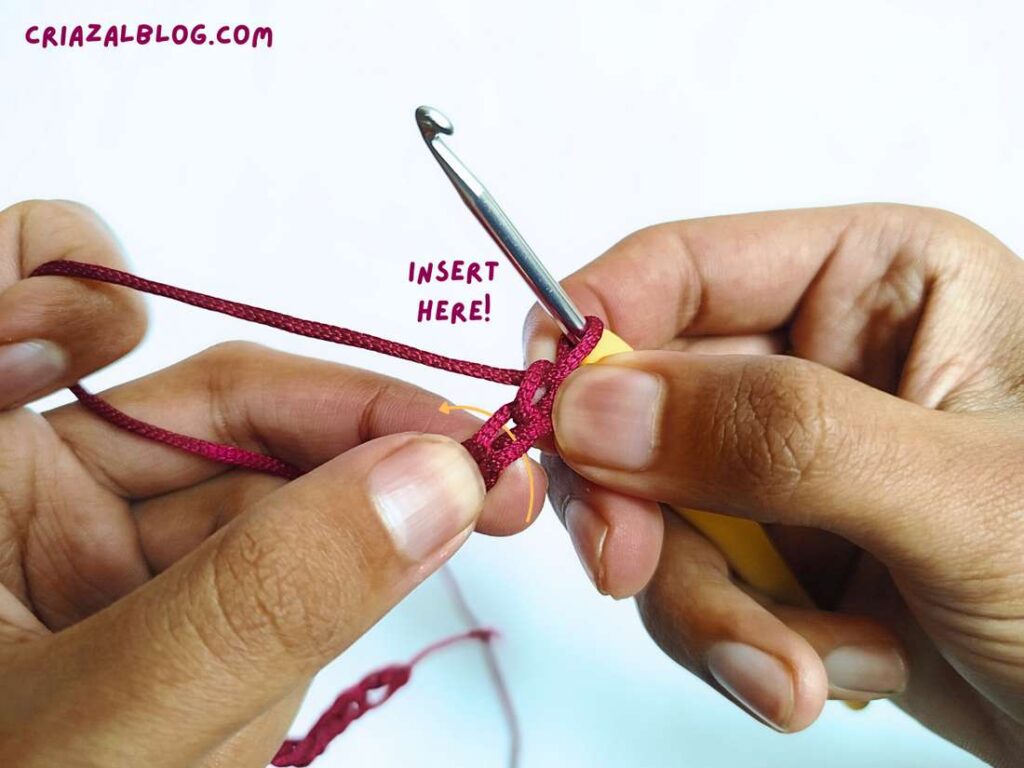
- Skip the first chain and work one single crochet in the next.
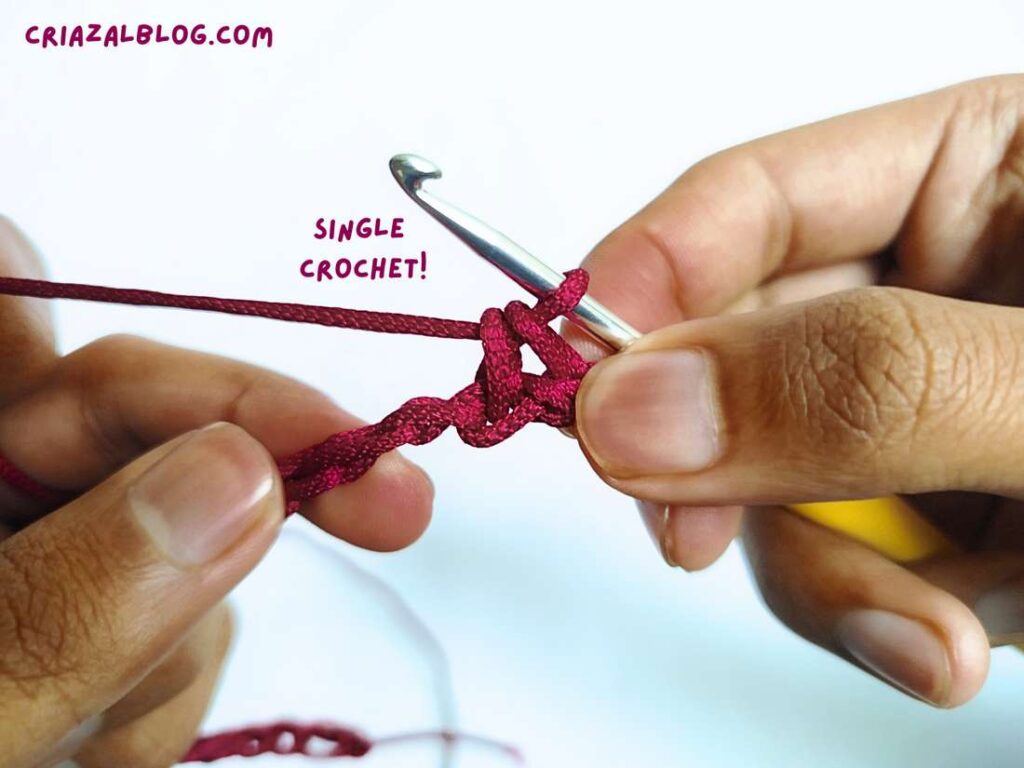
Note: Be sure to work the stitch through both the top and bottom loops of the chain stitch for a neater bottom of the shell stitch.
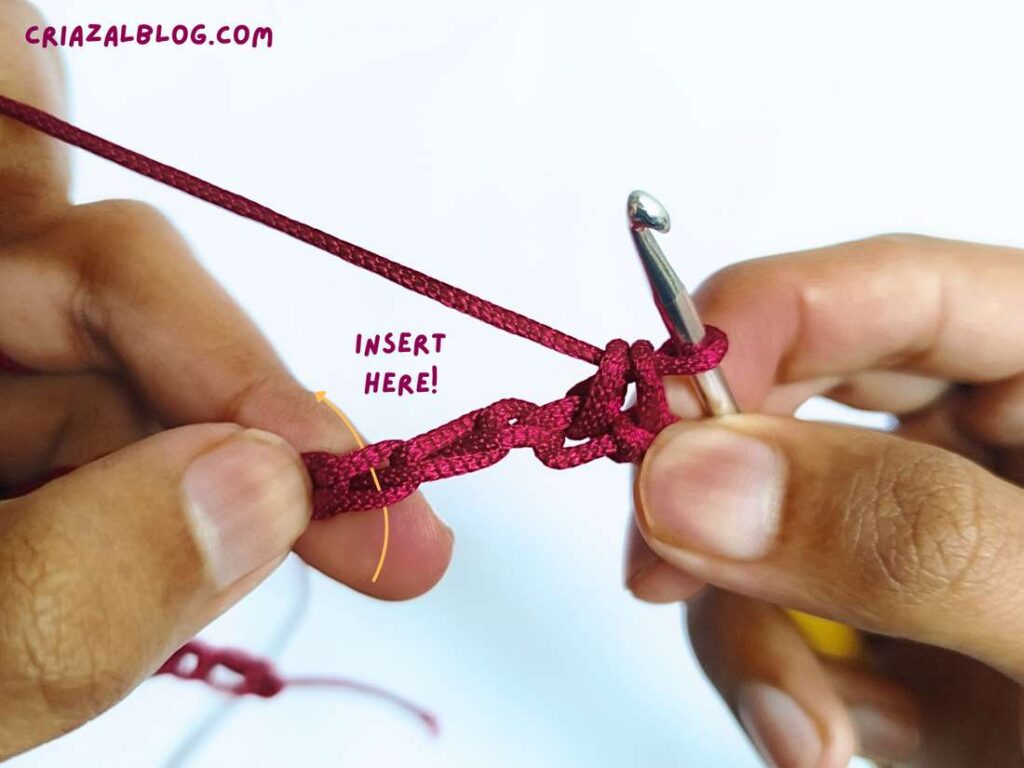
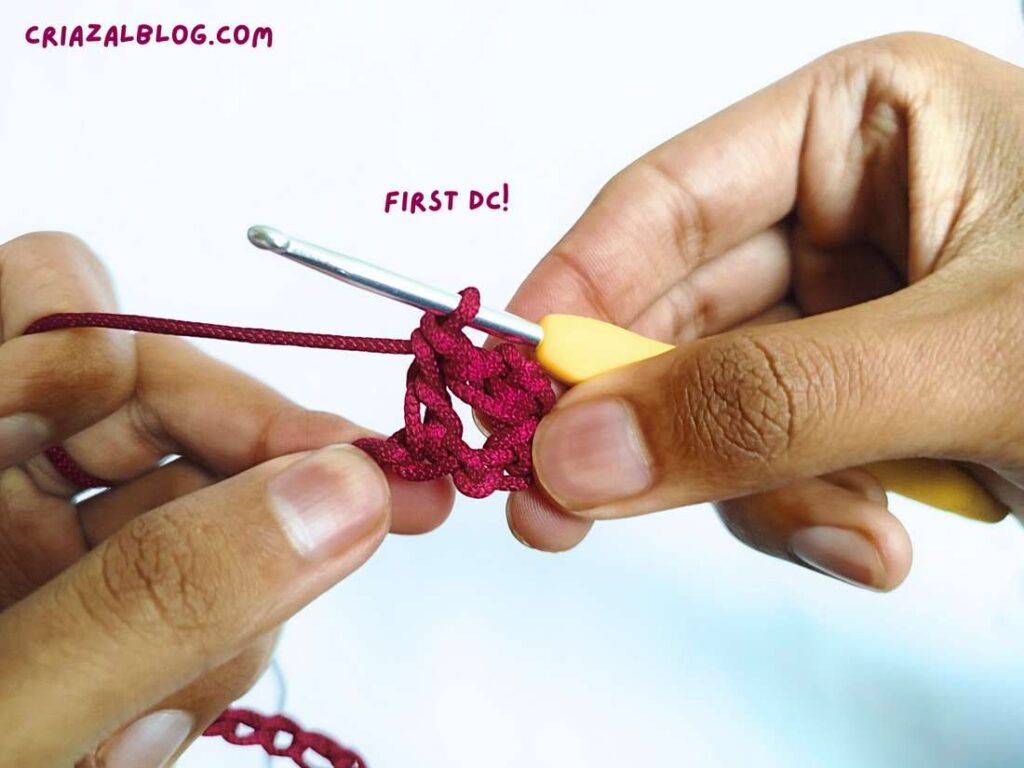
- Skip 2 chains, then work 1 dc in the next stitch.
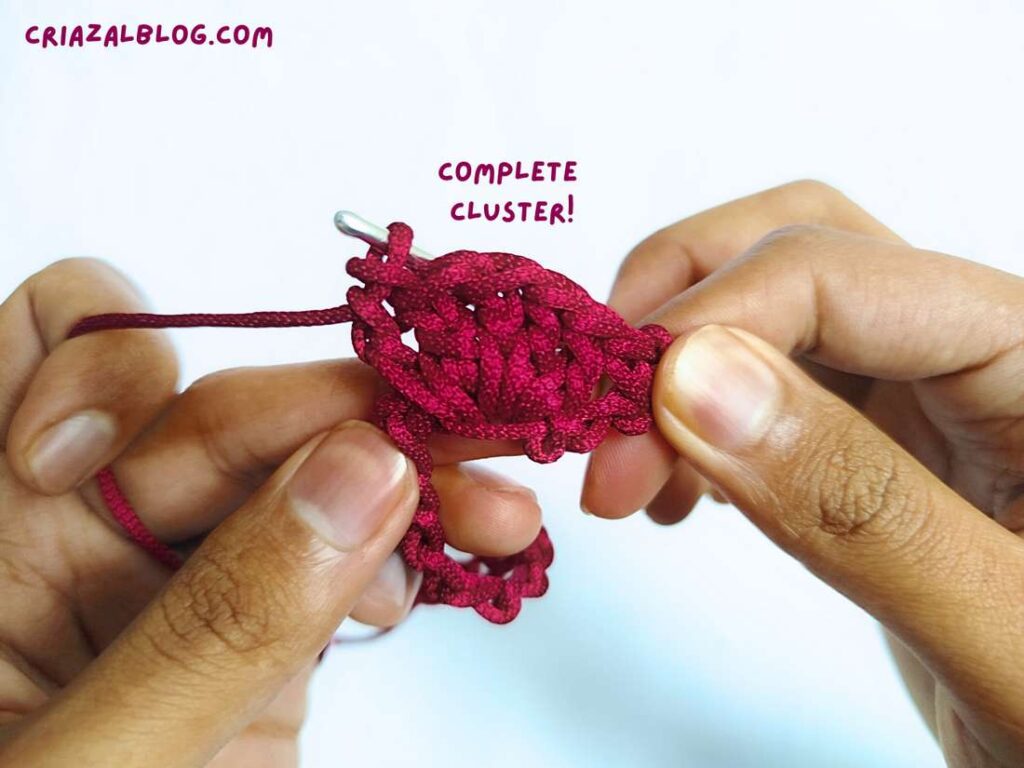
- Work 4 more dc in the same stitch to make a total of 5 dc. This is called the Shell Cluster.
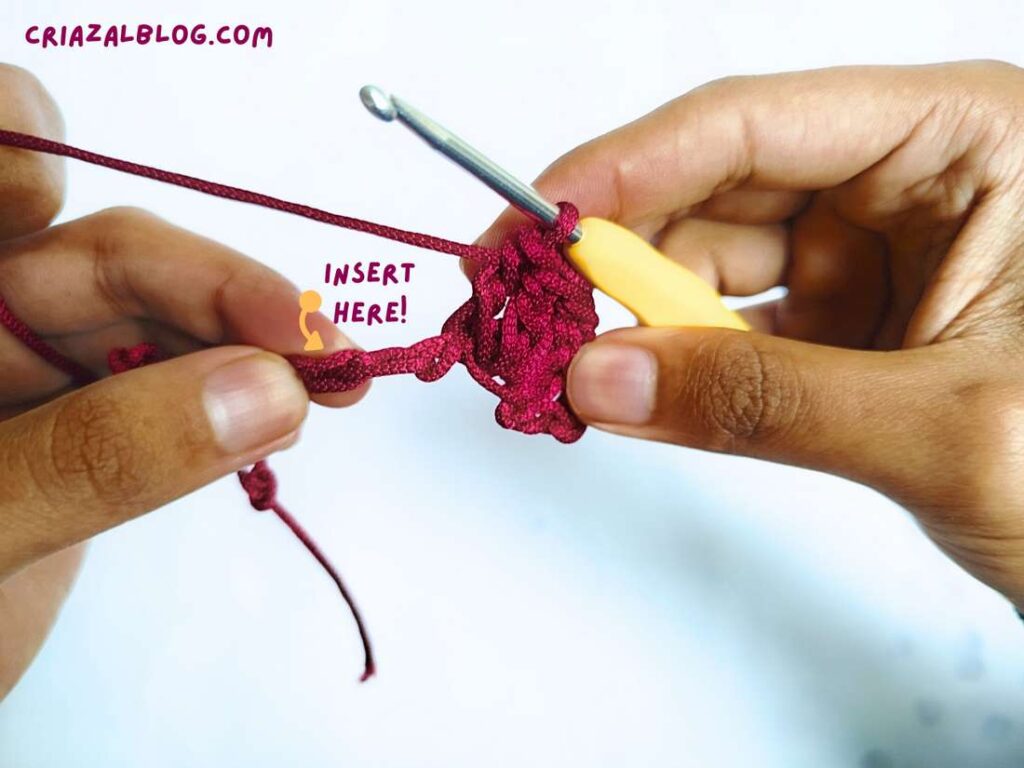
- Skip 2 chains.
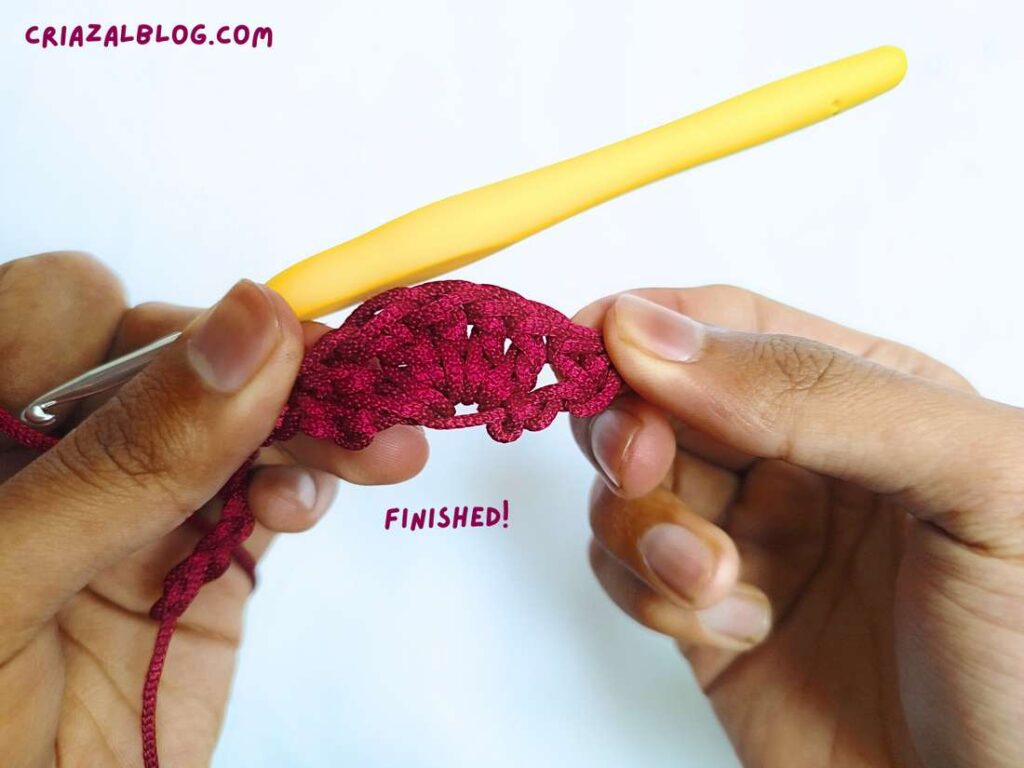
- Work 1 sc in the next chain. This will complete our first shell stitch.
Repeat across: Skip 2 chains, 5 dc (shell) in next, skip 2 chains, 1 sc in next. End the row with a single crochet in the very last chain. This is how you will crochet the first row.
Row 2: Working Above the Shell Stitch
- Turn, then ch 3 (this counts as your first dc).
- Work 2 dc in the same stitch (it will give you a “half shell” of 3 total dc).
- Skip 2 stitches, then work 1 sc in the next stitch (this should be the center dc of the shell below).
- Repeat across: Skip 2 stitches, 5 dc (shell) in the next stitch (which should be the sc from the row below), skip 2 stitches, 1 sc in the next stitch.
- To Finish: When 3 stitches remain, skip 2 and place 3 dc in the last stitch.
Row 3: Reseting the Pattern
- Turn, then ch 1 (does not count as a stitch).
- Work 1 sc in the first stitch.
- Repeat across: Skip 2 stitches, 5 dc (shell) in the next stitch, skip 2 stitches, 1 sc in the next stitch.
- To Finish: Work your last sc into the top of the turning chain-3 from the previous row.
The Repeat
Repeat Row 2 and Row 3.
Optional: Straight Edge Row
If you are crocheting a blanket or pillow and want a straight top edge instead of scallops, follow this work this pattern for the last row:
- Turn, then ch 3 (counts as dc).
- dc in the next stitch, hdc in the next, and sc in the top of the shell.
- Repeat across: hdc in next, dc in next 3 stitches, hdc in next, sc in next.
- To Finish: When 3 stitches remain, finish with 1 hdc and 1 dc in each of the last two stitches.
That’s all for this tutorial!
Was this tutorial helpful? Tell me in the comments
Your feedback is a great way for us to improve my crochet tutorials. So, share your thoughts on whether you tried this one or not, and highlight the weak points.
See More:
Tester Call: How to Crochet Spooky Shell Black-&-Orange Turtle Plushie for Halloween
How to Crochet Evil Eye Coasters with Shell Edging for Halloween
Featuring: How to Crochet UNIQUE Ribbed Fall Pumpkin with NEW Texture Stitch
How to Crochet UNIQUE Granny Stitch Strawberry AirPod Case for Spring
Let’s Make Single Crochet Cross Stitch
How to Do Stackable SC for Stitch in Crochet (Tutorial for Beginners)
How to Crochet Classic V-Stitch (IDEAL STITCH for Beginners)
How to Crochet Back-and-Forth Granny Stitch for Beginners
How to Crochet Solid Moss Stitch with Pictures