Show support for Ochy!
In this first part of the 2 tutorials to crochet a googly-eyed larva amigurumi, you will learn how to crochet this cute striped yellow larva fidget toy softie. This anti-stress keychain is an easy, beginner crochet project that you can complete within 10 minutes. You can also find similar projects in our “capsule crochet projects” that also include the caterpillar and a chill pill amigurumi. The one that you learn after this crochet quick present project (perfect for Chinese New Year and couples) is even easier and beginner-friendly.
This variation has a wide crochet face that looks so funny and quirky. You can crochet these pill amigurumi anytime for friends and also for kids as their pocket buddies. This year, you all showed a lot of love for the rainbow caterpillar, and that encouraged me to share this free chill larva pattern.
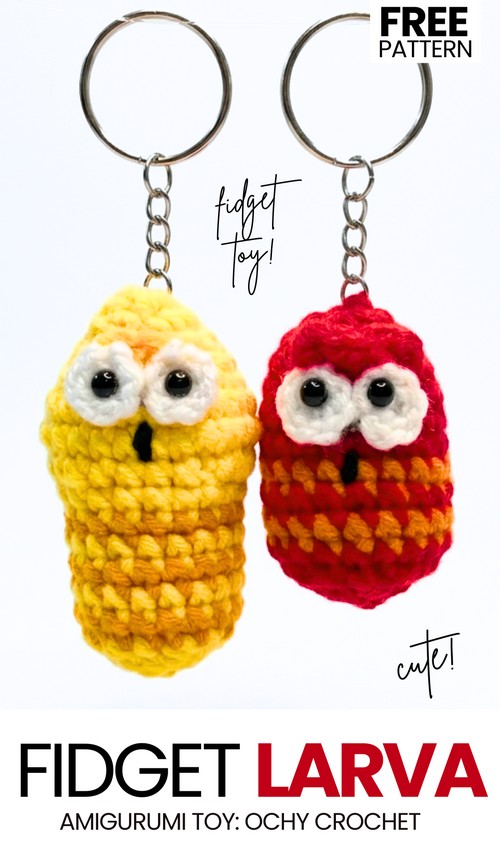
You can also crochet this googly-eyed keychain as a bag charm and a small pocket pet. If you are looking for a funny crochet Thanksgiving gift, this crochet capsule larva is my recommendation. Be sure to crochet a set of these two of these amigurumi once I share both patterns.
[ez-toc]
Pattern to Crochet the Mini Larva Amigurumi
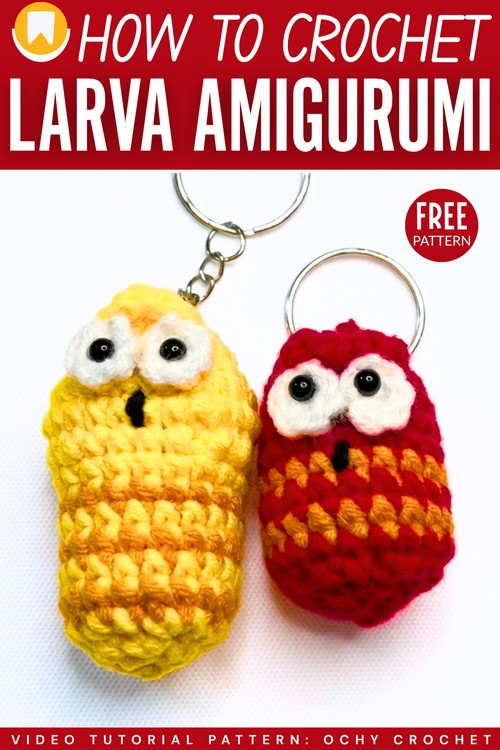
This project is a crochet larva amigurumi keychain. It uses yellow and orange milk cotton yarn to make a small, striped body. You will crochet a larva with white eyes and a small mouth. It is a cute amigurumi project for beginners that results in a colorful keychain.
Materials List
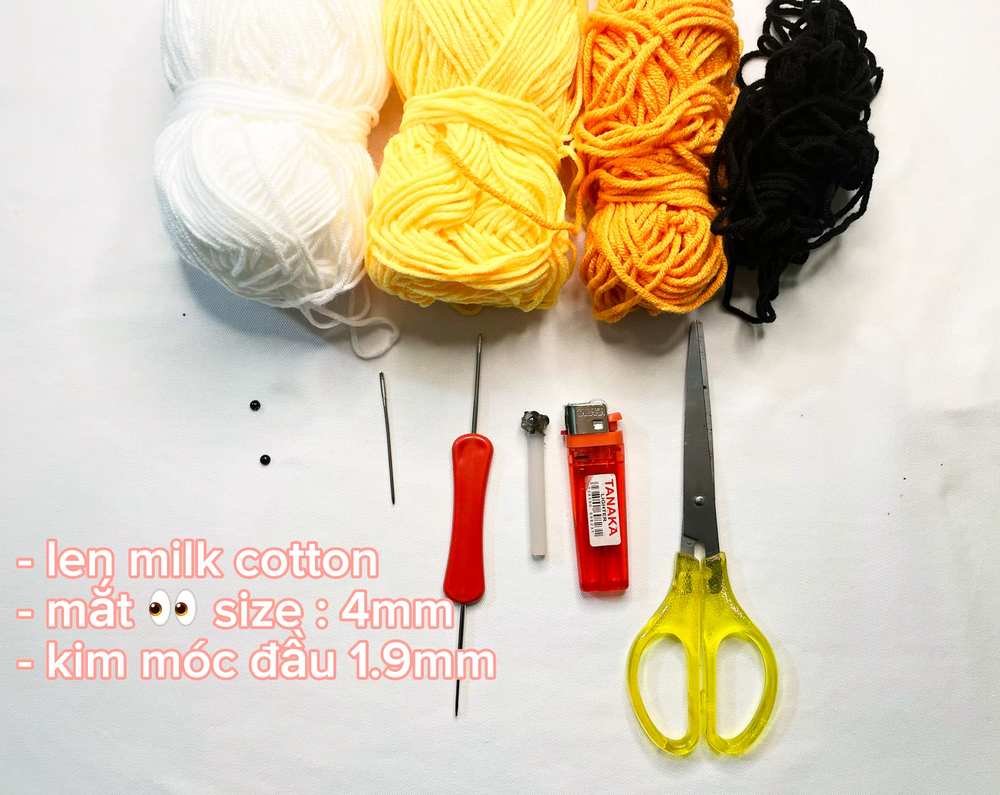
Yarn: Milk cotton yarn (Yellow, Orange, White, and a small amount of Black for the mouth).
Crochet Hook: 1.9mm.
Eyes: 4mm safety eyes or beads.
Stuffing: Polyester fiberfill.
Tools: Sewing needle, scissors, lighter (to tidy yarn ends), and a keychain ring.
Abbreviations
MR: Magic Ring
X: Single Crochet
V: Increase (2 single crochets in one stitch)
A: Decrease (Single crochet 2 stitches together)
CH: Chain
F: Double Crochet
( ) x…: Repeat the instructions within the parentheses the indicated number of times.
Are you a Beginner? Learn Crocheting Easily!
You can learn to crochet better with this crochet the larva tutorial as a beginner:
Crochet Pattern
Body (Main Part)
Use Yellow yarn to start.
Round 1: 6X into MR (6)
Round 2: 6V (12)
Round 3: 12X (12)
Round 4: (X, V) x 6 (18)
Round 5: 18X (18)
Round 6: X, V, 2X, 3V, 4X, 3V, 2X, V, X (26)
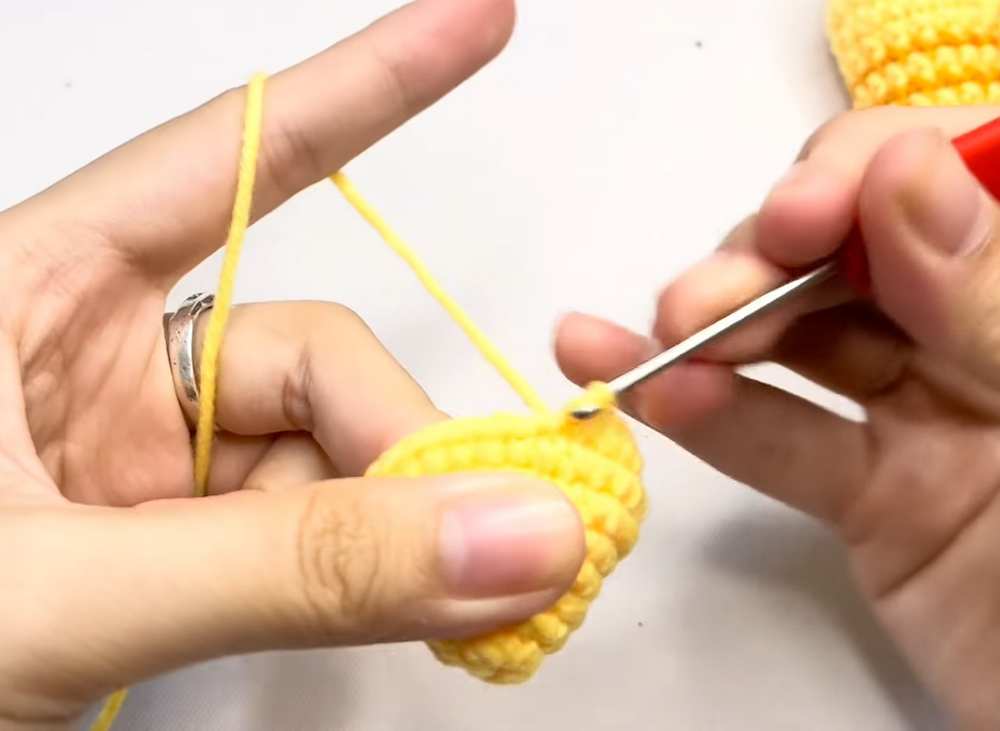
Round 7: 26X (26)
Round 8: X, A, 2X, 3A, 4X, 3A, 2X, A, X (18)
Round 9: 18X (18) — On the last stitch, change to Orange yarn.
Round 10: 18X (18) — Orange
Round 11: 18X (18) — Change to Yellow
Round 12: 18X (18) — Change to Orange
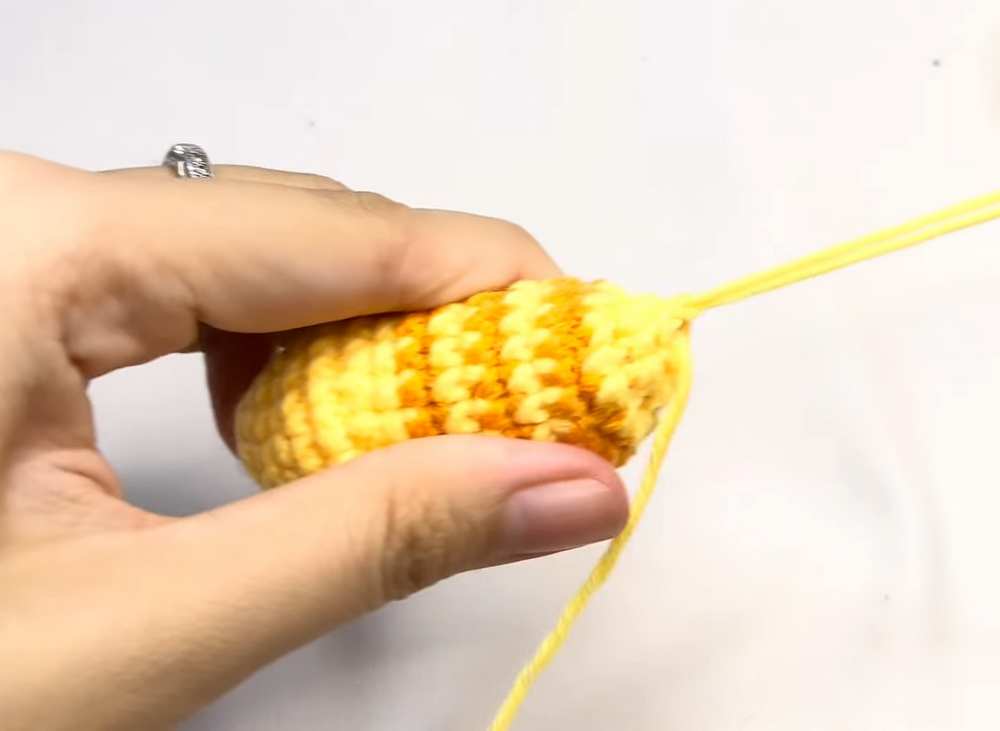
Round 13: 18X (18) — Change to Yellow
Round 14: 18X (18) — Change to Orange
Round 15: (X, A) x 6 (12) — Change to Yellow. Stuff the body firmly with fiberfill here.
Round 16: 6A (6)
Fasten off, leave a tail to sew the hole closed, and create a small loop at the top for the keychain ring.
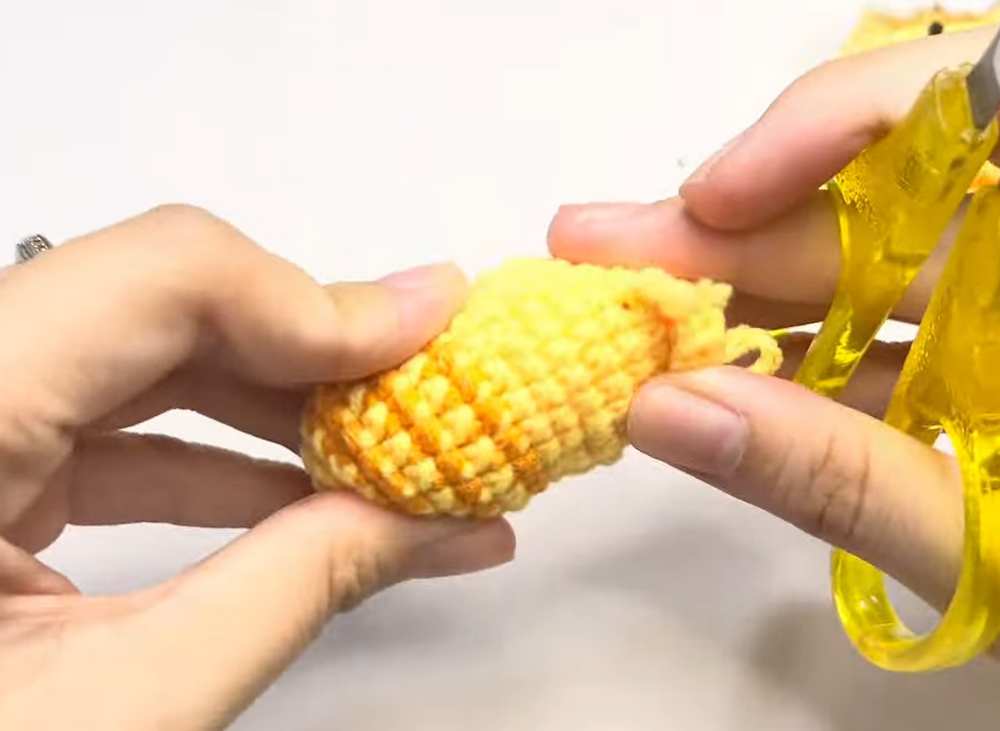
Eyelid Detail
Attach Yellow yarn to the surface of the head at Round 4 (specifically behind the 7th stitch).
Row 1: 1CH, 4F (4 double crochets) into one stitch, then X (single crochet) into the next stitch to secure the curve. Fasten off.
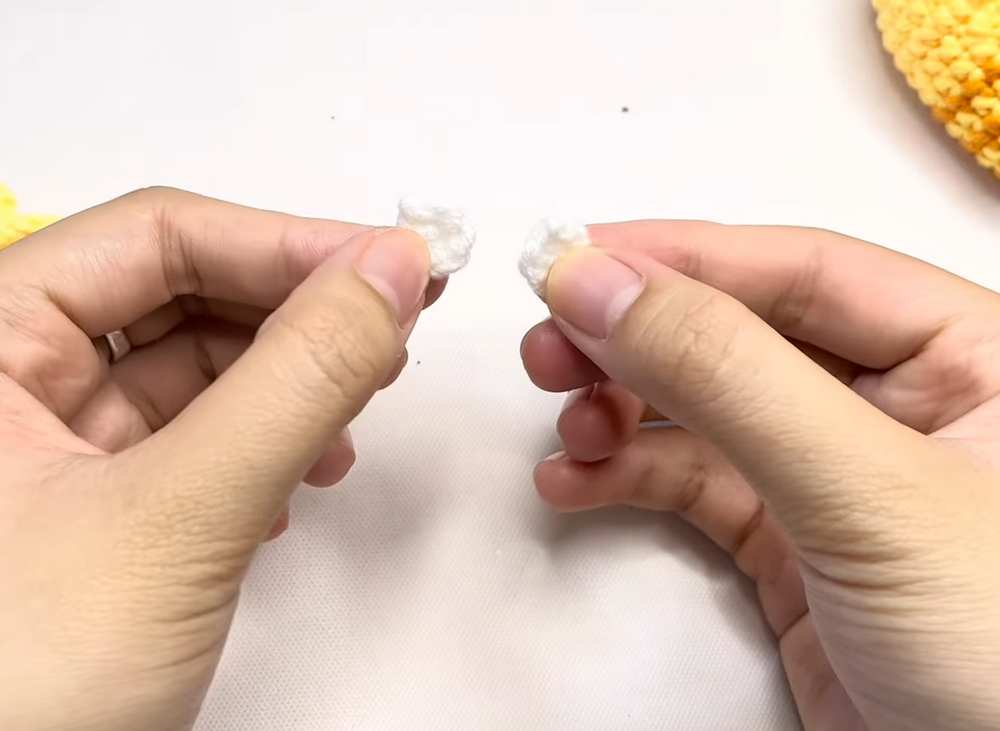
Eyes (Make 2)
Use White yarn.
Round 1: 6X into MR (6)
Fasten off, leaving a tail for sewing. Glue or snap the 4mm safety eyes into the center of these white circles.
Assembly
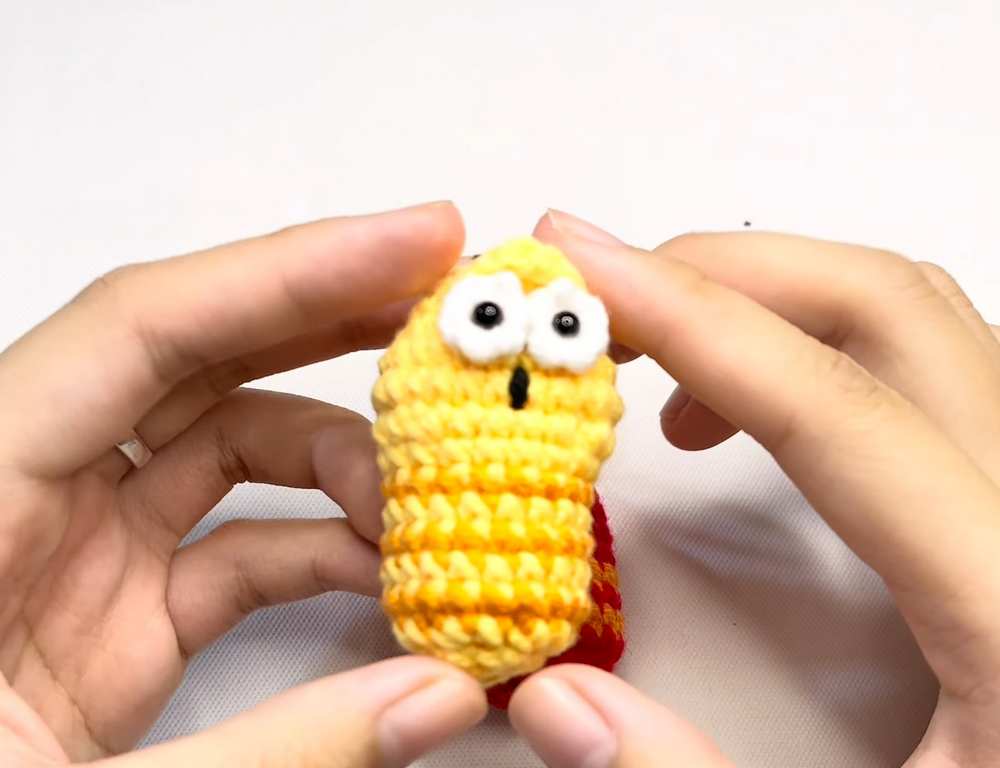
Eyes: Sew the white eye circles onto the front of the head, nestled slightly under the eyelid detail.
Mouth: Using black yarn, embroider a small “O” shaped mouth or a single stitch below the eyes.
Keychain: Attach the metal keychain ring to the yarn loop you created at the top of the head.
Finishing: Use a lighter to carefully singe any stray fuzz or tiny yarn tails for a clean look.
Share on Social Media!
See More:
Tester Call: How to Crochet the Mr. Googly Sphere Witch Fidget Toy Plushie
Featuring: How to Couple Gift Fidget Caterpillar Pair Plushie (no-sew!)
Featuring: How to Crochet Fidget Funny Animal Key Holder for Gifting
Featuring: How to Crochet A Watermelon Slice Buddy Fidget Toy Plush
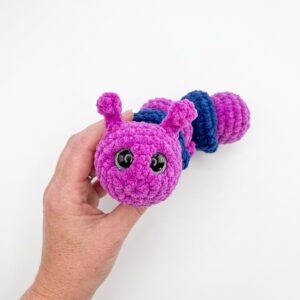
Featuring: Crochet “Push & Pull” Caterpillar Fidget Pop Toy Plushie for Kids
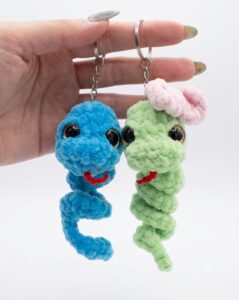
How to Crochet Couple Gift Snake Fidget Toy Plushies
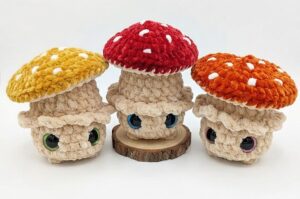
Featuring: How to Crochet the Fall’s CUTEST Fidget Toadstool Mushroom Plushie Tutorial