Show support for Nazanin!
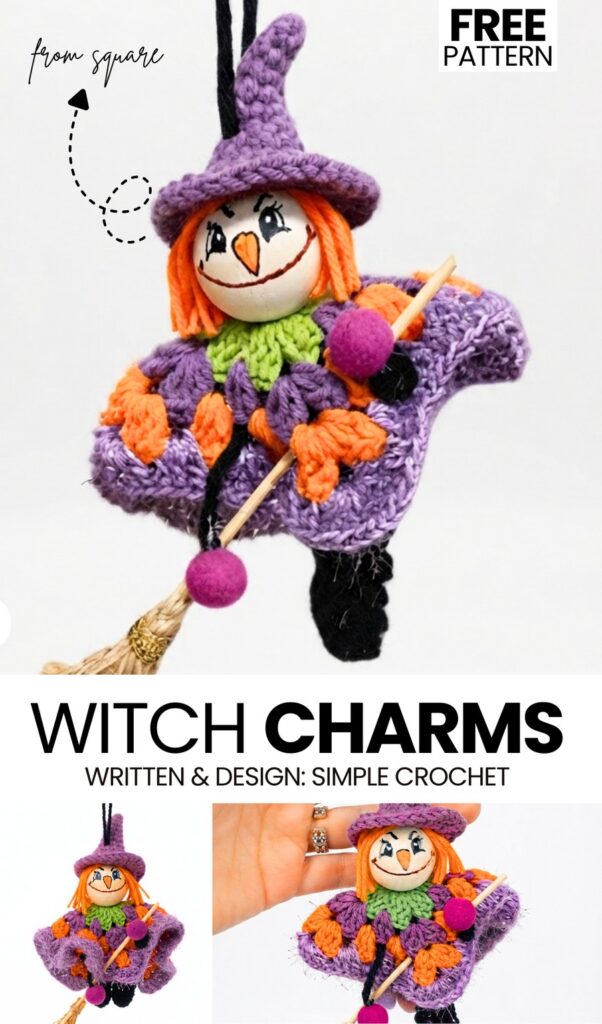
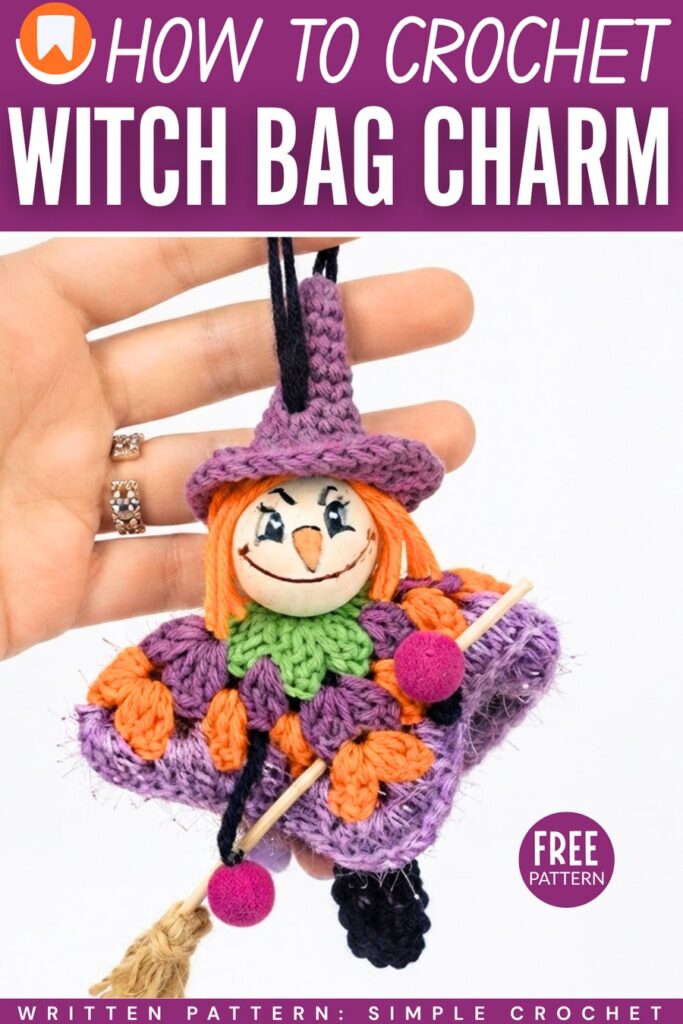
In today’s “crochet + craft” guide for Halloween, learn how to crochet this witch girl with a crafted witch’s broom! This is a UNIQUE witch puppet keychain with the cloak made of a folded classic granny square, hands of small pom poms and the broom made of a toothpick and some brown yarn. Crochet it as a hanging decoration for Halloween, an addition to a Halloween wreath, or a charm for a trick-or-treat bag. It is quick, easy, and provides a NEW experience in crocheting.
This witch doll has a hand-drawn spooky face just like the Japanese dolls have on a wooden sphere! It wears a small crocheted witch hat as well and also has yarn-strand hair. Overall, this is an amazing & FUN craft because it combines crochet with drawing, making miniature things, and using materials other than just yarn or eyes!
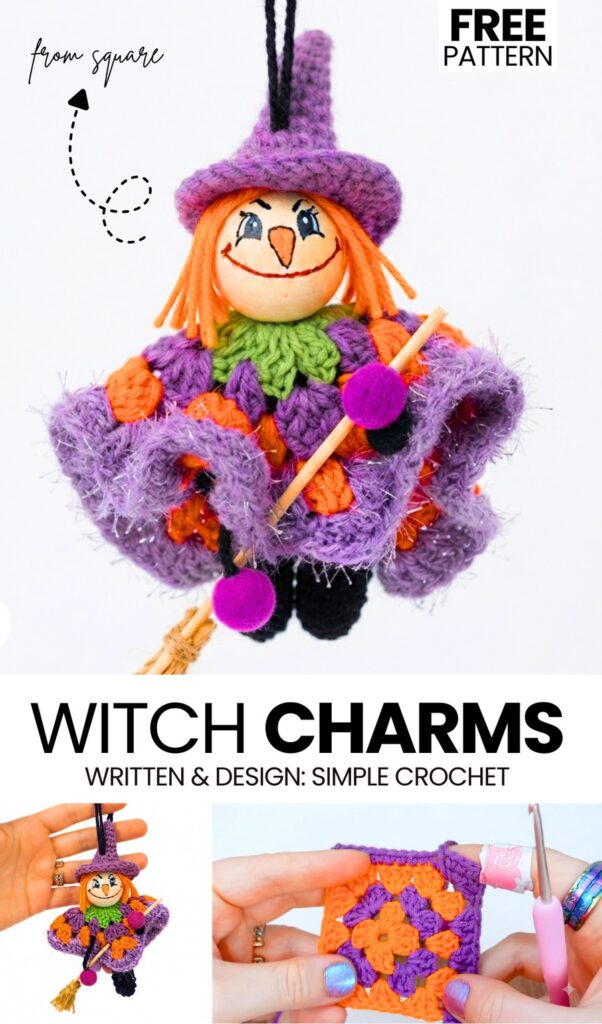
The crochet square of this witch girl also has stripes of purple, orange, and green, which gives its outfit a UNIQUE charm. I also recommend crocheting your witch girl in bulk and selling at the fairs, as it is ONE of the NEWest ideas in crochet for Halloween. Anyway, continue reading to learn more about this quick Halloween project and to crochet one!
[ez-toc]
Pattern to Crochet Witch in a Broom Puppet Keychain
Crochet a witch girl holding a broom with this crochet pattern. Draw the face on the wooden bead with markers. Body: Ch 14, work 2 HDC in the 3rd ch from hook, then 4 HDC in each remaining ch to form a curly body. Ch 3, fasten off, then ch 45 for the hanging loop and join. Cloak: Make a granny square, starting with a ring and working 3 DC clusters with ch-3 corners.
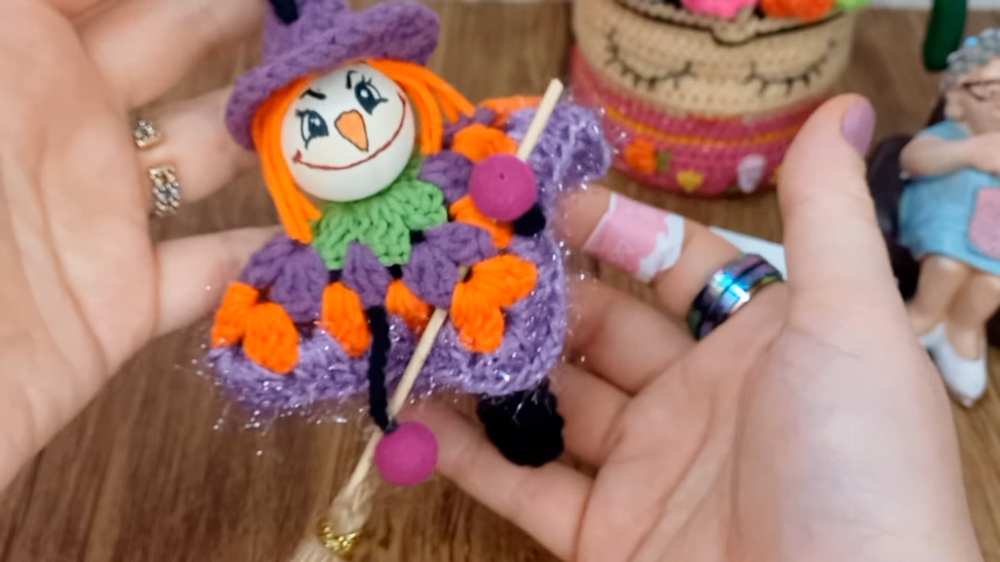
Continue increasing for 4–5 rounds until it fits around the head. Hat: Crochet from a magic ring using SC and increases, then work the brim in FLO with 2 DC in each st. Arms: Ch 35 and thread through the body, attaching felt-ball hands. Make the broom, assemble all pieces with hot glue, and attach the keychain ring.
Materials Needed
Cotton yarn in black (for body and hat) and colors of your choice (for the cloak/cape)
2.5 mm crochet hook
1 round wooden bead (for the head)
2 small felt balls or beads (for the hands)
Keychain ring
A wooden skewer (for the broom)
Burgundy yarn or ribbon and gold ribbon (for the broom details)
Pencil, eraser, and markers (for drawing the face on the bead)
Hot glue gun, scissors, pliers, and yarn needle
Are you a Beginner? Learn Crocheting Easily!
You can learn to crochet this Halloween witch girl keychain with its broom as a beginner by following this tutorial, too:
1. Face (Wooden Bead)
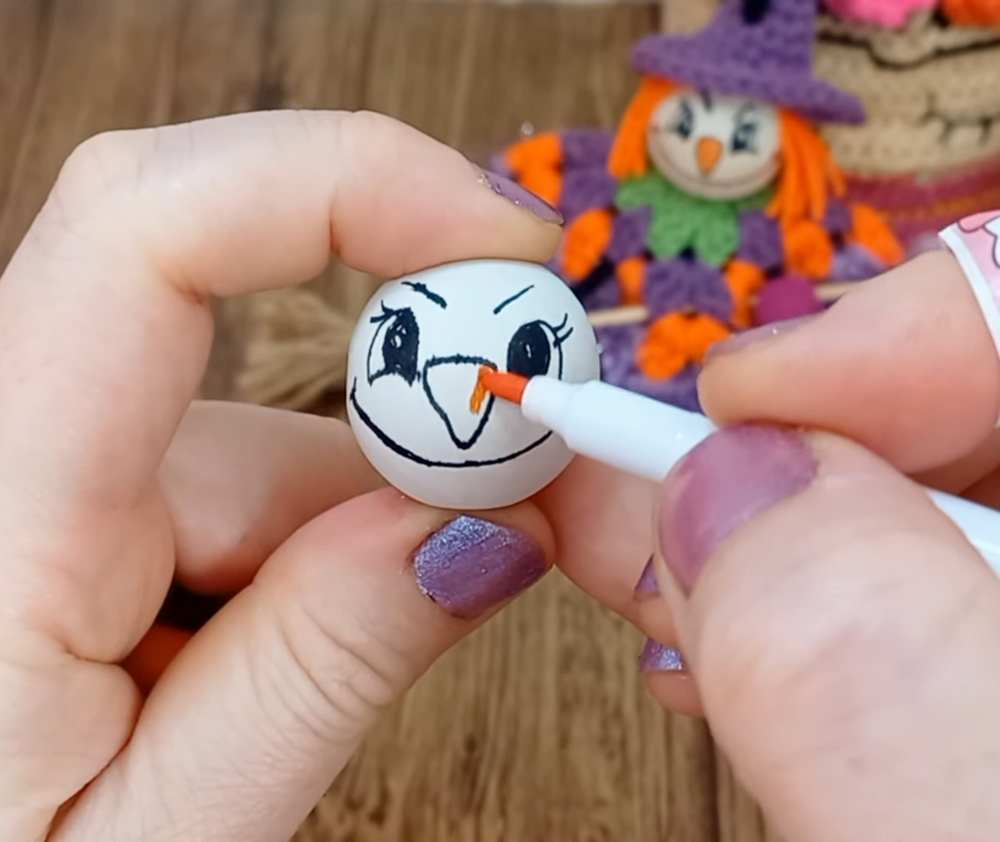
Using a pencil, lightly sketch a face onto your wooden bead: a triangle nose, eyes, eyelashes, eyebrows, and a mouth.
Trace and fill in your sketch with markers (e.g., black for eyes, red for the mouth, orange for the nose).
Use a white correction pen to add little light reflections to the eyes.
2. The Body & Strap
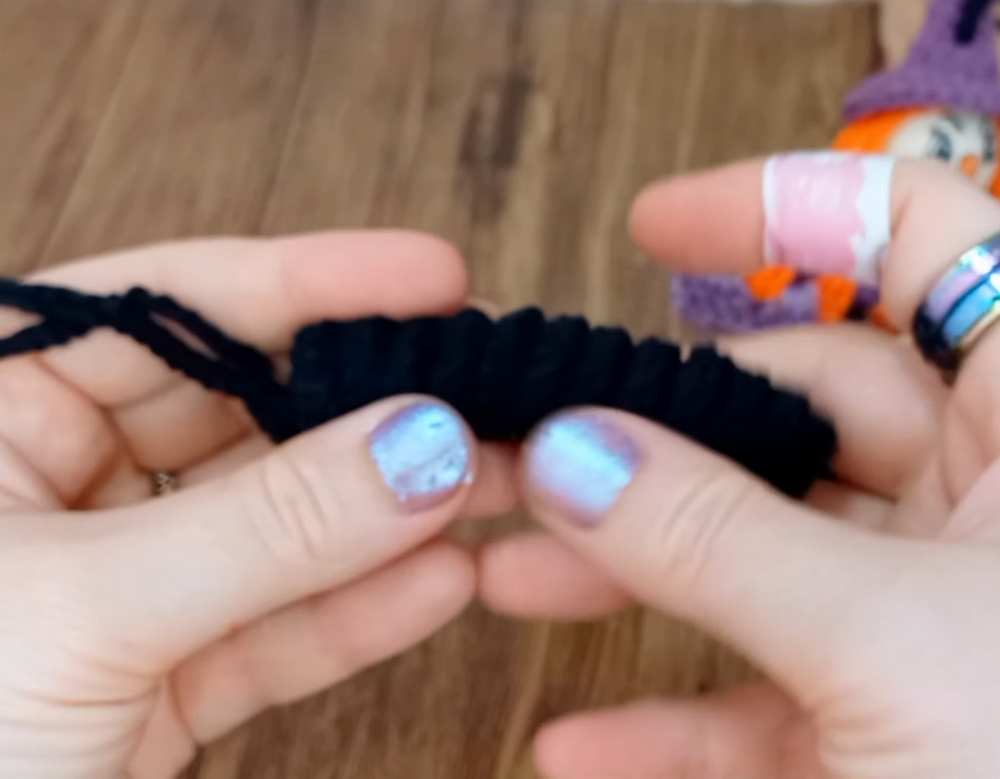
With your body color (e.g., black), make a slip knot and chain 14.
Yarn over, insert your hook into the 3rd chain from the hook, and make a Half Double Crochet (HDC). Make one more HDC in the same chain.
Make 4 HDC into the next chain. Repeat this (making 4 HDC in each chain) all the way down the starting chain to make a curly body.
When you reach the end, chain 3 and slip stitch into the last space.
Chain 45 for the long strap (this will go through the bead and attach to the keychain).
Slip stitch to the first stitch to join the strap loop. Fasten off and weave in ends.
3. The Witch’s Cloak
Round 1:
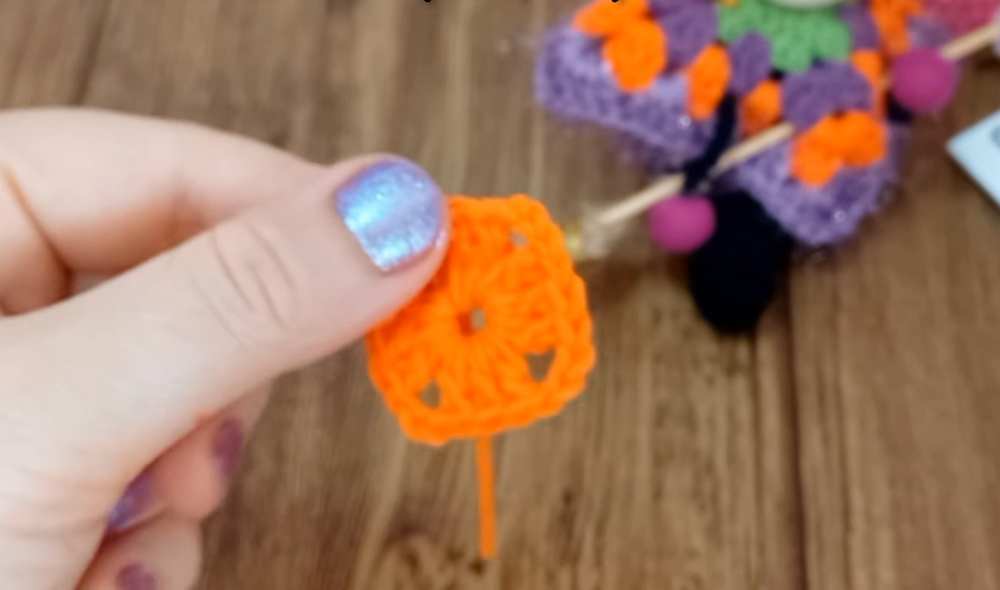
With your cloak color, chain 7 and join with a slip stitch to form a ring.
Chain 6 (counts as 1 DC + chain-3 space).
In the ring, make 3 DC, chain 3.
Repeat (3 DC, chain 3) two more times.
Make 2 DC in the ring, and join with a slip stitch to the 3rd chain of the starting chain-6. You should have four 3-DC clusters and four chain-3 corners. Fasten off.
Round 2:
Attach your next color in any chain-3 corner space.
Chain 6 (counts as 1 DC + chain-3 space), then make 3 DC in the same space.
Jump to the next corner space and make: (3 DC, chain 3, 3 DC).
Repeat this (3 DC, chain 3, 3 DC) in the next two corners.
In the first corner space, make 2 DC and slip stitch to the 3rd chain of the starting chain-6 to join. Fasten off.
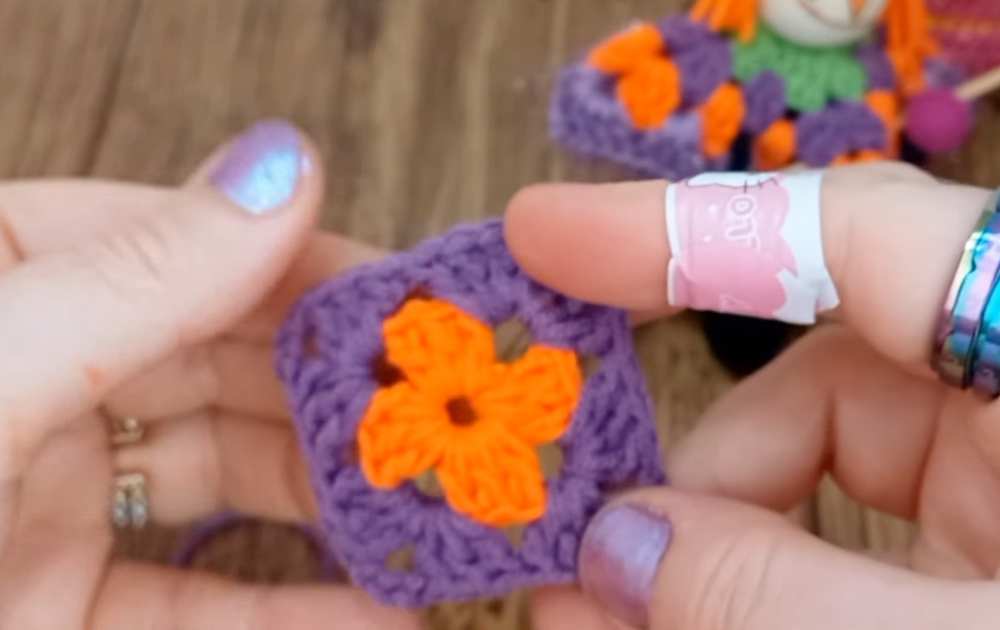
Round 3:
Attach your next color in any corner space.
Chain 6 (counts as 1 DC + chain-3 space) and 3 DC in the same corner space.
Make 3 DC in the space between the clusters on the side.
In the next corner space, make (3 DC, chain 3, 3 DC).
Repeat this pattern around. End with 2 DC in the first corner space, join, and fasten off.
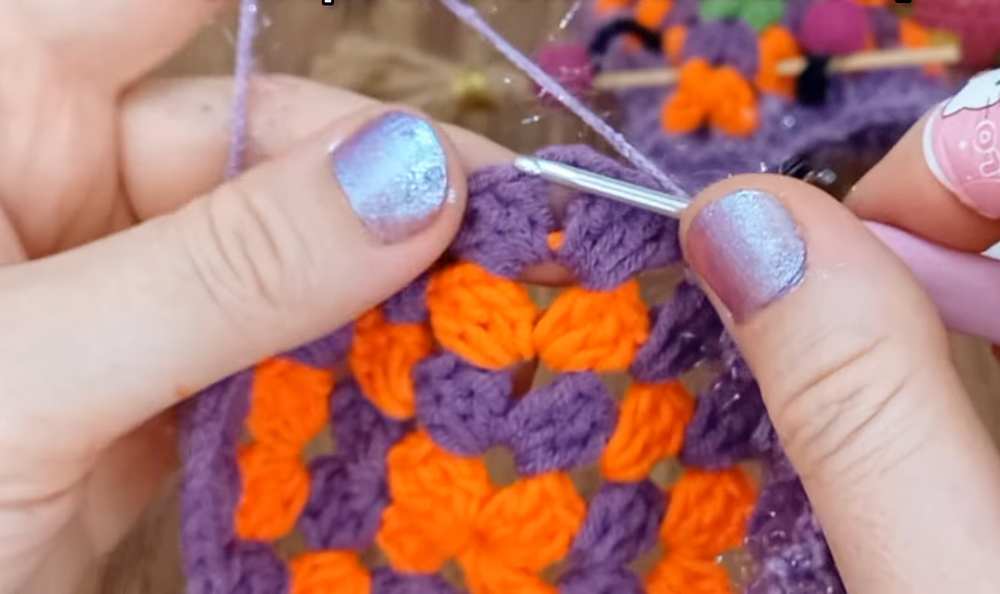
Round 4 & 5 (Adjust as needed):
Repeat the same pattern as Round 3: corners always get (3 DC, chain 3, 3 DC), and the flat side spaces always get 3 DC. Make it large enough to drape well around your bead head.
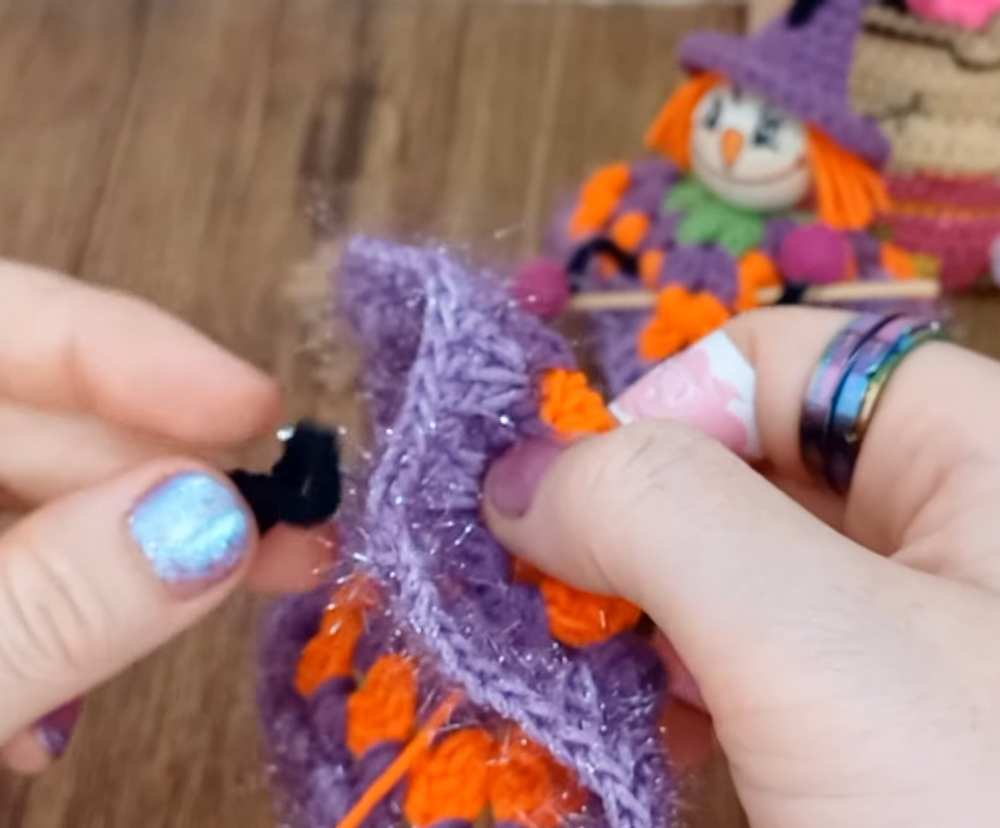
4. The Witch’s Hat
Round 1: Magic ring, 4 SC in the ring. (4)
Round 2: 1 SC in each stitch around. (4)
Round 3: (1 SC, 1 INC) repeat around. (6)
Round 4: 1 SC in each stitch around. (6)
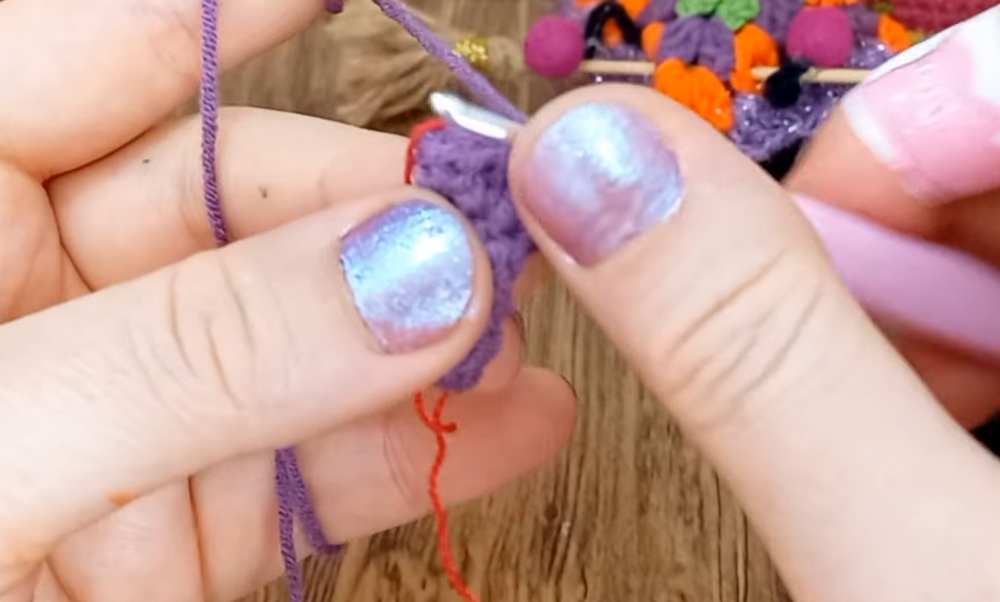
Round 5: (1 INC, 2 SC) repeat around. (9)
Round 6: 1 SC in each stitch around. (9)
Round 7: (1 INC, 3 SC) repeat around, ending with 1 extra SC.
Round 8: 1 SC in each stitch around.
Round 9: (1 INC, 4 SC) repeat around.
Round 10-11: 1 SC in each stitch around for 2 rounds.
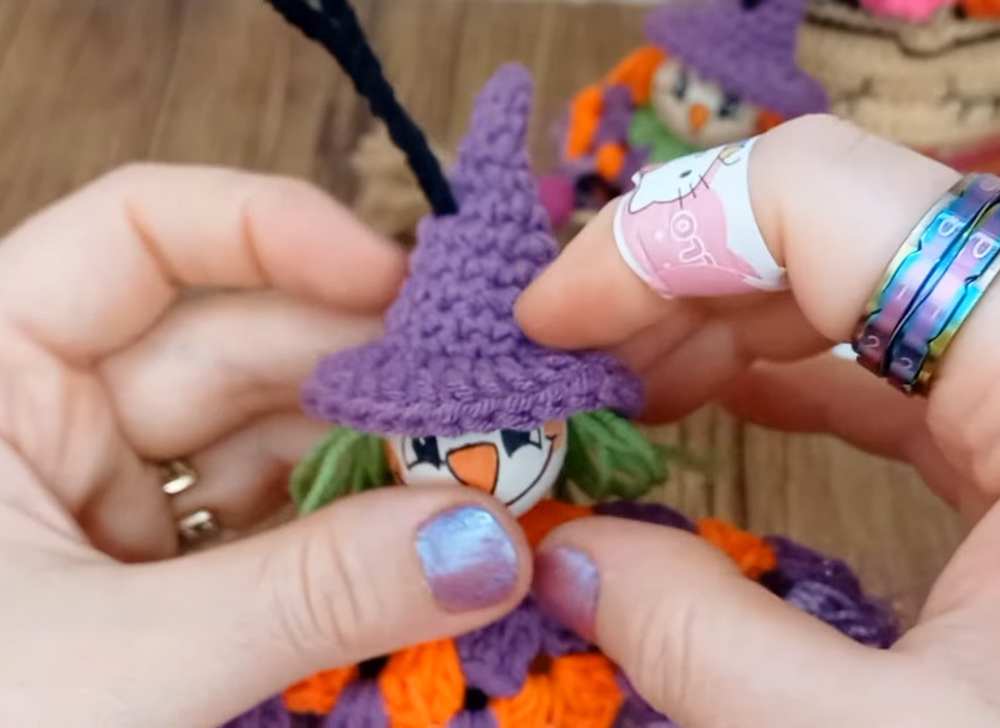
Brim: Chain 3. Working in the Front Loops Only (FLO), make 2 Double Crochets (DC) into every stitch around to create the wavy brim. Slip stitch to join and fasten off.
5. Arms
Chain 35 in black (or the body color). Fasten off.
Thread this chain through the top part of the curly body to act as the arms.
Hot glue the two small felt balls to the ends of the chain to act as hands.
Share!
6. The Broom
Cut the pointed end off a wooden skewer using pliers.
Cut small strips of burgundy yarn (or ribbon) about 6-7cm long.
Hot glue the strips around the bottom of the skewer to look like broom bristles.
Wrap and glue a piece of gold ribbon tightly around the top of the bristles to secure them. Trim the bottom evenly.
7. Assembly
Pull the long body strap loop up through the center hole of the cloak, and then up through the hole in the wooden bead (face).
Cut strands of yarn for the hair (about 7cm long). Hot glue them securely around the top of the wooden bead. Trim as desired.
Thread the top loop strap through the point of the hat, and hot glue the hat directly onto the head/hair.
Arrange the cloak so the arms come through the sides.
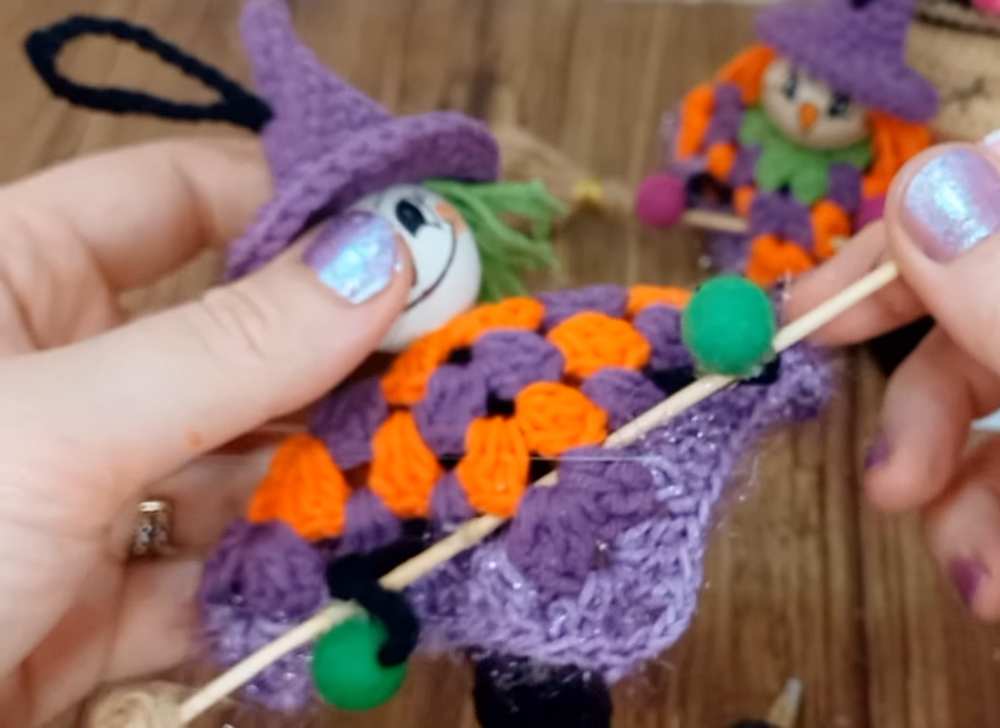
Hot glue the mini broomstick to the little felt ball hands, and hide the bottom of the broom between the folds of the cloak.
Attach your keychain ring to the top strap.
Share on Social Media!
See More:
Tester Call: How to Crochet the Mr. Googly Sphere Witch Fidget Toy Plushie
Tester Call: How to Crochet Spooky Face Ice Witch Cone Plushie
Tester Call: How to Crochet REALLY Spooky Witch Halloween Treat Plushie

Tester Pattern: To Crochet A Witch Cat Plush Gifting You A Pumpkin Softie
Tester Pattern: How to Crochet An Tug & Pull Witch Egg Halloween Plushie Toy
Tester Pattern: Free Crochet Pumpkin-Holding Witch Bunny Plushie Pattern
How to Crochet Witch Rhinoceros Holding a Pumpkin Amigurumi Plush
How to Crochet Princess Witch Girl with Accessories Amigurumi
How to Crochet Little Pumpkin Man in A Witch Hat Amigurumi Little Doll