Show support for the Pinky!
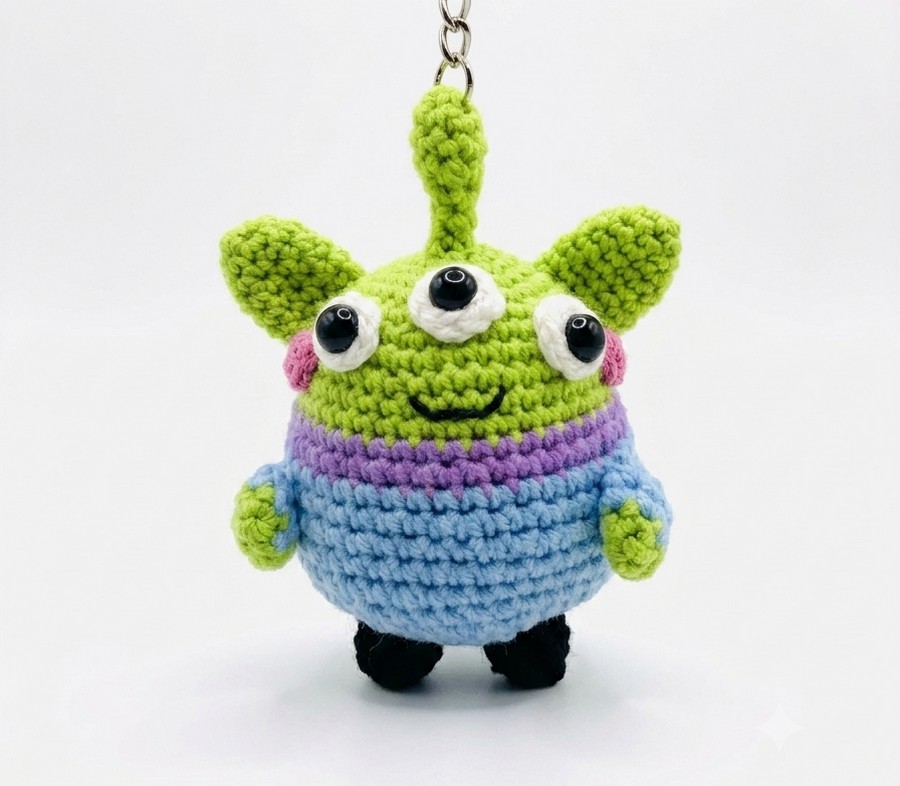
While you rewatch the latest Toy Story, be sure you have this crochet Toy Story’s kawaii green alien amigurumi as a buddy! This is a little funny and chubby version of the Planet Pizza alien plushies and measures so small! You can also crochet this Alien amigurumi as a cosplay Halloween present this year to show your love for the latest Toy Story!
Thanks to the coworker, the iconic blue and purple costume of this alien amigurumi is crocheted with the body. The white part of its 3 googly eyes is also crocheted. All this makes this Green Men amigurumi a low-sew plush.
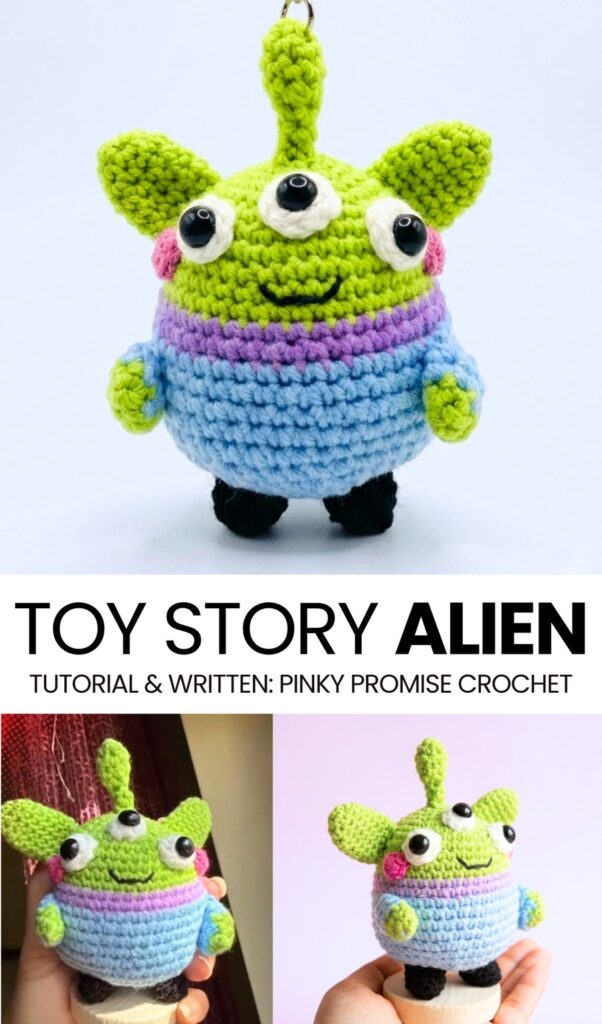
You can also crochet a plush version of this Alien amigurumi by using a worsted (thin) velvet yarn. Or, if you are looking for a big buddy, use the super-bulky chenille yarn. Crocheting this Toy Story alien would be quick and easy for even beginners. Looking for the alien amigurumi pattern? I have both the written and video patterns here to share!
[ez-toc]
Kawaii Little Green Alien Amigurumi Plush: Written Instructions
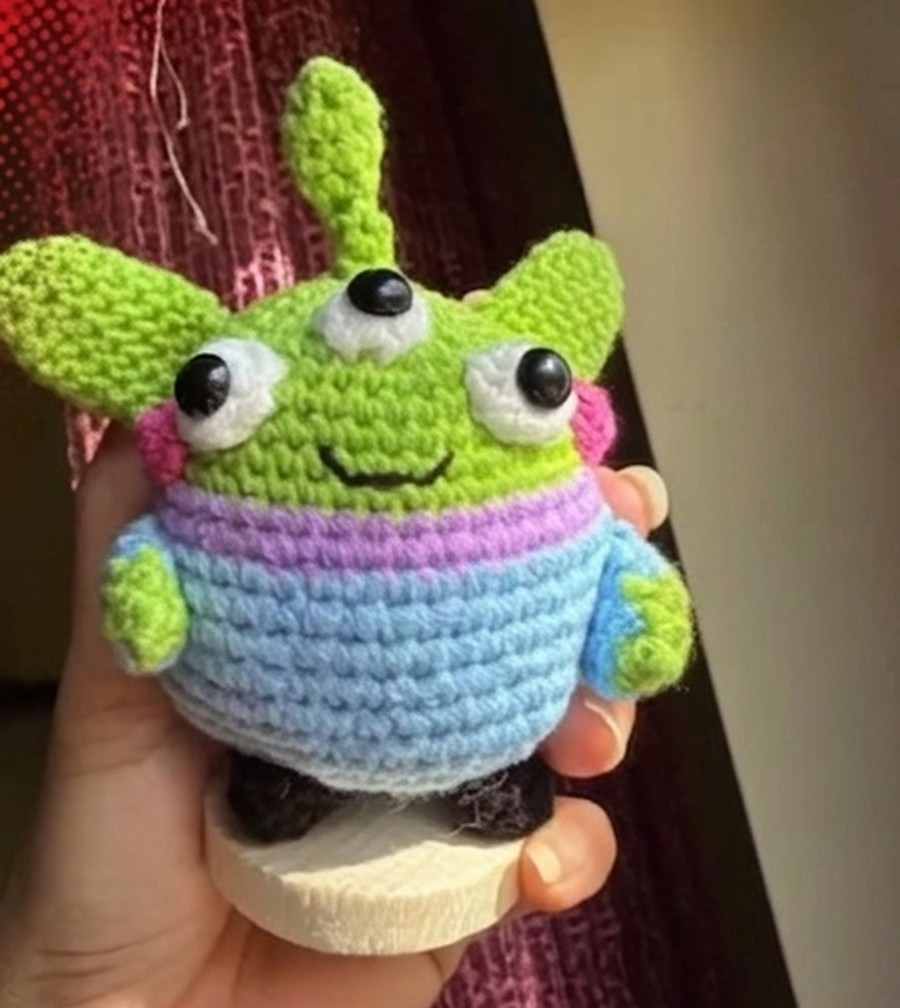
Follow this pattern to crochet a kawaii little green alien, inspired by Toy Story! This toy is perfect for beginners who want to practice making amigurumi. You will learn how to make basic round shapes, change colors, and sew small parts together.
It makes a perfect gift for fans of space, aliens, or classic cartoons. You will end up with a very cute, friendly little alien with three big eyes, a tiny antenna, and a blue space suit.
Materials Needed
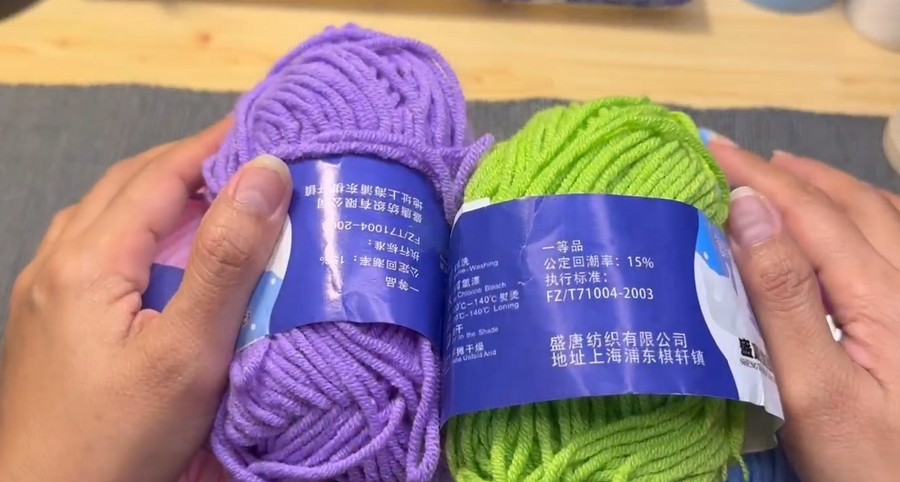
- Milk Cotton Yarn: You need green, blue, white, purple, pink, and black.
- Crochet Hook: 3 mm size.
- Safety Eyes: 6 mm size (use the flat kind that you can glue on).
- Craft Glue: To attach the eyes.
- Stitch Marker: A little clip to mark the end of your rounds.
- Fiberfill: Soft cotton stuffing for the inside of the toy.
- Yarn Needle: A large needle for sewing the pieces together.
Abbreviations
- MR: Magic Ring (a starting circle)
- sc: single crochet
- inc: increase (put two single crochets in the exact same spot)
- dec: decrease (turn two stitches into one to make the shape smaller)
- sl st: slip stitch
- FO: fasten off (cut the yarn and pull it through to tie a knot)
The Pattern
Head and Body Start with the Green yarn.
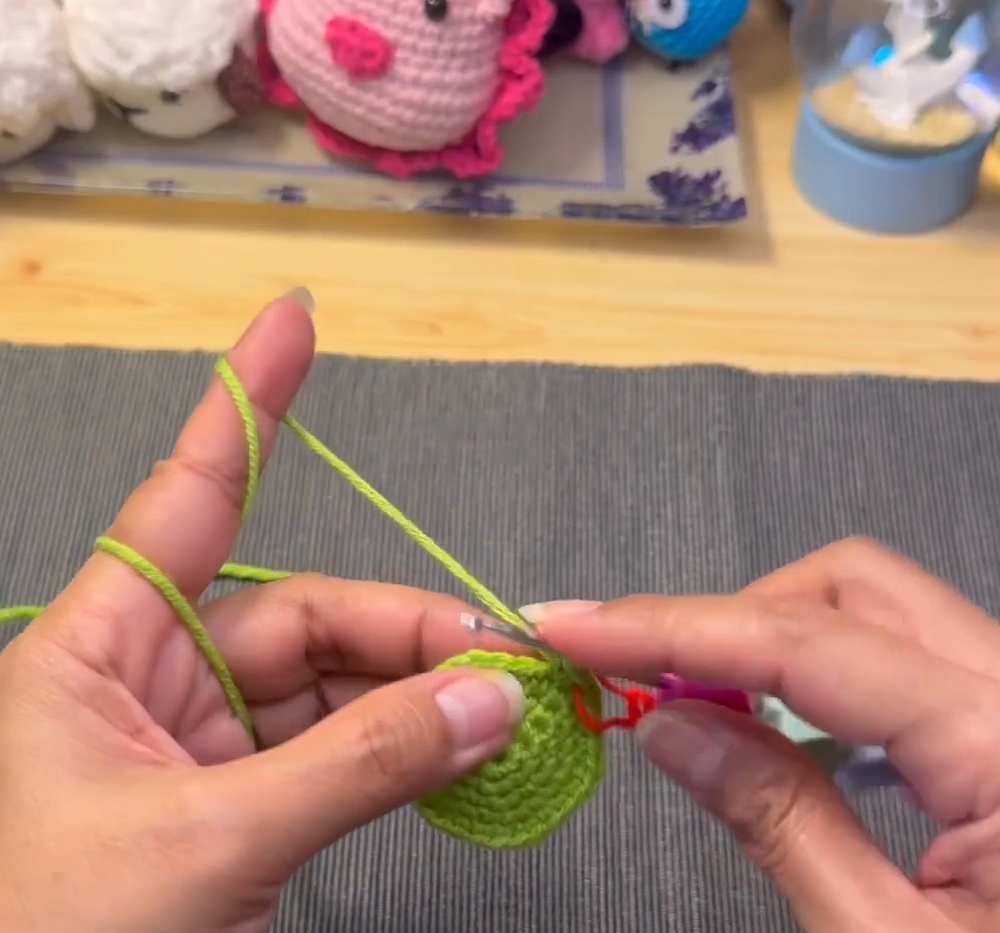
- Round 1: Make a Magic Ring, do 6 sc inside it. (6)
- Rounds 2 to 7: Keep doing increases in each round until the circle grows to 42 stitches. (To do this: Round 2 is all inc. Round 3 is 1 sc, 1 inc. Round 4 is 2 sc, 1 inc. Round 5 is 3 sc, 1 inc. Round 6 is 4 sc, 1 inc. Round 7 is 5 sc, 1 inc). (42)
Are you a Beginner?
Tutorials are great when you are confused about any part! Learn how to crochet this green alien plush with the following step-by-step tutorial!
- Rounds 8 to 11 (4 rounds total): Do 1 sc in every single stitch around. (42)
- At the very end of Round 11, change your yarn color to Purple.
- Rounds 12 to 13 (2 rounds total): With Purple yarn, do 1 sc in every stitch around. (42)
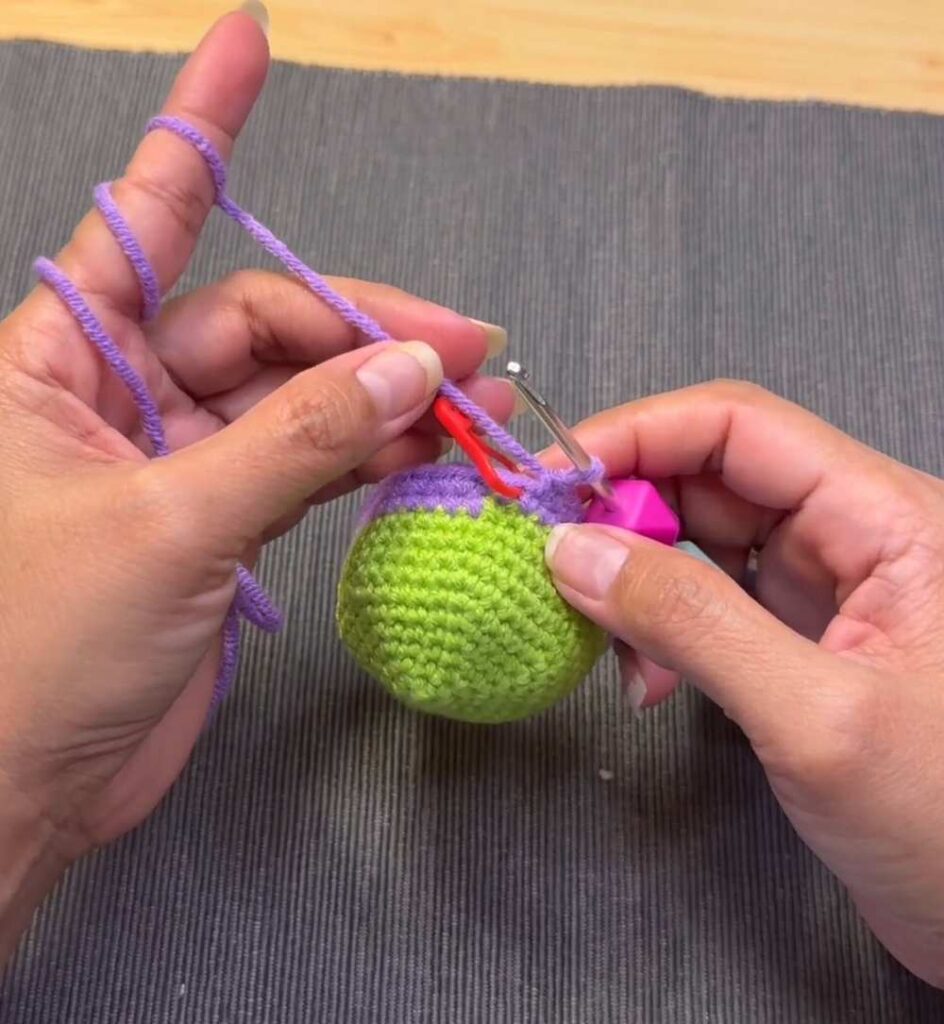
- At the very end of Round 13, change your yarn color to Blue.
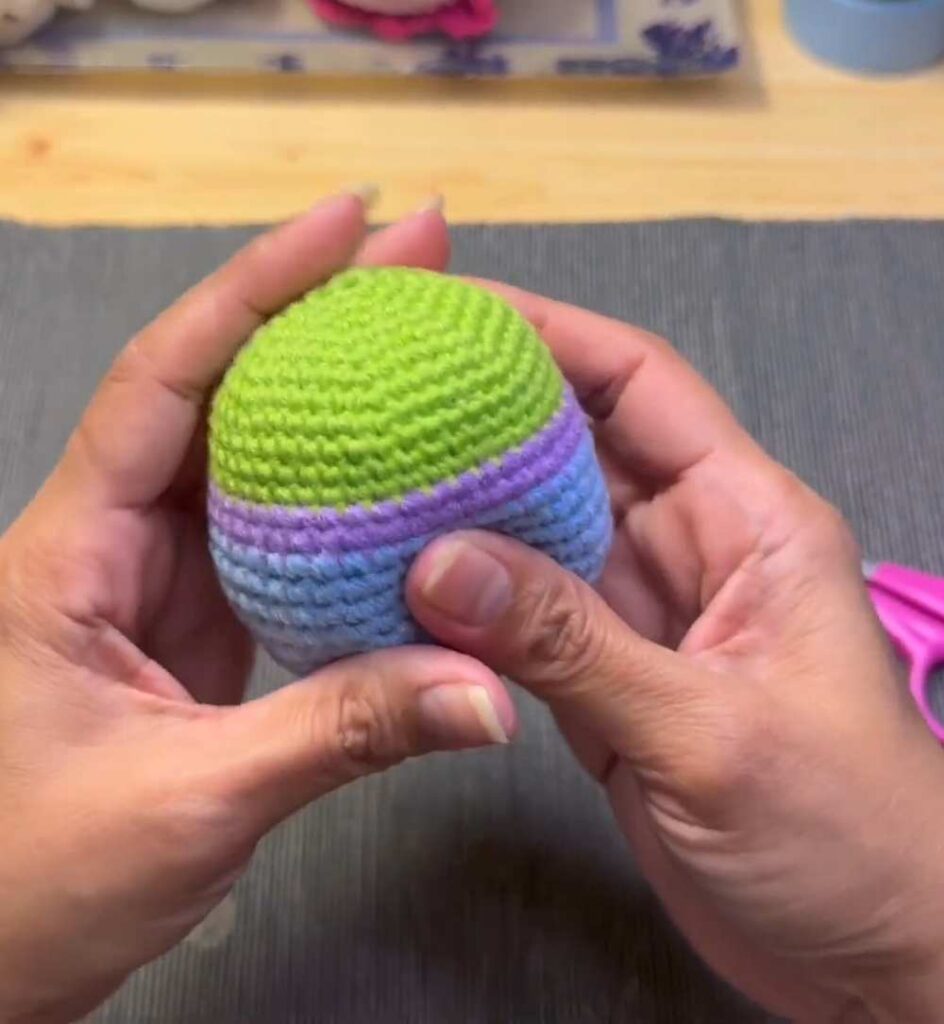
- Rounds 14 to 19 (6 rounds total): With Blue yarn, do 1 sc in every stitch around. (42)
- Round 20: Do 5 sc, then 1 dec. Repeat this pattern all the way around. (36)
- Finish the body: Start filling the toy firmly with stuffing. To close the bottom, keep doing rounds of decreases (4 sc, 1 dec; then 3 sc, 1 dec, etc.) until the hole is completely closed. FO.
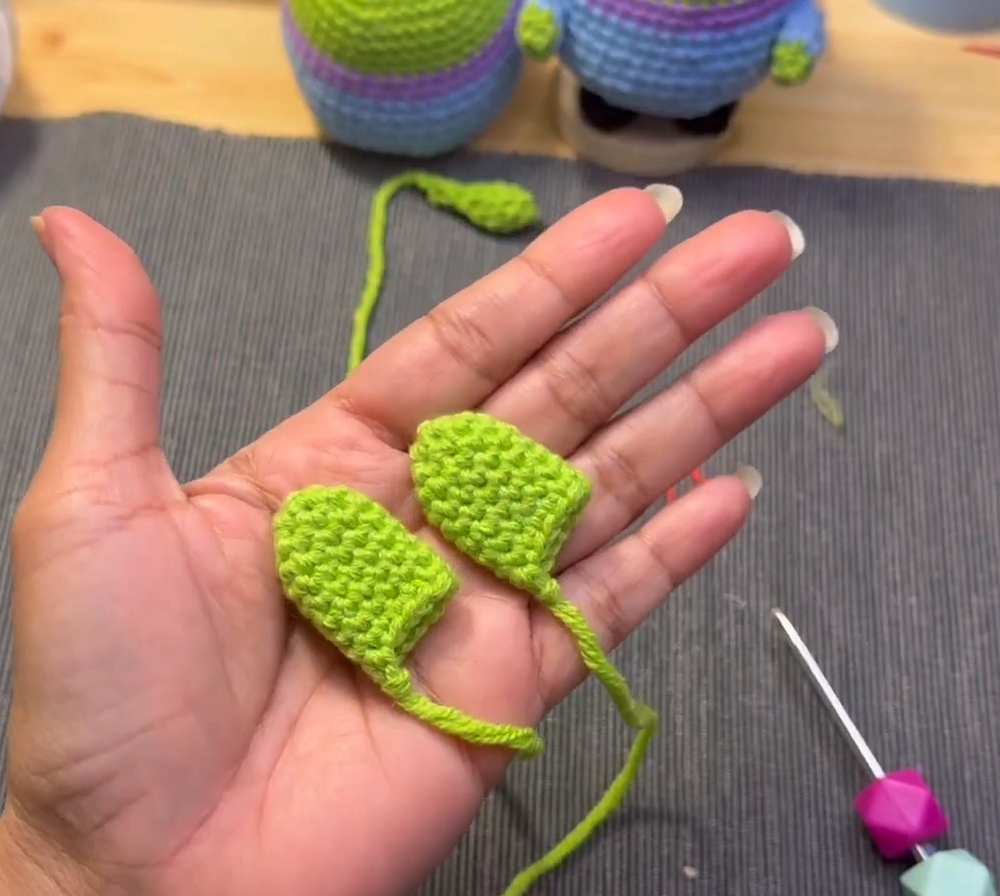
Ears (Make 2) Use Green yarn.
- Round 1: Make a Magic Ring, do 4 sc inside. (4)
- Next Rounds: Add a few single crochets and increases until it looks like a pointy ear. FO and leave a long tail of yarn for sewing.
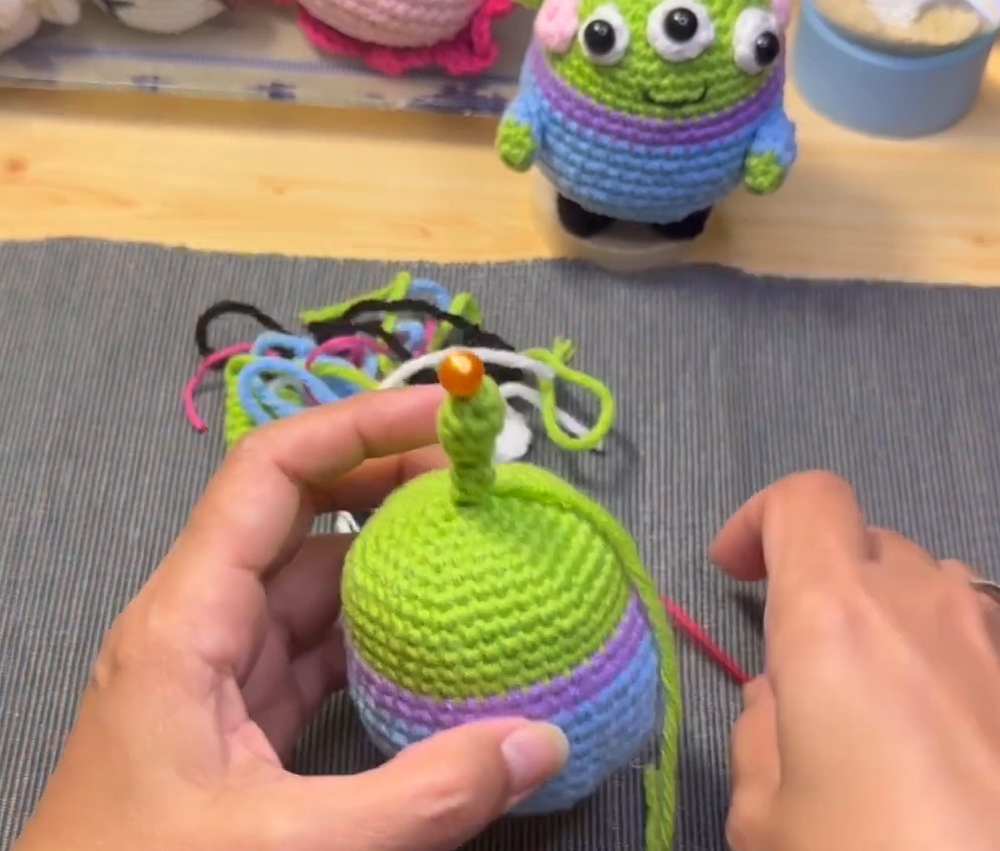
Antenna (Make 1) Use Green yarn.
- Round 1: Make a Magic Ring, do 4 sc inside. (4)
- Next Rounds: Keep doing 1 sc in every stitch until it looks like a little stick, then FO. Leave a long tail of yarn for sewing.
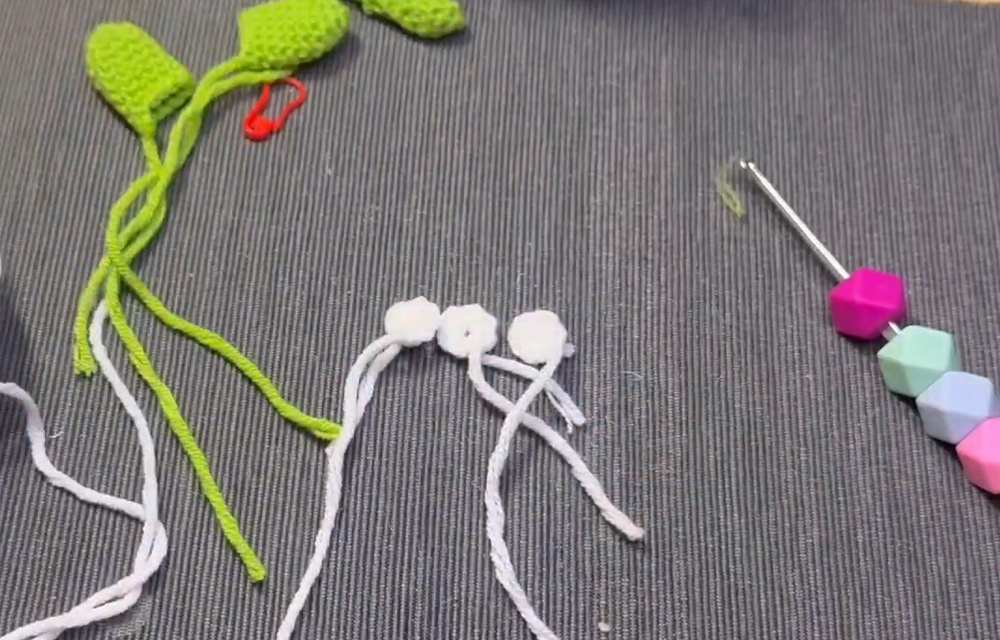
Eyes (Make 3) Use White yarn.
- Round 1: Make a Magic Ring, do 6 sc inside. Pull the ring closed tight, then do a slip stitch (sl st) into the first stitch. FO and leave a tail for sewing. (6)
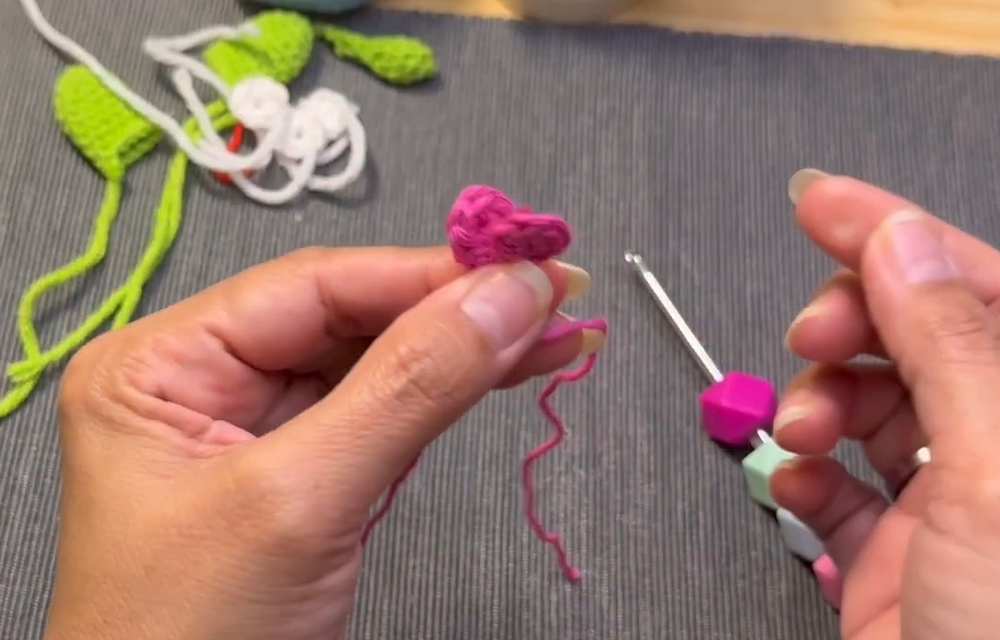
Cheeks (Make 2) Use Pink yarn.
- Round 1: Make a Magic Ring, do 6 sc inside. Pull closed and do a slip stitch. FO and leave a long tail for sewing. (6)
Arms (Make 2) Start with Green yarn.
- Round 1: Make a Magic Ring, do 4 sc inside. (4)
- Round 2: Do 1 increase (inc) in every single stitch. (8)
- At the end of Round 2, change your yarn color to Blue.
- Rounds 3 and 4: With Blue yarn, do 1 sc in every stitch. (8). FO and leave a tail for sewing.
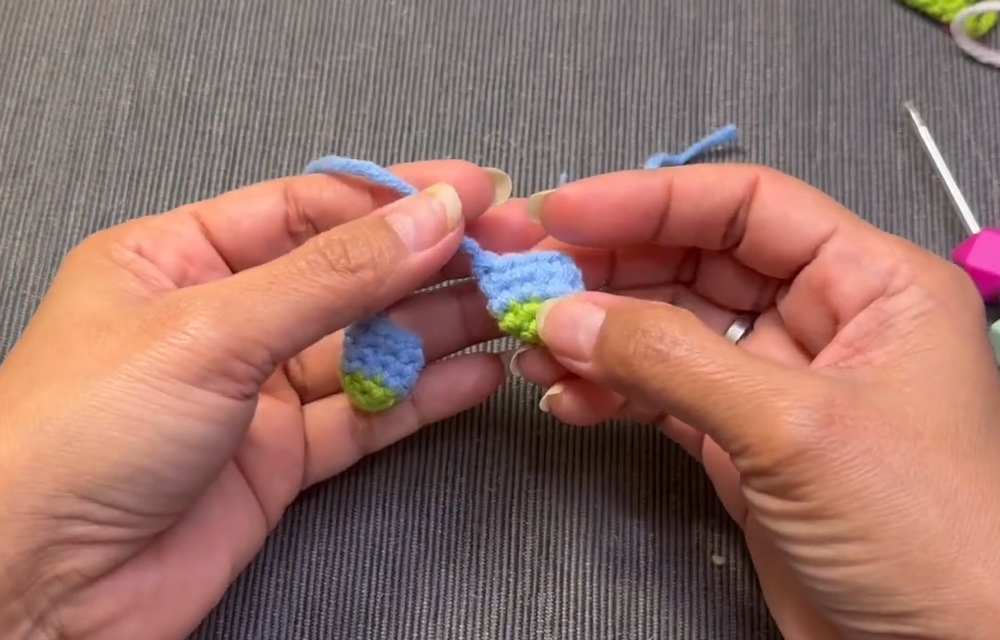
Legs (Make 2) Use Black yarn.
- Round 1: Make a Magic Ring, do 4 sc inside. (4)
- Round 2: Do 1 increase (inc) in every single stitch. (8). FO and leave a tail for sewing.
Putting It All Together (Assembly)
- Antenna: Sew the green antenna right in the center on the very top of the head.
- Eyes: Glue the black plastic safety eyes into the center of the white yarn circles. Sew one eye just below the antenna. Sew the other two eyes below that one, leaving about 2 stitches of empty space between them and the purple line.
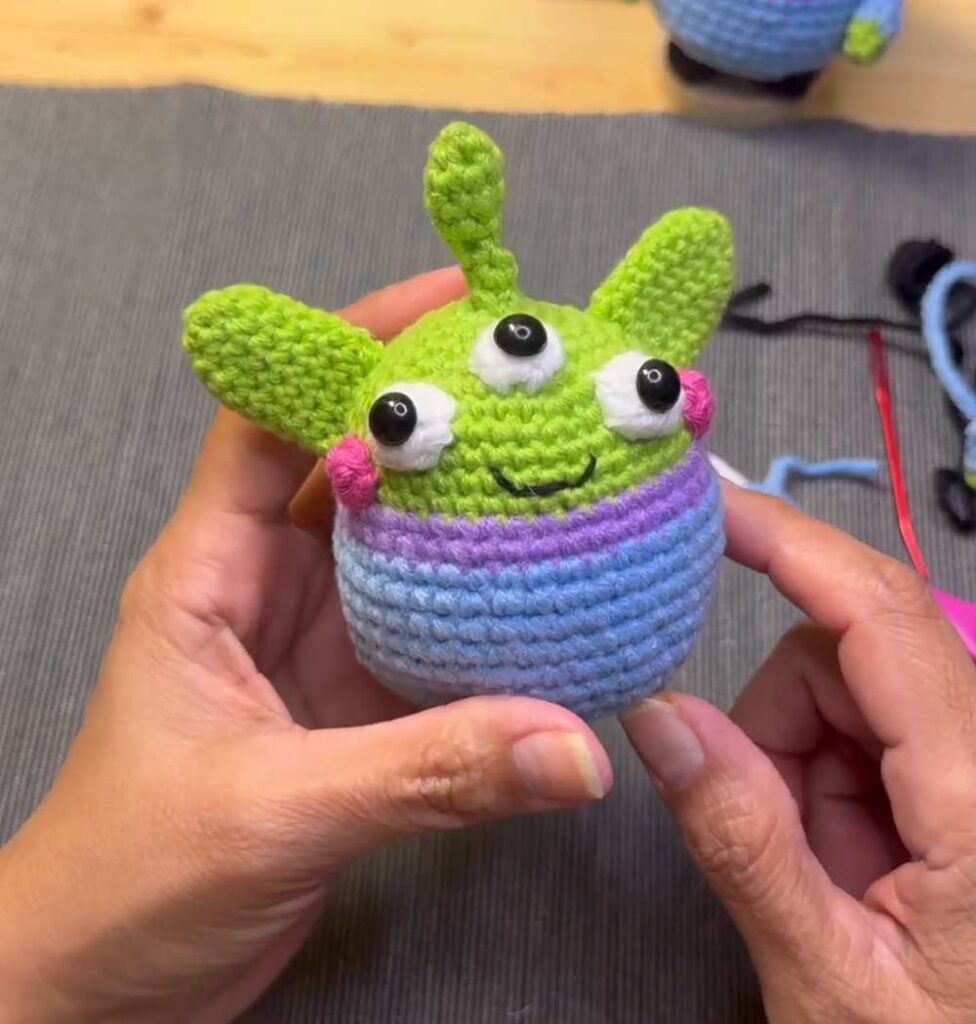
- Cheeks: Sew the two pink cheeks directly on top of the purple yarn line.
- Mouth: Take a small piece of black yarn on your needle and stitch a little smile line. Place it about 3 stitches below the purple line.
- Ears: Sew the green ears onto the sides of the head. They should sit right on top of the purple line, with one empty stitch between the ear and the pink cheek.
- Arms: Sew the arms to the sides of the body, placing them directly under the purple line.
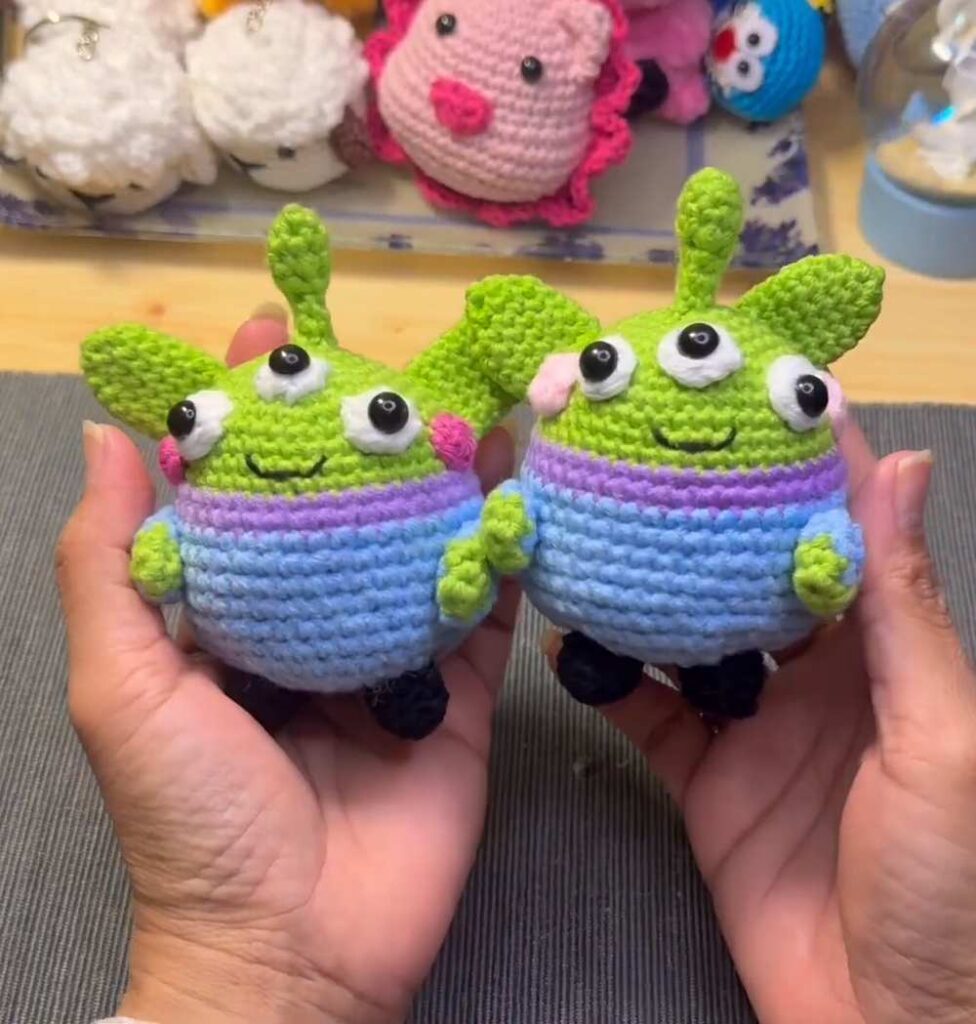
- Legs: Put a tiny little bit of stuffing inside the black legs. Sew them to the bottom of the blue body (around Round 23). Make sure there are 3 stitches of empty space between the two legs so he can sit properly!
See More:
Tester Call: How to Crochet Green Alien Mushroom Plushie Buddy for Gifting
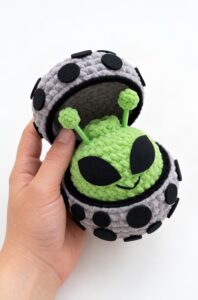
Pattern Tester: How to Crochet An Alien Dumpling in A Pod Box Plushie
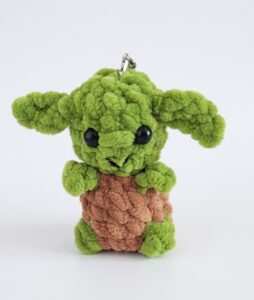
How to Crochet Market-Make Green Alien & Brown Outfit Character Plushie

Featuring: How to Crochet A Plush Blushing Flying Mr. Soul Ghost Plushie for Halloween
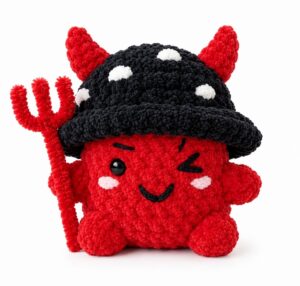
Tester Pattern: How to Crochet Amigurumi Spooky Red & Black Mushroom Plushie
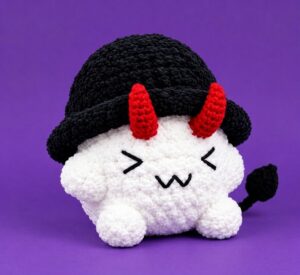
Tester Pattern: How to Crochet A No-Sew Mr. Red Horns Mushroom Plushie
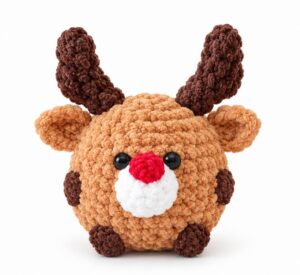
Featuring: How to Crochet A Red-Nosed Animal Buddy Christmas Plushie
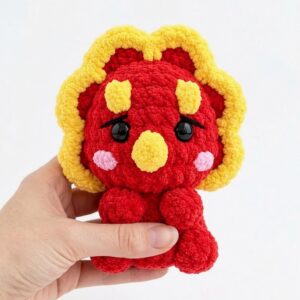
Featuring: How to Crochet No-Sew Red & Yellow Tricera Buddy Plushie
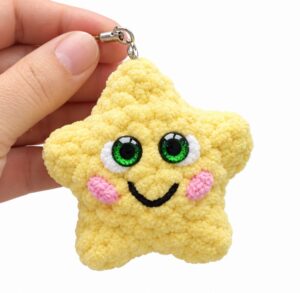
How to Crocet Holdiday Mr. Smiling Star Plushie for Christmas Gifting