Author: Talha
I am a crochet designer, macramé maker and a crafter who also loves doing MATH.
Contributor: Ochy of OchycrochetVN
Ochy is a Vietnamese amigurumi designer who became our contributor in early 2026 via mycraftybasket.
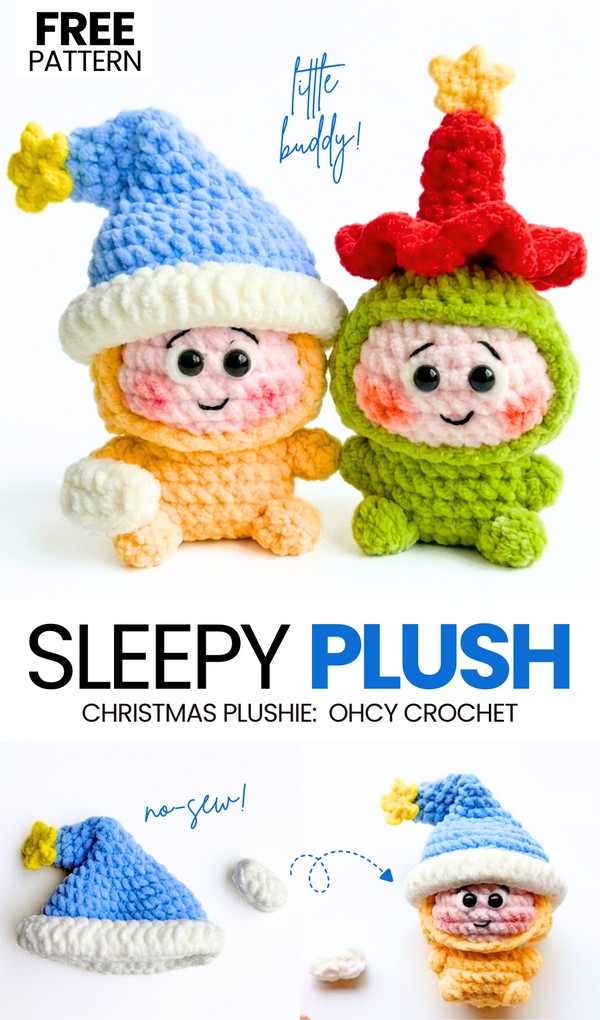
This is the 5th successive part of the “crocheted Twinkle plushie variations” pattern series. Today, just like the last tutorial, you will learn how to crochet a CUTE accessory for the “no-sew Twinkle Twinkle buddy” that you learned how to crochet in the first part. Follow this step-by-step tutorial to crochet a slouchy night hat with a crochet star and a small crochet pillow, along with the same full no-sew Little Star twinkle plushie pattern. You can crochet this sleepy Twinkle doll for New Year’s night, as a winter gift (replacement for crochet Labubu), and even as an ornament.
Both the crochet hat and the pillow of this crochet Twinkle plush are removable. So, you can also crochet these accessories for the “iconic no-sew character buddies” as they are about the same size as this Twinkle plush.
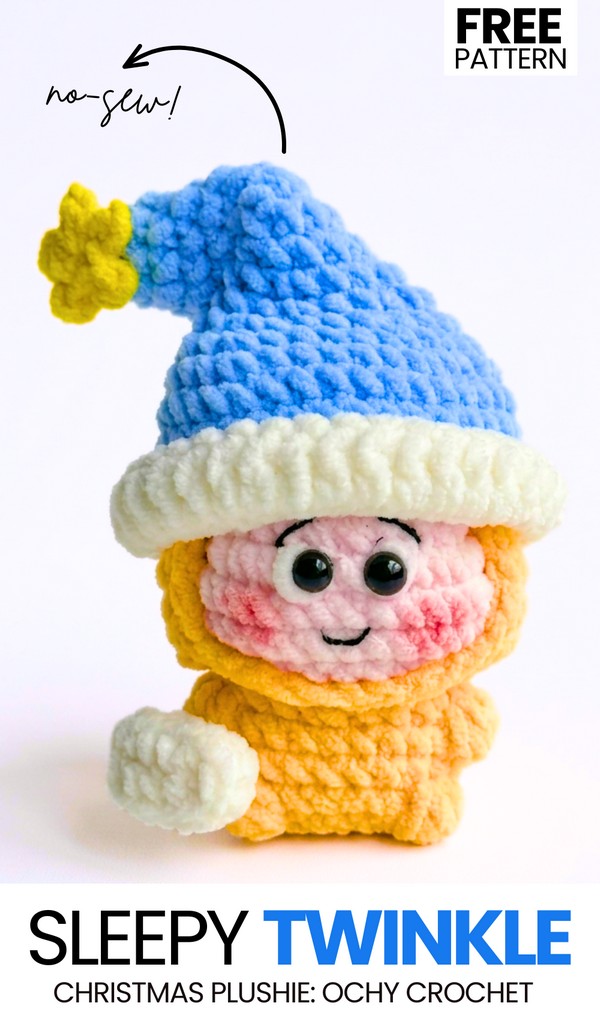
You only have to follow the no-sew Twinkle plush pattern up to the crochet head, body, and the hoodie pattern. Then, we will learn how to crochet this blue hat with the white brim using the thin plush yarn. If you want your crochet buddy Twinkle plushie to be a bigger one, you can crochet it using the super bulky chenille yarn. Anyway, customization is up to you (choose from 2 variations); below I have provided the full crochet Twinkle plush and its accessories pattern. Be sure to crochet one!
Similar Project(s)
Pattern to Crochet A Twinkle Twinkle Plushie
In this project, you crochet a sleepy time hat and a small pillow for a toy. You use blue yarn to make a long sleeping hat that goes on the toy head. You add a white edge to the hat. You use white yarn to make a small square pillow. You sew two sides of the pillow together. You make a small yellow star to sew on the hat. You will also attach a loop to make the toy a keychain, and the body will only have chain stitch limbs.
Materials List
Plush / Velvet yarn (Chenille yarn) in Blue, White, and Yellow
2.5 mm crochet hook
Stitch marker
Tapestry needle (for sewing)
Scissors
Small amount of toy stuffing (for the pillow)
Keychain ring/clasp
Abbreviations List
MR = Magic Ring
ch = chain
sc = single crochet
inc = increase (2 sc in the same stitch)
dc = double crochet
sl st = slip stitch
FLO = front loops only
st(s) = stitch(es)
Are you a Beginner? Learn Crocheting Easily!
You can learn to crochet better the crochet accessories for your Twinkle plush as a beginner with the following video tutorial:
Full Crochet Pattern
Head and Body
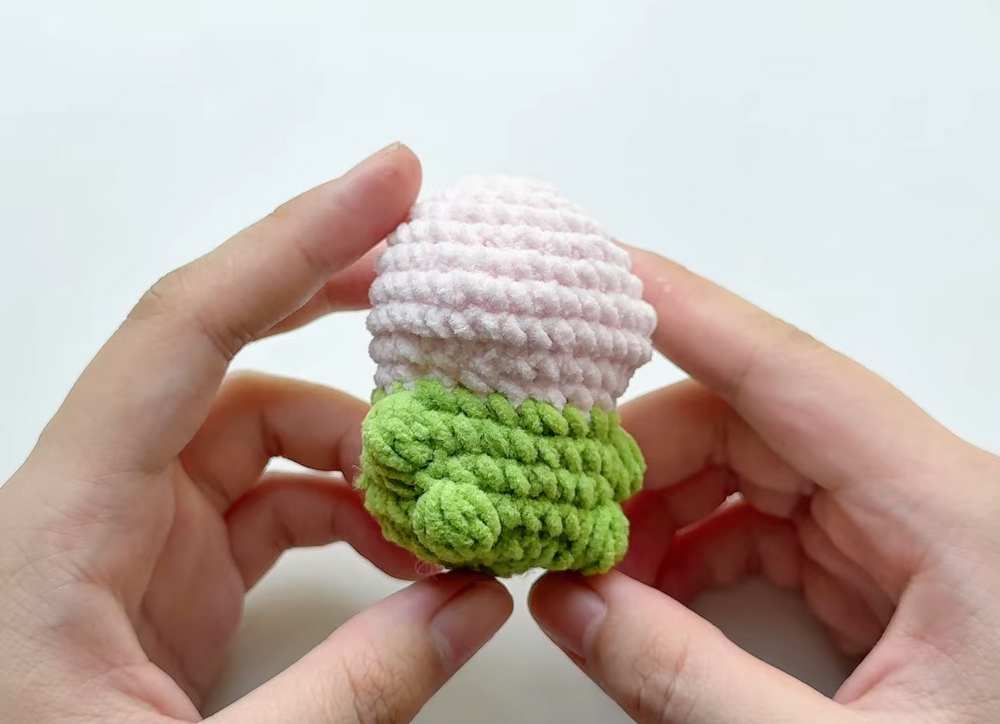
Start with Light Pink yarn for the head:
Round 1: Make 6 sc in a MR. Join with a sl st, ch 1. (6 sts)
Round 2: Work 6 inc. Join with a sl st, ch 1. (12 sts)
Round 3: Repeat (1 sc, 1 inc) 6 times. Join with a sl st, ch 1. (18 sts)
Round 4: Repeat (2 sc, 1 inc) 6 times. Join with a sl st, ch 1. (24 sts)
Round 5: Work 24 sc. Join with a sl st, ch 1. (24 sts)
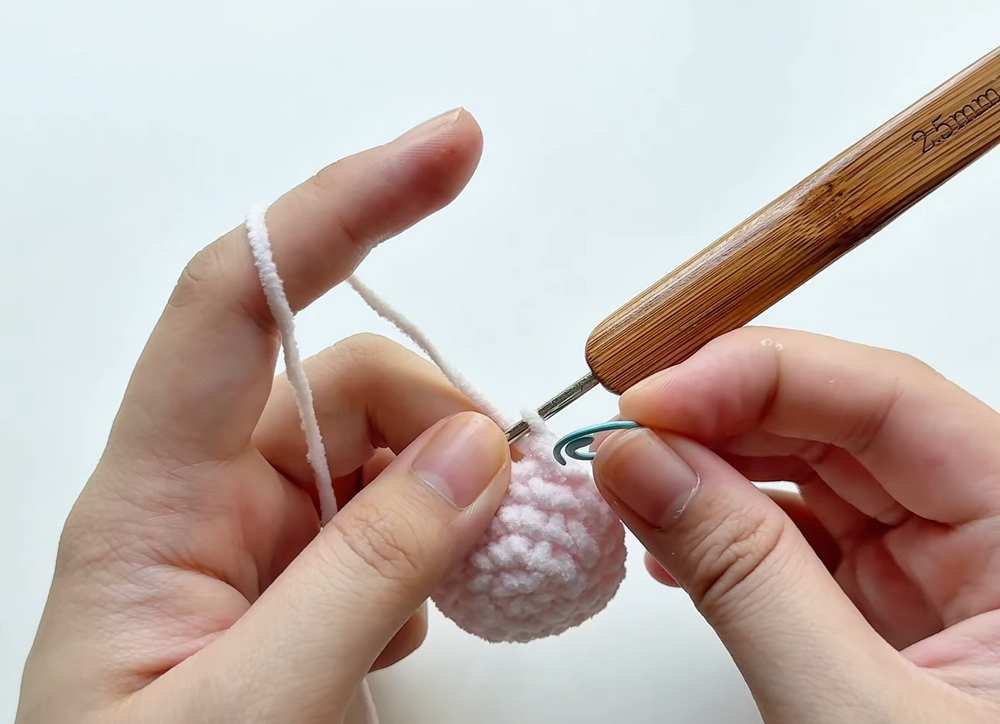
Round 6: Work 7 sc, 3 inc, 4 sc, 3 inc, 7 sc. Join with a sl st, ch 1. (30 sts)
Round 7 – 8: Work 30 sc in each round. Join with a sl st, ch 1. (30 sts)
Round 9: Work 7 sc, 3 dec in FLO, 4 sc, 3 dec in FLO, 7 sc. Join with a sl st, ch 1. (24 sts)
Round 10: Repeat (2 sc, 1 dec) 6 times. Change to Green yarn at the end of the round. Join with a sl st, ch 1. (18 sts)
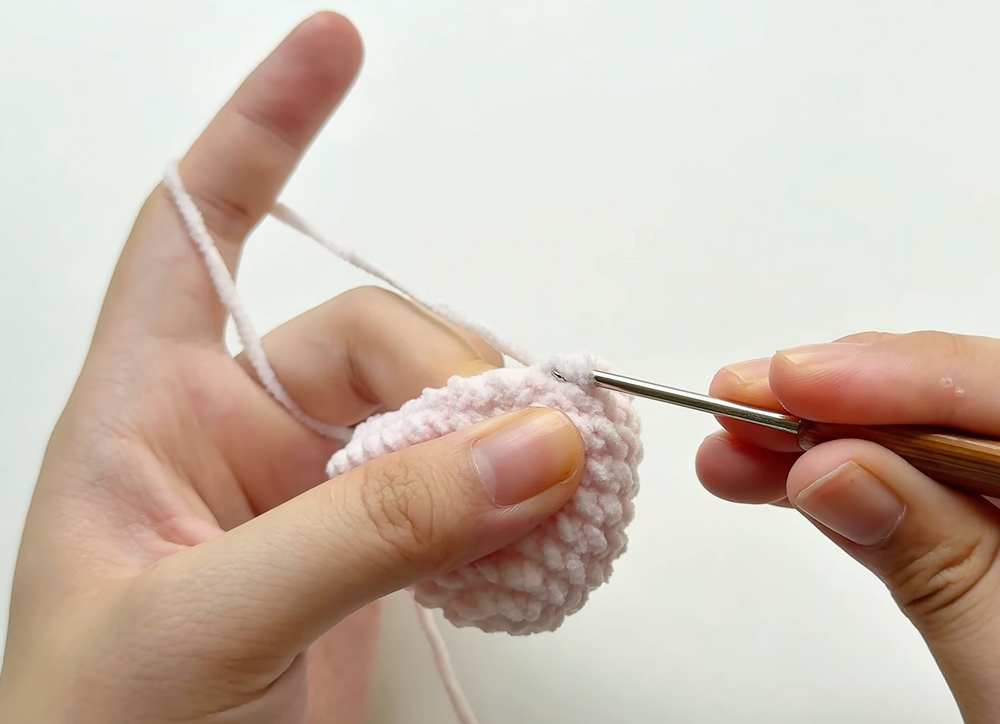
Change to Green yarn for the body:
Round 11: Repeat (2 sc, 1 inc) 6 times. Join with a sl st, ch 1. (24 sts)
Round 12 (Hands): Work 3 sc, 1 inc, 2 sc, 1 bobble stitch for the hand, 9 sc, 1 bobble stitch for the hand, 6 sc, 1 inc. Join with a sl st, ch 1. (26 sts)
Round 13: Work 26 sc. Join with a sl st, ch 1. (26 sts)
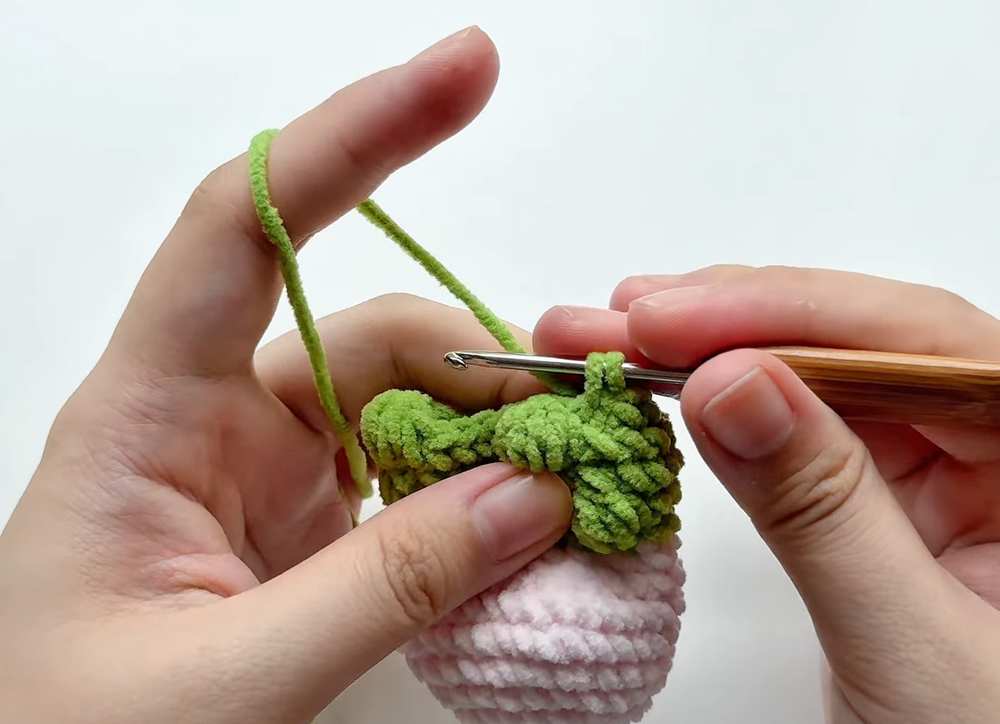
Round 14 (Feet): Work 3 sc, 1 dec, 4 sc, 1 bobble stitch for the foot, 6 sc, 1 bobble stitch for the foot, 7 sc, 1 dec. Join with a sl st, ch 1. (24 sts)
Round 15: Repeat (2 sc, 1 dec) 6 times. Join with a sl st, ch 1. (18 sts)
Insert 6 mm safety eyes between Rounds 7 and 8. Stuff the head and body firmly with toy stuffing.
Round 16: Work 9 dec. (9 sts)
Cut yarn leaving a long tail. Weave through front loops, pull closed, and hide yarn tail inside the body.
Sleepy Hat
Use Blue yarn:
Round 1: Make 6 sc in a MR. Join with a sl st, ch 1. (6 sts)
Round 2: Work 6 sc. Join with a sl st, ch 1. (6 sts)
Round 3: Repeat (2 sc, 1 inc) 2 times. Join with a sl st, ch 1. (8 sts)
Round 4: Work 8 sc. Join with a sl st, ch 1. (8 sts)
Round 5: Repeat (3 sc, 1 inc) 2 times. Join with a sl st, ch 1. (10 sts)
Round 6: Work 10 sc. Join with a sl st, ch 1. (10 sts)
Round 7: Repeat (4 sc, 1 inc) 2 times. Join with a sl st, ch 1. (12 sts)
Round 8 – 10: Work 12 sc in each round. Join with a sl st, ch 1. (12 sts)
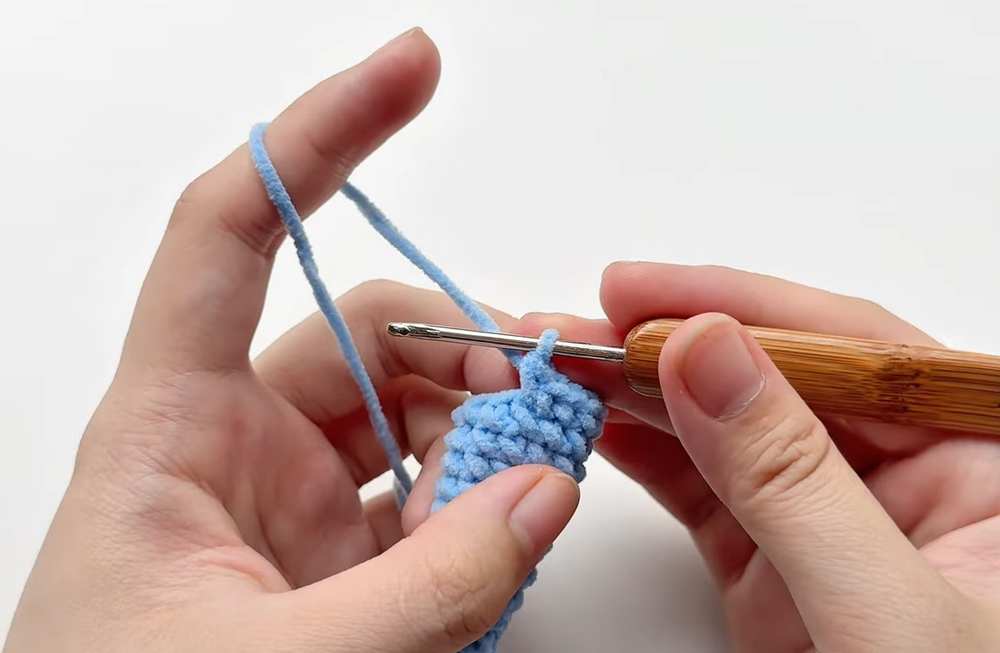
Round 11: Repeat (2 sc, 1 inc) 4 times. Join with a sl st, ch 1. (16 sts)
Round 12: Repeat (3 sc, 1 inc) 4 times. Join with a sl st, ch 1. (20 sts)
Round 13: Repeat (3 sc, 1 inc) 5 times. Join with a sl st, ch 1. (25 sts)
Round 14: Repeat (4 sc, 1 inc) 5 times. Join with a sl st, ch 1. (30 sts)
Round 15: Repeat (5 sc, 1 inc) 5 times. Join with a sl st, ch 1. (35 sts)
Round 16 – 17: Work 35 sc in each round. Join with a sl st. Change to White yarn at the end of Round 17. (35 sts)
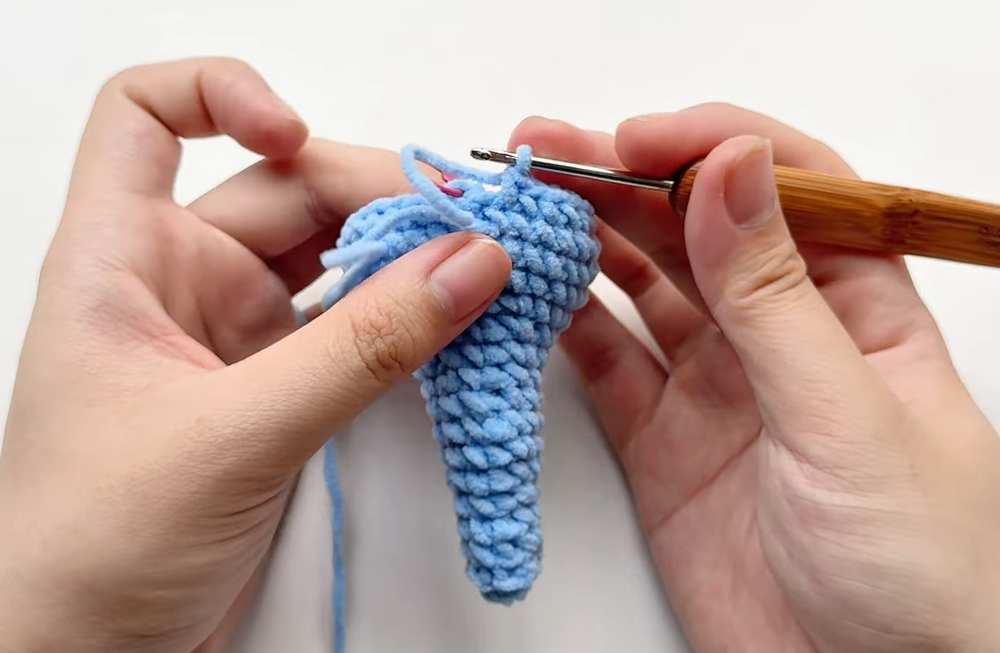
Change to White yarn for the Brim:
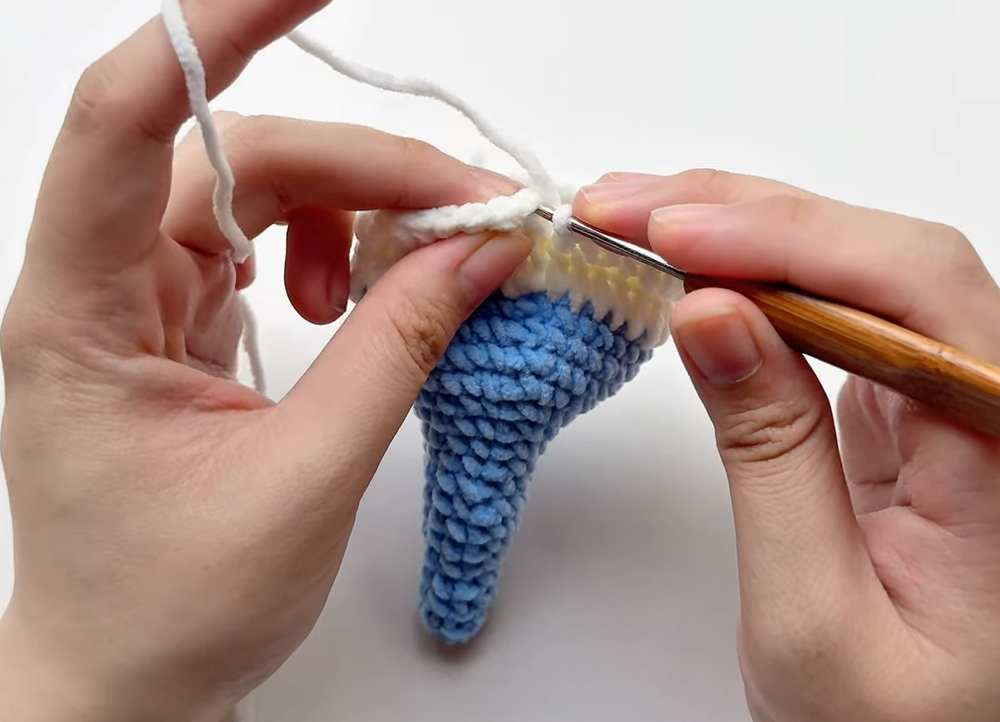
Round 18: Ch 2. Work 1 dc in every stitch around. Join with a sl st to the first dc. (35 dc)
Round 19: Ch 2. Working in FLO (Front Loops Only), work 1 dc in every stitch around. Join with a sl st, fasten off, and weave in ends. (35 dc)
Tiny Sleepy Pillow
Use White yarn (Make 2 pieces):
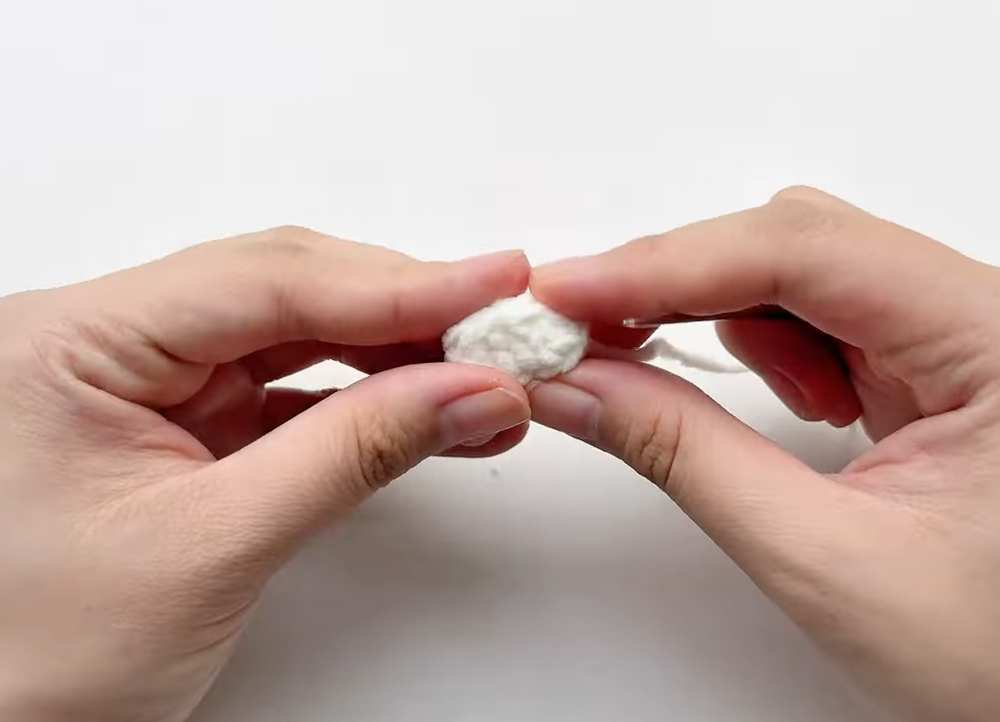
Row 1: Chain 5.
Row 2: Starting in the 2nd chain from the hook, work 3 sc. In the last chain, work 3 sc in the same stitch.
Row 3: Turn and work down the opposite side of the chain. Work 2 sc, then 1 inc in the final stitch.
Join with a sl st. Fasten off the first piece.
Make the second piece, but do not cut the yarn. Place the two pieces together, right sides facing out, and use your tapestry needle to sew the edges together. Add a tiny pinch of stuffing before closing it completely.
Tiny Star Hat Accent
Use Yellow yarn:
Round 1: Make a MR.
Points: Repeat (ch 2, sl st into the 1st chain, sl st into the MR) 5 times.
Pull the magic ring tight to form the star. Fasten off and leave a tail to sew the star onto the tip or side of the sleeping hat.
Share on Social Media!
See More:
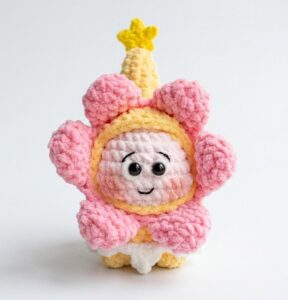
How to Crochet A Twinkle Plushie with a Removeable Flower Hat
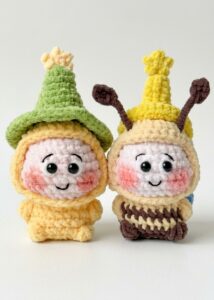
How to Crochet A Twinkle Plushie in Bee Costume for Kids
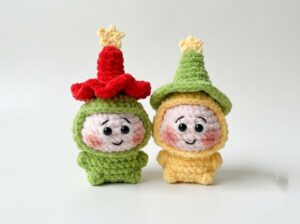
How to Crochet Christmas Hat Twinkle Plushie (Quick Gift for Kids)
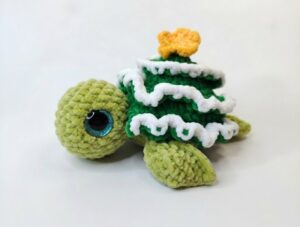
Featuring: How to Crochet A Christmas Tree Turtle Plushie for Gifting
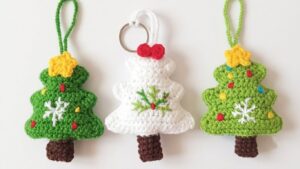
How to Crochet A Christmas Tree Bag Charm with Snowflake Embroidery
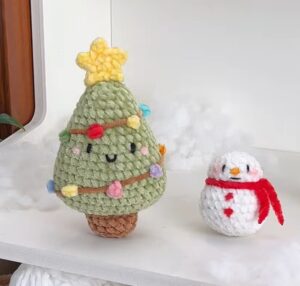
Featuring: How to Crochet Plush Christmas Tree with Colorful Crochet Lighting