Author: Talha
I am a crochet designer, macramé maker and a crafter who also loves doing MATH.
Featuring: Phuong Do of Monua DIY
She is a crochet plushie designer who has been our FREIND via mycraftybasket since early 2026.
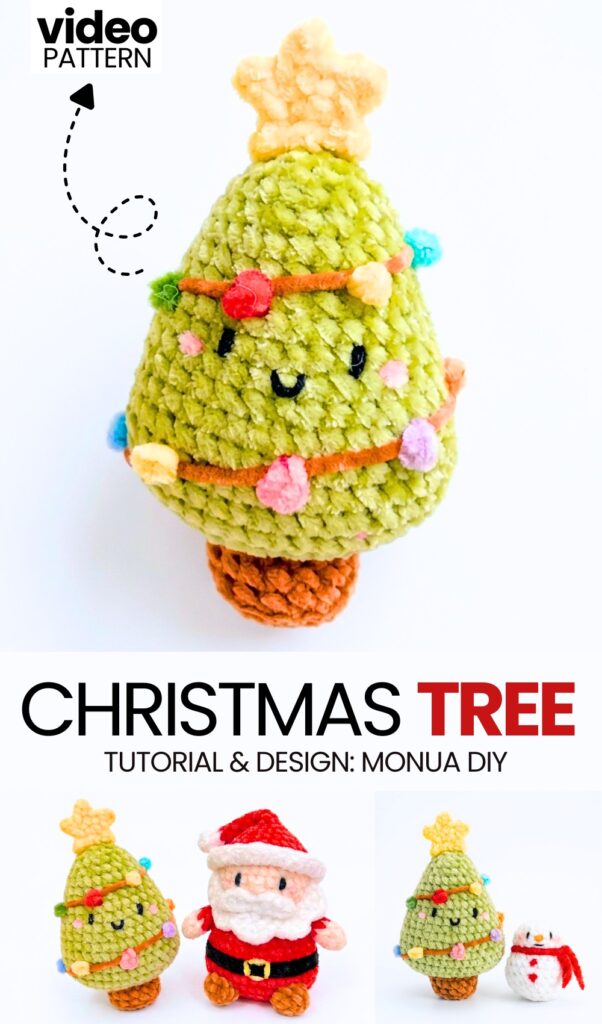
If you believe that a crocheted Christmas tree is not just for decoration, learn how to crochet this KAWAII Christmas Tree buddy plushie. Today, I am featuring this crochet chubby & no-sew Christmas tree character plush tutorial as part of “The Christmas Tree Can Be a Buddy, Too” series. This has a CUTE smiling face made with embroidery, a plush star applique on the top, and no-sew colorful jingle lighting, too. DIY this crochet Christmas tree ornament, a kawaii present for kids.
By stuffing a small weight at the stem part (like we do in the demonstration), you can also make this Christmas tree crochet buddy stand on your shelf or table. This Christmas tree plushie will be crocheted from the bottom up as a single piece.
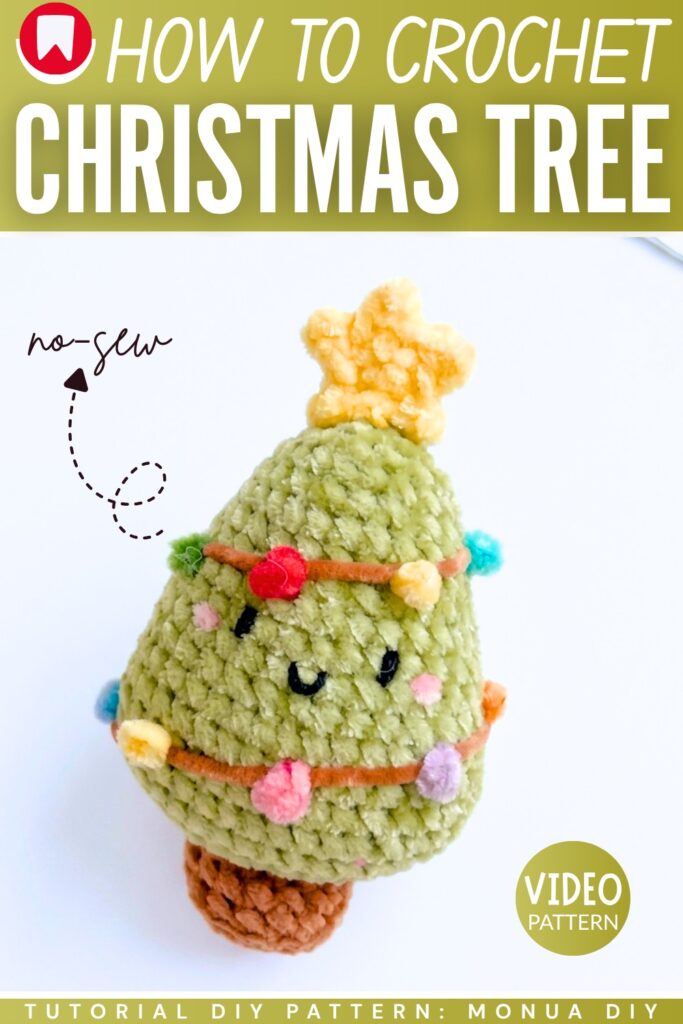
You can also crochet this Christmas tree plush even larger if you use super bulky yarn. However, if you want a size that could be achieved using the amigurumi yarn, you can use a thin velvet yarn, too. You can also use the kawaii plastic eyes or even sew the eyes. Now, continue reading to learn more about this crochet Christmas tree project.
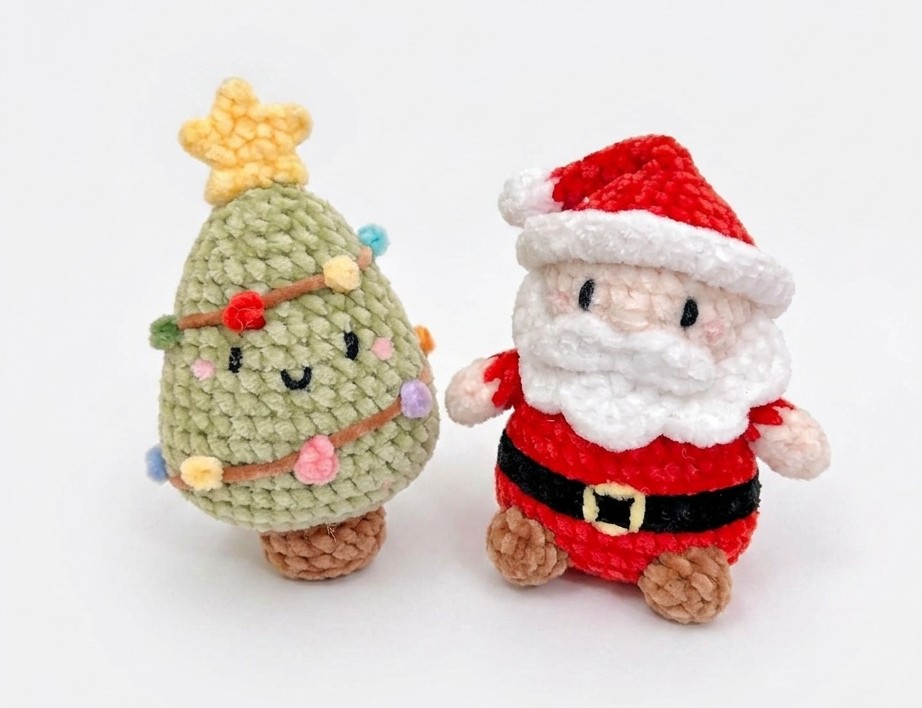
Similar Project(s)
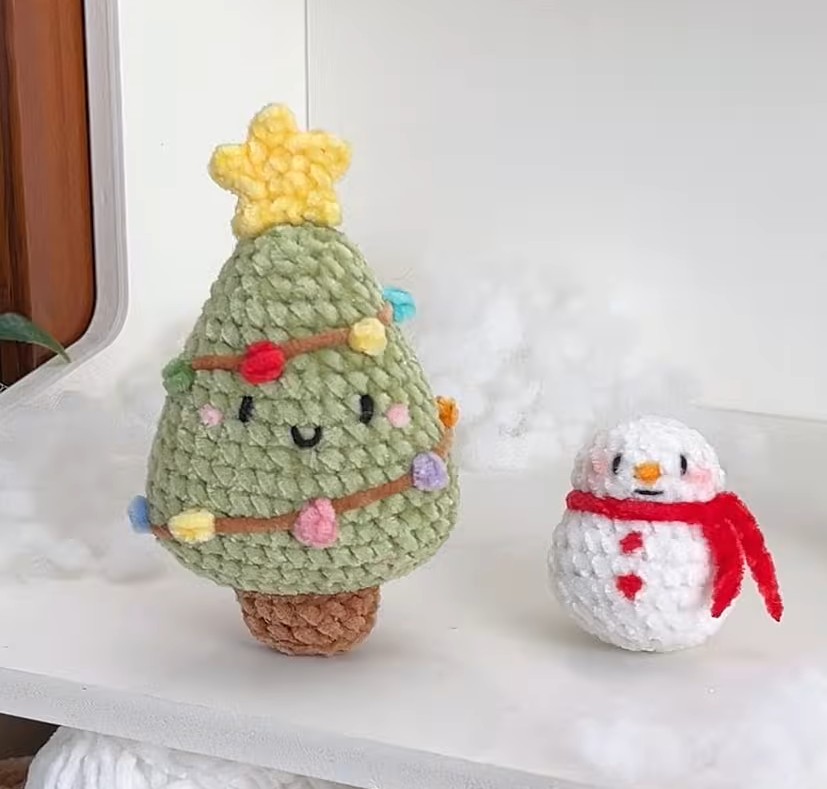
Tutorial on How to Crochet A Christmas Tree Buddy Plushie
The Christmas tree is crocheted in three parts: the body, the trunk, and the topper. The green body is worked in rounds, starting from a foundation chain and increasing to form a rounded cone shape before being stuffed with fiberfill.
The trunk is a small brown piece crocheted in rounds, utilizing the back loop only (BLO) technique to create a structured, flat base that is then sewn to the tree. For the topper, a small yellow star is crafted using a magic ring and simple chain points.
The assembly requires embroidering a cute face with black thread and pink blush. To finish, a decorative yarn “string light” is wrapped around the tree and adorned with tiny colorful crocheted bulbs.
Project Difficulty
Difficulty: Beginner / Easy.
Materials Used
Yarn: 4-ply yarn and 2 mm chenille yarn (Colors: Green, Brown, Yellow, and Pink for blush).
Tools: 2.5 mm crochet hook, stitch markers, needle, tweezers, scissors, and B-7000 glue.
Stuffing: Fiberfill.
Details: Black thread for facial features and embroidery.
Crochet Abbreviations
ch: chain
slst: slip stitch
sk: skip stitch
sc: single crochet
inc: increase
dec: decrease
3sc in 1 st: increase by making 3 single crochets into one stitch
BLO: back loop only
Learn Crocheting Now!
Better learn the whole method of crocheting this quick Jellycat pumpkin plushie with the following tutorial:
Written Pattern?
Use the “ask” feature of the tutorial to retrieve the quick pattern. This method is designer-compliant!
Share on Social Media!
See More:
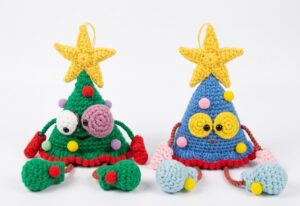
How to Crochet the Craziest FUNNY Christmas Tree Buddy Amigurumi Ornament
How to Crochet Christmas Yellow Goggle Character Bell Buddy in Santa Hat
![[PDF Pattern] How to Crochet Smiling Snowman Wind Spinner for Christmas](https://criazalblog.com/wp-content/uploads/2026/09/snowman-wind-spinner-224x300.jpg)
[PDF Pattern] How to Crochet Smiling Snowman Wind Spinner for Christmas
![[PDF Pattern] How to Crochet Mr. Cookie Crochet Christmas Gift Basket](https://criazalblog.com/wp-content/uploads/2026/09/crochet-gingerbread-basket-2-223x300.jpg)
[PDF Pattern] How to Crochet Mr. Cookie Crochet Christmas Gift Basket
![[PDF Pattern] How to Crochet A Green Christmas Character Basket in Santa Hat Pattern](https://criazalblog.com/wp-content/uploads/2026/09/crochet-grinch-basket-1-296x300.jpg)
[PDF Pattern] How to Crochet A Green Christmas Character Basket in Santa Hat Pattern

Tester Pattern: To Crochet A Snowball Christmas Dumpling in Basket Plush
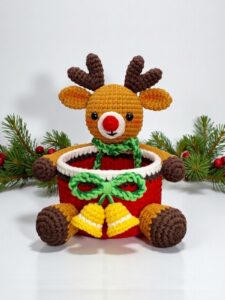
PDF Pattern | How to Crochet A Christmas Animal Basket for Gifting
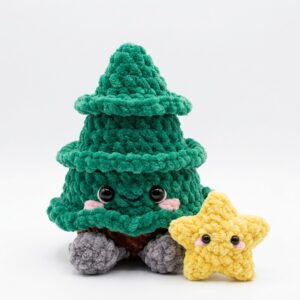
Featuring: Crochet Amuseables Sitting Christmas Tree & Star Are Buddies Plushie
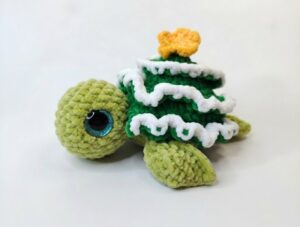
Featuring: How to Crochet A Christmas Tree Turtle Plushie for Gifting