
Material List
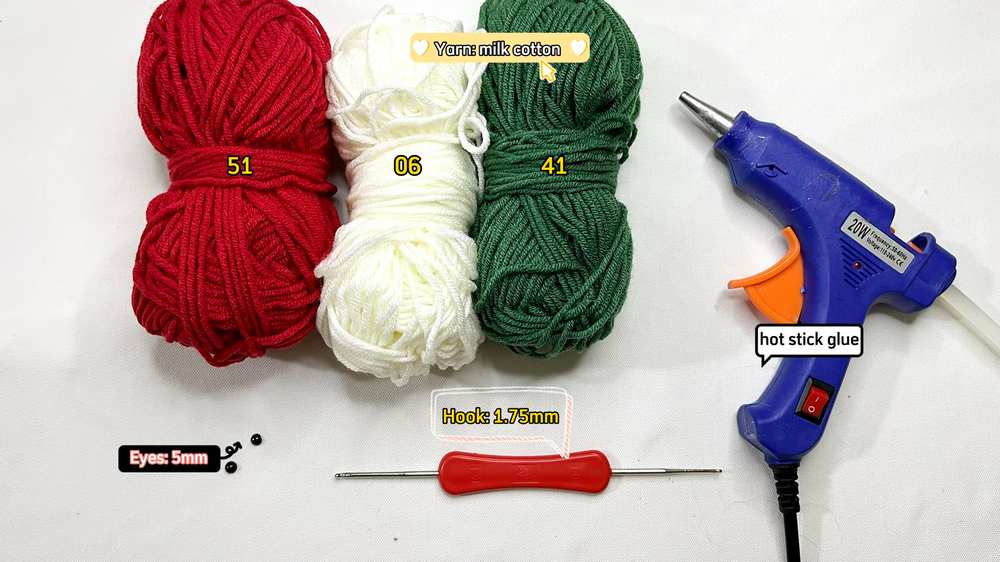
Yarn: Milk Cotton yarn in various colors (Green, White, Red, and Brown)
Crochet Hook: 1.75 mm
Safety Eyes: 5 mm size
Other Tools: Glue gun, stitch markers, scissors, and fiberfill stuffing
Abbreviations
MR: Magic Ring
ch: Chain
st: Stitch
x: Single crochet (sc)
v: Increase (2 single crochet stitches in the same stitch)
BLO: Back Loops Only
hdc: Half double crochet
dc: Double crochet
sl st: Slip stitch
Step-by-Step Pattern
1. The Hat
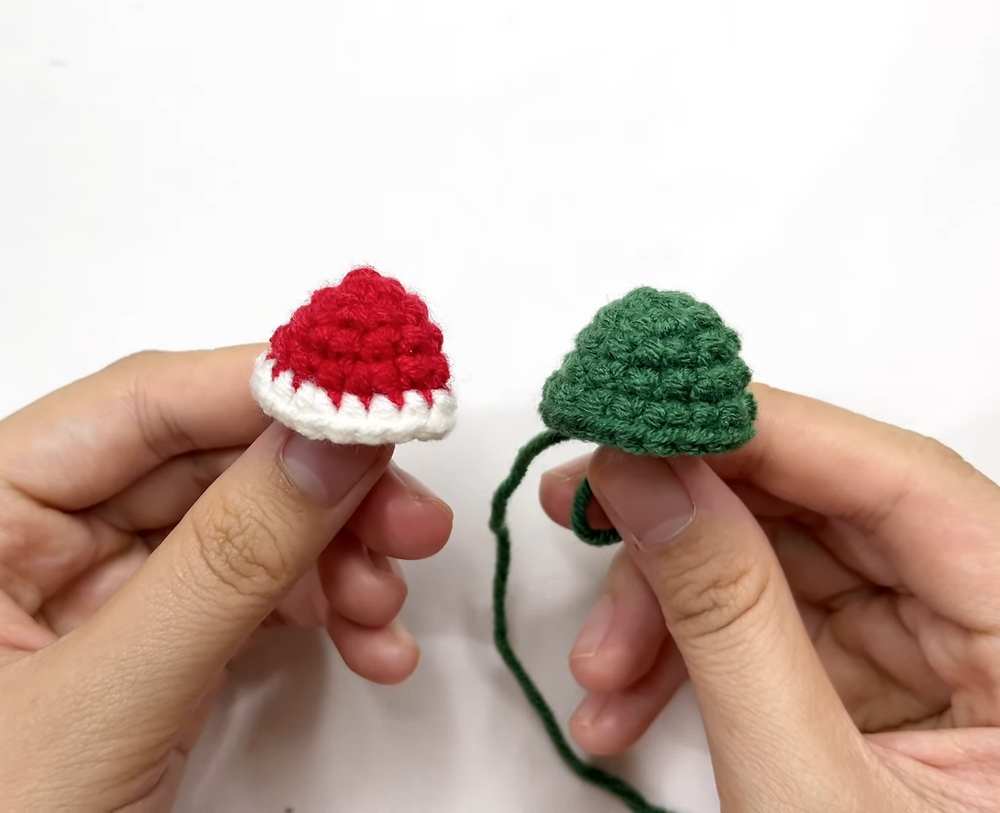
Round 1: Start with a MR, ch 1. Work 6 x into the ring. Sl st to the first st to close. (6 sts)
Round 2: Ch 1, (1 x, 1 v) repeat to the end of the round. Sl st to close. (9 sts)
Round 3: Ch 1, (1 x, 1 v, 1 x) repeat to the end of the round. Sl st to close. (12 sts)
Round 4: Ch 1, (3 x, 1 v) repeat to the end of the round. On the last stitch, change to white yarn. Sl st to close. (15 sts)
Round 5: Using white yarn, ch 1, (2 x, 1 v, 2 x) repeat to the end of the round. Sl st to close, fasten off and cut yarn. (18 sts)
2. The Tree Body
Rounds 1–5: Repeat the exact same pattern as the Hat (Rounds 1 to 5) using green yarn.
Round 6: Ch 1, (5 x, 1 v) repeat to the end of the round. Sl st to close. (21 sts)
Round 7: Ch 1, (3 x, 1 v, 3 x) repeat to the end of the round. Sl st to close. (24 sts)
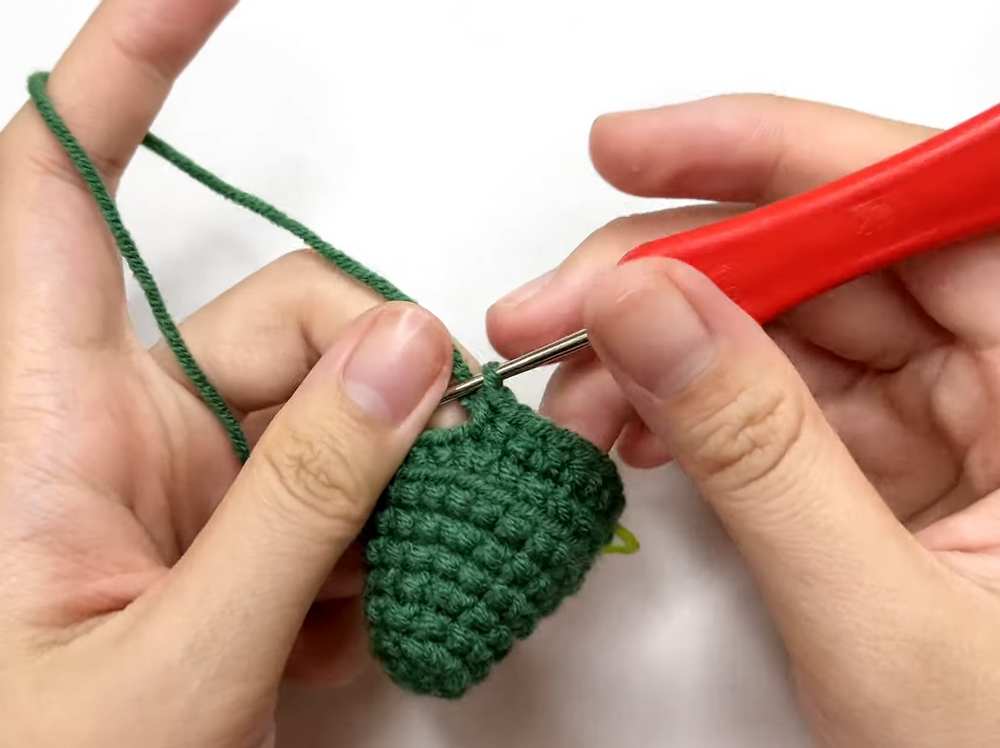
Round 8: Working in BLO only, ch 1, (7 x, 1 v) repeat to the end of the round. Sl st to close. (27 sts)
Round 9: Ch 1, (4 x, 1 v, 4 x) repeat to the end of the round. Sl st to close. (30 sts)
Round 10: Working in BLO only, ch 1, (9 x, 1 v) repeat to the end of the round. Sl st to close, fasten off and cut yarn. (33 sts)
3. Leaf Details / Branches
Attach green yarn to the exposed front loops left over from the BLO rounds of the tree body.
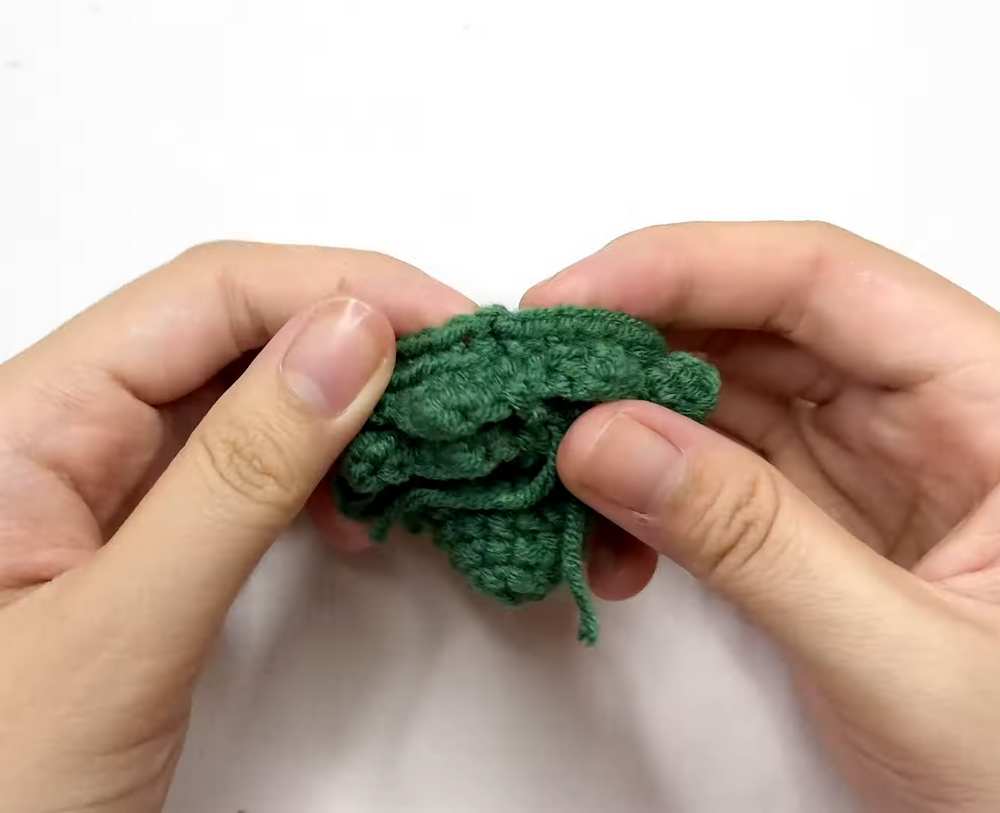
Leaf Cluster Repeat: Ch 1, work 1 x in the first loop. In the next loop, work (1 hdc, 1 dc, 1 hdc) all into that same stitch. In the following loop, work 1 x, then sl st into the same stitch.
Repeat this sequence all the way around the ridges to form the ruffled tree leaves.
4. Details & Assembly
Cheeks/Blush: Make a MR and work 5 x into the ring. Fasten off to create small circular cheeks.
Pompom: Crochet a small ball using red or white yarn to place on top of the hat.
Assembly: Insert the 5 mm safety eyes onto the tree face. Use a hot glue gun to securely attach the cheeks, the hat on top of the tree, and the pompom onto the hat. Stuff the body firmly before closing or securing any base layers.
See More:
How to Crochet Leggy Anti-Stress 4-in-1 Christmas Character Amigurumi for Gifting
How to Crochet Red Bell Topped Snowy Christmas Tree Table Decoration for All
How to Crochet Tiered Pink and Blue Christmas Tree with Amigurumi Star Decoration

Tester Call: How to Crochet Mr. Santa Anti-Stress Donut Ring Plushie for Christmas

Crochet Bell Christmas Ornament Ring Plushie for Decoration & Playing with

Featuring: How to Crochet Snow Buddy in A Beanie Treat Bag for Christmas

How to Crochet Christmas Gift Smiling Santa Mobile Phone Pouch and Gift Bag

How to Crochet White & Blue Bead Decorated Mini Boot Ornament for Christmas

How to Bow and Bead Decorated Christmas Wreath Rings for Beautiful Garlands