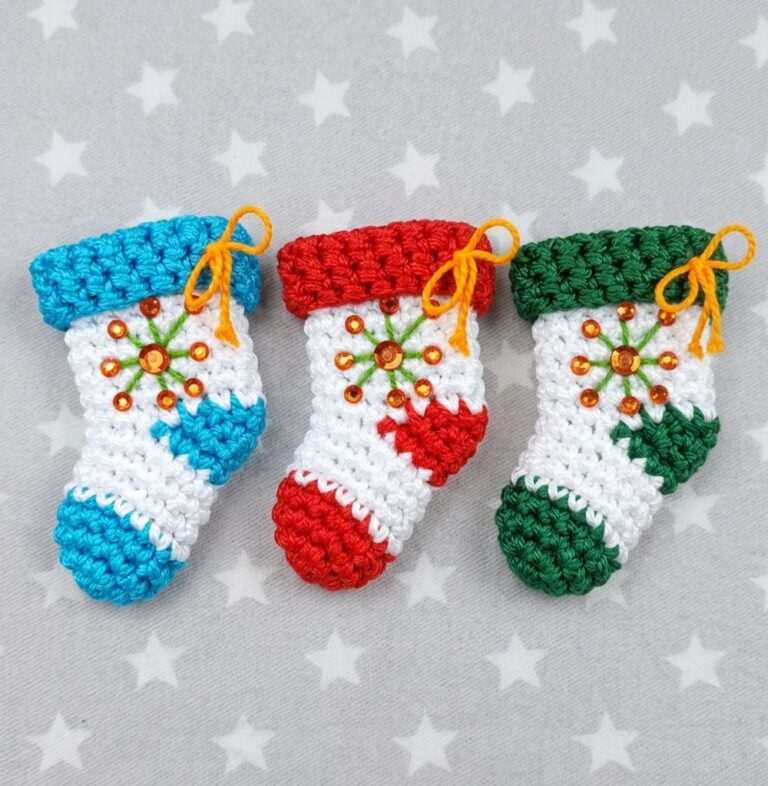
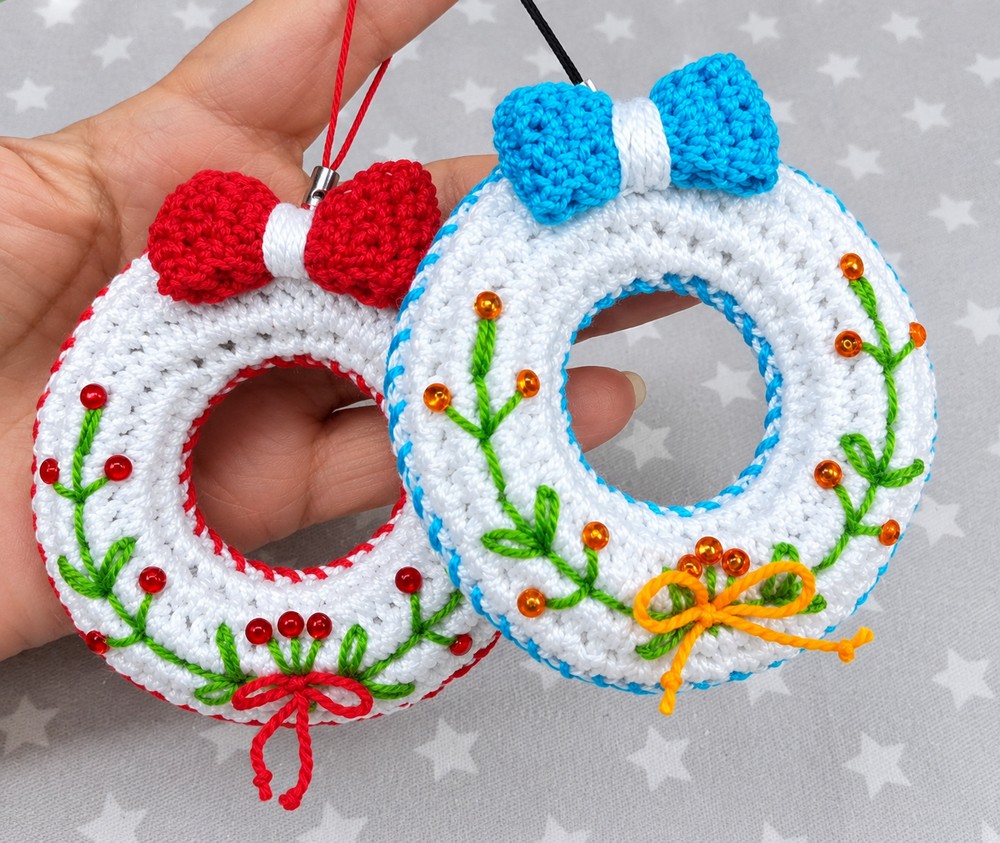
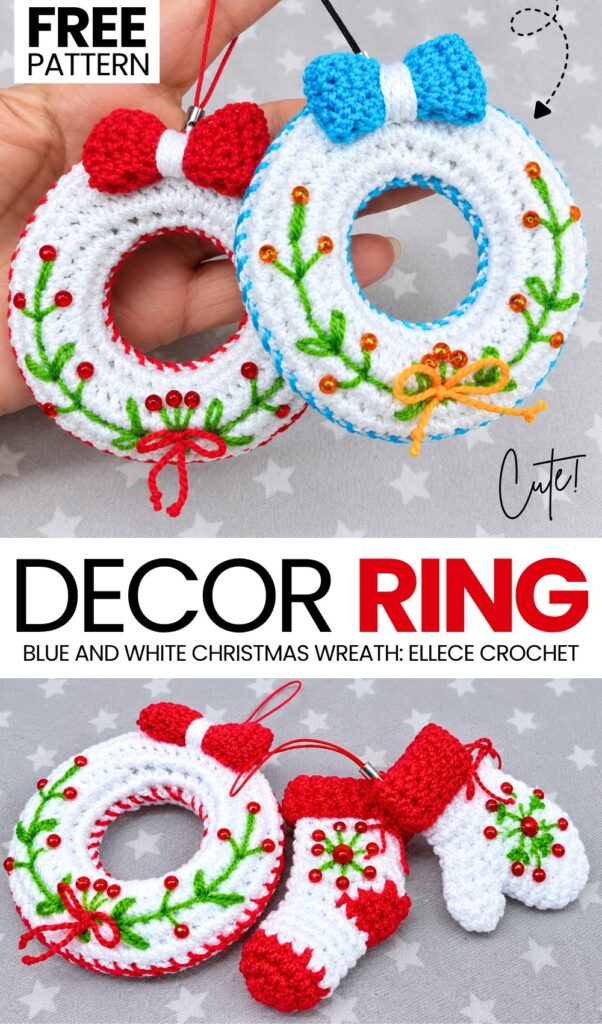
Today, I am starting a new mini-series for Christmas prep: the white-and-blue crochet Christmas accessories series! All these patterns in this series will be decorated with beads, cute vine embroidery, and other optional details! The first is a set of small, shiny amigurumi bow- and bead-decorated crochet Christmas wreath rings, which are actually a crochet Christmas donut pattern!
Learn how to crochet either the red and white or blue and white variation of this elegant Christmas ring with a step-by-step guide and a FREE written pattern as well.

Soon, you will also learn to make a crochet blue and white stocking as well as winter glove keychains. All these accessories will make irresistible last-minute Christmas gifts for both kids and adults. Anyway, continue reading to learn more about this amigurumi Christmas ring project as well as find the full pattern!
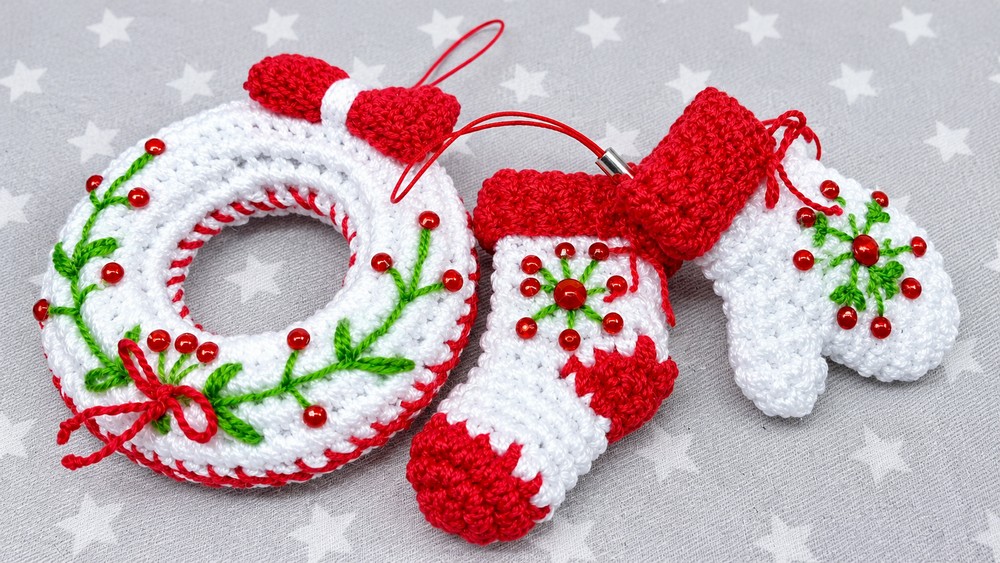
Pattern to Crochet An Amigurumi Stuffed Wreath Ring for Christmas
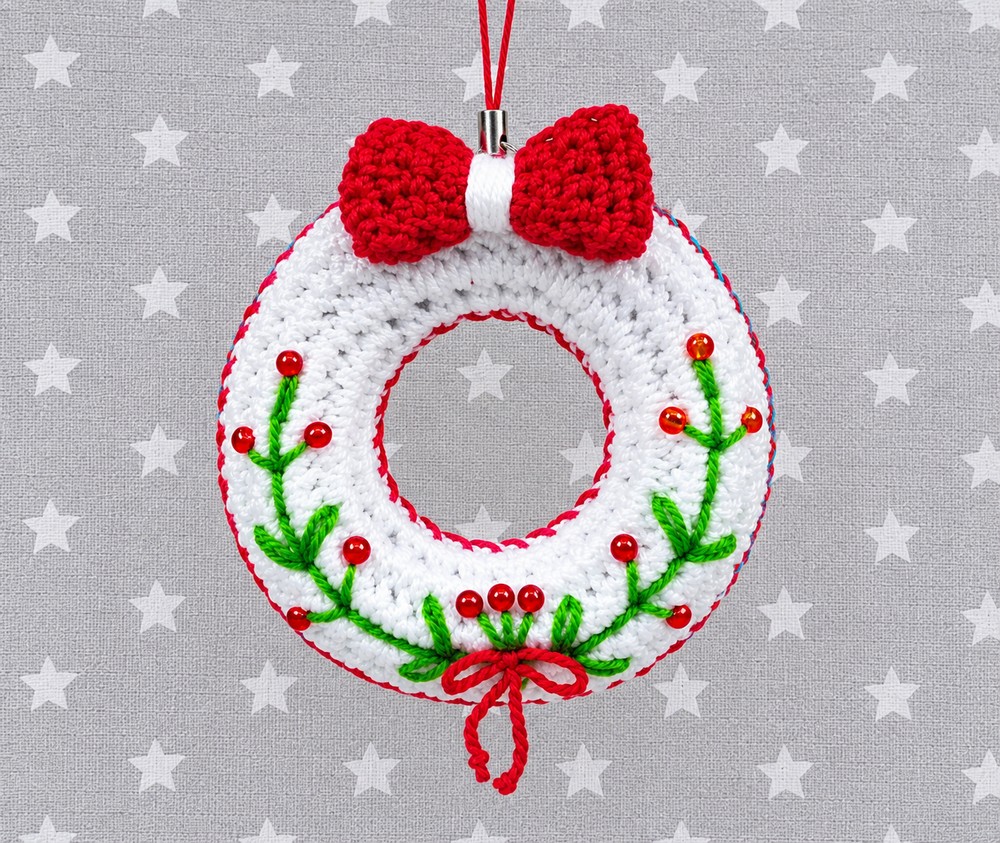
This project is a small crochet Christmas wreath. You use green yarn to make the round wreath body. You make small leaf points around the edge of the ring. You use red yarn to make a small bow tie and small red berries.
You sew the bow tie and berries onto the green wreath. You add a string loop at the top so you can hang it on a Christmas tree or connect many wreaths together on a garland. This project is fast and easy to make.
Materials Needed
Yarn:
Green cotton yarn (for the wreath body)
Red cotton yarn (for the bow and berries)
White or Gold thread (optional, for decorative accents)
Crochet Hook: 2.5 mm or 3.0 mm crochet hook
Tools:
Yarn needle
Scissors
Red beads or small bells (optional decoration)
Abbreviations (US Terms)
ch: Chain
sc: Single crochet
hdc: Half double crochet
dc: Double crochet
sl st: Slip stitch
st / sts: Stitch / Stitches
picot: Chain 3, slip stitch into the 1st chain made
Are you a Beginner? Learn Crocheting Easily!
You can learn to crochet better with this cute amigurumi wreath using the following video tutorial, or continue with the pattern:
Pattern Instructions
1. Wreath Base Ring
Using Green yarn:
Foundation Ring: Chain 18. Join with a slip stitch into the first chain to form a ring (be careful not to twist the chain).
Round 1: Chain 1. Work 30 single crochets directly into the center opening of the ring (crocheting over the chain loop to cover it completely). Join with a slip stitch to the first single crochet. (30 sts)
Round 2: Chain 1. Work 1 single crochet in each stitch around. Join with a slip stitch to the first single crochet. (30 sts)
2. Leafy Border
Using Green yarn:
Round 3: [Chain 3, skip 1 stitch, slip stitch into the next stitch]. Repeat this sequence around the whole ring to create 15 chain loops.
Round 4 (Leaf Points): In each chain-3 space around the ring, work the following stitches:
Work (1 sc, 1 hdc, 1 dc, picot [ch 3, sl st in 1st ch], 1 dc, 1 hdc, 1 sc) into the chain space.
Slip stitch into the slip stitch located between the loops.
Repeat this for all 15 chain loops around the wreath.
Fasten off yarn and weave in the loose green end.
3. Red Bow
Using Red yarn:
Row 1: Chain 15.
Row 2: Starting in the 2nd chain from the hook, work 1 single crochet in each chain across. Turn. (14 sts)
Rows 3–4: Chain 1, turn. Work 1 single crochet in each stitch across. (14 sts)
Fasten off, leaving a long red yarn tail.
Shaping the Bow: Fold the two ends of the flat strip to the middle to form a folded rectangle. Wrap the long yarn tail tightly around the center 5 to 6 times to pinch it into a bow shape. Knot tightly at the back.
Bow Ribbon Tails: Join red yarn at the back of the bow, chain 8, work 1 single crochet back up each chain, and slip stitch to the bow center. Repeat for the second ribbon tail.
4. Small Red Berries (Make 3)
Using Red yarn:
Round 1: Make a magic ring. Work 4 single crochets into the ring. Pull the ring tight and join with a slip stitch to the first stitch.
Fasten off, leaving a short yarn tail for sewing.
Assembly Instructions
Position the red bow at the bottom center of the green wreath. Using a yarn needle and the long red yarn tail, sew the bow securely onto the front of the wreath.
Sew the 3 small red berries right above or next to the red bow using a yarn needle. You can also use red plastic beads or small jingle bells instead of crocheted berries.
Using white or gold yarn, weave small running stitches through the inner ring of the wreath to add a shiny accent.
Attach a piece of green or red yarn to the top center of the wreath. Chain 15 to 20 stitches to form a hanging loop, then slip stitch back into the top of the wreath and fasten off.
Share on Social Media!
See More:
How to Crochet White & Blue Bead Decorated Mini Boot Ornament for Christmas
Featuring: How to Crochet A Red-Nosed Animal Buddy Christmas Plushie
How to Crochet 4 Set Ribbed Decoration Christmas Festive Ball Ornaments
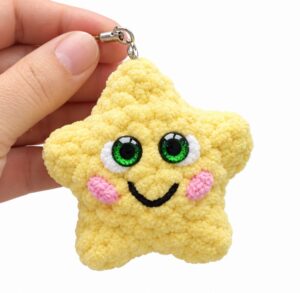
How to Crocet Holdiday Mr. Smiling Star Plushie for Christmas Gifting
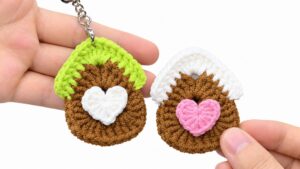
How to Crochet the CUTEST Mini Christmas Applique Keychain (Christams House)

How to Crochet Mr. Patrik Celebrating Christmas Miniature Plushie for Holidays
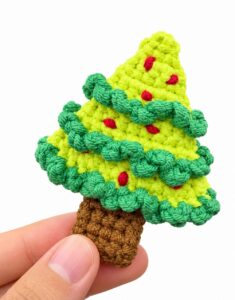
How to Crochet Mini is the Christmas Tree Holiday No-Sew Bag Charm Pattern
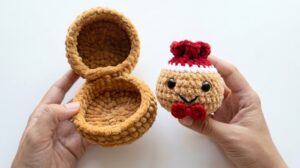
Tester Call: How to Crochet Gingerbread Bao Bun Dumpling Plushie for Christmas
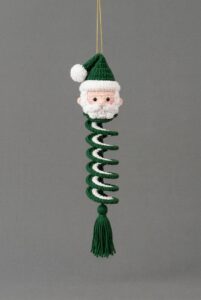
How to Crochet A Santa on the Top Wind Spinner for Christmas