Show support for her!
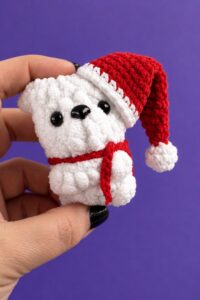
Finally, let’s crochet a big polar plushie dressed in a Santa hat and a peppermint crochet scarf. Say welcome to the crochet white holiday bear plushie that you can learn to crochet with a FREE written pattern, along with a step-by-step tutorial for the base as well. The crochet scarf also has cute fringes, just like my crochet mug rug. Wears a crochet slouchy Santa with a fluffy pom-pom you can just glue on top.
This crochet polar bear pattern features a no-sew head-and-body design. Working with velvety chenille yarn allows the project to work up quickly into a generous 20 cm (about 8 inches) cuddly companion while using less than half a skein of yarn.
Whether made as a baby shower gift, a child’s toy, or nursery decor, this plush bear is delightfully squishy, soft, and easy to customize. If you are looking for a small crochet polar bear plush, check my tutorial below as well. Now, continue reading to learn more about this crochet plush sitting polar bear plush!
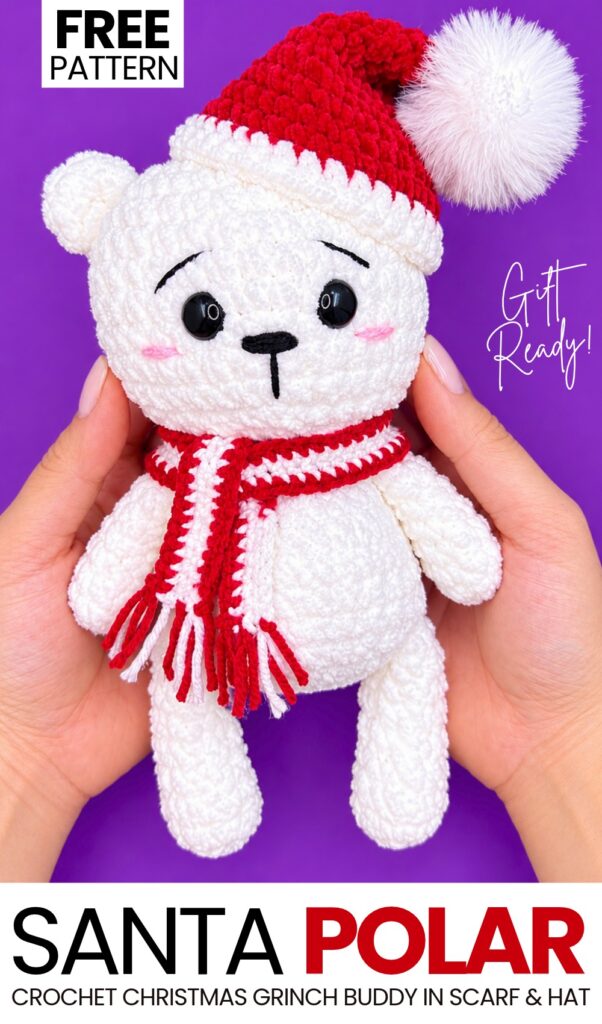
Pattern to Crochet Santa Polar Bear Plushie for Gifting
Finished Size: Approximately 20 cm (8 inches) from the top of the ears to the bottom of the feet.
Skill Level: Easy / Confident Beginner.
Construction: The head and body are crocheted in one continuous piece from the top down. The ears, arms, and legs are worked separately and sewn on.
Materials & Tools
Yarn:
Círculo Amigurumi Chenille (100% polyester, 100 g / 110 m / 909 tex), Color: Beige / Sand (approx. 38 g used per bear).
Note on Alternatives: You can substitute other super bulky/chunky chenille or velvet yarns (e.g., Himalaya Dolphin Baby, YarnArt Dolce). If using standard cotton amigurumi yarn with a 2.5 mm hook, the bear will turn out much smaller (keychain-sized, around 8 to 10 cm).
Crochet Hook: 4.5 mm (recommended for this yarn to keep the stitches tight enough so stuffing does not peek through).
Safety Eyes: 12 mm black round flat safety eyes with washers.
Stuffing: Polyester fiberfill / silicone stuffing.
Needles: Large-eye yarn needle (metal tapestry needle, preferably with a slightly bent tip to navigate thick yarn easily).
Face Details: Small amount of dark brown or black cotton yarn/embroidery floss for the nose, mouth, and eyebrows; pink yarn or powder blush for the cheeks.
Notions: Stitch marker, dressmaker pins, sharp scissors.
Materials for Hat
Category 6 plush yarn (Main Color and White)
4.5mm crochet hook
Stitch marker
Yarn needle
- Fluffy large pom-pom
Materials for Scarf
- Worsted yarn in red and white
- 3.5mm crochet hook

Crochet Abbreviations (US Terms)
MR: Magic Ring
ch: Chain stitch
sc: Single crochet
inc: Increase (work 2 single crochet in the same stitch)
dec: Decrease (single crochet 2 stitches together, invisible decrease recommended)
sl st: Slip stitch
st(s): Stitch(es)
( ) x number: Repeat the sequence in parentheses the specified number of times
[ ]: Total stitch count at the end of the round
Important Tips for Chenille Yarn
Starting the Magic Ring: Because chenille yarn is thick and fuzzy, starting a circle with too few stitches (such as 6 sc) can cause the center to pucker into a cone. Starting with 12 single crochets keeps the top of the head perfectly flat.
Pulling the Center Ring Closed: Pull the tail gently and steadily. Pulling too abruptly on chenille yarn can snap the inner thread or shed the outer fibers.
Stuffing Level: If you want a soft, squishy plush feel, stuff moderately. Overstuffing can stretch the stitches and make the toy overly firm.
Step-by-Step Crochet Instructions
1. Head and Body (Worked as One Continuous Piece)
Worked in continuous spiral rounds from the top of the head down to the base of the body.
Head:
Round 1: In a MR, work 12 sc. Pull ring closed. [12]
Round 2: (1 sc, inc) x 6 [18]
Round 3: (2 sc, inc) x 6 [24]
Round 4: (3 sc, inc) x 6 [30]
Round 5: (4 sc, inc) x 6 [36]
Rounds 6 to 12 (7 rounds total): Work 1 sc in each st around [36]
Round 13: (4 sc, dec) x 6 [30]
Round 14: (3 sc, dec) x 6 [24]
Inserting Safety Eyes:
Place the 12 mm safety eyes between Round 9 and Round 10 of the head.
Leave approximately 2 visible stitches between the eyes.
Check that they are level and secure the safety washers firmly on the inside.
Neck Transition & Body:
Round 15: (2 sc, dec) x 6 [18]
Firmly stuff the head with fiberfill, shaping it into a smooth sphere.
Round 16: Work 1 sc in each st around [18] (creates a clean neck groove)
Round 17: (2 sc, inc) x 6 [24] (begins the body expansion)
Rounds 18 to 22 (5 rounds total): Work 1 sc in each st around [24]
Round 23: (1 sc, dec) x 8 [16]
Fill the body with stuffing to your desired firmness.
Round 24: 8 dec [8]
Cut the yarn, leaving a 15 cm (6 inch) tail for closing. Add a small pinch of stuffing into the opening if needed.
Closing the Body (Inverted Magic Ring):
Thread the yarn tail onto your tapestry needle.
Pick up only the front loop of each of the 8 remaining stitches, working from the outside toward the inside.
Pull the yarn tail tight to cinch the hole closed completely.
Insert the needle into the center of the closed hole, exit out the back of the body, tie a discreet knot against a stitch, and hide the tail inside the body.
2. Ears (Make 2)
Worked flat into a magic ring; do not join into a full circle.
Row 1: In a MR, work 7 sc.
Pull the magic ring tight to form a neat semicircle.
Fasten off, leaving a long tail for sewing. Do not stuff.
3. Arms (Make 2)
Worked in continuous spiral rounds. Do not stuff.
Round 1: In a MR, work 8 sc. Pull ring closed. [8]
Rounds 2 to 8 (7 rounds total): Work 1 sc in each st around [8]
Fasten off, leaving a tail for sewing.
Leave the arms unstuffed so they hang flat and flexible against the body.
4. Legs (Make 2)
Worked in continuous spiral rounds (1 round longer than the arms).
Round 1: In a MR, work 8 sc. Pull ring closed. [8]
Rounds 2 to 9 (8 rounds total): Work 1 sc in each st around [8]
Fasten off, leaving a tail for sewing. Do not stuff.
Hat Instructions
- Round 1: Make a magic ring, work 6 sc in the ring. (6)
- Round 2: (6 sc) Note: work 1 sc in each st around. (6)
- Round 3: (inc, 5 sc) (7)
- Round 4: (inc, 6 sc) (8)
- Round 5: (8 sc) (8)
- Round 6: (2 inc, 8 sc) (10)
- Round 7: (2 inc, 10 sc) (12)
- Round 8: (3 inc, 12 sc) (15)
- Round 9: (3 inc, 15 sc) (18)
- Round 10: (3 inc, 18 sc) (21)
- Round 11: (3 inc, 21 sc) (24)
- Round 12: (3 inc, 24 sc) (27)
- Round 13: (3 inc, 27 sc) (30)
- Change to white yarn on the last stitch of Round 13.
- Round 14: (2 inc, 30 sc) (32)
- Round 15: (32 sc) (32)
- Fasten off and weave in ends.
Scarf Instructions
Just crochet a long rectangle, changing color after every 2nd row in a total of 6 rows. Add remaining yarn scraps as the fringes.
Assembly & Finishing
1. Attaching the Ears
Position the ears on the sides of the head across Rounds 5 and 6 (counting down from the top center magic ring).
Face the right side of the ear forward.
Pin in place to ensure they are symmetrical relative to the eyes.
Sew across the base of the ear along the two marked rounds.
Knot the yarn, weave the tail through the inside of the head, and trim.
2. Attaching the Arms
Place the arms on each side of the body between Rounds 15 and 16 (just beneath the neck indentation), aligned with the ears.
Flatten the open top of each arm (4 pairs of aligned stitches).
Sew through both thicknesses of the arm opening and into the body stitches across 4 points.
Knot the thread securely at the back of the body and bury the tail inside.
3. Attaching the Legs
Position the legs on the lower front/sides of the body between Rounds 21 and 22.
Flatten the top edge of each leg and sew into the body using the same method as the arms.
Ensure both legs sit symmetrically so the bear can sit upright.
4. Facial Details
Muzzle/Nose: Using black or dark brown cotton yarn, embroider a small horizontal oval nose centered between the eyes on Round 9 and Round 10.
Mouth: Make a single vertical stitch descending 1 to 2 rounds straight down from the center of the nose.
Eyebrows: Embroider two slight, slanted stitches about 2 rounds above each eye (spanning across 1 to 2 stitches) to give the bear a sweet, gentle expression.
Cheeks: Apply a light dab of pink cosmetic blush directly beneath each eye using a cotton swab, or embroider 1 small horizontal pink stitch under each eye.
Yarn Yield & Project Notes
One standard 100 g skein of chenille yarn contains 110 meters.
Making this complete bear uses only 38 grams, leaving approximately 62 grams remaining. You can easily make two full bears from a single skein!

See More:
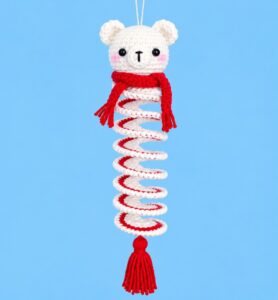
Featuring: How to Crochet Polar Bear in Red Scarf Wind Spinner & Table Decoration Spring
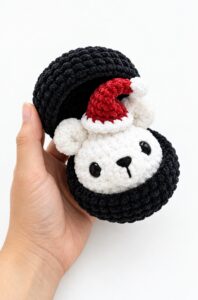
Tester Call: How to Crochet Polar Bear Christmas Dumpling in A Steamer Box Plushie
How to Crochet Plush No-Sew Buddy Slouchy Hat White Bear Plushie for Gifting
Crochet the Mini Wobbly Eye No-Sew Bear Cutie Plushie
Tester Pattern: To Crochet A Grizzly Bear Presenting You A Pumpkin Plushie
How to Crochet Christmas Tree Yellow Treat Pouch with Colorful Poms & Red Strings

How to Crochet Holly Christmas Coaster with Snowflake Embroidery

Tester Call: How to Crochet Green Holiday Buddy in Red Scarf Coaster for Christmas Decoration
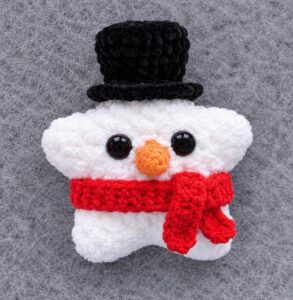
Tester Call: How to Crochet Snowman in Black Hat Star Ornament Plushie for Christmas Gifting