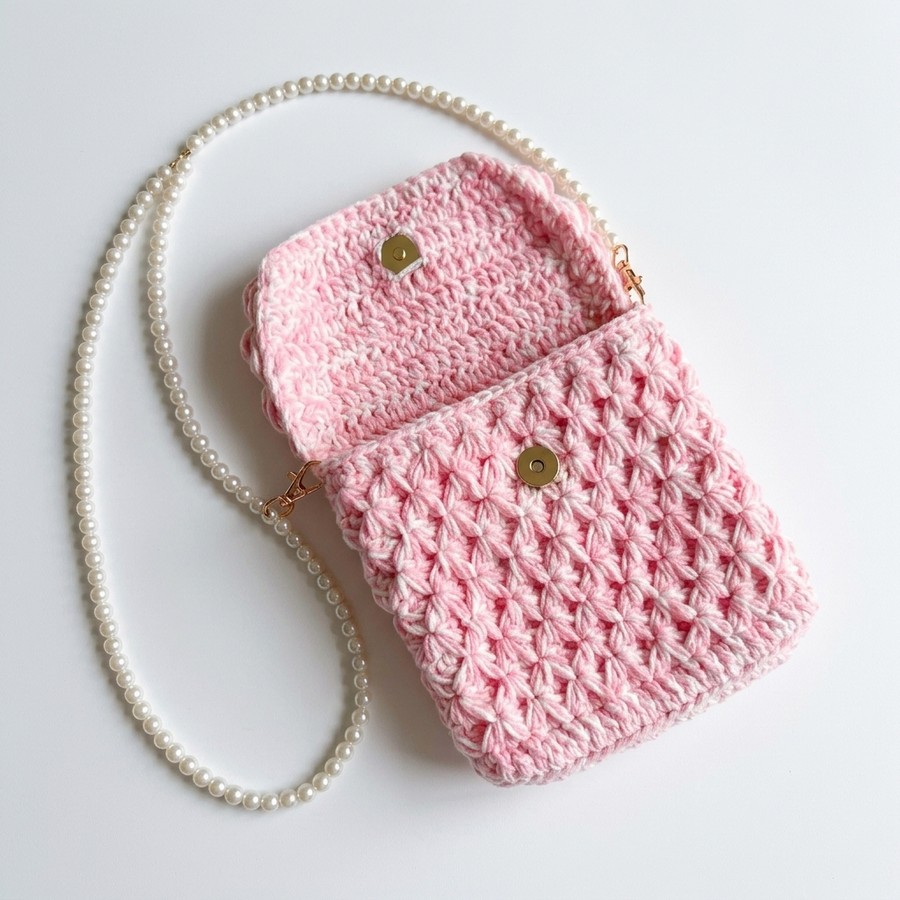
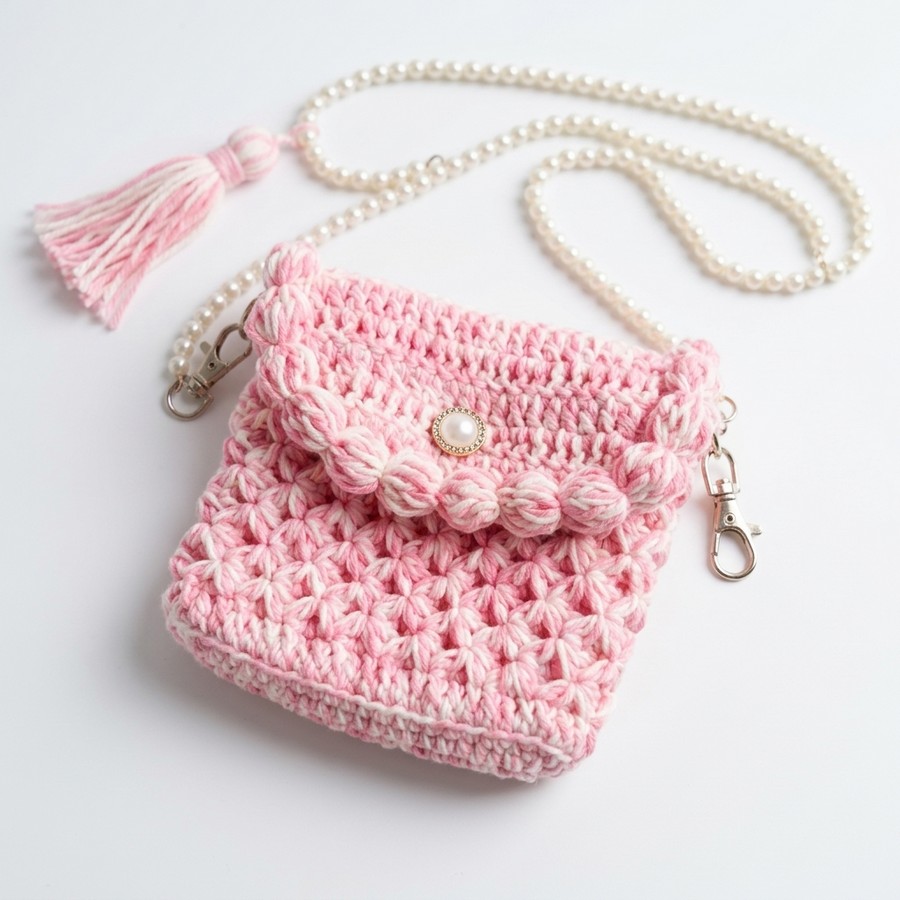
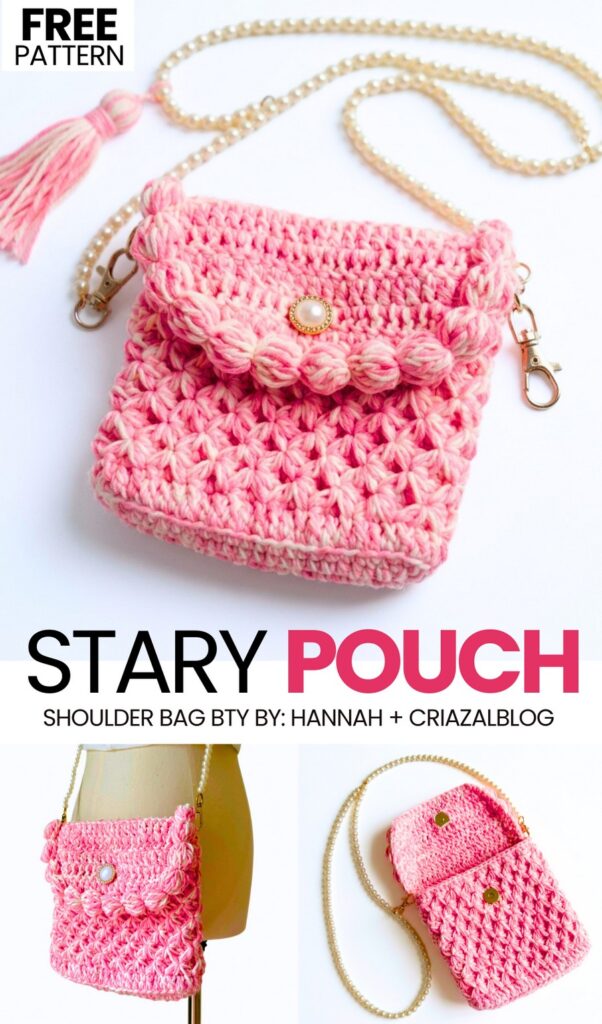
Let’s continue the crochet “trendy bag patterns” series after a whole 2 months! Today, you can learn how to crochet this beautiful star stitch crochet flapped crossbody pouch with a step-by-step tutorial + a written pattern as well. This is a crochet couquette bag with removable pearl handles, a magnetic button, and a flap that features extended popcorn stitch edging at the bottom. Crochet with the two strands at once (white and pink); this crochet pouch is my ultimate recommendation for girls. However, you can also couple purple with the white.
Above the flap, we will also attach a decorative jewelry button that makes it look even more elegant than otherwise. With the same materials and gauge, you will end up with a 17cm x 18cm crochet shoulder purse.
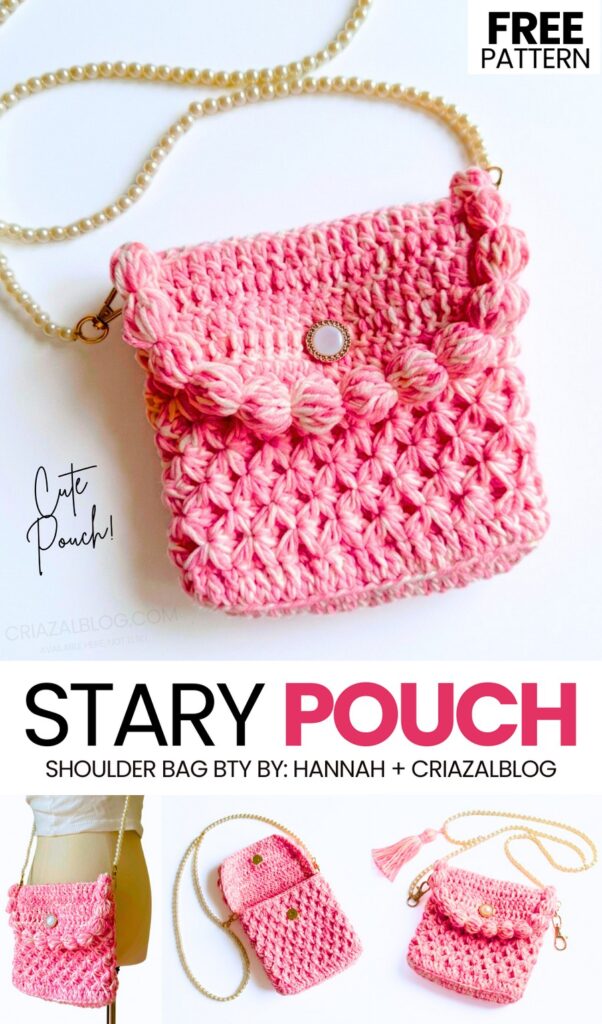
You can also crochet your pouch with a crochet I-cord or crayfish cord and make it removable by attaching the same clasps. You can again crochet the I-cord using the two strands of yarn just like I did in my I-cord tutorial. To make it a part of a couquette bow purse, I also recommend crocheting a small knotted bow and attaching it to the front. You will also learn how to crochet the star stitch here in detail and then make the pouch. You can easily hold a mobile phone in this height of crochet bag! So, continue reading for the full pattern!
[ez-toc]
Pattern to Crochet the Multi-Colored Pearl Handle Purse
This project is a small pink bag. You make it with yarn and a crochet hook. The bag has a pretty star pattern on the outside. It has a flap on top that closes with a button. The bag is big enough to hold a phone, a wallet, and a lipstick. It is a cute bag to wear for a party or a holiday.
Materials
Yarn: Milk cotton yarn (125g). Colors used: Pink (Color 50) and White (Color 01).
Note: Use one strand of each color held together throughout the project.
Crochet Hook: 4.0 mm.
Tools: Scissors, stitch markers, and a yarn needle.
Accessories: One magnetic snap set, one decorative button, and a pearl bead strap.
Optional: Hot glue gun (for attaching trim).
Abbreviations
Are you a Beginner? Learn Crocheting Easily!
You can learn to crochet the star stitch pearl handle better with the following tutorial, or continue to the written pattern:
Crochet Pattern
1. The Bottom (Base)
Held double (one pink strand, one white strand).
Foundation: Make a slip knot. Chain 21.
Row 1: Skip the first chain. Work 19 single crochet (sc) across. In the last chain, work 3 sc. Turn to work along the other side of the chain. Work 18 sc. In the very first stitch (where you started), work 2 sc. Slip stitch (slst) to the first sc to join. Chain 1. [Total: 42 stitches]
Row 2: Work an sc increase (2 sc in one stitch). Work 18 sc. Work 3 sc increases in the next 3 stitches. Work 18 sc. Work 2 sc increases in the last 2 stitches. Slst to join. Chain 1. [Total: 48 stitches]
Row 3: Work 1 sc, then 1 sc increase. Work 18 sc. Work (1 sc, 1 sc increase) 3 times. Work 18 sc. Work (1 sc, 1 sc increase) 2 times. Slst to join. Chain 2. [Total: 54 stitches]
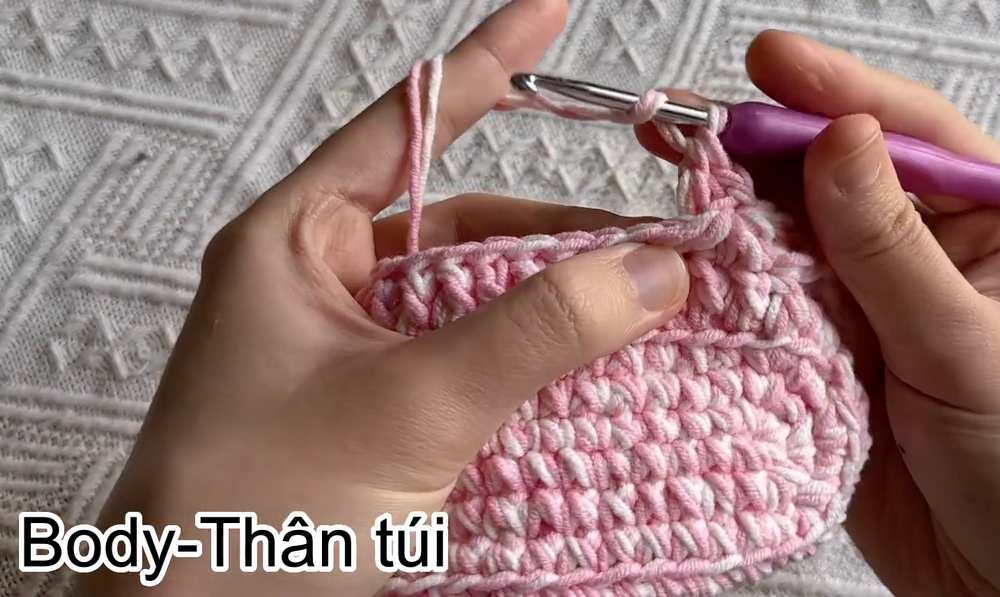
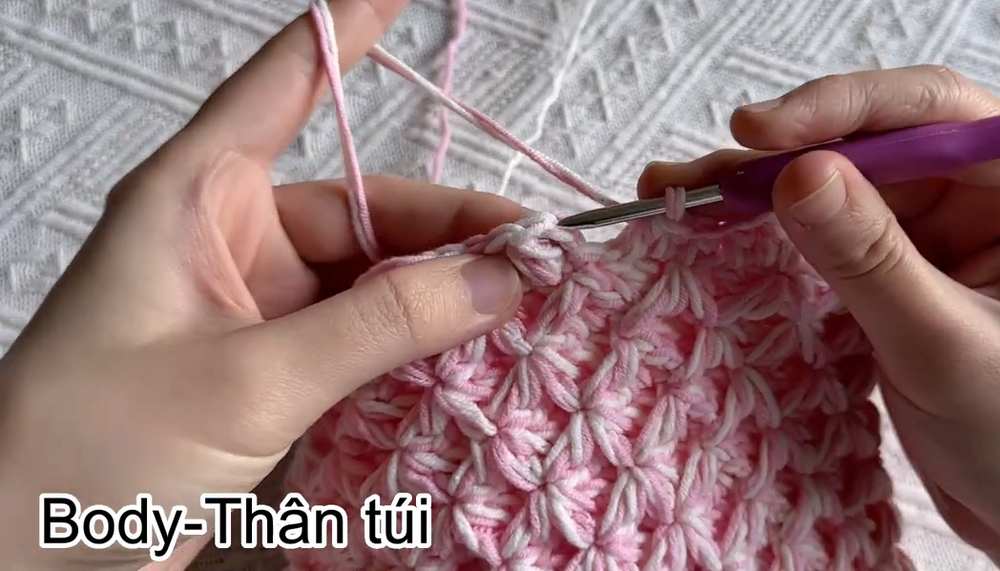
2. The Body (Star Stitch Pattern)
Row 4 (Transition Row): Work 1 double crochet (dc) into the Back Loop Only (BLO) of every stitch around. Slst to join. Chain 2. [Total: 54 stitches]
Row 5 (Star Pattern Part 1):
Skip 3 stitches. Work 1 half double crochet (hdc) into the 4th stitch.
Chain 1 (this creates the “eye” of the star).
Insert hook into the “eye,” pull up a loop. Insert hook into the side of the hdc you just made, pull up a loop. Insert hook into the same stitch the hdc is in, pull up a loop. Skip 2 stitches on the base, insert hook into the 3rd stitch, pull up a loop.
You now have 5 loops on your hook. Yarn over and pull through all 5 loops. Chain 1.
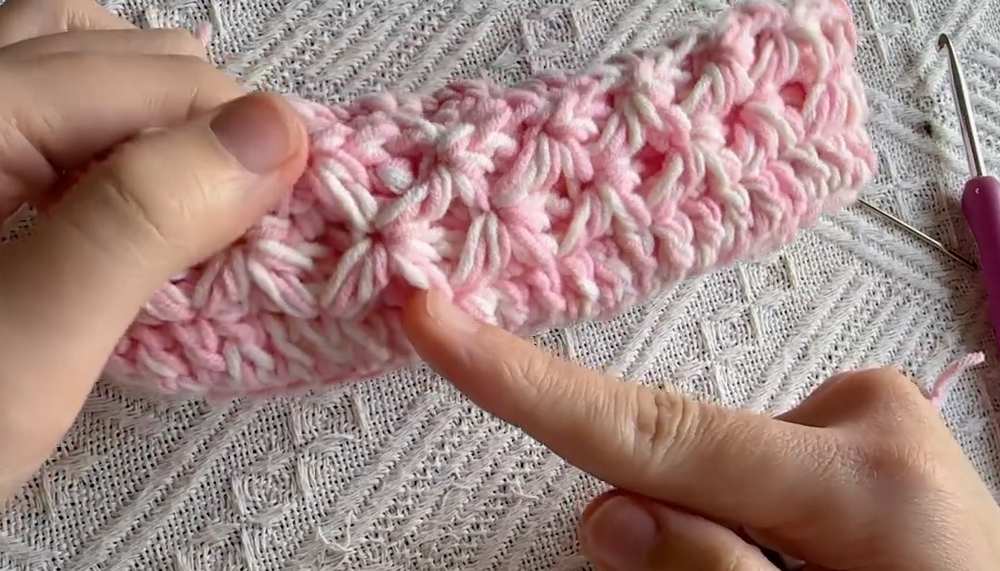
Repeat this process around the bag.
To finish the row, work 2 dc into the back of the previous star stitches to fill the gaps. Slst to join. Chain 2.
Row 6 (Star Pattern Part 2): Work 1 hdc into the “eye” of every star from the row below. Chain 1 between them. Slst to join. Chain 2.
Repeat Rows 5 and 6: Continue until the body reached approximately 9 rows of stars (about 14.5 cm high).
Final Body Row: Work 1 hdc into every stitch around. Slst to join. Fasten off and weave in ends.
3. The Flap
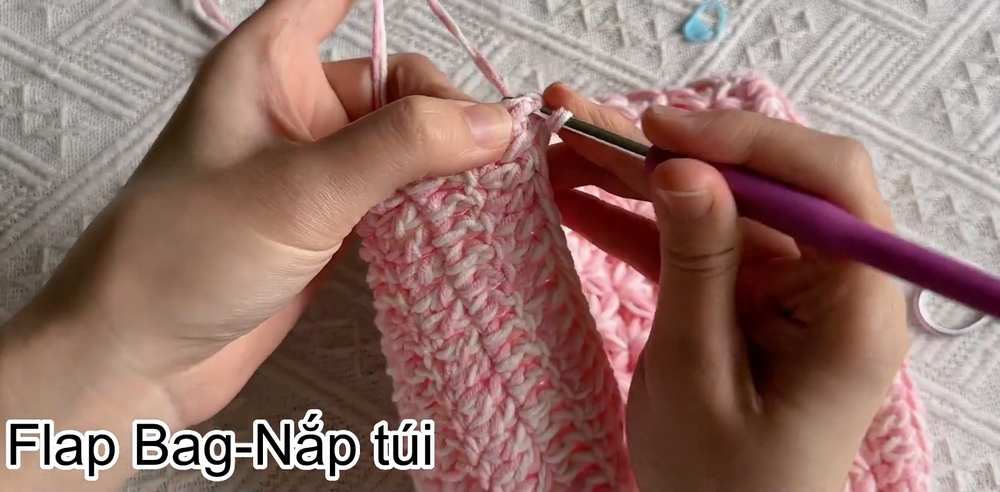
Attached to the back of the bag over approximately 22 stitches.
Row 1: Join yarn to the back rim. Chain 2. Work 22 dc across. Chain 2, turn.
Rows 2-4: Work 22 dc across. Chain 2, turn.
Row 5 (Decrease): Work 1 dc decrease (dc2tog) at the start. Work 18 dc. Work 1 dc decrease at the end. Chain 2, turn. [Total: 20 stitches]
Row 6 (Decrease): Work 1 dc decrease. Work 16 dc. Work 1 dc decrease at the end. Chain 2, turn. [Total: 18 stitches]
Row 7 (Decrease): Work 1 dc decrease. Work 14 dc. Work 1 dc decrease at the end. Chain 1, turn. [Total: 16 stitches]
Row 8 (Edging): Work 1 sc into every stitch around the entire edge of the flap to make it smooth. Slst to join. Fasten off.
4. Popcorn Trim
Foundation: Chain 3.
Stitch: In the first chain, work 5 incomplete dc (yarn over, insert hook, pull up loop, yarn over, pull through 2 loops). You will have 6 loops on your hook. Yarn over and pull through all 6 loops. Chain 3.
Repeat: Repeat this process to create a string of 13 popcorn stitches.
Finish: Fasten off.
Assembly
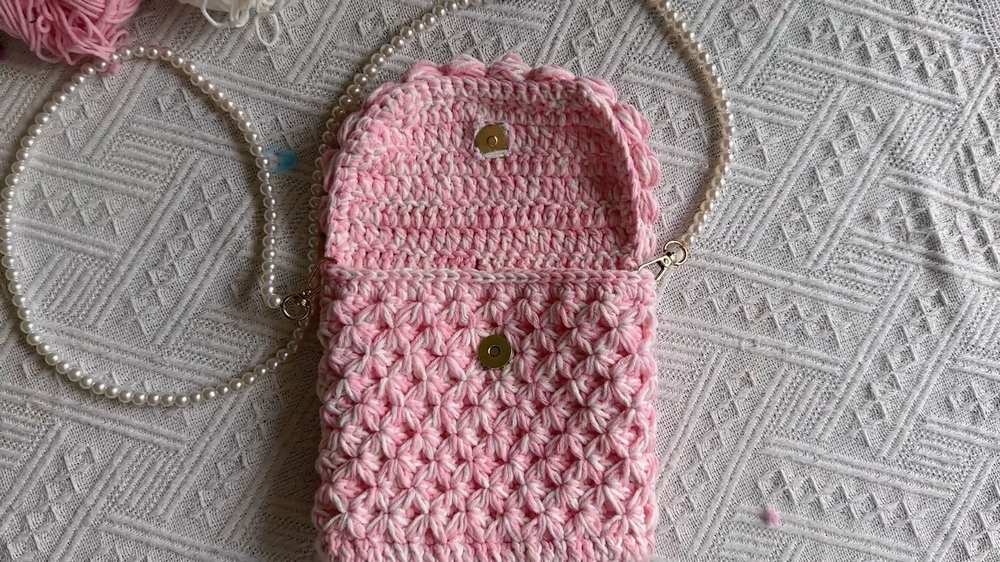
Magnetic Snap: Sew the bottom half of the magnetic snap to the front center of the bag body. Sew the top half to the inside center of the flap.
Decorative Button: Sew the decorative button to the outside center of the flap (directly over where the snap is).
Popcorn Trim: Position the popcorn string along the edge of the flap. You can sew this on with a needle or use hot glue to secure it.
Strap: Use the clasps on the pearl strap to attach it to the sides of the bag. If there are no loops, crochet two small loops on the sides of the bag using 5 chains each.
Share on Social Media!
See More:
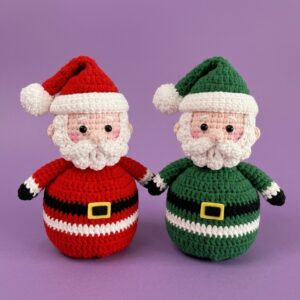
Featuring: How to Crochet Santa Holds Your Treats Bag Pouch for Christmas
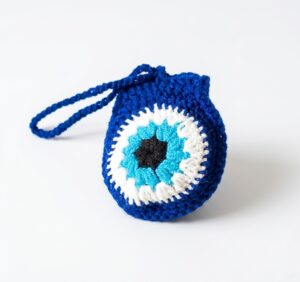
How to Crochet Round Eyeball Coin Pouch Charm for Halloween
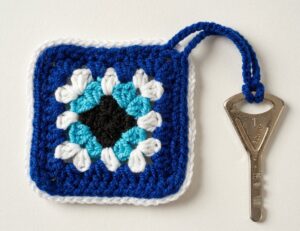
How to Crochet Granny Square Halloween Eye Pouch & Keychain
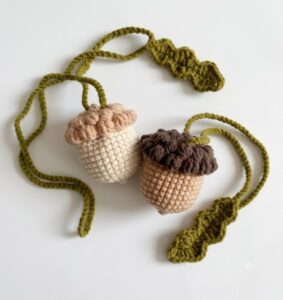
Featuring: How to Crochet 2-in-1 Acorn Bag Charm Pouch + Oak Leaf Tutorial
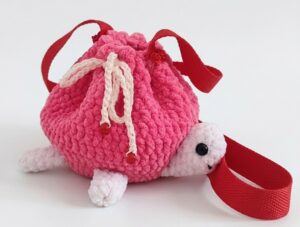
How to Crochet Turtle Drawstring Pouch with Ribbon Handle for Fall & Summer
Ways to Crochet Smartphone Pouch
Wanna Crochet Something Else?

Crochet CUTEST Guest-Welcoming BOO Ghost with Bow, Hat and Pumpkin Accessories

How to Crochet Bunny Bat White Foldable Wings Amigurumi with Bow for Halloween
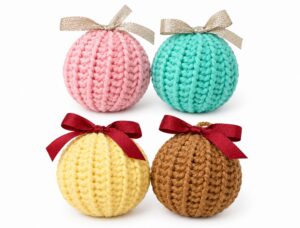
How to Crochet 4 Set Ribbed Decoration Christmas Festive Ball Ornaments