Show support for Elche!
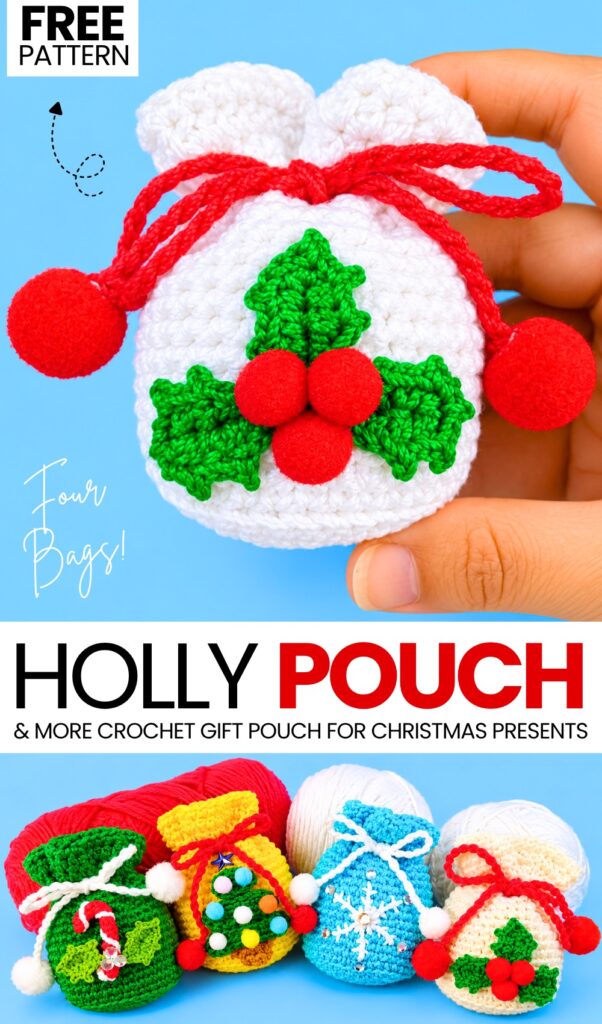
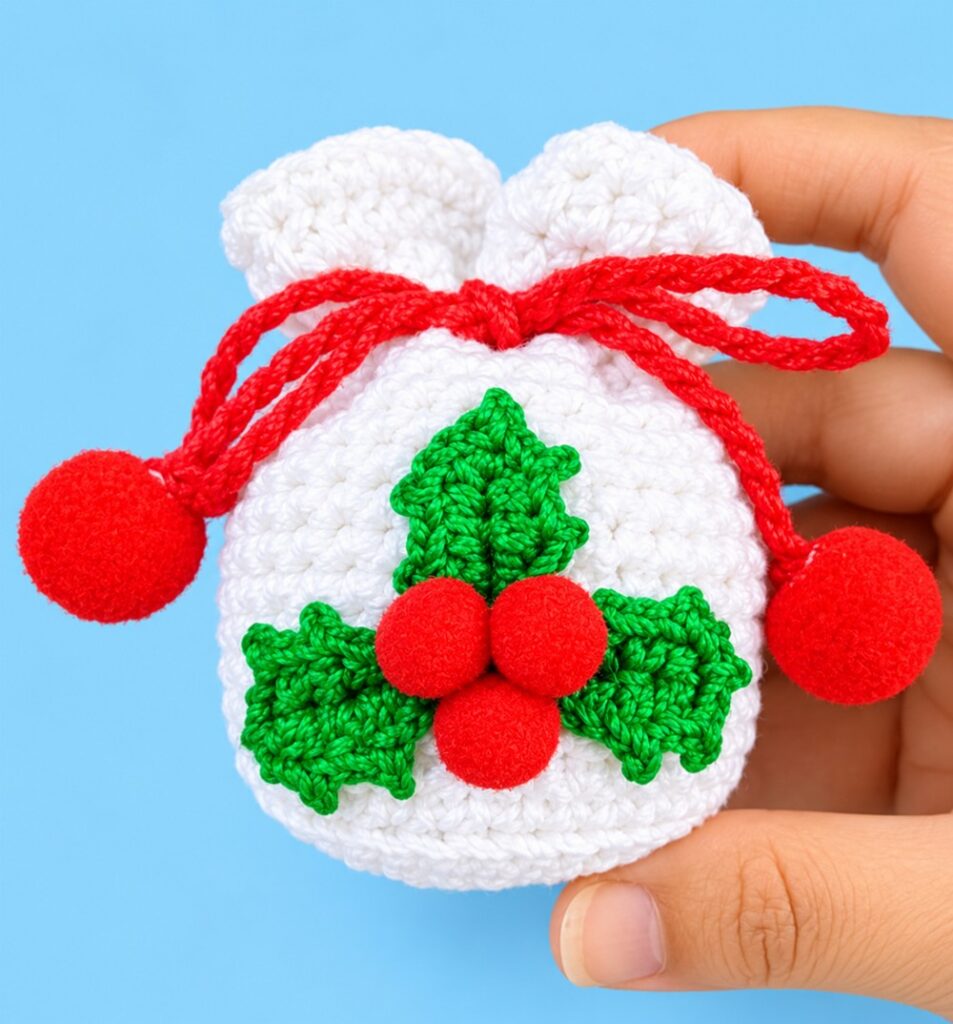
Today, learn the first pattern from my new mini Christmas treat holders series – the 4 holiday mini drawstring pouches set! Starting with today’s crochet holly leaf and pom-pom berries white miniature drawstring pouch, the base pattern includes a FREE step-by-step tutorial and written pattern as well. This is a holiday gift sack designed to hold treats, chocolate coins, small surprises, or gift cards.
We also have a twisted drawstring with soft, fluffy styrofoam pom-poms to close the bag. You can crochet your miniature treat purse in under 30 minutes.
This crochet drawstring pouch for Christmas gifting is worked from the bottom up. It makes a Christmas tree ornament, calendar pouch, or reusable holiday gift wrapping. Now, continue reading for learning more about this Christmas-leaf-decorated drawstring pouch for all skill levels.
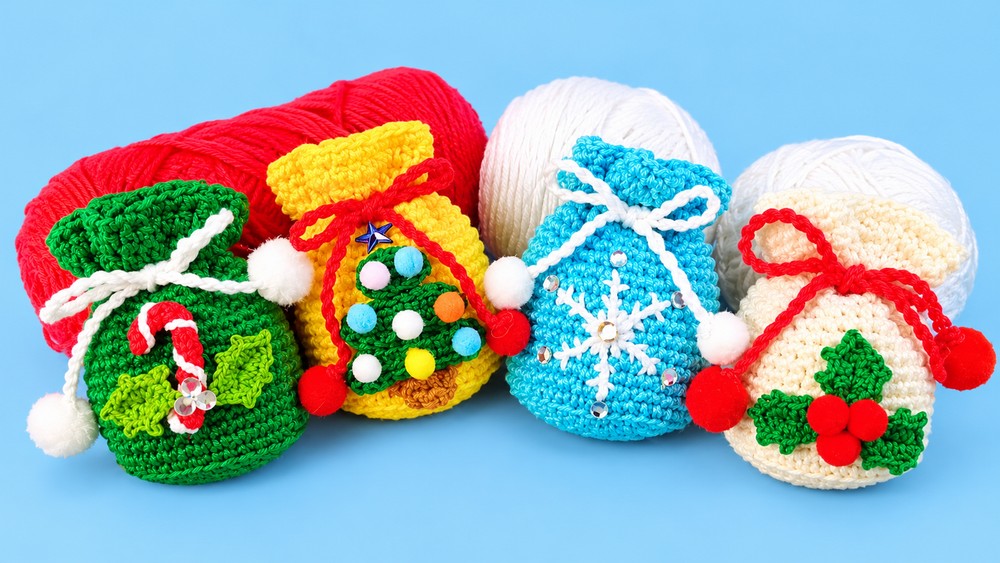
Pattern to Crochet 4 Christmas Treat Bags for Gifting
Skill Level: Beginner – Level 5
Materials & Tools
Yarn: Size 5 cotton thread (Hilo de algodón número 5), worked with two strands held together throughout the project.
Primary color for the bag (shown in yellow in the video; can also be made in cream, green, or bright blue)
Contrast color for the cord (shown in red)
Crochet Hook: 2.5 mm (or 2.55 mm)
Embellishments: 2 medium pom-poms (red or white)
Adhesive: Hot glue (or a glue stick melted with a lighter)
Notions:
Tapestry / wool needle
Scissors
Stitch marker or ball-head sewing pin
Stitch Abbreviations (US Terms)
MR: Magic Ring
ch: Chain
sc: Single crochet
hdc: Half double crochet
sl st: Slip stitch
inc: Increase (work two single crochet stitches into the same stitch)
BLO: Back loop only (the loop furthest away from you)
st(s): Stitch(es)
Video Tutorial?
Pattern Instructions
Note: Work holding two strands of yarn together. Rounds 1 through 20 are worked in a continuous spiral without joining with a slip stitch at the end of each round. Place a marker in the first stitch of each round to keep count.
Part 1: Flat Circular Base
Round 1: Make a Magic Ring. Ch 1 to secure, then work 6 sc into the ring. Pull the ring tightly closed. (6 sts)
Round 2: Work 2 sc in each stitch around (6 increases). (12 sts)
Round 3: [1 sc in the next st, 1 inc in the next st] repeat 6 times around. (18 sts)
Round 4: [1 sc in each of the next 2 sts, 1 inc in the next st] repeat 6 times around. (24 sts)
Round 5: [1 sc in each of the next 3 sts, 1 inc in the next st] repeat 6 times around. (30 sts)
Round 6: [1 sc in each of the next 4 sts, 1 inc in the next st] repeat 6 times around. (36 sts)
Part 2: Base Ridge Transition
Round 7: Work 1 sc in the back loop only (BLO) of all 36 stitches around. (36 sts)
Working in BLO creates a neat horizontal ridge on the outside, allowing the pouch to sit flat on its base.
Part 3: Pouch Body
Rounds 8 to 20 (13 rounds total): Work 1 sc through both loops in every stitch around. (36 sts per round)
End of Round 20: Work 1 sl st into the following stitch to level the spiral edge before beginning the eyelet row.
Part 4: Drawstring Eyelet Round
Round 21:
Ch 2, skip the next stitch.
Work 1 sc in each of the next 2 stitches.
[Ch 2, skip 1 stitch, 2 sc] repeat around until 1 stitch remains.
Work 1 sc in the final stitch, then join with a sl st into the first stitch/space of the round.
This round creates open gaps (eyelets) for threading the drawstring through.
Part 5: Ruffled Top Collar
Round 22 (Expansion Round):
Sl st into the first chain-2 space. Ch 2 (counts as first hdc), then work 2 hdc into that same space (3 hdc total in the gap).
Work 1 hdc into the space between the 2 sc stitches of the previous round.
[Work 3 hdc into the next chain-2 space, 1 hdc between the next 2 sc stitches] repeat all the way around.
Work a final hdc into the last space and join with a sl st to the top of the beginning ch-2. (48 sts)
Round 23 (Border Round):
Ch 1, work 1 sc into the same stitch.
Work 1 sc into each stitch around the entire rim. (48 sts)
Join with a sl st into the first sc.
Fasten Off: Cut the yarn, pull the working loop through, and use a yarn needle to bring the yarn tail through the neighboring stitch to the inside of the pouch. Weave in the yarn ends securely on the inside.
Part 6: Making the Twisted Drawstring Cord
Cut four strands of red cotton thread, each measuring approximately 80 to 90 centimeters long.
Fold them in half to form a loop at one end and secure the looped end to a cushion or steady surface using a needle or pin.
Hold the free ends together and twist the strands firmly in one direction until the entire length is tightly coiled.
Keeping tension on the thread, grab the center point of the cord and bring both ends together. Release the cord slightly so it naturally twists back upon itself, forming a thick, smooth, two-ply cord.
Tie a tight knot at one end of the cord and trim the loose tassel close to the knot.
Part 7: Assembly & Finishing
Threading the Cord:
Thread the unknotted end of the cord onto a large blunt tapestry needle.
Identify the front of the bag (position the seam/starting point of the base at the back).
Weave the cord in and out through the eyelet holes created in Round 21, ensuring both ends exit side-by-side at the center front.
Securing the Second End:
Adjust the cord so both tails are even.
Tie a matching knot at the open end and trim the excess yarn.
Attaching the Pom-Poms:
Apply a drop of hot glue directly onto each knot at the ends of the cord.
Firmly press a pom-pom onto each glued knot and hold for a few seconds until set.
Final Details:
Fill your sack with chocolate coins or holiday treats, pull the drawstring tight, and tie a bow.
Optional decoration: You can embellish the front of the sack with embroidered snowflakes, mini crochet Christmas trees, or crochet holly leaves and berries.

See More:

Wanna Crochet Something Else?

How to Crochet Holly Christmas Coaster with Snowflake Embroidery
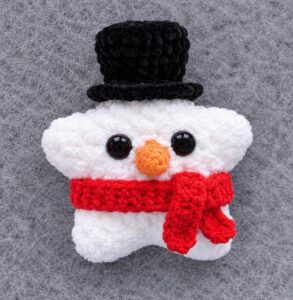
Tester Call: How to Crochet Snowman in Black Hat Star Ornament Plushie for Christmas Gifting
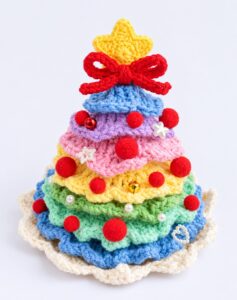
How to Crochet Knotted Bow & Star on the Top Pastel Rainbow Tiered Christmas Tree
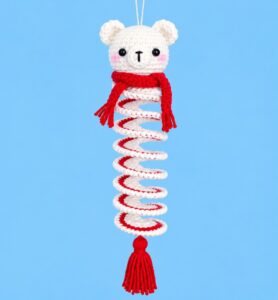
Featuring: How to Crochet Polar Bear in Red Scarf Wind Spinner & Table Decoration Spring
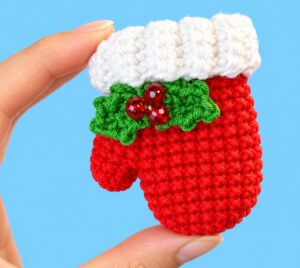
How to Crochet Holly Leaves & Shiny Beads Perfect Mitten Ornament & Charm for Gifting
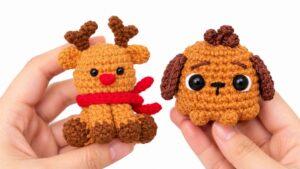
How to Crochet Red Scarf Buddy Rein-Deer Sitting in A Cute Way for Gifting