Show support for Gulnara!
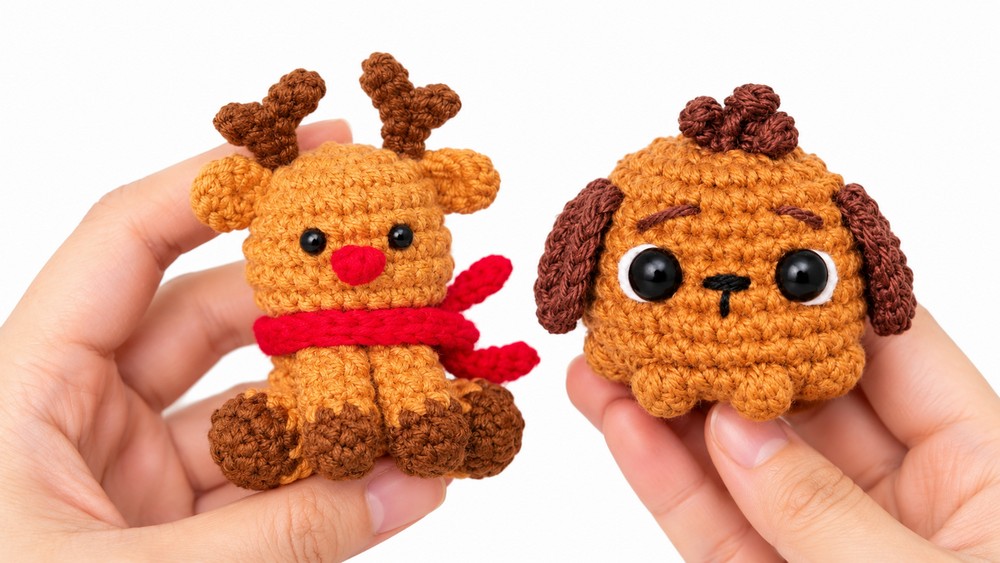
In this crochet must-have holiday gift pattern, you will learn how to crochet the CUTEST reindeer buddy amigurumi so far. Introducing the crochet mini Christmas reindeer sitting in a cute way amigurumi that you can learn to crochet with a FREE written pattern and a step-by-step tutorial as well. This crochet miniature amigurumi buddy can be crocheted alongside the Grinch, Max, and Santa amigurumi whose tutorials have been shared already.
This holiday amigurumi project is worked with 2.0 mm yarn.
The body and head are crocheted as one piece from the bottom up. Featuring sweet hooved legs, tiny ears, antlers, a red no-sew nose, and a removable red scarf, this reindeer makes a perfect holiday ornament, bag charm, desk companion, or festive gift.
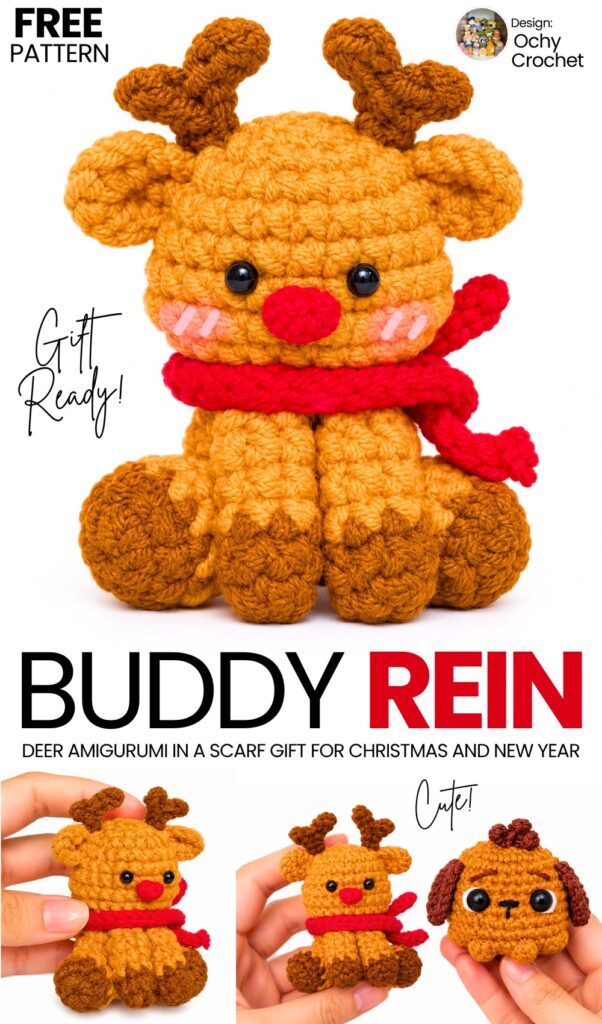
Pattern to Crochet a Sitting Mini Reindeer Buddy Amigurumi
Skill Level: Beginner – Level 4
Materials & Tools
Yarn: 5-ply milk cotton yarn (approximately 2.0 mm thickness, 125 g balls):
Light Brown / Camel (Color 18): Body, head, ears, upper legs
Dark Brown (Color 53): Antlers, hooves (tips of all four legs)
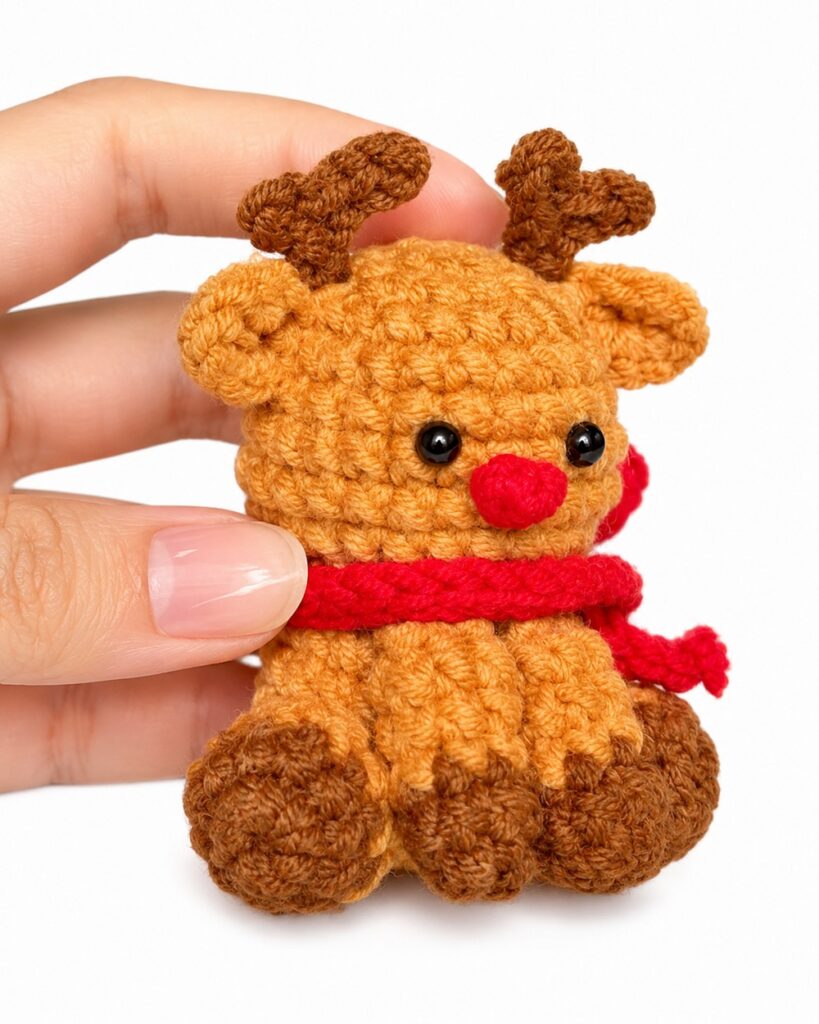
Red (Color 10): Nose and scarf
Crochet Hook: 2.0 mm
Eyes: 3.0 mm black safety eyes or beads
Stuffing: Polyester fiberfill
Notions: Stitch marker, yarn needle, sharp scissors
Pattern Notes & Abbreviations (US Terms)
MR: Magic Ring
ch: Chain
sc: Single crochet
inc: Increase (work 2 single crochets in the same stitch)
dec: Decrease (single crochet 2 stitches together, preferably invisible decrease)
sl st: Slip stitch
dc: Double crochet
BLO: Back loop only
st(s): Stitch(es)
Round Join Note: In this pattern, the body and legs are worked in joined rounds: at the end of each round, join with a sl st into the first stitch of the round, then ch 1 to start the next round (the ch 1 does not count as a stitch).
Branching Sl St (Antlers): To create the antler branch, work slip stitches down a portion of the foundation chain, chain outward for the branch, slip stitch back down the branch, and then resume slip stitching down the main stem.
Are you a Beginner? Learn Crocheting Easily!
You can learn to crochet better with this crochet amigurumi reindeer tutorial. Or continue to the written pattern below!
Step-by-Step Crochet Pattern
1. Body & Head (Worked in One Piece from Bottom to Top)
Use Light Brown yarn and a 2.0 mm hook.
Round 1: 7 sc into a MR. Sl st into the first st, ch 1. (7 sts)
Round 2: 7 inc. Sl st, ch 1. (14 sts)
Round 3: (1 sc, 1 inc) repeat 7 times. Sl st, ch 1. (21 sts)
Rounds 4 to 5 (2 rounds): 1 sc in each of the 21 sts around. Sl st, ch 1. (21 sts)
Round 6 (Hip Shaping): 5 sc, 1 inc, 7 sc, 1 inc, 5 sc. Sl st, ch 1. (23 sts)
Round 7: 1 sc in each of the 23 sts around. Sl st, ch 1. (23 sts)
Round 8: 5 sc, 1 dec, 7 sc, 1 dec, 5 sc. Sl st, ch 1. (21 sts)
Round 9: (1 sc, 1 dec) repeat 7 times. Sl st, ch 1. (14 sts)
Round 10 (Neck Ridge): In BLO, work 1 sc in each of the 14 sts around. Sl st, ch 1. (14 sts)
Round 11 (Head Expansion): In both loops, (1 sc, 1 inc) repeat 7 times. Sl st, ch 1. (21 sts)
Rounds 12 to 15 (4 rounds): 1 sc in each of the 21 sts around. Sl st, ch 1. (21 sts)
Pause here and add fiberfill stuffing firmly into the lower body.
Round 16: (1 sc, 1 dec) repeat 7 times. Sl st, ch 1. (14 sts)
Add stuffing to fill the head firmly and evenly.
Round 17: 7 dec. (7 sts)
Fasten off, leaving a long tail of about 25 cm.
Thread the tail onto a yarn needle, weave through the front loops of the remaining 7 stitches, and pull tightly to cinch the top of the head closed.
Bring the needle down through the center of the head and exit at the neck line (Round 10). Wrap the yarn once around the neck indentation, pull gently to further define the neck, secure with a small knot, and bury the yarn end inside the body.
2. Hind Legs (Make 2)
Start with Dark Brown yarn.
Round 1: 10 sc into a MR. Sl st into the first st, ch 1. (10 sts)
Round 2: 1 sc in each of the 10 sts around.
On the final slip stitch of Round 2, switch to Light Brown yarn. Ch 1. (10 sts)
Rounds 3 to 4 (2 rounds): With Light Brown, 1 sc in each of the 10 sts around. Sl st, ch 1. (10 sts)
Fasten off, leaving a long tail for sewing.
Add a small pinch of stuffing into the foot area.
3. Front Legs (Make 2)
Start with Dark Brown yarn.
Round 1: 6 sc into a MR. Sl st into the first st, ch 1. (6 sts)
Round 2: 1 sc in each of the 6 sts around.
On the final slip stitch of Round 2, switch to Light Brown yarn. Ch 1. (6 sts)
Rounds 3 to 5 (3 rounds): With Light Brown, 1 sc in each of the 6 sts around. Sl st, ch 1. (6 sts)
Fasten off, leaving a tail for sewing. Do not stuff.
4. Ears (Make 2)
Use Light Brown yarn.
Round 1: 10 sc into a MR. Sl st into the first st. (10 sts)
Fasten off, leaving a tail for sewing.
Pinch the bottom of the circle together to form a curved ear shape.
5. Antlers
Use Dark Brown yarn.
Left Antler:
Ch 5.
Starting in the 2nd ch from hook, work 3 sl st down the chain.
Ch 2 (for the branch).
Starting in the 2nd ch from hook, work 1 sl st along the branch.
Work 1 sl st back into the stem junction, then 1 sl st into the final chain.
Fasten off, knot the two yarn tails together, and trim slightly, leaving a tail for attachment.
Right Antler:
Ch 4.
Starting in the 2nd ch from hook, work 2 sl st down the chain.
Ch 3 (for the branch).
Starting in the 2nd ch from hook, work 2 sl st along the branch.
Work 1 sl st back into the stem junction, then 1 sl st into the final chain.
Fasten off, knot the tails together, and leave a tail for attachment.
6. Red Nose
Use Red yarn.
Make a MR, ch 1, then work 1 dc directly into the ring.
Pull the magic ring completely tight.
Cut the yarn, knot the beginning and ending tails firmly together at the back to shape the stitch into a small, rounded button nose.
7. Scarf
Use Red yarn.
Ch 40.
Starting in the 2nd ch from hook, work 39 sl st all the way across.
Fasten off, knot the ends, and trim the fringe neatly.
Assembly Instructions
Front Legs: Position the two front legs vertically on the front of the body, just below the neck line (spaced about 1 stitch apart). Sew them securely to the chest using their yarn tails.
Hind Legs: Position the two hind legs on the bottom sides of the body pointing slightly forward, creating a stable sitting base. Sew securely so the reindeer can sit upright on a flat surface.
Ears: Sew the ears to the upper sides of the head (around Rounds 14 to 15).
Antlers: Attach the antlers on top of the head just inside and slightly above the ears.
Nose & Eyes:
Sew or glue the red nose in the center of the face around Rounds 12 to 13.
Attach the 3.0 mm black safety eyes (or sew small beads) on either side of the nose, spaced about 2 to 3 stitches apart.
Scarf: Wrap the red scarf around the reindeer’s neck and tie it into a simple knot, letting the ends drape down over the shoulder.

See More:

How to Crochet Funny Bulging-Eyed Reindeer Buddy in Mittens Amigurumi for Gifting
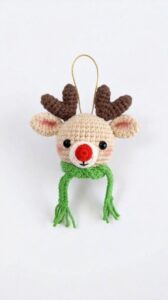
Featuring: How to Crochet Reindeer in Scarf Christmas Wind Spinner for Decoration

Tester Call: How to Crochet Glitter-Eyed Reindeer Star Buddy Ornament for Gifting

How to Crochet Mr. Reindeer Snail Buddy Holding a Treat Basket with Holly Leaves

How to Crochet Chill Pill Reindeer Buddy Christmas Ornament Amigurumi
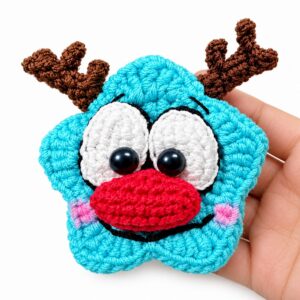
How to Crochet Funny Festive Red Nose Reindeer Star Christmas Ornament Amigurumi
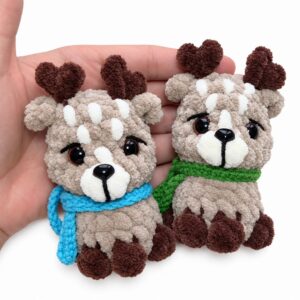
Featuring: How to Crochet No-Sew Buddy Scarf-Wearing Buddy Reindeer Plush
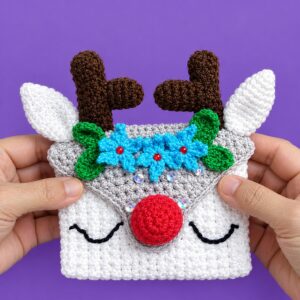
How to Crochet Oh-So Cute Festive Reindeer Wallet for Christams
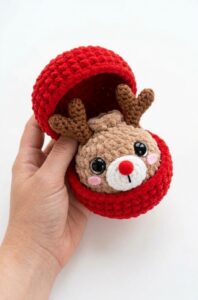
Tester Call: How to Crochet Reindeer Dumpling Plushie for Christmas Gifting