
Show support for Otakulandia!
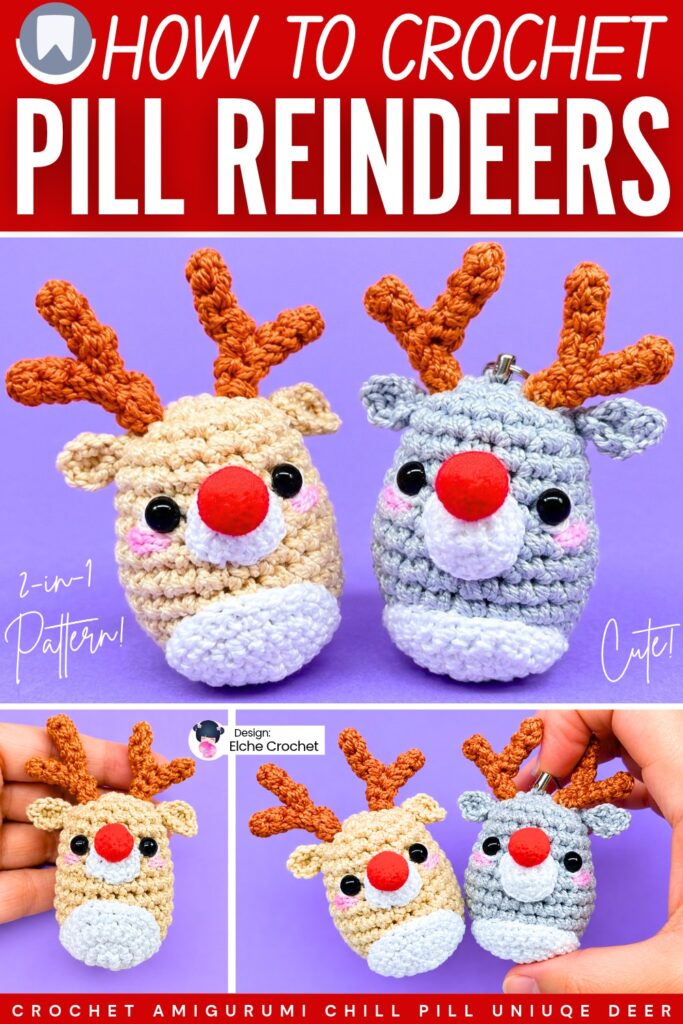
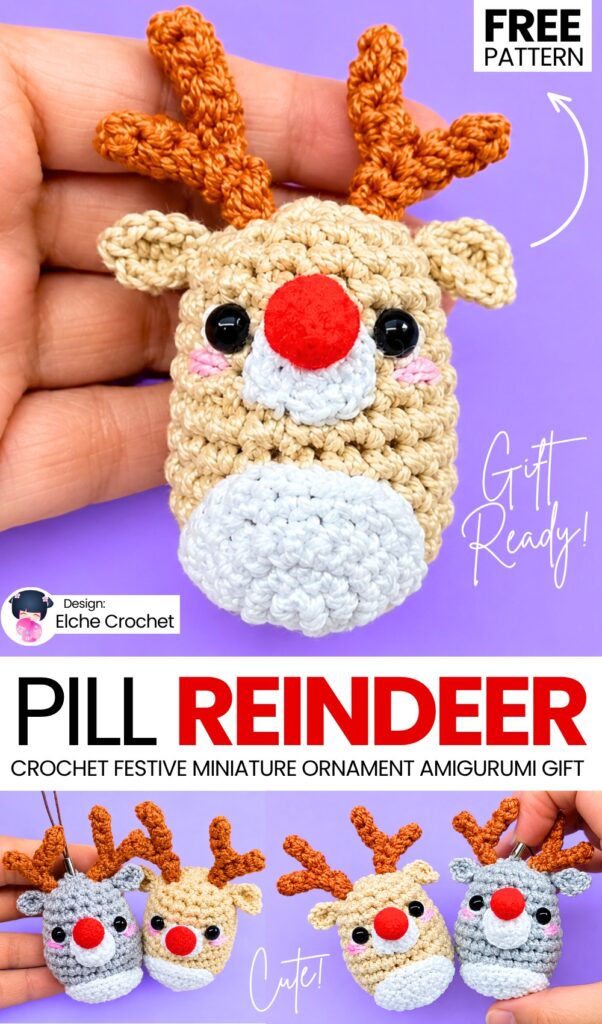
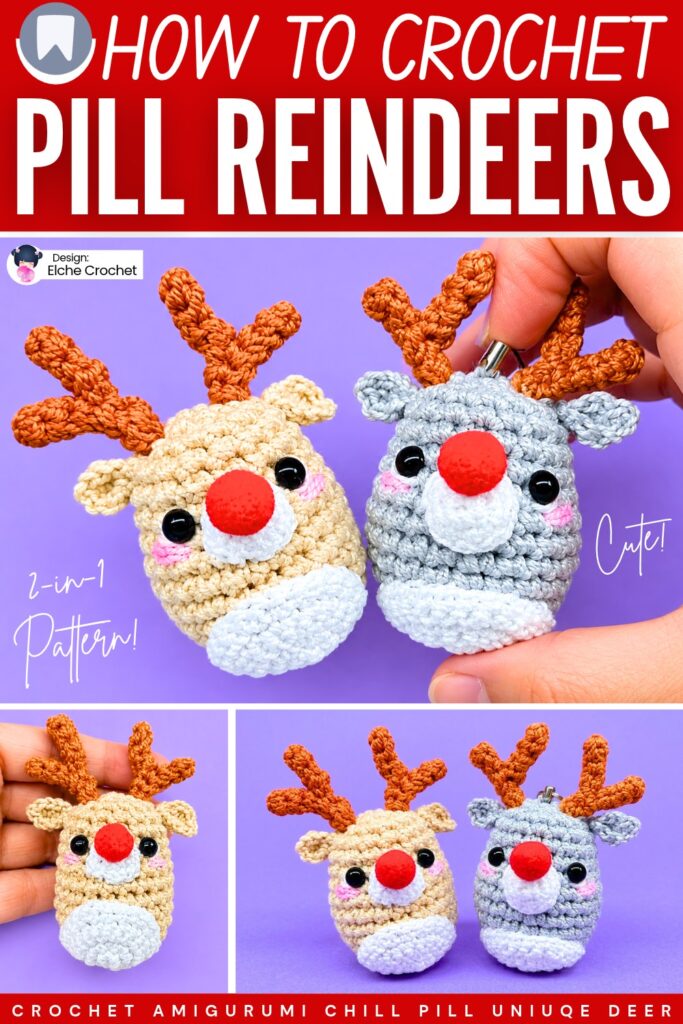
Today, learn how to crochet these FUNNY chill pill mini amigurumi Rudolph Christmas ornaments with a step-by-step tutorial and a written pattern as well. This is a quick, low-sew Christmas amigurumi reindeer project you can finish with a pom-pom red nose and a keyring as well. While it is crocheted using DK yarn, I would also recommend crocheting your reindeer buddy ornament and toy using the skinny plush yarn instead.
This mini reindeer works up in less than an hour. It is versatile: you can add a keychain ring to make a holiday bag charm!
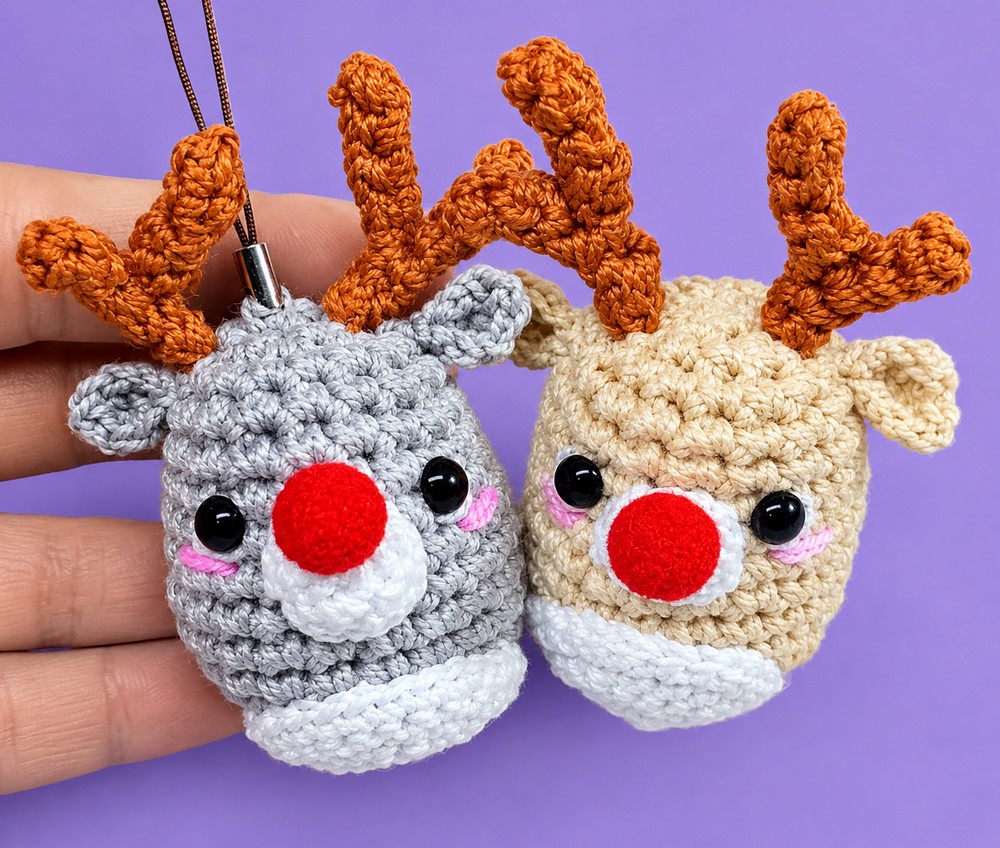
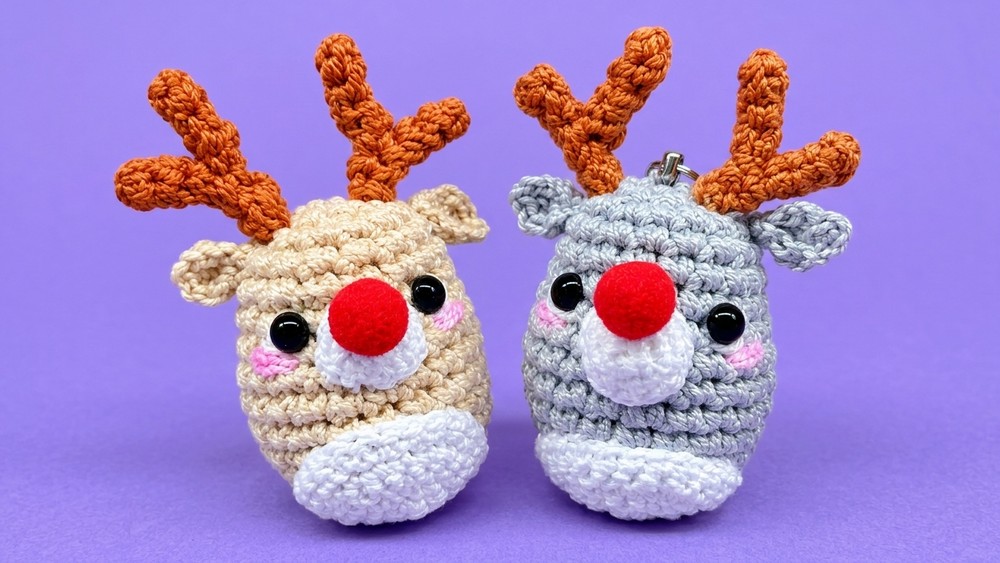
Hang it as a Christmas tree ornament, string several together into a festive garland, or give it away as a charming Secret Santa gift. You can choose from the grey and the brown reindeer chill pill amigurumi by following this tutorial. Now, continue reading for learning more about this amigurumi FUN crochet reindeer ornament!
Pattern to Crochet Amigurumi Pill Reindeer Amigurumi Gift
Skill Level: Intermediate
Materials & Tools
Yarn / Crochet Thread: Size 5 crochet cotton (such as Perlé cotton number 5 or fine mercerized cotton) in the following colors:
Main Color: Light grey or beige (used double-stranded for the body/head and antlers; single-stranded for the tail and ears)
White: Single-stranded for the belly patch, muzzle, and ear trim
Brown / Caramel: Double-stranded for the antlers
Pink: Small strand for embroidered blush cheeks
White Thread: For the eye reflection embroidery
Nose: 1 small red craft pompom (about 8 mm to 10 mm in diameter)
Eyes: Two 4 mm black half-pearls or small black beads (or small safety eyes if preferred)
Crochet Hook: 1.75 mm
Stuffing: Polyester fiberfill
Notions & Tools: Tapestry needle, scissors, sewing pins, hot glue or clear craft glue (for eyes and pompom nose), optional keychain ring/attachment
Pattern Terminology & Notes
Written in standard US crochet terms.
Double-stranded vs. Single-stranded:
2 Strands (Double-stranded): Body/Head and Antlers.
1 Strand (Single-stranded): Belly Patch, Muzzle, Ears, and Tail.
sc: Single crochet
hdc: Half double crochet
dc: Double crochet
inc: Increase (work 2 single crochets in the same stitch)
dec: Invisible decrease (single crochet 2 stitches together)
sl st: Slip stitch
ch: Chain stitch
st / sts: Stitch/stitches
The main body and muzzle are worked in continuous spiral rounds without joining. Use a stitch marker or contrasting thread to mark the first stitch of each round.
Are you a Beginner? Learn Crocheting Easily!
You can learn to crochet better with this crochet decoration tutorial. Or continue to the written pattern below!
Step-by-Step Pattern
1. Body & Head (Continuous Piece)
Use Main Color yarn held double-stranded (2 strands together) and a 1.75 mm hook.
Round 1: Start with a magic ring. Work 7 sc into the ring. (7 sts)
Round 2: Work increases around until you reach 13 stitches total: work 2 sc in each of the first 6 stitches, then 1 sc in the 7th stitch. (13 sts)
Round 3: Work (1 sc in the next stitch, 1 inc in the next stitch) around until you reach 20 stitches total. (20 sts)
Rounds 4 to 9 (6 rounds total): Work 1 sc in each of the 20 stitches around. (20 sts per round)
Round 10 (First Decrease Round): Work 1 dec, 9 sc, 1 dec, 9 sc. (18 sts)
Rounds 11 and 12 (2 rounds total): Work 1 sc in each of the 18 stitches around. (18 sts per round)
Round 13 (Second Decrease Round): Work 1 dec, 8 sc, 1 dec, 8 sc. (16 sts)
Round 14: Work 1 sc in each of the 16 stitches around. (16 sts)
Stuffing the Body:
Pause here to stuff the piece firmly with polyester fiberfill. Push stuffing down into the bottom and sides so it forms a plump, rounded base, but do not overfill to the point where stitches stretch open.
Round 15 (Final Closing Round): Work 8 decreases around. (8 sts)
Fastening Off & Closing the Head:
Cut the yarn, leaving an 8-inch tail. Pull the loop through.
Thread the yarn tail onto a tapestry needle.
Weave the needle through the front loop of each of the 8 remaining stitches around.
Pull the tail firmly to cinch the hole shut completely.
Insert the needle straight down through the center of the closure and bring it out through the back of the body. Pull snug, tie off, and bury the tail inside.
2. Belly Patch (Pancita)
Use White yarn held single-stranded (1 strand) and a 1.75 mm hook.
This piece is worked in flat rows turned back and forth to form a semicircle.
Row 1: In a magic ring, work 7 sc. Do not close the ring completely shut yet; leave it flat in a half-circle shape. (7 sts)
Row 2: ch 1, turn. Work 1 inc in each stitch across. (14 sts)
Row 3: ch 1, turn. Work (1 sc, 1 inc) across to the end. (21 sts)
Row 4: ch 1, turn. Work 1 sc in each stitch across without increasing. (21 sts)
Row 5: ch 1, turn. Work 3 sc, 1 inc in the next st, 7 sc, 1 inc in the next st, 3 sc.
Fasten off, leaving a tail for sewing.
Pull the initial magic ring tail firmly to tighten the semicircle center. Tie a small knot on the wrong side to secure.
Attaching the Belly:
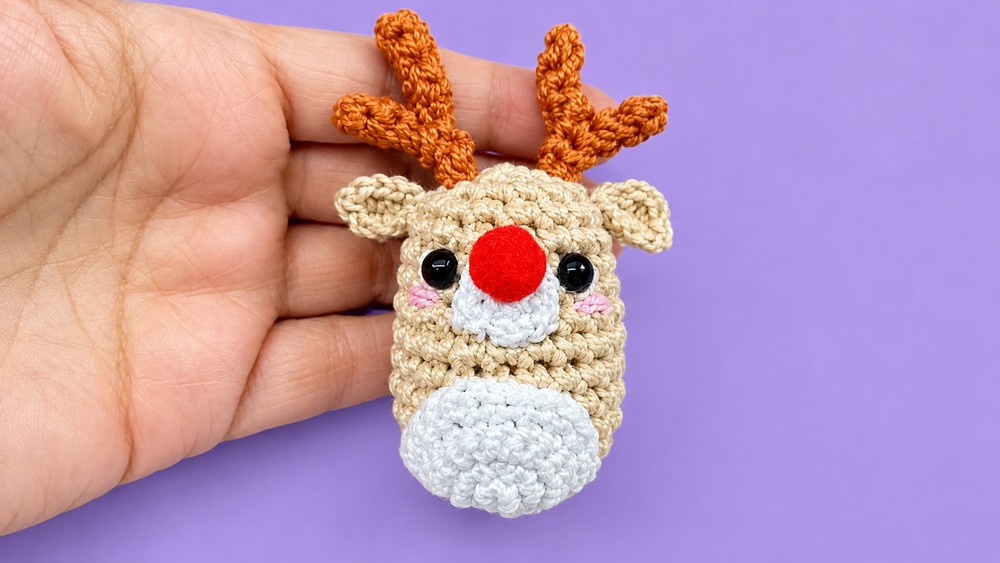
Position the flat edge of the semicircle facing upward and the curved edge along the lower bottom of the reindeer body (spanning from Round 1 up to about Round 6). Pin in place and sew neatly around the perimeter with a tapestry needle.
3. Muzzle (Morrete / Hocico)
Use White yarn held single-stranded (1 strand) and a 1.75 mm hook.
Round 1: Start with a magic ring. Work 8 sc into the ring. (8 sts)
Round 2: Work 1 sc in each of the 8 stitches around. (8 sts)
Round 3: Work 1 inc in the first stitch, then work (2 sc, 1 inc) around until you have 10 stitches total. (10 sts)
Finish with 1 sl st in the next stitch.
Fasten off, leaving a tail for sewing.
Attaching the Muzzle:
Position the muzzle on the front of the face, centered directly above the belly patch (resting approximately between Rounds 6 and 10 of the body/head).
Add a tiny pinch of fiberfill inside the muzzle to help it keep its rounded cup shape.
Sew securely around the edge to the face.
4. Eyes & Facial Details
Eyes: Place two 4 mm black half-pearls (or small black beads) directly above the top edge of the white muzzle, spaced about 2 to 3 stitches apart. Glue them in place with a small drop of hot glue or craft adhesive.
Eye Whites: Thread a tapestry needle with a strand of single white thread. Make a small diagonal backstitch along the outer and lower edge of each black eye to give a sweet, lively expression. Knot and bury the ends inside the head.
Rudolph’s Red Nose: Glue a small red craft pompom (8 mm to 10 mm) directly onto the center/top tip of the white muzzle.
Blush Cheeks: Thread a needle with pink thread. Make 2 small horizontal stitches directly below and slightly to the outside of each eye.
5. Ears (Make 2)
Worked in flat rows using Main Color for Row 1 and White for Row 2 (both single-stranded).
Base Row (Main Color):
Chain 5.
Starting in the 3rd chain from the hook: work 1 hdc in that chain.
Work 1 hdc in the next chain.
In the last chain (the first chain made): work 1 sc, ch 1, 1 sl st all into the same chain.
Working along the unworked bottom loops on the opposite side of the chain: work 1 hdc in each of the next 2 loops.
Chain 2, sl st into the base.
Border Row (White):
Join White thread into the edge with a slip stitch.
Work 1 sc in each stitch along the outer curve (about 3 sc).
At the outer tip, work 1 sl st, ch 1, 1 sl st into the tip stitch.
Work 1 sc in each of the remaining stitches down the other side (about 4 sc).
Fasten off, leaving a tail for assembly.
Shaping & Attaching the Ears:
Fold the ear slightly lengthwise at the bottom base to give it a cupped, pinched ear shape.
Take a couple of small stitches with your needle across the base to hold the pinch.
Position the ears on the sides of the head: place them 2 rounds above the eye line and about 2 stitches behind each eye.
Sew firmly to the head so they angle slightly downward and outwards.
6. Antlers (Make 2)
Use Brown / Caramel yarn held double-stranded (2 strands together) and a 1.75 mm hook.
Each antler is built from one Long Branch and one Short Branch that are folded into 3D tubes and sewn together.
Long Branch (Make 2):
Chain 6.
Starting in the 2nd chain from hook, work 1 sc in each of the 5 chains. (5 sc)
At the end, ch 1 and work 1 sc into the same end stitch to round the tip.
Work back along the opposite side loops of the chain: work 4 sc.
Chain 1, sl st into the base.
Cut the yarn, leaving a 10-inch tail for sewing.
Forming the Tube: Fold the flat piece in half lengthwise with the right side facing out. Using your tapestry needle and the yarn tail, whipstitch the edges together from bottom to top to turn the flat strip into a stiff, solid, rounded tube.
Run the needle down through the center of the tube to the base and secure with a knot so the shape stays firm.
Short Branch (Make 2):
Chain 4.
Starting in the 2nd chain from hook, work 1 sc in each of the next 2 chains.
In the last chain: work 1 sc, ch 1, 1 sc into the same chain.
Work along the opposite side loops: 2 sc.
Chain 1, sl st into the base.
Cut the yarn leaving a sewing tail. Fold lengthwise and whipstitch into a small round tube in the exact same manner as the long branch.
Assembling the Antlers:
Sew the base of a short branch onto the side of the long branch at about the middle point, angling upward and inward like a fork.
Make sure the two antlers are mirrored (one left and one right, with the short prongs pointing inward toward each other).
Position the assembled antlers on top of the head, aligned directly above the ears.
Sew them securely into the top of the head with several tight stitches around the base so they stand up straight and sturdy.
7. Tail (Rabito)
Use Main Color yarn held single-stranded (1 strand) and a 1.75 mm hook.
Chain 6.
Starting in the 2nd chain from the hook:
Work 1 sl st in the 2nd chain.
Work 1 sc in the 3rd chain.
Work 1 hdc in the 4th chain.
Work 1 dc in each of the remaining 2 chains.
Fasten off, leaving a tail for sewing.
Sew the wide base of the tail to the lower back of the body (around Round 3 or 4) so the pointed tip curls slightly upward.
8. Finishing Touches
Keychain Attachment (Optional): Thread a jump ring or keychain cord between the two antlers at the very top of the head, anchoring it through the crochet stitches.
Use your needle to pull any remaining loose thread ends into the body cavity and trim flush.
Your mini Christmas reindeer is complete!
Share on Social Media!

See More:

How to Crochet Funny Bulging-Eyed Reindeer Buddy in Mittens Amigurumi for Gifting
Featuring: How to Crochet Reindeer in Scarf Christmas Wind Spinner for Decoration

Tester Call: How to Crochet Glitter-Eyed Reindeer Star Buddy Ornament for Gifting

How to Crochet Mr. Reindeer Snail Buddy Holding a Treat Basket with Holly Leaves

How to Crochet Funny Festive Red Nose Reindeer Star Christmas Ornament Amigurumi
Featuring: How to Crochet No-Sew Buddy Scarf-Wearing Buddy Reindeer Plush
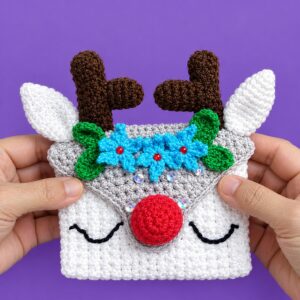
How to Crochet Oh-So Cute Festive Reindeer Wallet for Christams

Tester Call: How to Crochet Reindeer Dumpling Plushie for Christmas Gifting

Tester Call: How to Crochet Grinch Owl Dumpling in A Christmas Box Plushie
