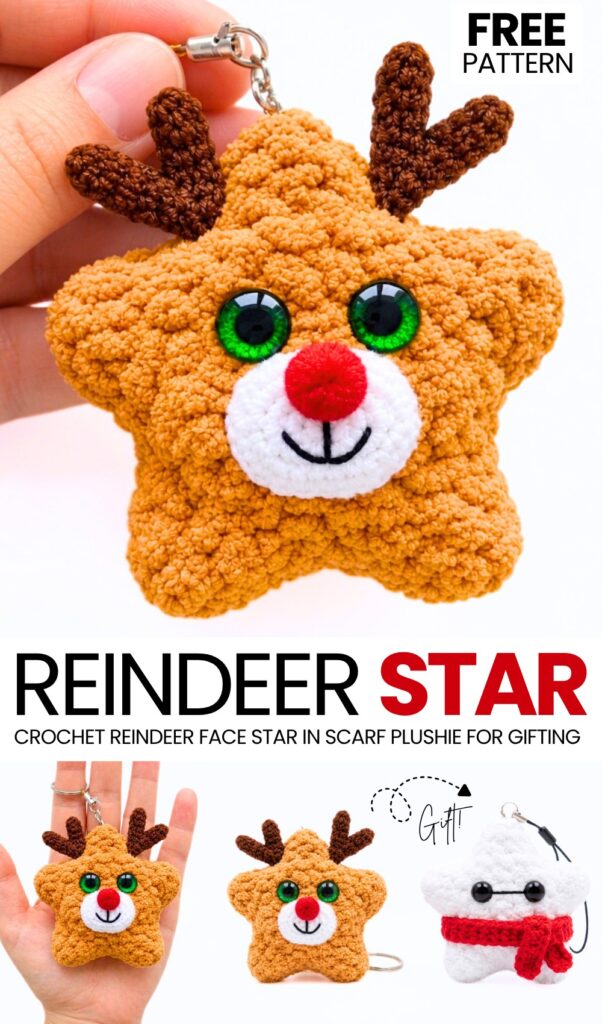
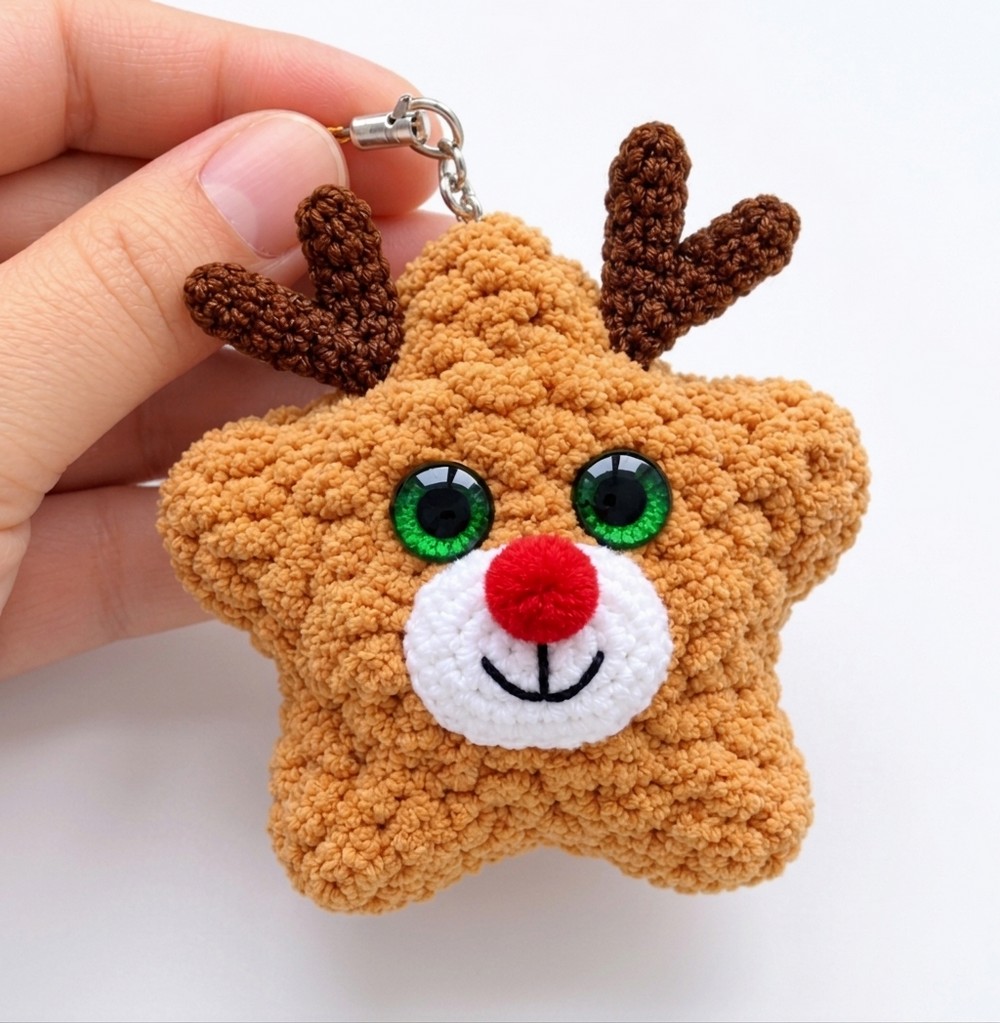
Welcome to the 3rd and this week’s last part of the crochet Christmas animals and character star ornament plushies series! Today, learn how to crochet this oh-so cute crochet reindeer buddy star ornament that you can crochet in under 45 minutes, following a FREE written pattern. This crochet plush reindeer has cute green glitter eyes, just like the crochet yellow star plushie you learned to crochet in the first star buddy plush.
We will be crocheting a pocket-sized plush star that works up in less than an hour and makes a holiday present! It has a happy reindeer face with the amigurumi antlers as well.
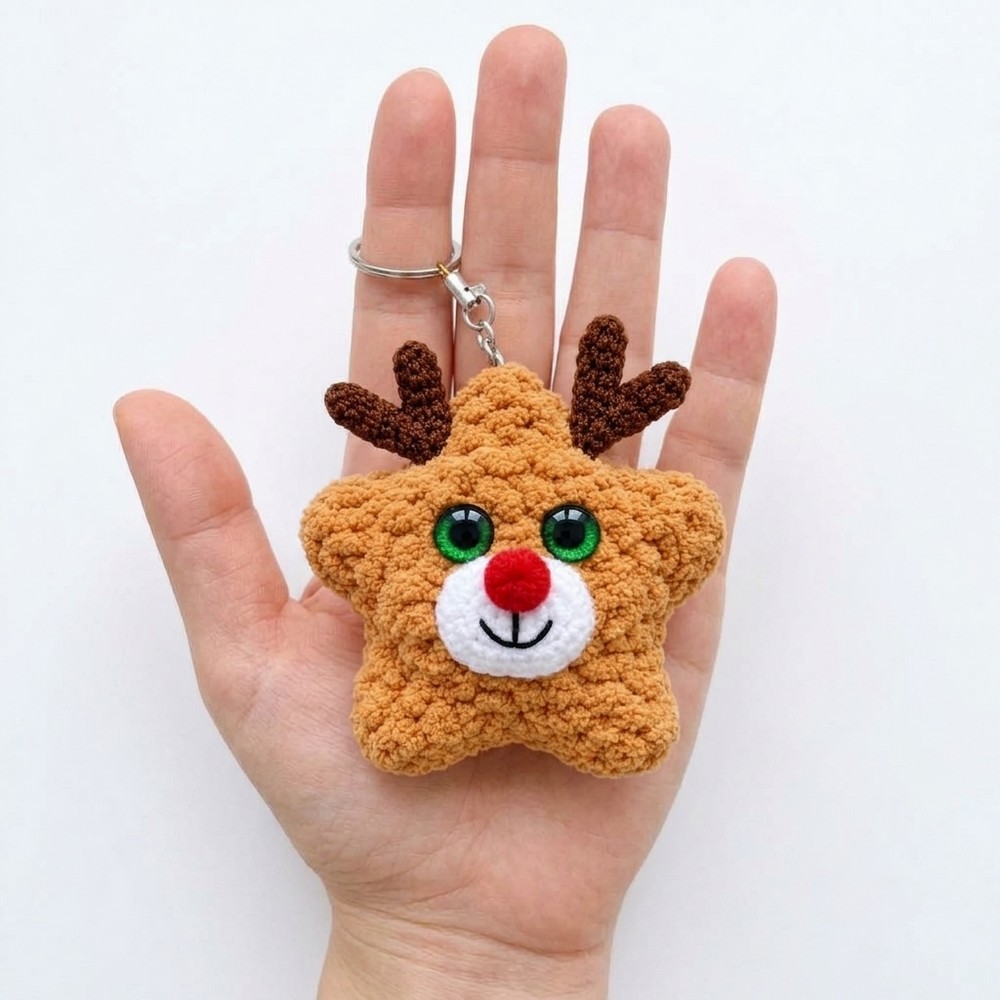
Measuring around 7 cm (under 3 inches) across, it is made of just two flat star motifs crocheted in four quick rounds, then sewn together and lightly stuffed. It makes a cute keychain or backpack charm, or a festive holiday tree ornament, using up tiny leftover scraps of yarn.
Pattern to Crochet a Reindeer Plush with Glitter Eyes
Skill Level: Intermediate
Materials & Tools
Main Star Body Yarn: Super bulky plush / chenille yarn (100 g / 120 m; e.g., Himalaya Dolphin Baby or YarnArt Dolce) in Brown (less than 15 g needed).
Antler Yarn: 4-ply DK cotton yarn in Brown.
Muzzle Yarn: White sport-weight cotton yarn (or white felt sheet).
Embroidery & Details:
Thin black cotton yarn or embroidery floss (for the mouth).
White plush or cotton yarn (for eye highlights).
Red pom-pom ball (for the nose).
Crochet Hooks:
4.0 mm hook (for the super bulky star body).
2.5 mm hook (for the DK cotton antlers).
1.75 mm hook (for the sport-weight muzzle).
Eyes: 10 mm green sparkle safety eyes or flat-back glued eyes.
Stuffing: Polyester fiberfill (small handful).
Notions: Tapestry needle with a large eye, stitch marker, scissors, fabric glue (if using flat-back eyes), keychain strap / metal lobster clip.
Abbreviations & Terminology
MR: Magic Ring (do not pull excessively tight at first with chenille yarn)
sc: Single crochet
inc: Increase (work 2 single crochet stitches into the same stitch)
hdc: Half double crochet
dc: Double crochet
sl st: Slip stitch
st(s): Stitch(es)
INV DEC: Invisible decrease
FO: Fasten off
R / Rnd: Round
1. Star Panels (Make 2 Identical Pieces in Brown Chenille Yarn)
Work in continuous spirals for Rounds 1 to 3; place a stitch marker in the first stitch of each round.
Round 1: Make a MR, work 10 sc into the ring. Gently pull center closed. (10 sts)
Round 2: (1 sc, inc) repeated 5 times. (15 sts)
Round 3: (2 sc, inc) repeated 5 times. (20 sts)
Round 4 (Forming the 5 Star Points): Working around all 20 stitches, create 5 star points by repeating this sequence 5 times:
Into the very next stitch, work: (1 sc, 1 hdc, 1 dc, 1 hdc, 1 sc) all in the same stitch.
Then, work 1 sl st into each of the next 3 sts.
Repeat this for all 5 points.
Finishing the Star Panels:
First Star Panel (Back): Cut the brown chenille yarn leaving a short tail (~10 cm), fasten off, and weave the tail securely onto the wrong side.
Second Star Panel (Front): Fasten off, leaving a long yarn tail (~40 to 50 cm) for sewing the two halves together later.
2. Antlers (Make 2 Antlers Total)
Using brown 4-ply DK cotton yarn and a 2.5 mm hook. Each antler is constructed by crocheting two separate small fingers/pieces first, then joining them together in a continuous round.
First Finger (Piece 1):
R1: MR – 6 sc into the ring (6 sts)
R2–R4 (3 rounds): sc in each st around (6 sts)
Fasten off and leave a long tail for sewing. Do not stuff. Insert a stitch marker into the 1st stitch of Round 4.
Second Finger (Piece 2):
R1: MR – 6 sc into the ring (6 sts)
R2–R4 (3 rounds): sc in each st around (6 sts)
Do not fasten off or cut the yarn, as you will continue directly into Round 5 to join both pieces together. No stuffing needed.
Joining the Two Antler Pieces (Round 5):
R5:
Work an INV DEC, then sc in next 2 sts.
Pull a short string/scrap yarn through the next stitch to use as a temporary marker.
Insert your hook into the first antler piece (specifically into the stitch with the stitch marker) and work 1 sc.
sc in next st, work an INV DEC, sc in next 2 sts.
Connect the first piece back to the second piece: insert your hook into the stitch marked with the scrap string on the second piece and work 1 sc.
sc in last st. (Total: 10 sts)
R6: sc in next 2 sts, INV DEC, sc in next 3 sts, INV DEC, sc in last st. (8 sts)
R7: INV DEC, sc in next 2 sts, INV DEC, sc in last 2 sts. (6 sts)
Fasten off with an invisible finish (INV FO), leaving a long tail for sewing the antler to the star. Use the tail from the first piece to pull through and close any small gap between the two joined fingers.
3. Muzzle
Using white sport-weight yarn and a 1.75 mm hook (or cut an oval shape from white felt).
Foundation: Chain 6.
Rnd 1: Sc in 2nd ch from hook and next 3 ch, 3 sc in last ch. Working along the underside of the chain: sc in next 3 ch, 2 sc in last ch. Join with a sl st to the first sc. (12 sts)
Rnd 2: Sc in next 4 sts, [inc] 3 times, sc in next 4 sts, [inc] 2 times. (18 sts)
Rnd 3: Sc in next 4 sts, [sc 1, inc] 3 times, sc in next 4 sts, [sc 1, inc] 2 times. (24 sts)
Rnd 4: Sc in next 4 sts, [sc 2, inc] 3 times, sc in next 4 sts, [sc 2, inc] 3 times. (30 sts)
Fasten off, leaving a long tail for sewing onto the front star panel.
4. Facial Features & Embroidery (Front Panel)
Decorate the front star panel before joining the two star halves together:
Green Sparkle Eyes:
Position two 10 mm green sparkle safety eyes in the center between Rounds 2 and 3 of the star base, spaced about 2 to 3 stitches apart, sitting just above where the muzzle will be attached.
Secure washers firmly on the back (or glue in place if using flat-back eyes).
White Eye Highlights:
Thread a needle with white plush yarn.
Take 1 or 2 small horizontal/diagonal stitches along the outer bottom curve of each eye to create a cheerful cartoon glimmer. Tie and knot ends securely on the wrong side.
Muzzle & Red Nose:
Sew or glue the crocheted white muzzle centrally below the eyes.
Glue a red pom-pom ball onto the upper center of the white muzzle to serve as the reindeer’s nose.
Smile:
Thread thin black cotton yarn or embroidery floss onto your needle.
Sew a gentle curved line just beneath the white muzzle, catching the bottom middle with a tiny anchoring stitch (couching) so it curves upward into a happy grin. Tie off securely at the back.
5. Assembly & Finishing
Attach Antlers:
Position the two finished brown cotton antlers securely near the top-left and top-right sections of the star back panel or between the layers, pointing upward. Sew them down firmly with the leftover tails.
Align the Star Panels:
Place the decorated front star piece and the plain back star piece together with wrong sides facing each other and right sides facing outward. Line up all 5 star points evenly.
Sewing the Halves:
Thread the long brown chenille tail from the front panel onto your yarn needle.
Sew through both loops of the corresponding edge stitches around the perimeter of the star, matching point to point and valley to valley.
Stuffing:
Continue sewing until only one point or small section remains open.
Insert small tufts of polyester fiberfill into each point first, then lightly fill the center. Keep the star relatively flat and softly puffed so it retains its crisp star shape.
Close the Seam:
Finish sewing through the remaining open stitches. Fasten off securely, insert your needle into the star body, bring it out through the back, pull slightly, cut flush, and let the tail pop inside.
Keychain Attachment:
Attach a metal lobster clip, split ring, or lanyard cord securely to the top star point. Your plush reindeer star buddy is complete!

See More:
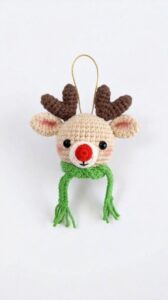
Featuring: How to Crochet Reindeer in Scarf Christmas Wind Spinner for Decoration

How to Crochet Mr. Reindeer Snail Buddy Holding a Treat Basket with Holly Leaves
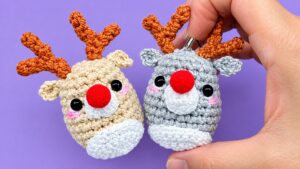
How to Crochet Chill Pill Reindeer Buddy Christmas Ornament Amigurumi
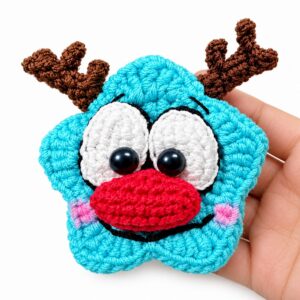
How to Crochet Funny Festive Red Nose Reindeer Star Christmas Ornament Amigurumi
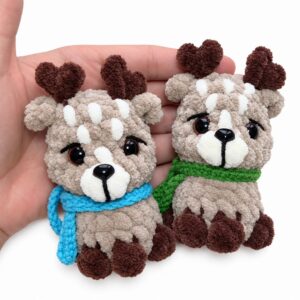
Featuring: How to Crochet No-Sew Buddy Scarf-Wearing Buddy Reindeer Plush
How to Crochet Oh-So Cute Festive Reindeer Wallet for Christams
Tester Call: How to Crochet Reindeer Dumpling Plushie for Christmas Gifting
Tester Call: How to Crochet Mr. Cookie Star with Bow & Cherry Plushie for Gifting
Tester Call: How to Crochet Snowman in Black Hat Star Ornament Plushie for Christmas Gifting