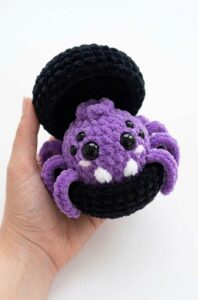
Author: Talha
I am a crochet designer, macramé maker and a crafter who also loves doing MATH.

Contributor: Lyubov of Love Knitting
She is a Ukrainian crochet plushie designer and our most favorite crocheter. She became our contributor on mid 2026 through mycraftybasket.
Show support for Lybouv!
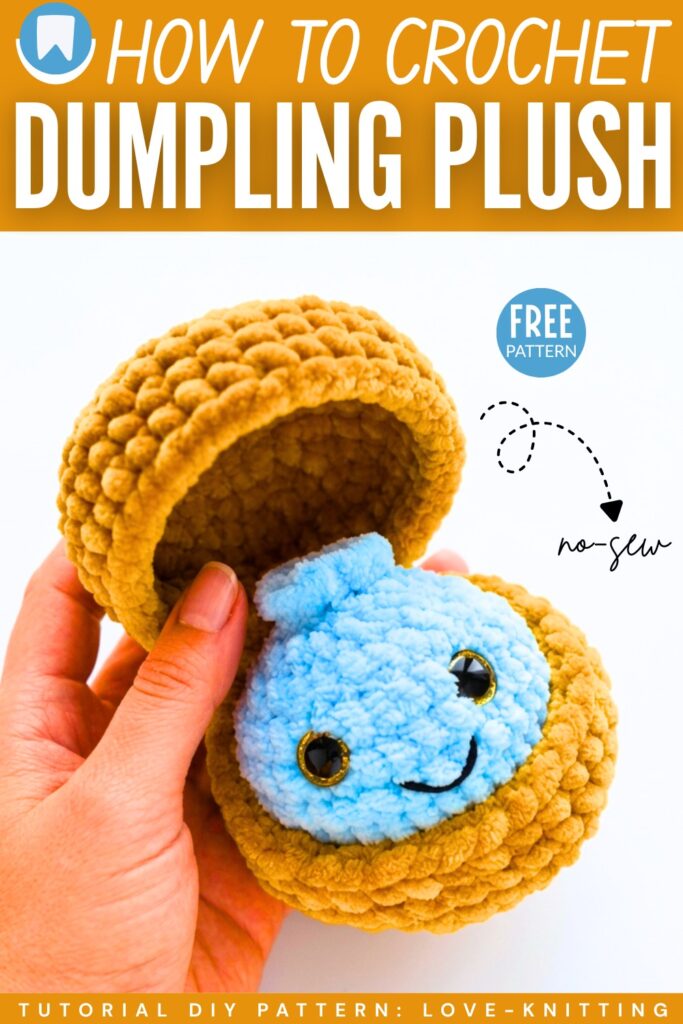
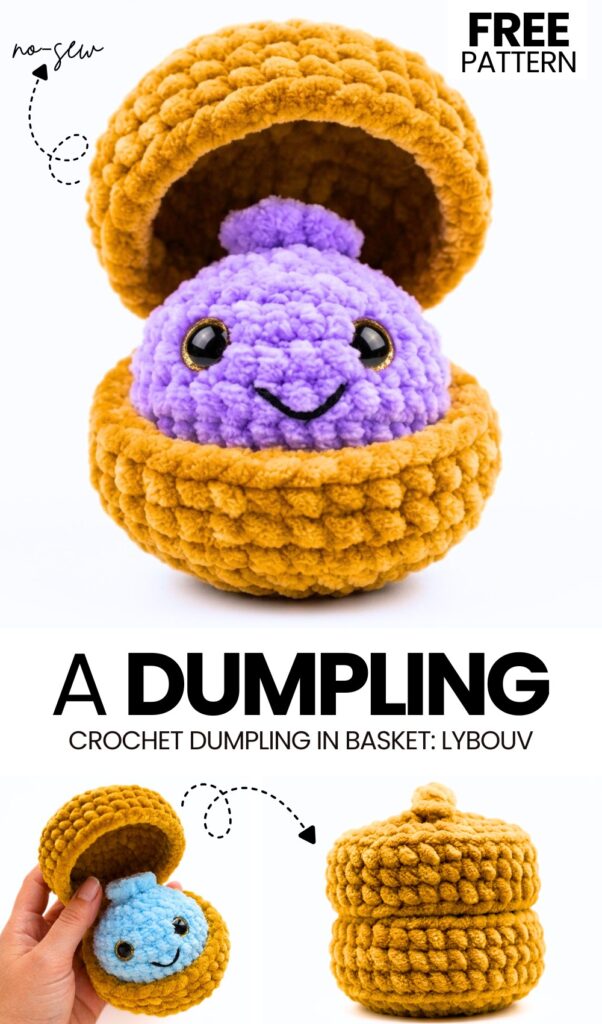
The crochet smiling dumpling with a steamer basket is a NEW viral trend in the community. While you can follow any crochet pattern for this KAWAII dumpling toy project, I highly recommend following the one I am sharing today for 3 reasons: it is crocheted as a low-sew dumpling in a steamer with glitter eyes + it is easier& cuter + the steamer has a joined lid! You can crochet this dumpling plushie in less than 45 minutes thanks to the use of super bulky yarn. Great toy for kids’ fake food plays.
You can choose from interesting dumpling plushie colors such as purple, pink, and even blue. This crochet dumpling khinkali plushie is the easiest crochet toy, as this design is much simpler, especially the top part.
You can also crochet your dumpling with black eyes and then embroider the eye whites. You can also attach eyelashes to your dumpling if you are gonna gift it to a little girl. The same pattern can be used if you are looking for a crochet balloon amigurumi plushie pattern. Choose from the brown and the golden yarn for your steamer basket. Anyway, continue reading to learn more about this crochet food project + learning how to crochet one.
Similar Project(s)
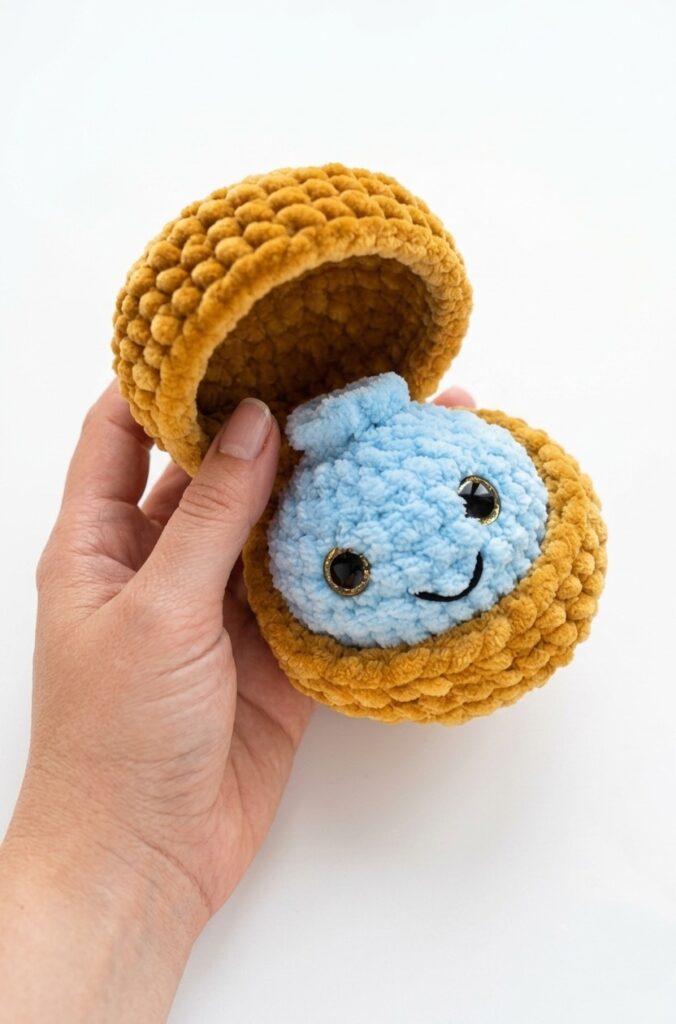
Pattern to Crochet a Dumpling in Basket Plushie
Skill Level: Beginner
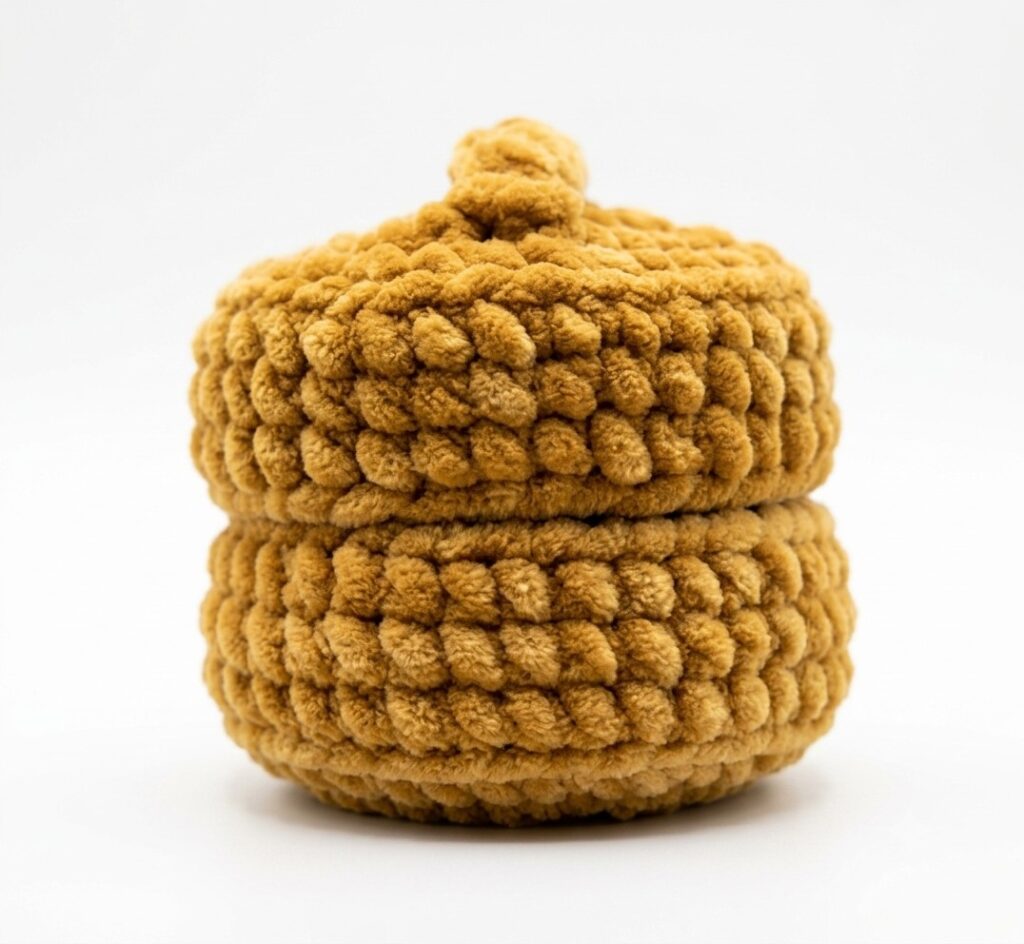
The toy has a box that closes and has a handle. It is seven centimeters big. The toy is very easy and fast to knit. The box is also easy to make.
Materials List:
- Plush yarn (100g / 120m) for the dumpling.
- Plush yarn (slightly thicker, 100g / 120m) for the box.
- Semi-cotton yarn (like YarnArt Jeans) in black for the smile and another color for closing the top hole.
- Crochet hook size: 4 mm.
- Toy stuffing.
- Plastic safety eyes (12 mm).
- Yarn needle for sewing/weaving in ends.
- Scissors.
Abbreviations List:
- MR = Magic Ring
- sc = single crochet
- inc = increase (2 single crochets in one stitch)
- dec = decrease (crochet 2 stitches together)
- sl st = slip stitch
- ch = chain
- BLO = back loops only
- FLO = front loops only
- R = Round
Pattern Overview & Abbreviations
Terms (US): MR (Magic Ring), sc (Single Crochet), inc (Increase – 2 sc in same st), dec (Invisible Decrease), BLO (Back Loops Only), FLO (Front Loops Only), st/sts (Stitch/Stitches), FO (Fasten Off).
Finished Size: Fits inside hand palm/basket (~3–4 inches tall).
Stitch Instructions
- Single crochet (sc): Insert hook into stitch, yarn over, pull up a loop, yarn over, and pull through both loops on the hook.
- Increase (inc): Work 2 single crochet stitches into the exact same stitch.
- Decrease (dec): Insert hook into front loop of next stitch, insert hook into front loop of following stitch, yarn over, pull through both front loops, yarn over, and pull through both remaining loops.
- Slip stitch (sl st): Insert hook into stitch, yarn over, and pull directly through both the stitch and the loop on your hook in one smooth motion.
Are you a Beginner? Learn Crocheting Easily!
You can learn to crochet better with this crochet dumpling and basket food set tutorial as a beginner:
Written Pattern?
You can follow this crochet dumpling tutorial!
Share on Social Media!
See More:
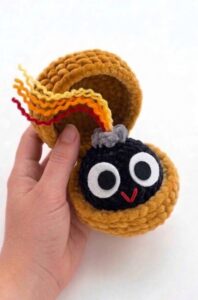
Tester Pattern: How to Crochet Birthday-Popper Dumpling Plushie for Gifting

Tester Pattern: How to Crochet Dumpling Buddy in A Steamer Costume Plushie

Tester Pattern: To Crochet A Snowball Christmas Dumpling in Basket Plush
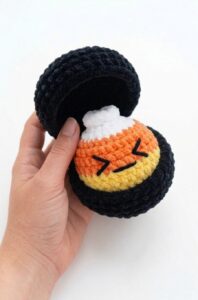
Tester Call: Free Crochet Orange, Yellow & White Dumpling Plushie
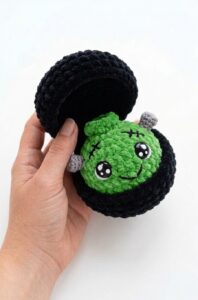
Tester Call: Free Crochet Kawaii-Eyes Bolt Zombie Dumpling Plushie
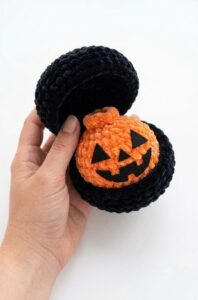
Tester Call: How to Crochet A Pumpkin Dumpling Plush for Halloween
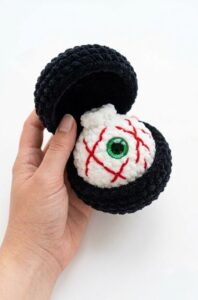
Free Crochet Eyeball Dumpling in a Steamer Plushie for Halloween
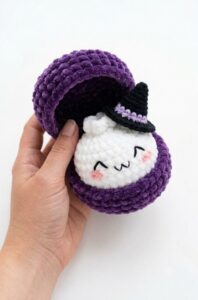
Tester Call: Crochet Spooky Ghost Dumpling Plushie Pattern
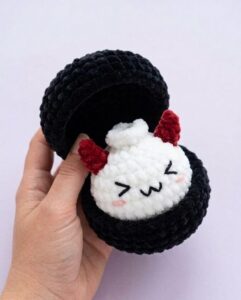
How to Crochet Spooky Dumpling with Red Horns Plushie Variation