Show Support for Heather!
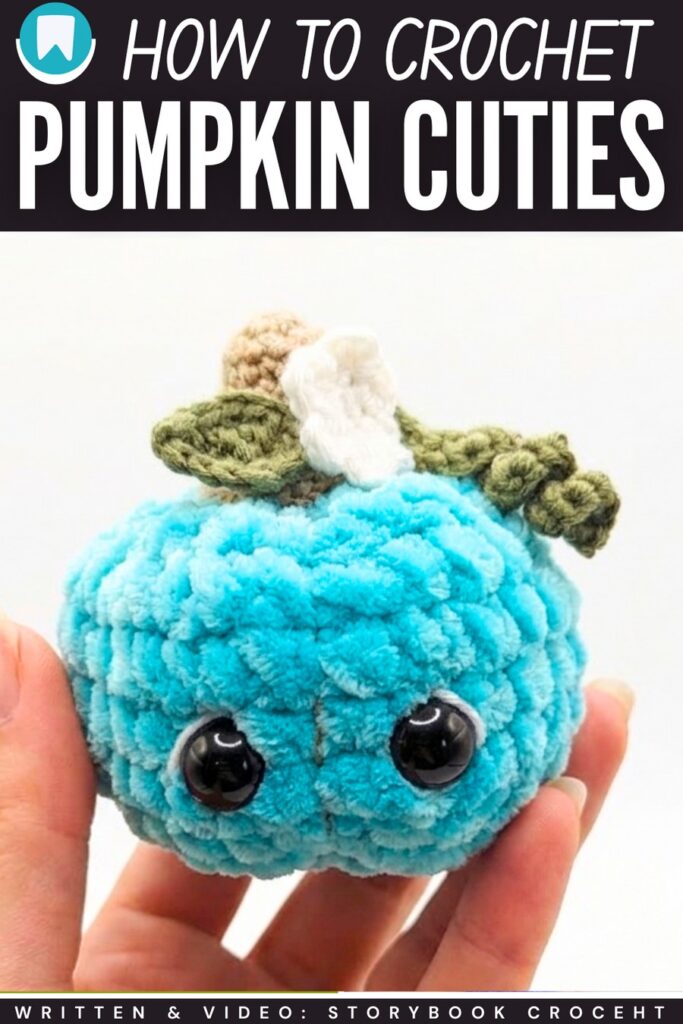
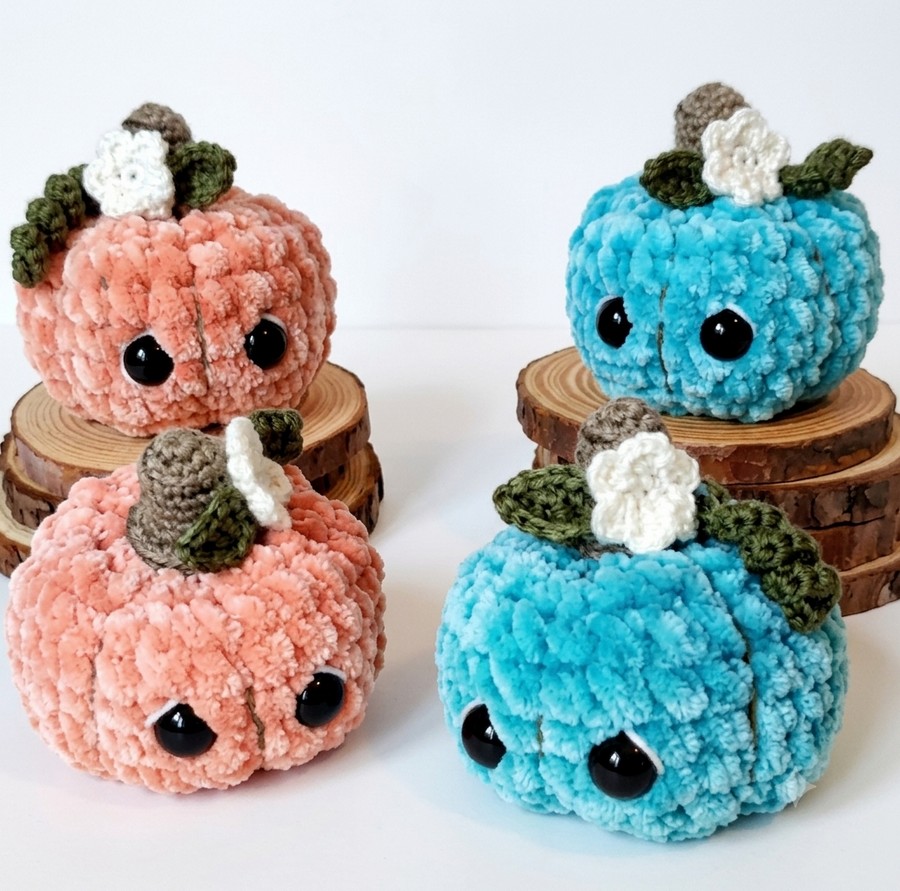
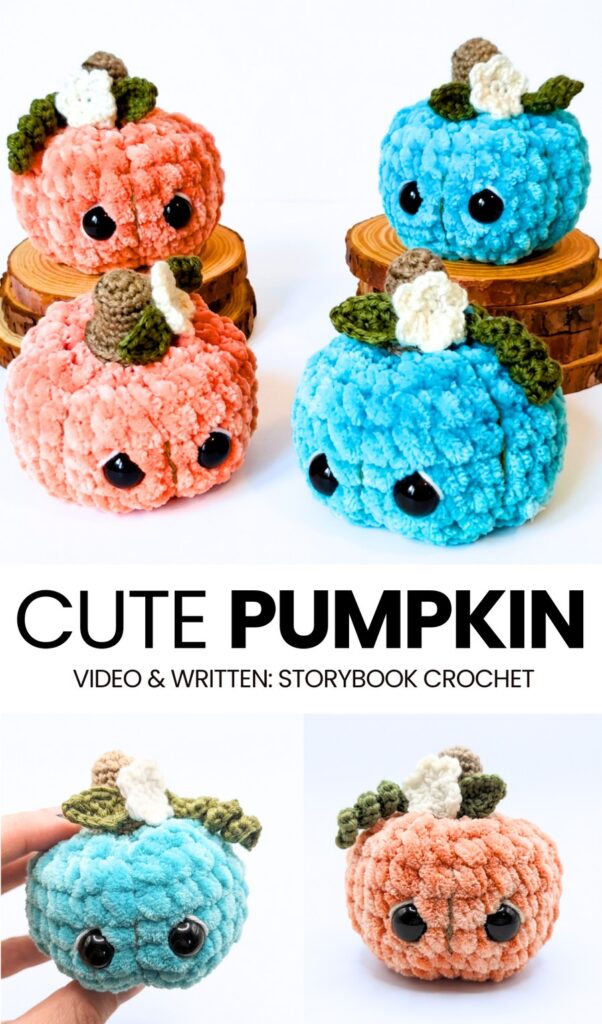
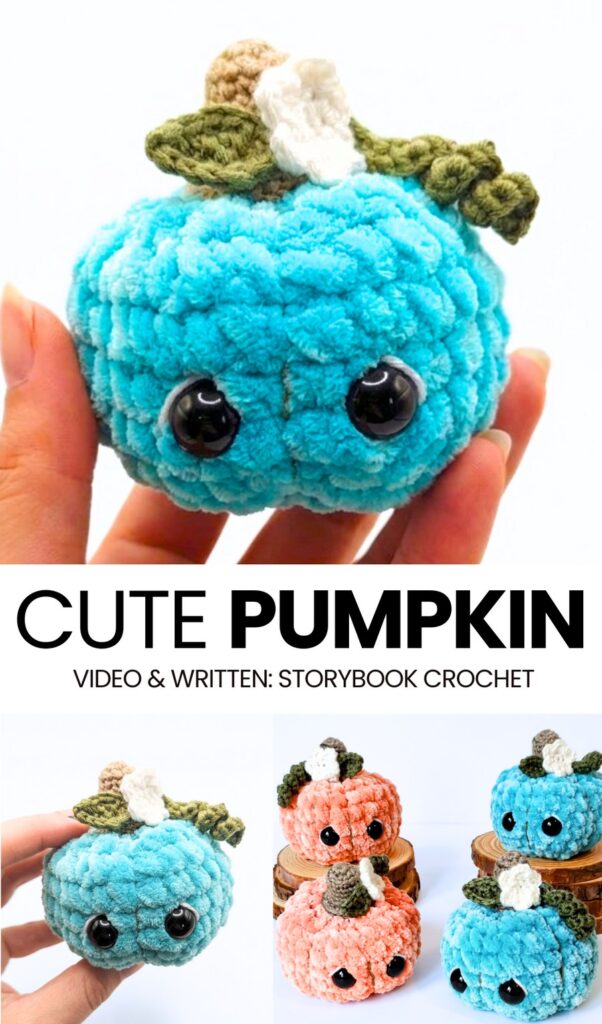
This year, say goodbye to traditional fall colors and crochet this aqua pumpkin plush cutie with a step-by-step tutorial! This is a little kawaii pumpkin plush with eyes made from the traditional “sphere base” method. It also has a crochet curly vine, leaf, and a stuffed pumpkin stalk made with cotton yarn. It is a not-to-be-missed Halloween present for little ones & an irresistible fall centerpiece.
You can also crochet this pumpkin plush cutie in orange, yellow, or light green, even white. Crochet one pumpkin softie in less than 30 minutes following a quick pattern at the end of the video tutorial.
This pumpkin plush variation is one of my favorites for its cuteness and the choice of color. For girls, you can also crochet this plush pumpkin pink or purple. Or, you can also try the ones I shared previously, such as the kawaii-eyed pumpkin amigurumi & pumpkin with spider and cobweb. Now, continue reading to learn more about this pumpkin plush project.
Design Type: Classical Pumpkin Variation worked in rounds
[ez-toc]
Crochet Aqua-Colored Pumpkin Cutie Plushie for Kids
Follow this tutorial to crochet a pumpkin amigurumi using two yarn weights. First, use a five millimeter hook and bulky yarn to make the pumpkin body in rounds with magic rings, single crochets, increases, and decreases. Add safety eyes and stuff before closing.
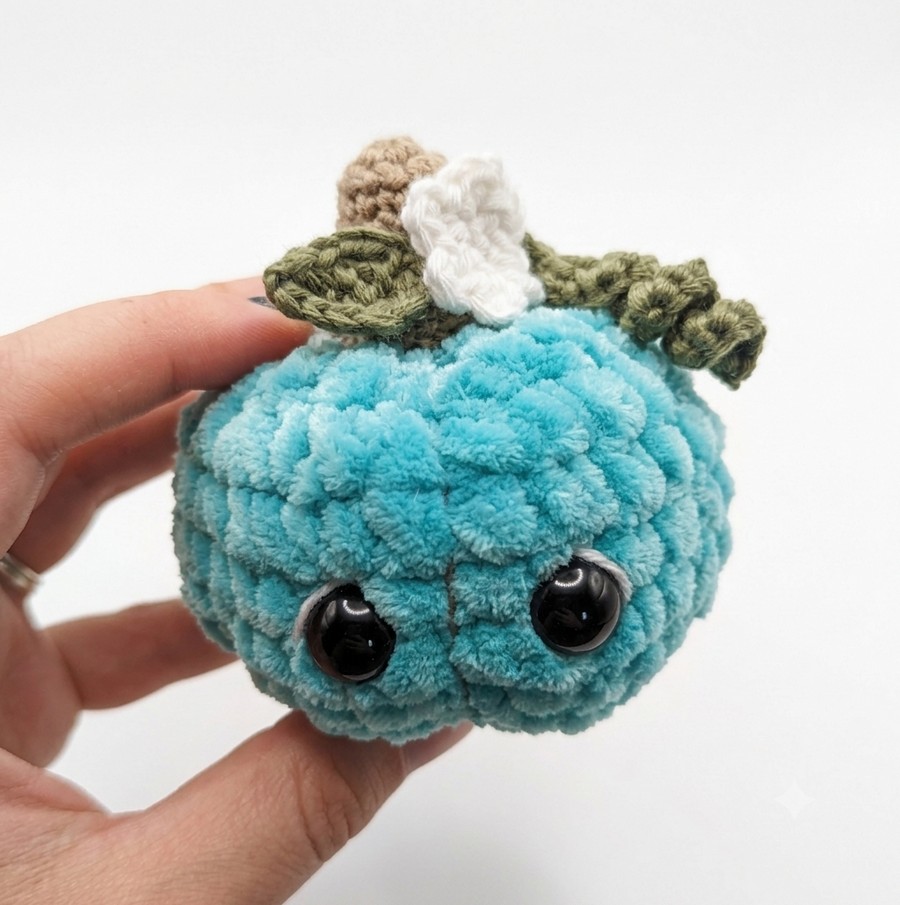
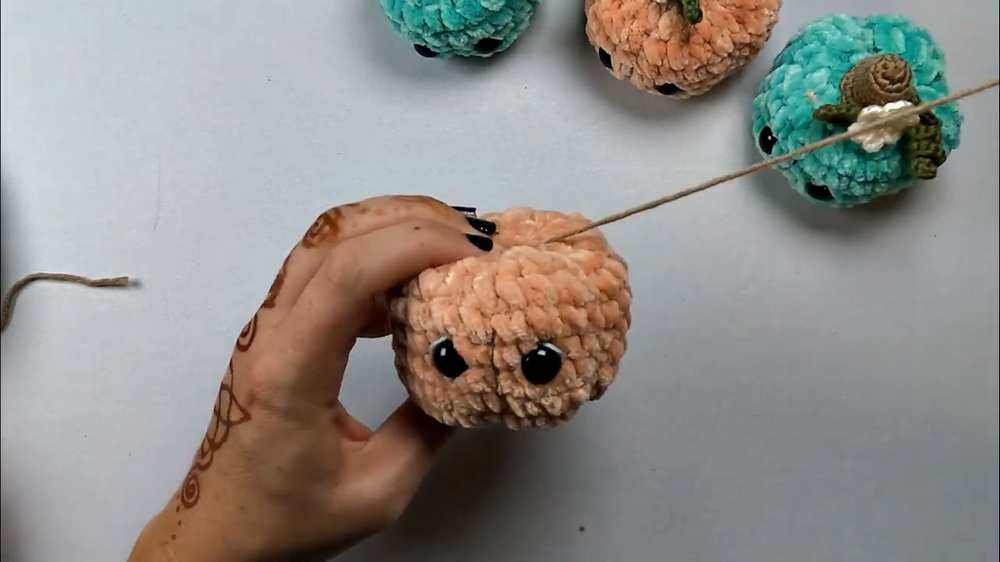
Use brown yarn to sew vertical indents around the pumpkin. Next, switch to a two-millimeter hook and worsted yarn to create the brown stem, a white flower with chained petals, a green leaf, and a curly vine. Finally, sew the stem, flower, leaf, and vine to the top of the pumpkin to finish the project.
Difficulty Level
Advanced Beginner
The base pumpkin is a very simple sphere using basic stitches. The difficulty increases during assembly because you must sew yarn tightly through the center to create pumpkin indents.
Additionally, managing two different hook sizes and crocheting tiny worsted-weight appliqués (the stem, flower, leaf, and vine) requires precision and familiarity with working on a small scale.
Pattern Abbreviations Used
- MR: Magic Ring
- sc: Single Crochet
- inc: Increase
- dec: Decrease (Invisible Decrease)
- hdc: Half Double Crochet
- dc: Double Crochet
- sl st: Slip Stitch
- ch: Chain
- FLO: Front Loop Only
- BLO: Back Loop Only
Materials
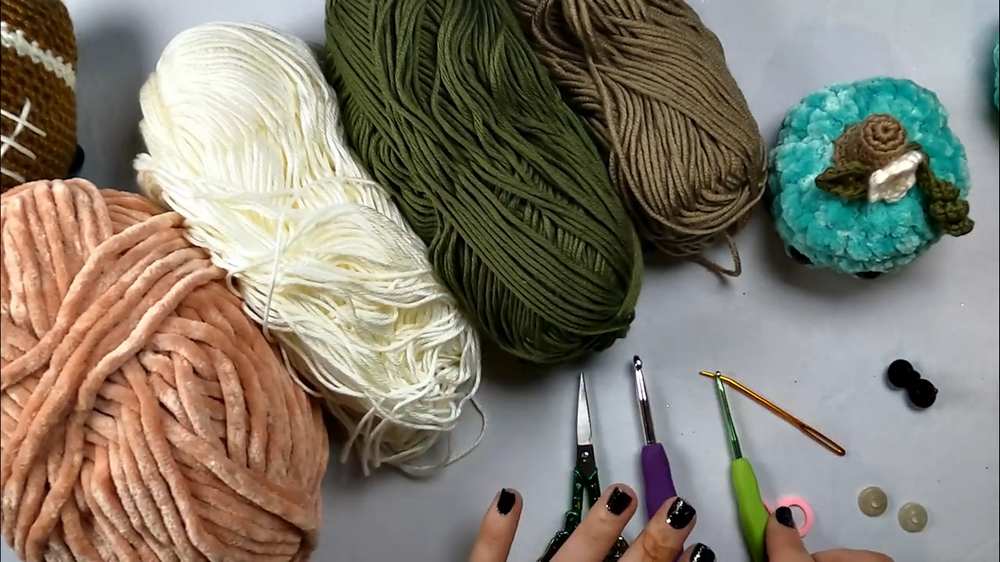
- Bulky weight 5 yarn (main color for the pumpkin)
- Worsted weight yarn (brown, green, and white)
- 5 mm crochet hook (for bulky yarn)
- 2 mm crochet hook (for worsted yarn)
- Two 12 mm safety eyes
- Scissors
- Yarn needle
- Stitch marker
- Fiberfill stuffing
How to Make the Difficult Stitches
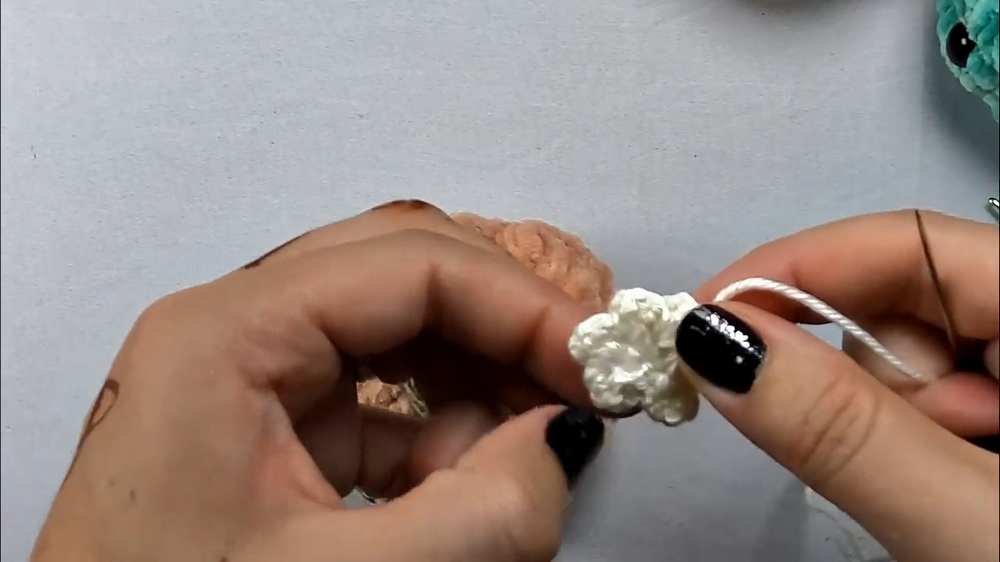
Flower Petal Sequence: This pattern makes the clustered petals on the white flower.
- Slip stitch into the next stitch.
- Chain 2.
- Yarn over, insert hook into the same stitch, pull up a loop, yarn over, pull through two loops, yarn over, pull through two loops (this makes one double crochet).
- Repeat step 3 one more time in the same stitch to create a second double crochet.
- Repeat this entire sequence around the magic ring to create six petals.
Learn Crocheting Now!
Better learn the whole method of crocheting this plushie ice cream cone with the following tutorial:
Written Pattern?
You can use the “ask” feature of the tutorial to retrieve the quick pattern. This method is fully designer-compliant!
Pumpkin Sphere Pattern
Anyway, here is the sphere pattern as it is a classical pattern:
Round 1: Make an MR and place 6 sc into the ring. (6 sts)
Round 2: Inc in each st around. (12 sts)
Round 3: Sc 1, inc repeat around. (18 sts)
Round 4: Sc 2, inc repeat around. (24 sts)
Round 5: Sc 3, inc repeat around. (30 sts)
Round 6: Sc 4, inc repeat around. (36 sts)
Rounds 7–16: Sc in each st around. (36 sts for 10 rounds)
Round 17: Sc 4, dec repeat around. (30 sts)
Round 18: Sc 3, dec repeat around. (24 sts)
Stuff the pumpkin firmly with fiberfill at this point.
Round 19: Sc 2, dec repeat around. (18 sts)
Round 20: Sc 1, dec repeat around. (12 sts)
Round 21: Dec around. (6 sts)
FO: Cut the yarn, leaving an extra-long tail (about 18–24 inches) for shaping the ridges, and pull it through the final loop. Use a yarn needle to weave the tail through the front loops of the remaining 6 stitches and pull tight to close.
Share on Social Media!
Wanna Crochet Something Else?
Featuring: Crochet Dressed-Up Girl Goat Animal Gift Amigurumi (Symbol of 2027)
Featuring: To Crochet Plush Yarn Iconic Mouse Character Plushies (Both Variations)
Featuring: How to Crochet the FASTEST No-Sew Butterfly BUDDY Plushie for Gifting
Featuring: How to Crochet A Sitting Grey Baby Sheep with Bell & Little Horns Plushie
Featuring: How to Crochet Cosplay Red, Blue and Yellow Parrot Buddy Plushie
Featuring: The MOST Well-Detailed Yet Easy Crochet Rooster Fall Plushie (2-in-1 Tutorial)
Featuring: How to Crochet Yellow, Green, White and Red Parrot Bird Plushie & Keychain
How to Crochet Strawberry & Winter Hat Set Little Bird Plushie for Gifting
Featuring: How to Desk Decoration Mr. Owl Eyeglasses Case for Festive Gifting