Pattern Type: Video Tutorial & Pattern by the passionate crafter. So, be sure to support the TWINS!
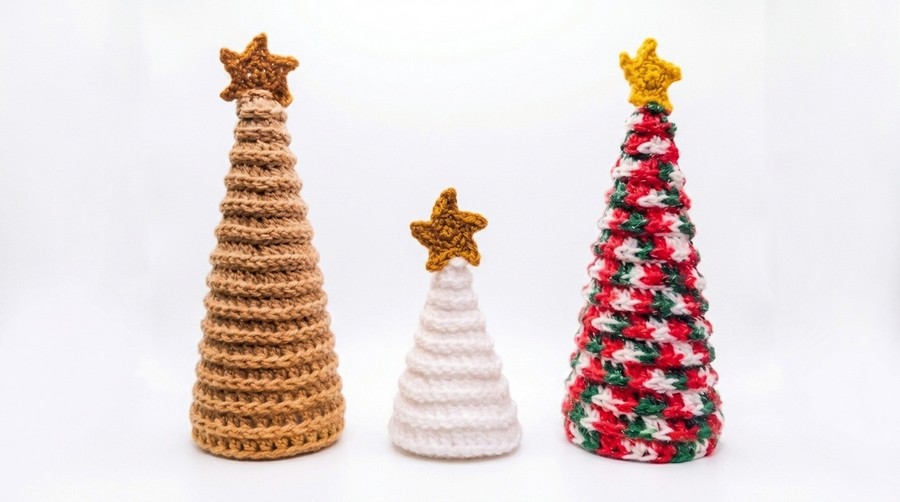
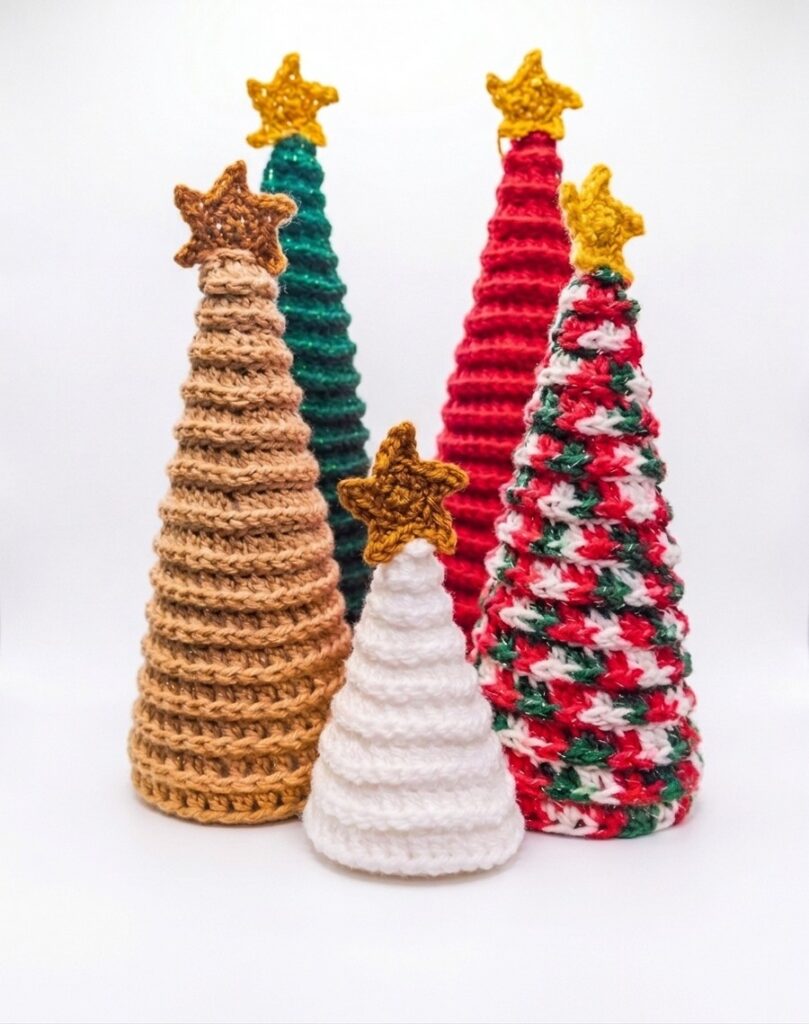
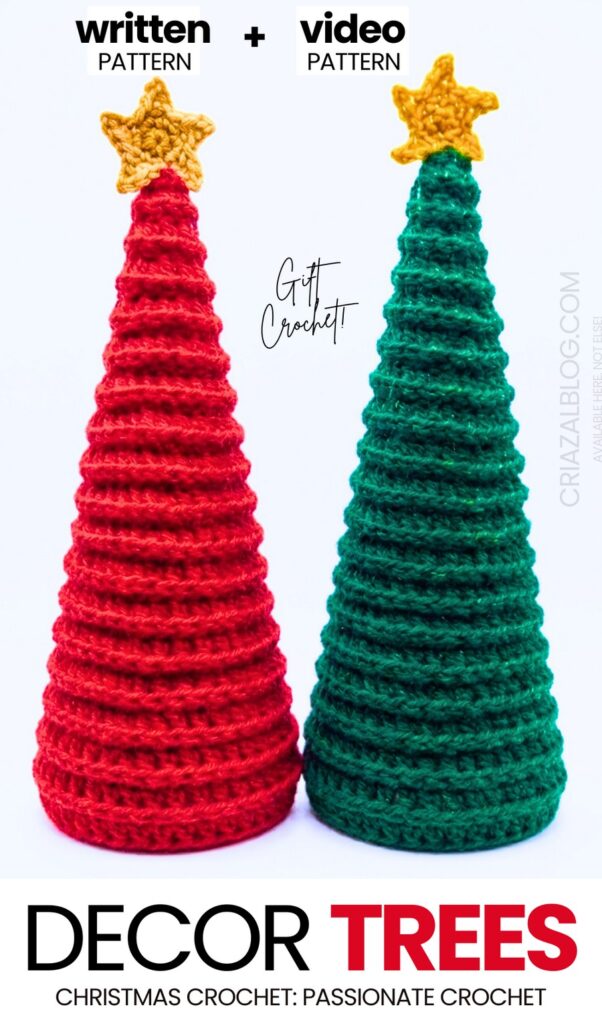
This 25th of December, crochet this set of 5 ELEGANT cone Christmas tree decorations with a star at the top. These are self-standing, beautifully ribbed crochet Christmas trees made of metallic yarn that gives them that lovely shimmer and structure. However, since we are crocheting them as standing table decorations in different sizes, in the step-by-step tutorial, you will also learn how to use the styrofoam cone as a base. In total, there are 3 sizes shown, but you can crochet your Christmas tree in your own size as we follow the traditional ribbed cone increase formula.
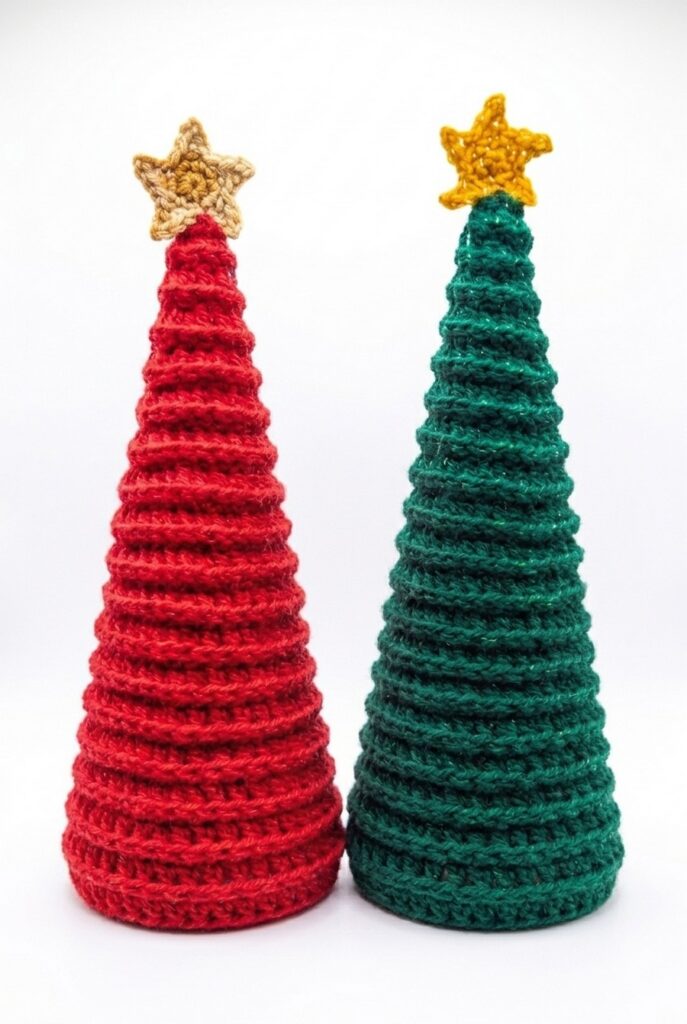
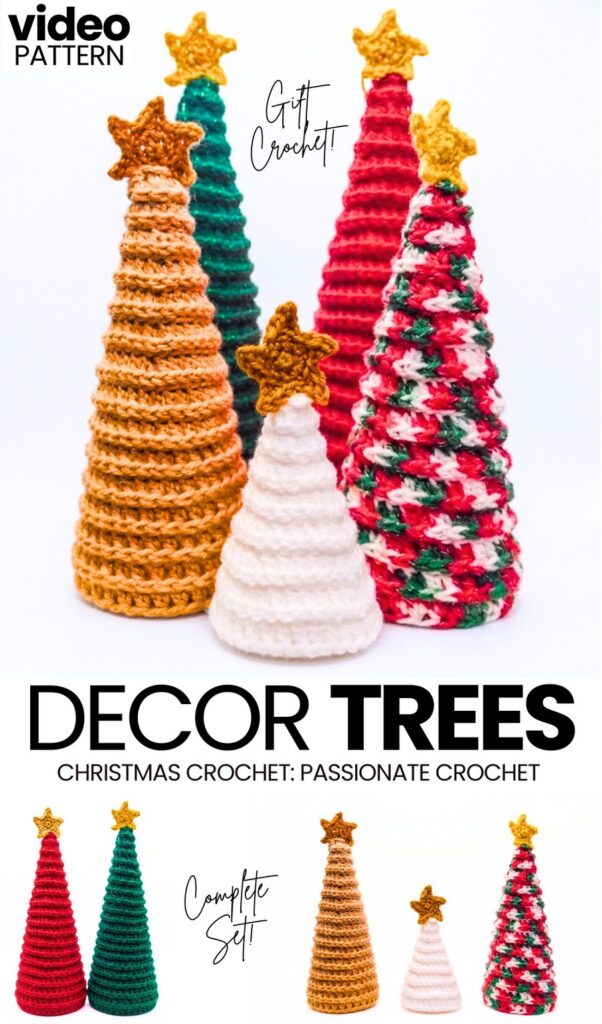
Choose from 2 same-sized Christmas trees in red and dark green, 2 same-sized, smaller-than-previous golden and self-striping green-red-white Christmas trees tree and the smallest white Christmas trees.
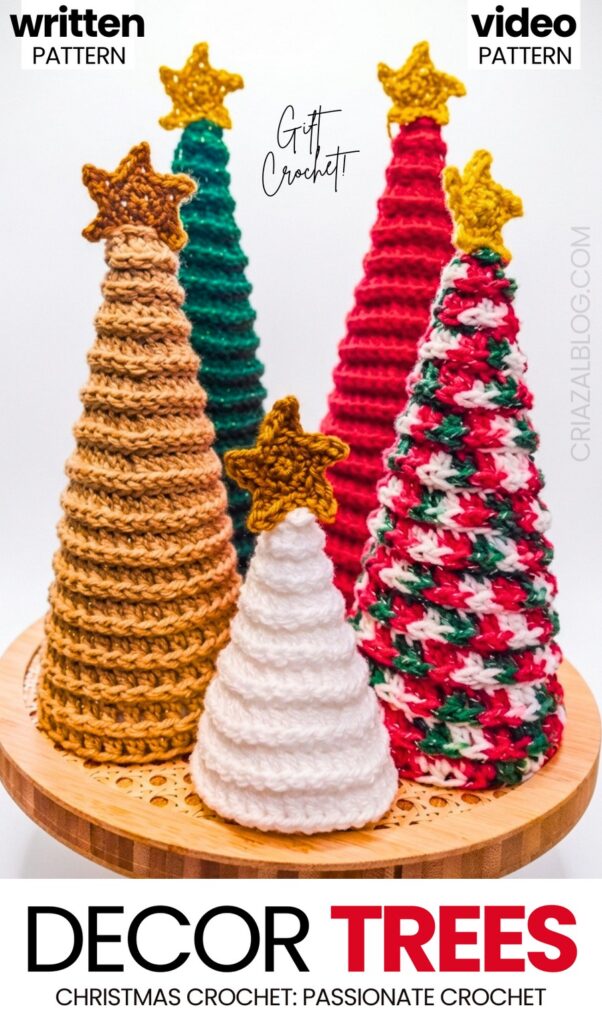
Unlike our previously shared crochet buddy Christmas tree plushies for kids, this crochet Christmas tree makes a FESTIVE, and classic decoration that is better than store-bought faux trees. You can also hide the candies underneath or stuff the Christmas tree and hang it as a Christmas ornament, especially if you crochet one in a smaller size. The 5-point star pattern is also easier and stays the same for all these crochet shimmering Christmas trees. Now, continue reading to learn more about this Christmas decoration project!
[ez-toc]
Tutorial to Crochet the 5 Christmas Trees in 1 Pattern
This tutorial explains how to crochet a small Christmas tree. Begin with a magic ring. Make six half double crochet stitches into the ring. Work in continuous rounds. For the second round, make slip stitches into the third loop of the previous stitches. Next, make half double crochet stitches into the back loops, adding increase stitches.
Alternate between increase rounds and slip stitch rounds. After completing the height, stuff the tree with fiber fill. Close the bottom using double crochet decrease stitches. Weave the yarn through the front loops to pull the bottom closed. Attach a crocheted star on top.
Difficulty Level: Beginner-friendly. Why this difficulty: The pattern uses basic, repetitive stitches worked in continuous rounds, meaning there is no complicated joining at the end of each round. The structure is built using a simple sequence of alternating increase rounds and slip stitch rounds, and the instructions are paced slowly with clear visual demonstrations of stitch placement.
Pattern Abbreviations
ch: chain
sc: single crochet
hdc: half double crochet
sl st: slip stitch
dc2tog / dc dec: double crochet two together / double crochet decrease
inc: increase
BLO: back loop only
3rd loop: third loop of half double crochet
Materials
Worsted weight yarn (solid or sparkle, such as Mary Maxim Starlet Sparkle)
5.5 mm crochet hook
Darning needle (with a large eye/opening)
Stitch marker (or a piece of scrap yarn)
Polyfiber fill (stuffing) or a foam/paper cone
Scissors
Pins or hot glue gun (optional, for attaching the star)
Difficult Stitches Detailed
Third Loop Slip Stitch: When looking at the top of a half double crochet stitch, you will see a V-shape consisting of a front loop and a back loop. Turn the stitch slightly away from you to locate a third horizontal loop sitting just behind the back loop. Insert the hook exclusively into this third loop to complete the slip stitch.
Double Crochet Decrease (dc2tog) in Back Loop: Yarn over, insert the hook into the back loop of the first stitch, and pull up a loop. Yarn over and pull through the first two loops (two loops remain on the hook). Yarn over, insert the hook into the back loop of the next stitch, and pull up a loop. Yarn over and pull through the first two loops (three loops remain on the hook). Yarn over and pull through all three loops on the hook to close the stitch.
Learn Crocheting Now!
Better learn the whole method of crocheting this crochet Christmas tree with the following tutorial:
Written Pattern?
Here is the full written pattern! You can also use the “ask” feature of the tutorial to retrieve the quick pattern. This pattern-getting method is designer-compliant!
Share on Social Media!
See More:
How to Crochet Leggy Anti-Stress 4-in-1 Christmas Character Amigurumi for Gifting
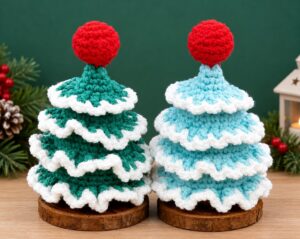
How to Crochet Red Bell Topped Snowy Christmas Tree Table Decoration for All
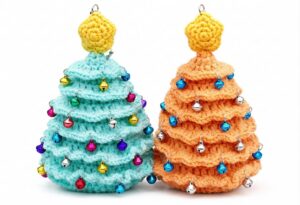
How to Crochet Tiered Pink and Blue Christmas Tree with Amigurumi Star Decoration
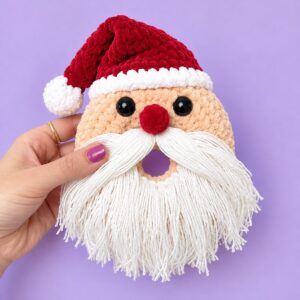
Tester Call: How to Crochet Mr. Santa Anti-Stress Donut Ring Plushie for Christmas
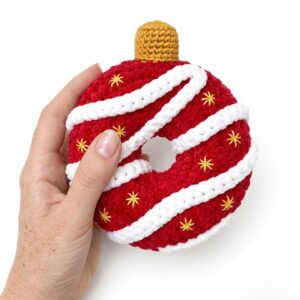
Crochet Bell Christmas Ornament Ring Plushie for Decoration & Playing with
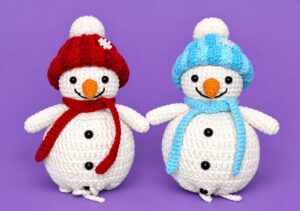
Featuring: How to Crochet Snow Buddy in A Beanie Treat Bag for Christmas
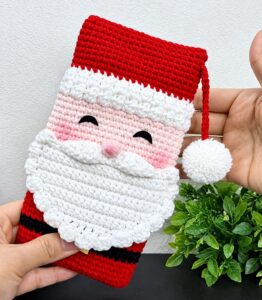
How to Crochet Christmas Gift Smiling Santa Mobile Phone Pouch and Gift Bag
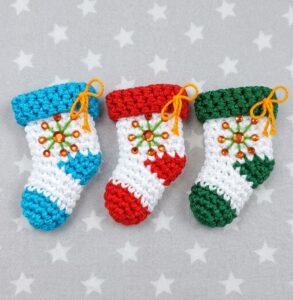
How to Crochet White & Blue Bead Decorated Mini Boot Ornament for Christmas
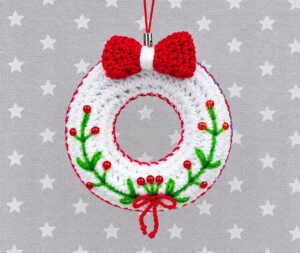
How to Bow and Bead Decorated Christmas Wreath Rings for Beautiful Garlands