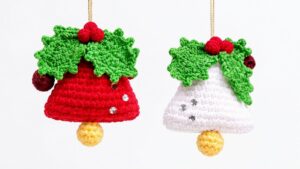
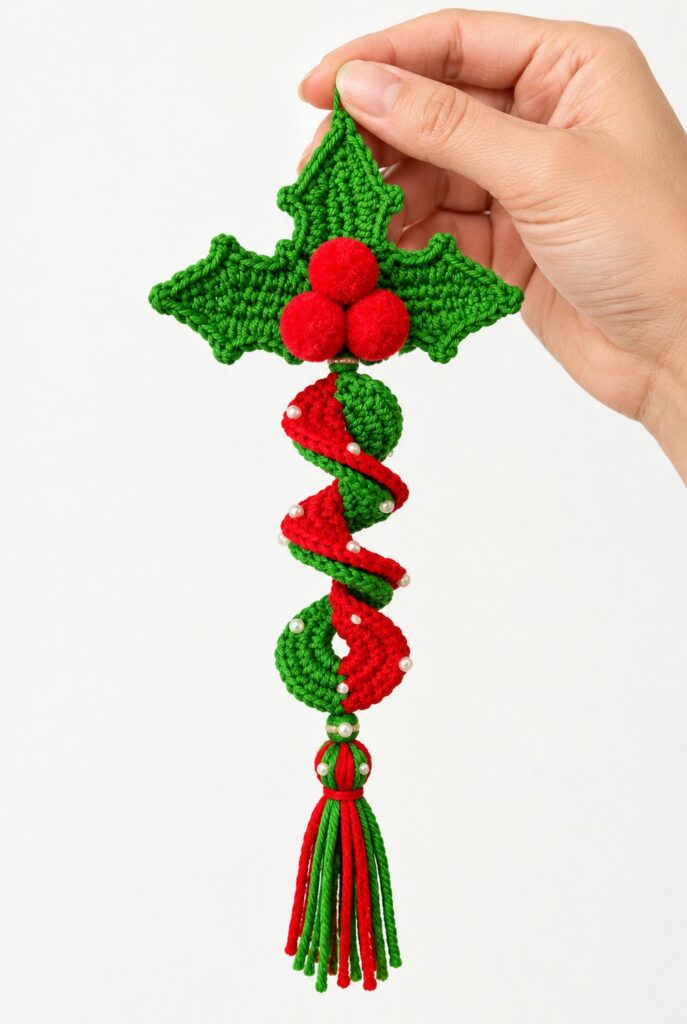
Welcome to the part 4 of the “crochet holiday-motifs-on-the-top crochet wind spinners” series! Today, learn how to crochet this set of 2 Holly Leaf and Berry Pom Poms holiday wind spinners following a step-by-step tutorial for the leaf pattern as well as a written pattern for the full ornament decoration. Features a 3-in-1 no-sew spiky Holly Leaf trio with 3 pom pom red berries and a springy two-tone double-sided spiral wind spinner in the middle, and a chunky tricolor yarn tassel at the bottom.
It looks wonderful hanging on a porch, in a sunny window, or as a festive ornament on your Christmas tree!
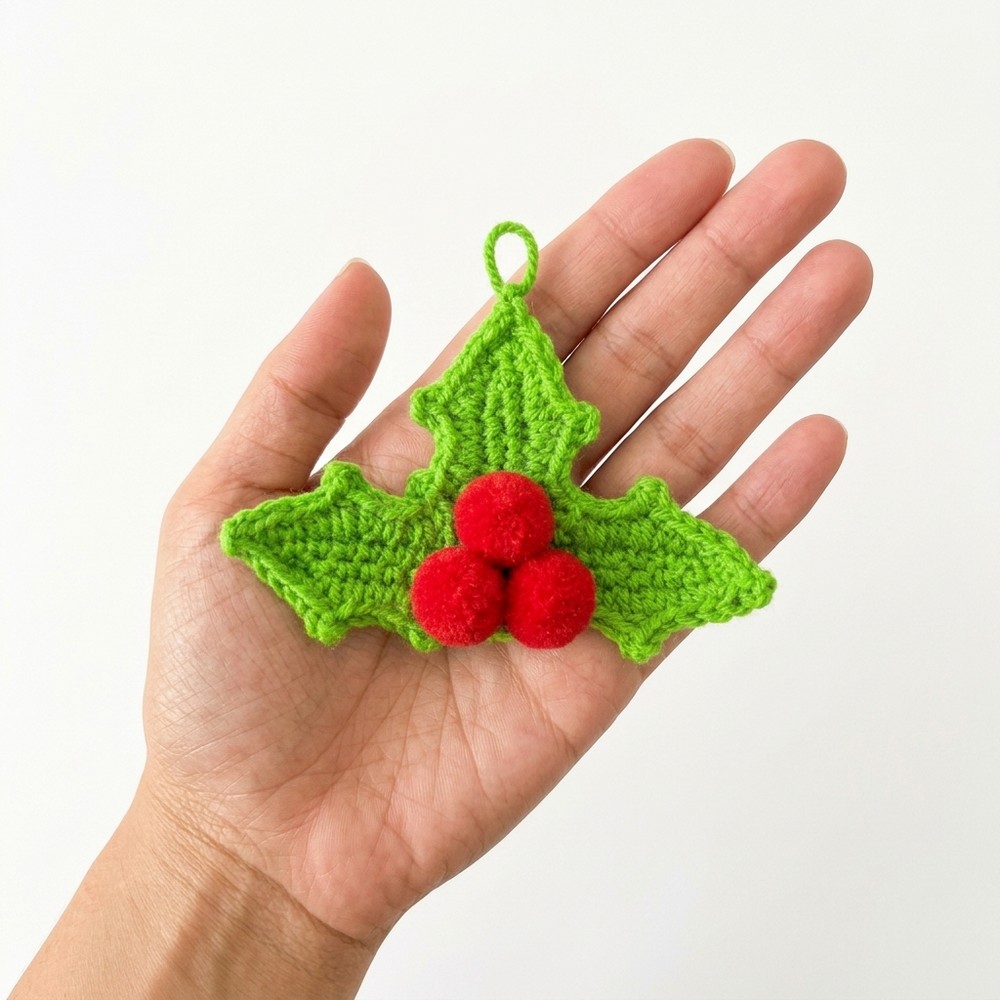
You can also crochet the Holly Leaves as a gift or bag charm separately with the same crochet hanging loop made using the chain stitches. The 2nd variation also features white pearls along with the usual spacer beads. Can be crocheted in under 1 hour, so be sure to crochet this small ornament wind spinner ornament today!

Pattern to Crochet Holly Leaf Christmas Wind Spinner
Skill Level: Beginner – Level 7
Materials Needed
For the Holly Leaf Cluster Topper:
Yarn: 2 to 3 mm yarn (light green or dark green; cotton or acrylic).
Pom-Poms: 3 ready-made red craft pom-poms, 1 cm in diameter.
Adhesive: Hot glue gun and glue sticks (or fabric glue).
For the Spiral Wind Spinner:
Yarn: 4-ply or DK cotton yarn in 2 contrasting colors (e.g., Red and Green for a festive look, or Purple and Green).
Crochet Hook: 2.50 mm to 2.55 mm (or a hook size suited to your yarn for neat, firm stitches).

For the Tricolor Tassel:
Yarn: 3 yarn strands combined (e.g., Green, Red, and White/Black).
Beads & Hardware:
Beads: 2 small decorative beads (with holes large enough for your yarn needle) to sit above the tassel and below the holly cluster.
Hardware: Optional hanging cord, ribbon, or wire ornament hook.
Notions & Tools: Yarn/tapestry needle, scissors.
Crochet Abbreviations
ch: chain
st(s): stitch(es)
sl st: slip stitch
sc: single crochet
hdc: half double crochet
dc: double crochet
dcinc: double crochet increase (work 2 dc in the same stitch)
tr: treble crochet (yarn over twice, insert hook, yarn over and pull up a loop, then (yarn over and pull through 2 loops) 3 times)
reverse sc: reverse single crochet / crab stitch (insert hook into the stitch behind/to the right of your hook, yarn over and pull up a loop, yarn over and pull through both loops)
picot: ch 2, insert hook through the top/front loops of the hdc post just made, yarn over and pull through in a sl st
Are you a Beginner? Learn to Crochet Only the Berry Leaf Easily!
You can learn to crochet better with this elegant Holly Leaf and berry charm in this tutorial for beginners:
Part 1: The Holly Leaf Cluster Topper (Make 3 Leaves)
(Work the foundation chain loosely so it is easy to crochet into both sides using your green yarn).
Round 1 (Leaf Core)
Make a slip knot and ch 9.
Skip the first chain from your hook, then work 7 sc across the next 7 chains.
Into the very last remaining chain (the first chain you made), work
(1 sc, ch 1, 1 sc)to turn the corner cleanly.Rotate slightly to work down the opposite, unused side of the foundation chain (crocheting over your starting yarn tail to hide it as you go): work 7 sc across the 7 remaining chain loops. Do not join. (Stitch count: 16 sc total with 1 ch-1 space at the tip corner).
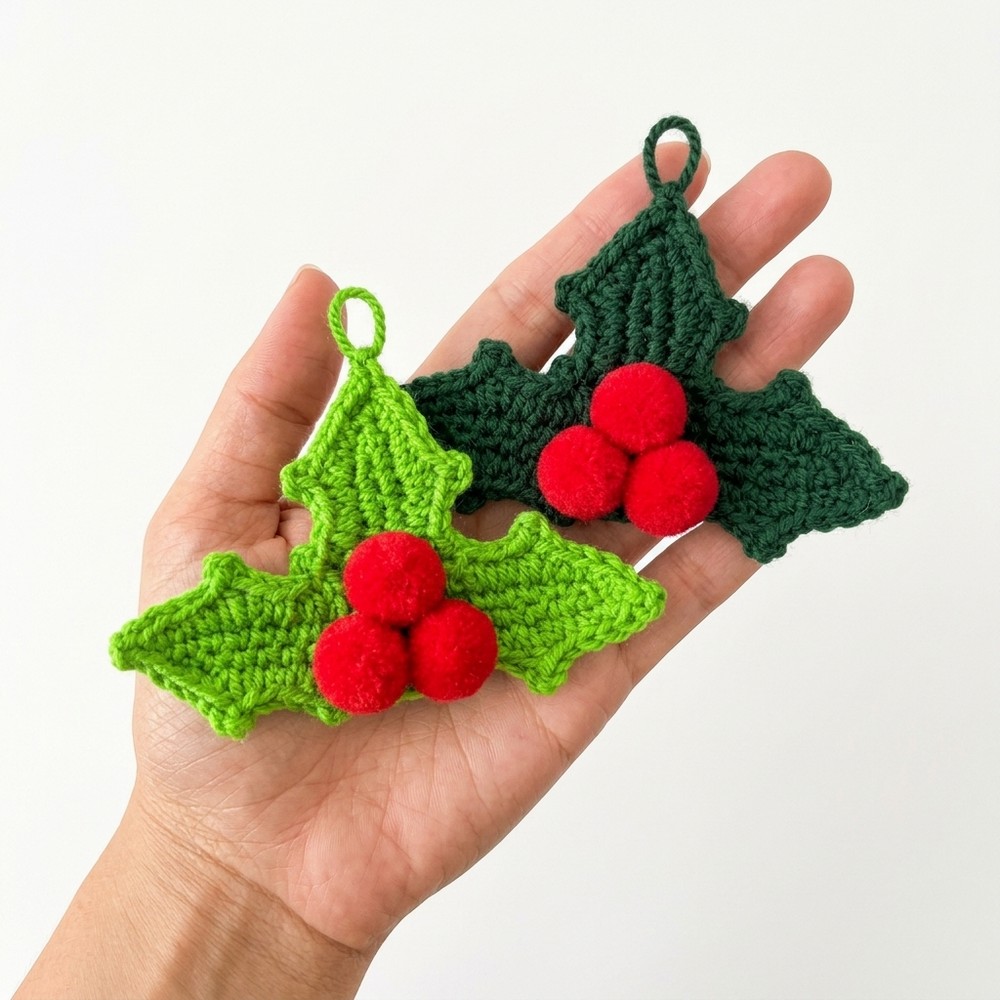
Round 2 (Spiky Leaf Outline)
Working up Side 1 (starting into the first sc of Round 1):
Work 1 sc in each of the next 2 stitches.
Side Point 1: In the next stitch, work 2 hdc, make 1 picot
(ch 2, sl st through the top loops of the 2nd hdc just made), and work 1 more hdc all into the same stitch.Work 1 sc in each of the next 2 stitches.
Side Point 2: In the next stitch, work 2 hdc, 1 picot, 1 hdc all into the same stitch.
Work 1 sc in each of the next 2 stitches (reaching the tip).
Center Leaf Tip (into the ch-1 space):
Into the ch-1 space at the top corner, work 2 hdc, 1 picot, 1 hdc all into the same space.
Working back down Side 2:
Work 1 sc in each of the next 2 stitches.
Side Point 3: In the next stitch, work 2 hdc, 1 picot, 1 hdc all into the same stitch.
Work 1 sc in each of the next 2 stitches.
Side Point 4: In the next stitch, work 2 hdc, 1 picot, 1 hdc all into the same stitch.
Work 1 sc in each of the last 2 stitches.
Join at the bottom base by working 1 sl st into the base stitch.
Finishing the 3 Leaves:
For Leaves 1 and 2: Cut the yarn leaving a short tail, fasten off, and use a yarn needle to weave the tail neatly into the back stitches of the leaf, then trim.
For Leaf 3 (the top center leaf): Cut the yarn leaving a long tail (about 25 to 30 cm / 10 to 12 inches) for sewing the three leaves together. Gently stretch and shape the 5 points of each leaf with your fingers so they lie flat and crisp.
Assembling the Three-Leaf Cluster:
Lay the two finished leaves side by side angled outward (one pointing left, one pointing right). Place Leaf 3 (with the long tail) centered on top of the other two leaves, pointing straight up, so the lower base edges overlap slightly while all points of the lower leaves stay visible.
Thread the long green tail from Leaf 3 onto your yarn needle. Stitch securely back and forth through the back loops where Leaf 3 overlaps the left leaf, then carry the thread neatly through the back stitches over to where Leaf 3 overlaps the right leaf and stitch it securely. Make sure your stitches only catch the back layers so no sewing thread shows on the front. Knot securely and trim excess.
Use hot glue to adhere the 3 red 1 cm pom-pom berries in a neat triangle cluster (2 on the bottom, 1 centered above them) right onto the bottom center of the leaf cluster where the three green leaves meet.
Part 2: The Spiral Wind Spinner
Part 2A: The Foundation Loops (Using Color 1 – e.g., Green Yarn)
Make a slip knot.
Ch 4, then yarn over twice and work 1 tr into the very first chain (right next to the slip knot) to form your first foundation loop.
Make Loops 2 to 5: Ch 4, yarn over twice and work 1 tr into the first chain of the 4 chains you just made. Repeat this step until you have 5 foundation loops in a row. (Tip: Each loop adds 7 sc in Row 1 and 14 stitches in Rows 2 and 3).
Part 2B: Side 1 of the Spiral (Color 1)
Row 1: Ch 1, then work 7 sc into the side of each of the 5 foundation loops across. (35 sc total). Cut the yarn, fasten off, and return to the beginning of Row 1.
Row 2: Join yarn at the first sc stitch of Row 1. Ch 3 (counts as 1 dc), work 1 dc in the same first stitch, then work 2 dc (dcinc) into every remaining sc stitch across. (70 dc total). Do not cut the yarn.
Row 3: Ch 1, and work 1 reverse sc (crab stitch) into every dc stitch across all 70 stitches back to the start. (70 reverse sc). Fasten off, cut yarn, and weave in the ends cleanly.
Part 2C: Side 2 of the Spiral (Color 2 – e.g., Red Yarn)
Row 1: Join Color 2 yarn into the unused side of the first foundation loop, and work 7 sc into each of the 5 loops across. (35 sc total). Cut yarn, fasten off, and return to the beginning of Row 1.
Row 2: Join Color 2 yarn at the first sc stitch of Row 1. Ch 3 (counts as 1 dc), work 1 dc in the same first stitch, then work 2 dc (dcinc) into every remaining sc stitch across. (70 dc total). Do not cut the yarn.
Row 3: Ch 1, and work 1 reverse sc (crab stitch) into every dc stitch across all 70 stitches. (70 reverse sc). Fasten off and weave in the loose ends.
Joining the Two Spiral Colors:
Twist and nest the two-tone curls neatly together so they spiral smoothly around each other into a springy corkscrew.
At the bottom tip of the spiral, align both edges and join them together with 1 sl st, weaving in the short tail.
At the top tip of the spiral, join the two colors with 1 sl st, leaving a long yarn tail (about 15 to 20 cm / 6 to 8 inches) for attaching the top bead and holly leaf cluster.
Part 3: The Three-Color Tassel
Wrap the Yarn: Hold 1 strand each of your 3 chosen tassel colors together as one thick bundle. Wrap the 3-strand bundle neatly around 3 or 4 fingers about 6 to 8 times until it reaches your desired fullness. Cut the working yarn.
Tie the Top: Cut a separate strand of yarn (about 20 cm / 8 inches long). Slide the wrapped yarn bundle off your fingers, pass the strand through the top of the loops, and tie a tight double knot right at the top edge, leaving the two tying tails extending upward.
Cut and Trim the Bottom: Insert your scissors through the bottom loops of the bundle and cut them all open. Hold the tassel straight and trim the bottom ends evenly so they are neat and level.
Shape the Tassel Head: Cut another piece of yarn (about 15 cm / 6 inches long). Wrap it tightly around the outside of the tassel about 1 cm (3/8 inch) below the top knot to gather the neck. Tie a tight double knot and trim or tuck the ends down through the wrapped band with your needle.
Part 4: Final Assembly
Attach the Bottom Bead and Tassel:
Thread the two tying tails at the top of your tassel onto your yarn needle.
Slide 1 small decorative bead down the needle onto the cords so it sits right on top of the tassel.
Sew the needle through the bottom tip of the crocheted spiral (catching both color edges with a stitch) so the bead and tassel hang securely from the bottom. Tie a firm knot and hide the yarn ends inside the spiral.
Attach the Top Bead and Holly Leaf Cluster:
Thread the long yarn tail at the top of the spiral onto your yarn needle and slide 1 small decorative bead onto it so it rests snugly on top of the spiral.
Securely sew the top of the spiral and the bead directly to the back base of your completed Holly Leaf Cluster topper. Knot firmly and weave in all remaining ends.
Add Hangers:
Attach a thin hanging cord, ribbon, or wire ornament hook through the top picot loop at the tip of the center holly leaf so your spinner can be hung up immediately.
Your festive, decor-ready holly leaf wind spinner is now complete and ready to twirl and brighten up your holiday space!

See More:

How to Crochet Holly Christmas Coaster with Snowflake Embroidery
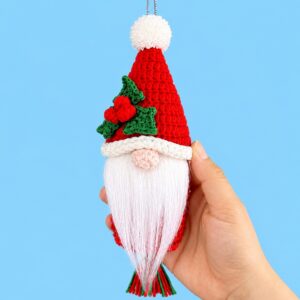
Featuring: How to Crochet Holly Leaf on the Hat Gnome Wind Spinner with Tassel

How to Crochet Holly Leaf & Pom Poms White Holiday Treat Sack for Christmas
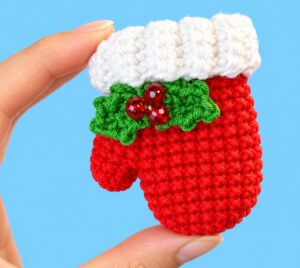
How to Crochet Holly Leaves & Shiny Beads Perfect Mitten Ornament & Charm for Gifting

How to Crochet Mr. Reindeer Snail Buddy Holding a Treat Basket with Holly Leaves
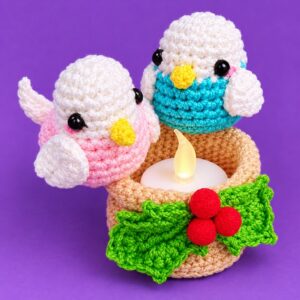
How to Crochet Festive Birds Amigurumi in Treat Basket & Holly Leaf Decoration
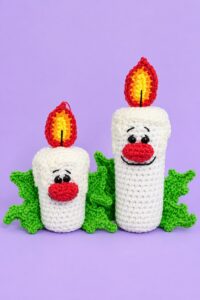
How to Crochet Red-Nose Funny Holly Leaf Decorated Candle Buddy Amigurumi
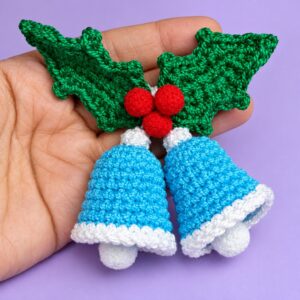
How to Crochet Holly Leaf & Pair of Bells Festive Holiday Decoration Pattern
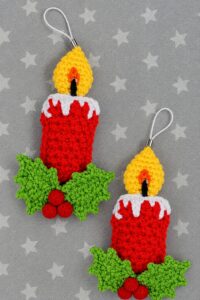
How to Crochet Ornament Stuffed Candle Amigurumi with Holly Leaves & Berries