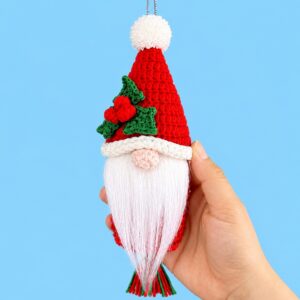
I am thankful to Ochy for providing the bell and leaf pattern!
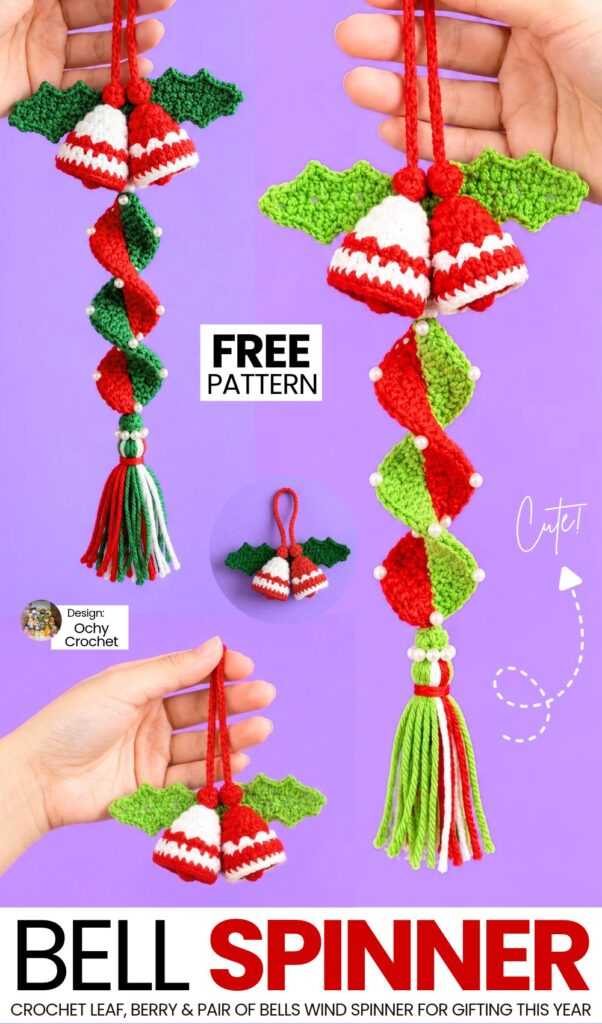
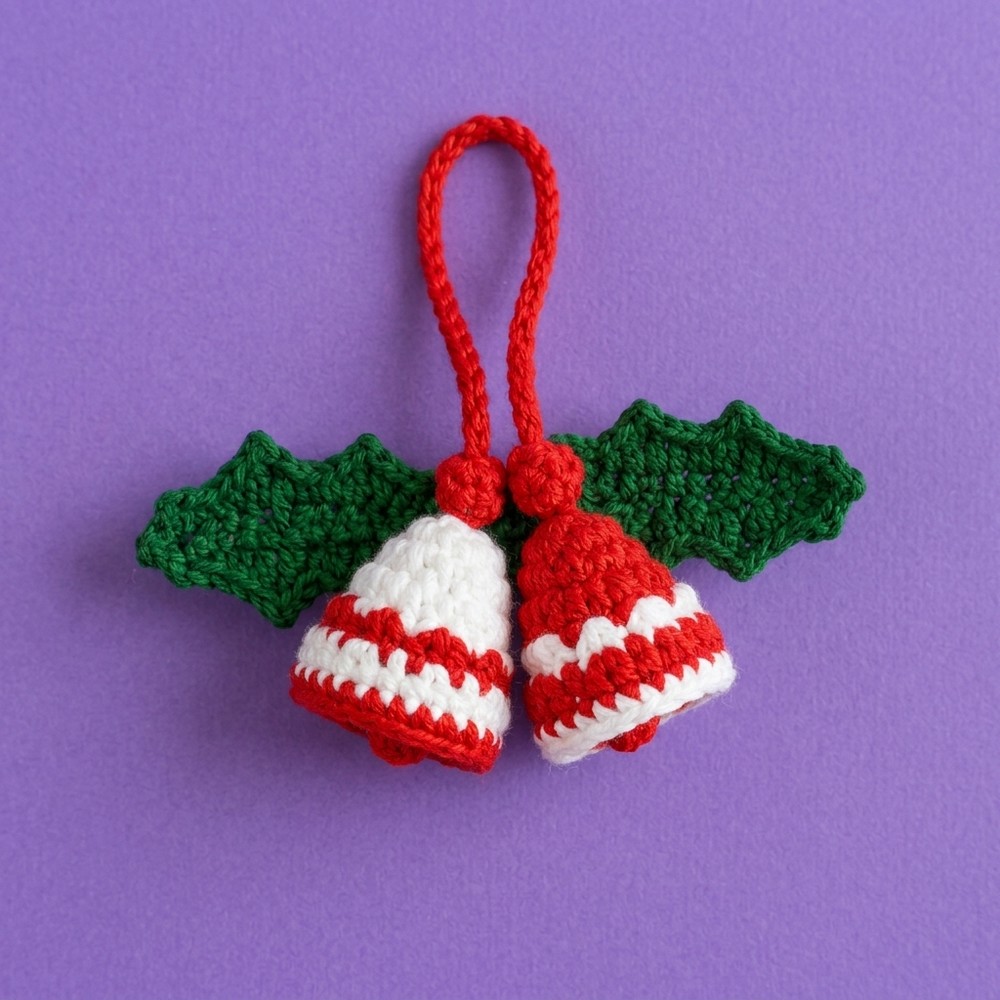
This is the last pattern from my “crochet holiday charm on the top wind spinners” series. Today, learn how to crochet this UNIQUE crochet pair of bells and holly leaf charm on the top wind spinner following a step-by-step tutorial for the decoration and a FREE written pattern for the full Christmas decoration as well. The bell charm can also crocheted separately as a Christmas treat bag or Christmas tree ornament.
You can choose from the red and light green or red and dark green variation. The bells look cute with the swapping color pattern for each.
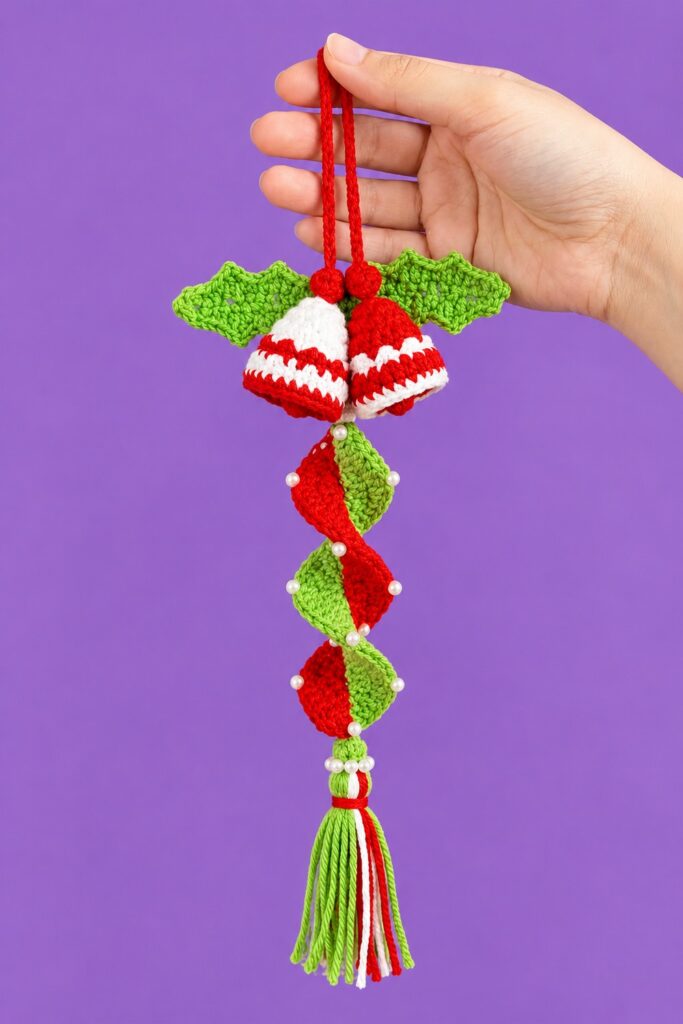
This festive holiday hanging decoration features a pair of contrasting red and white crochet bells decorated with green holly leaves and red berry balls, connected to a springy red-and-green double-sided spiral wind spinner embellished with beads, and finished with a chunky tricolor tassel at the bottom. Now, continue reading for learning more about this crochet holly leaf project!
Pattern to Crochet the Bell Charm Wind Spinner for Decoration
Skill Level: Beginner – Level 7
Materials List
For the Bell Topper & Holly Leaves:
Yarn: Milk cotton yarn in 3 colors: Red (Color 51), White or Cream (Color 06), and Green (Color 37).
Crochet Hook: 1.75 mm hook (for the bells and holly leaves).
Notions: Stitch marker, scissors, and a yarn needle.
For the Spiral Wind Spinner:
Yarn: 4-ply or DK cotton yarn in 2 colors: Red and Green.
Crochet Hook: 2.50 mm hook (or hook size suited to your cotton yarn).
Beads: Small white/pearl beads to place along the spiral edges and above the tassel.
For the Tricolor Tassel:
Yarn: Red, Green, and White yarn strands combined.
General Tools: Yarn/tapestry needle, scissors.
Crochet Abbreviations (US Terms)
MR / mr: Magic Ring
ch: chain
st(s): stitch(es)
sl st: slip stitch
sc: single crochet
hdc: half double crochet
inc: single crochet increase (work 2 sc in the same st)
hdc inc: half double crochet increase (work 2 hdc in the same st)
picot: Chain 2 Picot (ch 2, sl st into the first chain made)
skip: leave the next stitch unworked
dc: double crochet
dcinc: double crochet increase (work 2 dc in the same st)
tr: treble crochet (yarn over twice, insert hook, yarn over and pull up a loop, then (yarn over and pull through 2 loops) 3 times)
reverse sc: reverse single crochet / crab stitch
Are you a Beginner? Learn to Crochet Only the Bell & Leaves Easily!
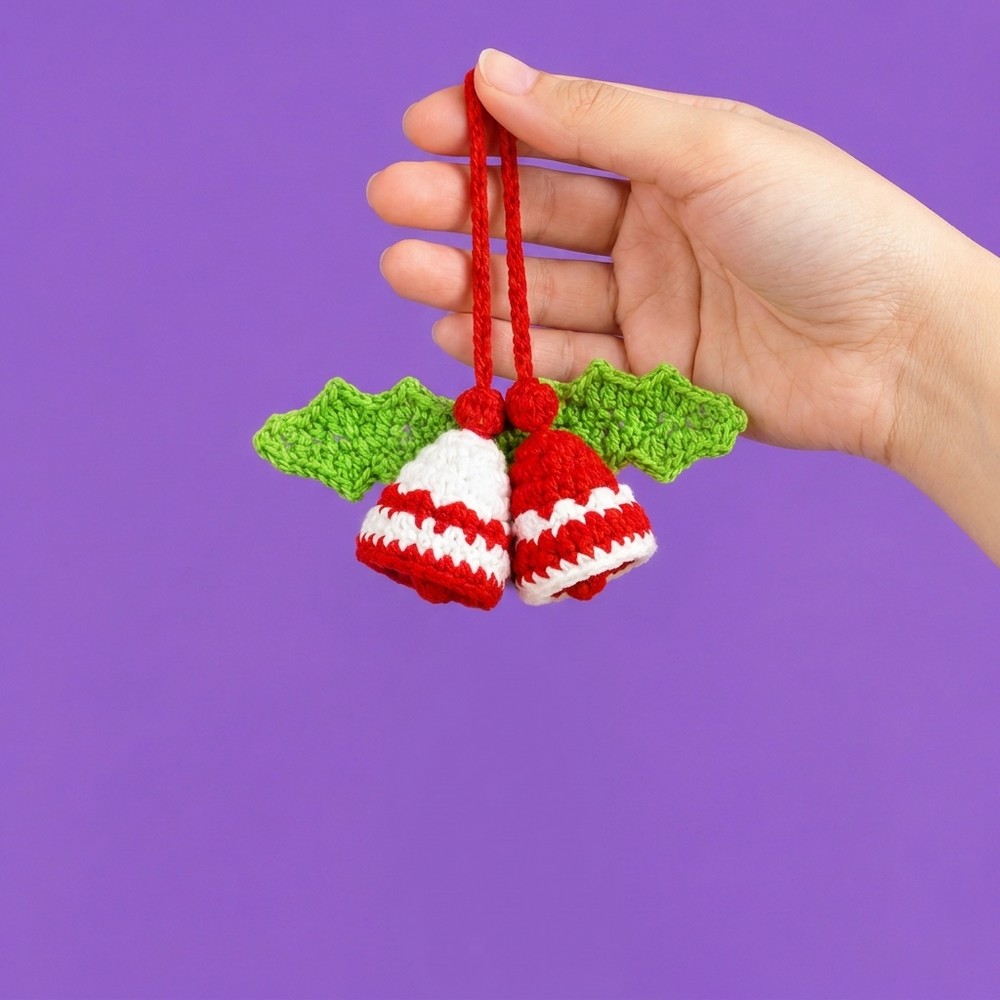
You can learn to crochet better with this elegant Holly Leaf and bell pair charm in this tutorial for beginners:
Part 1: The Christmas Bells (Make 2)
(Using Milk cotton yarn and a 1.75 mm hook. Make Bell 1 mostly red with white trim, and Bell 2 mostly white with red trim).
Bell 1 (Red Main Color, White Accent)
Round 1 (Red): Start with a magic ring. Chain 1, then work 9 sc into the ring. Pull tail tight to close center, sl st into the first sc to join. (9 sts)
Round 2 (Red): Ch 2 (does not count as st here and throughout). Work 1 hdc into the same st as the joining sl st (place marker here), then work 1 hdc into each of the remaining 8 sts around. Sl st into the first hdc to join. (9 sts)
Round 3 (Red): Ch 2. Repeat 3 times around:
[1 hdc, 1 hdc inc, 1 hdc]. Sl st into the first hdc to join. (12 sts)Round 4 (Red, changing to White at the end): Ch 2. Repeat 4 times around:
[1 hdc, 1 hdc inc, 1 hdc]. On the final pull-through of the last hdc, switch to white yarn. Sl st with white into the first hdc to join. (16 sts)Round 5 (White, changing to Red at the end): Ch 2. Repeat 8 times around:
[1 hdc inc, skip 1 st]. (Work first increase in the base of ch 2). On the final pull-through of the last st, switch back to red yarn. Sl st with red into the first hdc to join. (16 sts)Round 6 (Red, changing to White at the end): Ch 2. Repeat 8 times around:
[1 hdc, 1 hdc inc]. On the final pull-through of the last st, switch to white yarn. Sl st with white into the first hdc to join. (24 sts)Round 7 (White): Ch 1. Work 1 sc into each of the 24 sts around, starting in the same st as ch 1. Sl st to join, fasten off, and weave in ends inside. (24 sts)
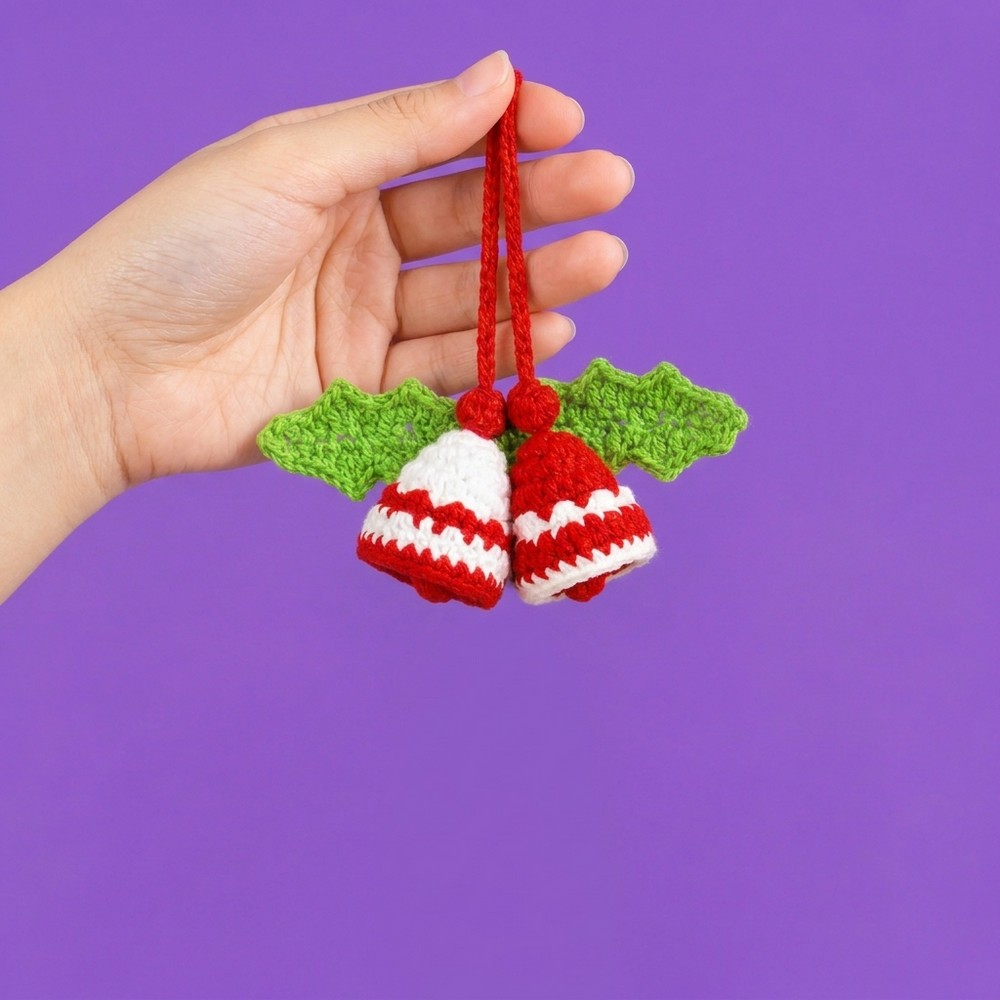
Bell 2 (White Main Color, Red Accent)
Follow the exact same pattern and stitch counts as Bell 1, reversing the colors:
Rounds 1 to 4: Use white yarn (change to red at the end of Round 4).
Round 5: Use red yarn (change to white at the end of Round 5).
Round 6: Use white yarn (change to red at the end of Round 6).
Round 7: Use red yarn. Fasten off and weave in ends.
Part 2: Holly Leaves (Make 2)
(Using Green milk cotton yarn and 1.75 mm hook).
Foundation: Make a slip knot and chain 15.
Round 1: Starting in the second chain from your hook, work 1 sc into each of the next 13 chains. Work 2 sc (1 increase) into the last chain at the tip. Rotate to work down the opposite side of the chain: work 1 sc into each of the next 13 chains. Sl st into the first sc to join. (28 sts)
Round 2 (Pointed Leaf Edges): Ch 1. Repeat 7 times around the edge:
Work 1 sc into the next st (for the first repeat, work into the same st as ch 1).
Work 1 hdc into the next st.
Make a picot: ch 2, sl st into the first chain.
Work 1 hdc into the next st.
Work 1 sc into the next st, then work 1 sl st into that exact same st.
Fasten off and weave in ends (leave a long tail if sewing).
Part 3: Hanging Cord and Berry Balls
(Using Red yarn).
First Berry Ball:
Round 1: MR, work 6 sc into ring, pull tight to close. (6 sts)
Round 2: Work 1 sc in each of the 6 sts around in a continuous spiral. Tuck starting tail inside, fasten off, and tuck end inside.
Second Berry Ball and Hanging Cord:
Round 1: MR, work 6 sc into ring, pull tight to close. (6 sts)
Round 2: Work 1 sc in each of the 6 sts around. Do not cut yarn.
Hanging Cord: Directly from the second ball, chain 40.
Joining: Insert hook into the top st of the first berry ball and sl st to connect the 40-chain cord. Fasten off and tuck ends.
Part 4: The Red & Green Spiral Wind Spinner
(Using 4-ply/DK cotton yarn in Red and Green with a 2.50 mm hook).
Part 4A: Foundation Loops (Using Red Yarn)
Make a slip knot, ch 4, then work 1 tr into the very first chain to form foundation loop 1.
Repeat to make 5 foundation loops in a row.
Part 4B: Side 1 of the Spiral (Red)
Row 1: Ch 1, work 7 sc into the side of each of the 5 loops across. (35 sc). Fasten off and return to the start of Row 1.
Row 2: Join red yarn at the first sc. Ch 3 (counts as 1 dc), work 1 dc in the same st, then work 2 dc (dcinc) into every remaining sc across. (70 dc). Do not cut yarn.
Row 3: Ch 1, work 1 reverse sc into every dc across. (70 reverse sc). Fasten off and weave in ends.
Part 4C: Side 2 of the Spiral (Green)
Row 1: Join green yarn into the unused side of the first loop, work 7 sc into each of the 5 loops across. (35 sc). Fasten off and return to start.
Row 2: Join green yarn at the first sc. Ch 3 (counts as 1 dc), work 1 dc in same st, work 2 dc (dcinc) into every remaining sc across. (70 dc). Do not cut yarn.
Row 3: Ch 1, work 1 reverse sc into every dc across. (70 reverse sc). Fasten off and weave in ends.
Joining the Spiral:
Twist and nest the red and green curls neatly into a corkscrew.
At the bottom tip, join the edges with 1 sl st.
At the top tip, join with 1 sl st, leaving a long tail for assembly.
Part 5: The Tricolor Tassel
(Using Red, Green, and White yarn strands combined).
Hold 1 strand of each color together and wrap around 3-4 fingers 6-8 times. Cut working yarn.
Cut a separate 20 cm (8 inch) green strand, slide bundle off fingers, pass strand through top loops, and tie a tight double knot leaving two tying tails upward.
Cut bottom loops open and trim evenly.
Wrap a 15 cm (6 inch) strand around the tassel 1 cm below the top knot to form the neck, tie a tight double knot, and tuck ends.
Part 6: Final Assembly & Finishing
Attach Bells, Leaves, and Berry Balls:
Position the two green holly leaves behind the top crowns of the bells (angling outward left and right), and secure them.
Attach one red berry ball to the top center of the white bell and the other to the red bell, with the 40-chain red hanging cord spanning evenly between them.
Attach the Spiral Wind Spinner:
Securely sew the top of the red-and-green spiral wind spinner directly beneath the bell assembly. As you work down the spiral, weave small white/pearl beads along the outer edges of the corkscrew.
Attach Tassel and Bottom Bead:
Thread the tassel’s top tying tails onto a yarn needle, add a small white/pearl bead, and sew securely into the bottom tip of the spiral wind spinner. Trim and hide any remaining ends.
Your decorative holly leaf bell wind spinner is now fully complete and ready to hang!

See More:
Featuring: How to Crochet Bell & Mini Santa Hat Goat Plushie Gift for New Year
How to Crochet Holly Leaf, Berry & Stuffed Bell Ornament for Christmas
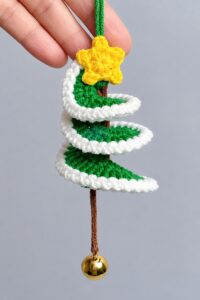
Featuring: Tutoral to Crochet White Edging & Bell Hanging Mini Tree Spinner
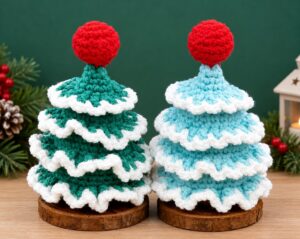
How to Crochet Red Bell Topped Snowy Christmas Tree Table Decoration for All
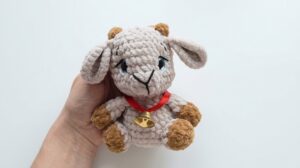
Featuring: How to Crochet A Sitting Grey Baby Sheep with Bell & Little Horns Plushie
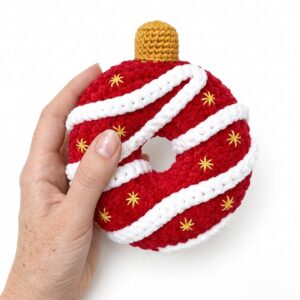
Crochet Bell Christmas Ornament Ring Plushie for Decoration & Playing with

How to Crochet Christmas Yellow Goggle Character Bell Buddy in Santa Hat

How to Crochet Holly Leaf & Berry Pom Poms Wind Spinner for Holidays

How to Crochet Holly Christmas Coaster with Snowflake Embroidery