Author: Talha
I am a crochet designer, macramé maker and a crafter who also loves doing MATH.
Contributor: Rina of Art of Crochet
She is a designer of trendy crochet and has been our contributor since mid 2026 via mycraftybasket.
Show support for Rina!
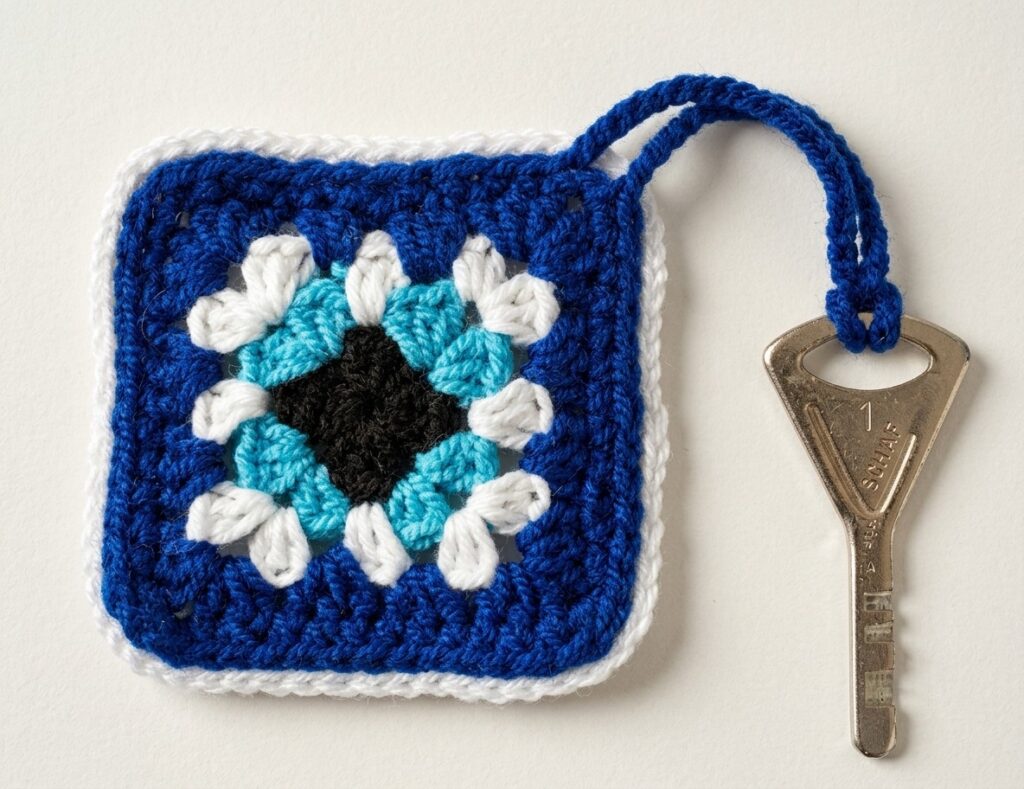
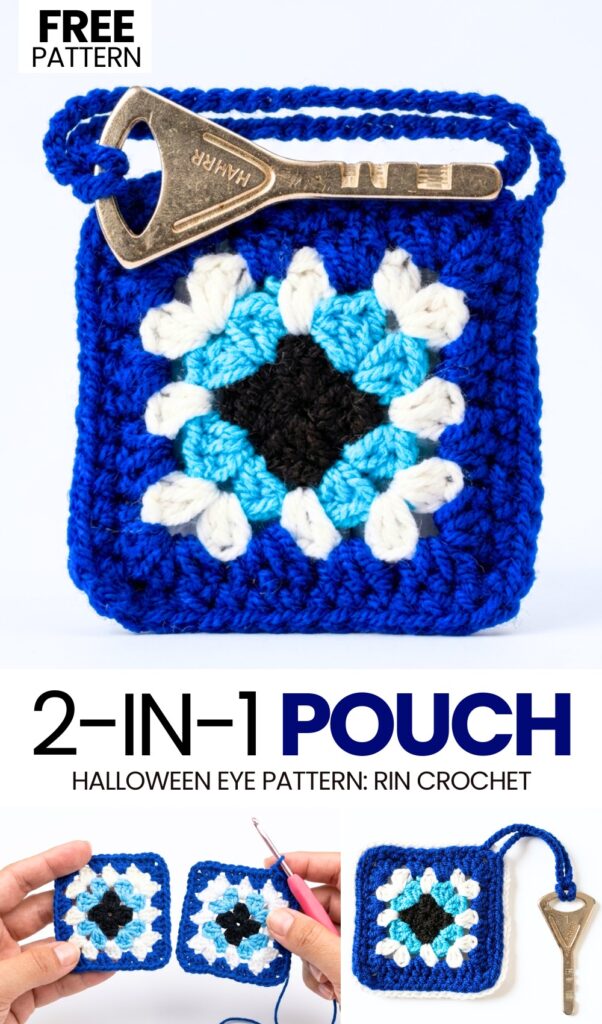
Another tutorial from “2-in-1 crochet Halloween accessories” is here! Today, I wanted to share an easy & simple + multifunctional Halloween-themed project for busy makers & beginners. So, please remake this UNIQUE 2-in-1 square Halloween eye bag charm this Halloween that doubles as a coin or AirPods pouch. This 20-minute Halloween eye project only requires crocheting two 3-round classic striped granny squares with solid edging + a hanging loop.
You can also attach a key to your evil eye pouch and then to your tote bag. So, you can also call it the 3-in-1 Halloween pouch. Looking for a bigger evil eye pouch? Well, since we are crocheting a classic granny square, you can extend it to many rounds.
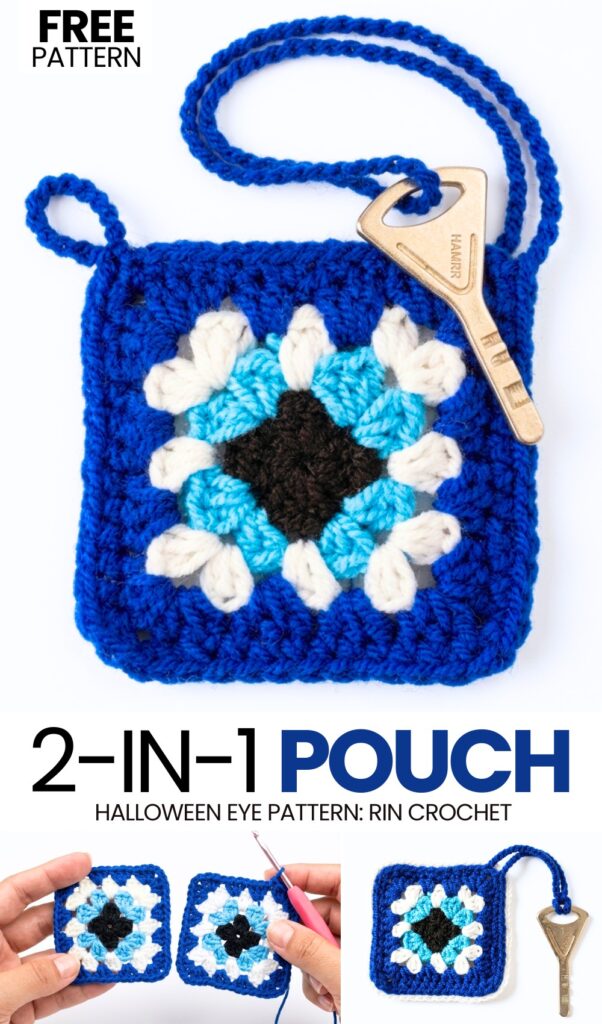
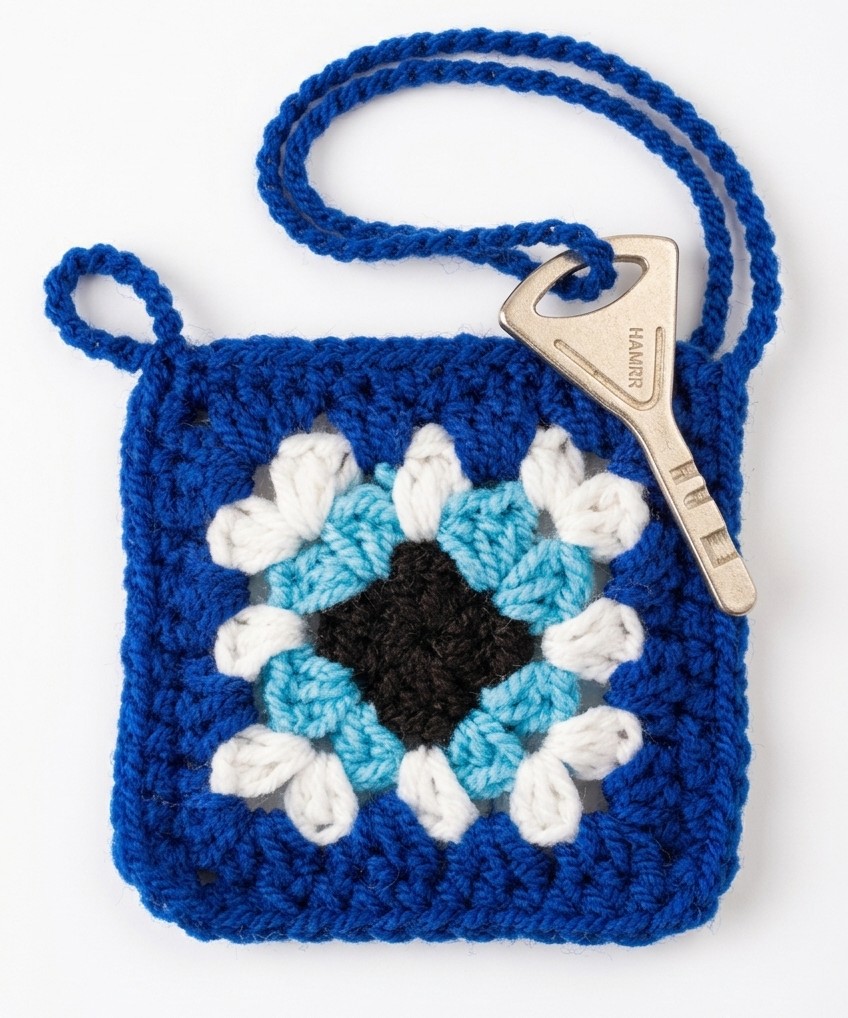
Just be sure to follow the evil eye color pattern: black, light blue, white, and then dark blue. What you can do is change the color after every 2 rows to make a bigger evil eye pouch. If you want a custom crochet present pouch for Halloween, be sure to crochet this evil eye pouch. Now, continue reading to learn more about this Halloween eyeball project.
Similar Project(s)
Pattern to Crochet Evil Eye Pouch for Beginners
Skill Level: Beginner – Level 2
This project is a small bag. It looks like an eye. You use yarn and a hook to make it. You make two squares. You join them together. You add a string. You can put keys or money in it.
Materials List
Yarn: Medium-weight yarn in Black, Light Blue, White, and Dark Blue.
Hook: 3.0mm or 3.5mm crochet hook.
Tools: Scissors, Tapestry needle.
Abbreviations
MR: Magic Ring
Ch: Chain
St: Stitch
Sl st: Slip stitch
Sc: Single crochet
Hdc: Half double crochet
Space: The gap created by chains in the previous round.
Are you a Beginner? Learn Crocheting Easily!
You can learn to crochet this UNIQUE spooky eye purse as a beginner by following this tutorial, too:
Crochet Evil Eye Pouch Pattern
The Squares (Make 2)
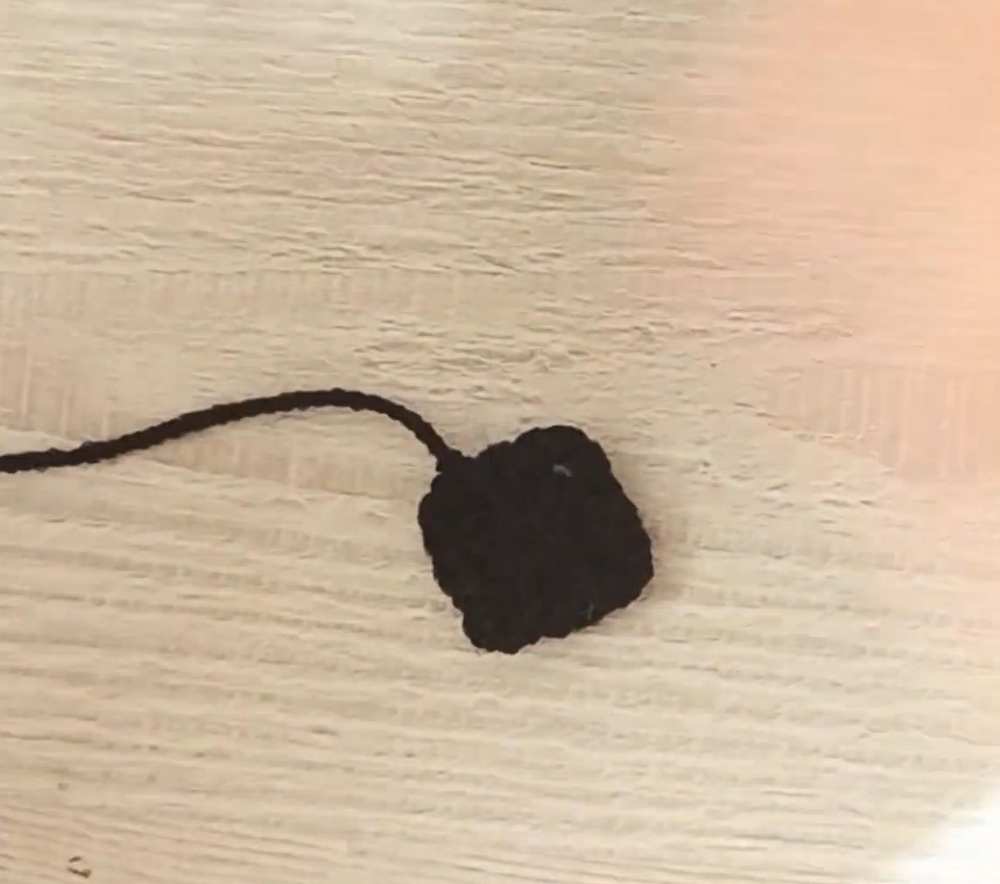
Round 1 (Black): Make a MR. Ch 2 (counts as hdc). 2 hdc into ring, ch 2. *3 hdc into ring, ch 2. Repeat from * 2 more times. Sl st to top of starting ch-2 to join. Fasten off.
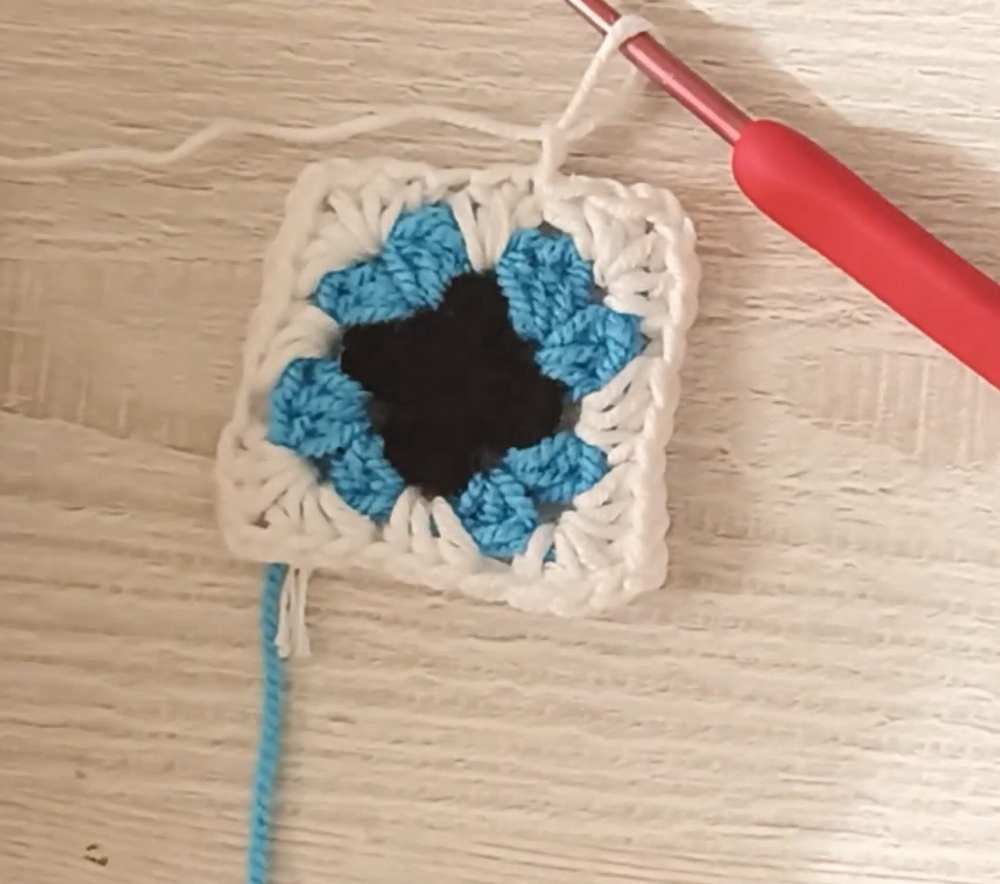
Round 2 (Light Blue): Join yarn in any ch-2 corner space. Ch 2, 2 hdc, ch 2, 3 hdc in same space. *In next corner space, work (3 hdc, ch 2, 3 hdc). Repeat from * around. Sl st to join. Fasten off.
Round 3 (White): Join yarn in any corner space. Ch 2, 2 hdc, ch 2, 3 hdc in same space. *3 hdc in next side space. (3 hdc, ch 2, 3 hdc) in the next corner space. Repeat from * around. Sl st to join. Fasten off.
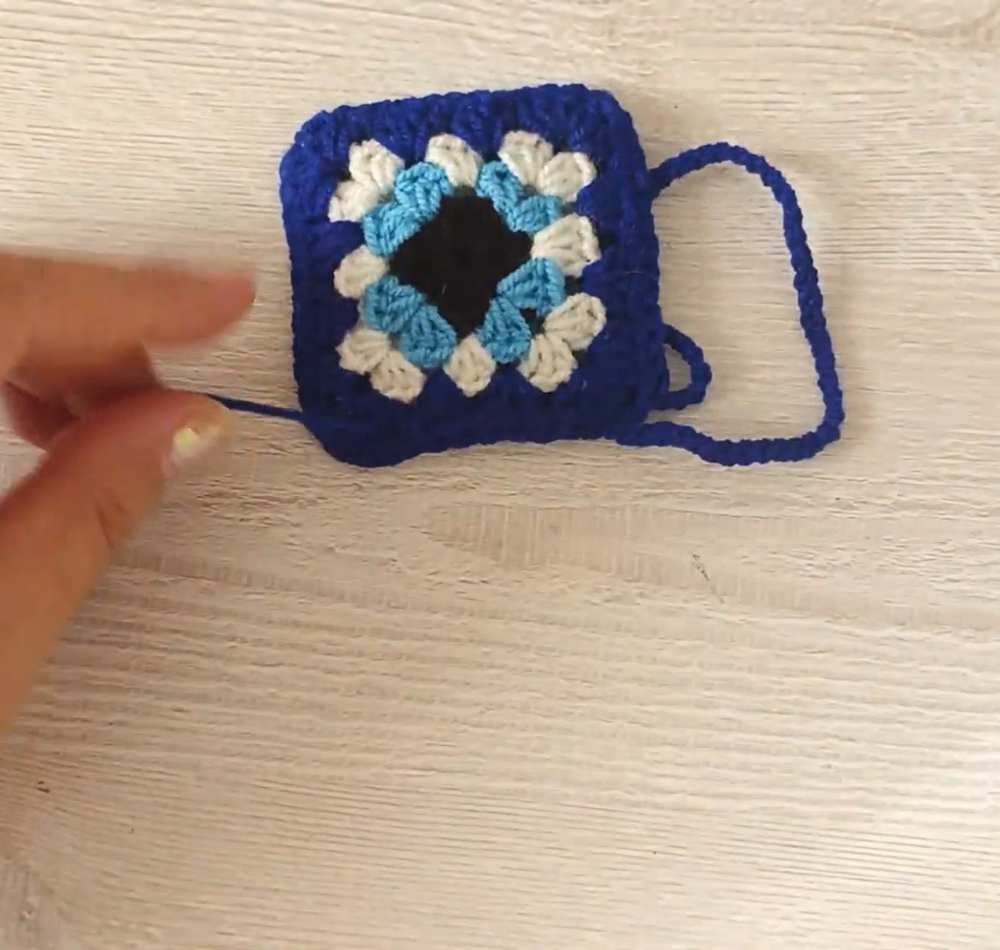
Round 4 (Dark Blue): Join yarn in any corner space. Ch 2, 2 hdc, ch 2, 3 hdc in same space. *3 hdc in each side space across. (3 hdc, ch 2, 3 hdc) in next corner space. Repeat from * around. Sl st to join. Fasten off.
Assembly
Place the two squares together.
Join dark blue yarn at a top corner.
Work sc through the stitches of both squares along the left side, the bottom, and the right side.
Do not sew the top side shut.
The Strap
When you reach the top corner after joining, ch 50.
Sl st back into the starting corner to form a large loop.
Fasten off and weave in all loose ends using a tapestry needle.
Share on Social Media!
See More:
Free Crochet Eyeball Dumpling in a Steamer Plushie for Halloween
How to Crochet Round Eyeball Coin Pouch Charm for Halloween
Crochet the Mini Wobbly Eye No-Sew Bear Cutie Plushie
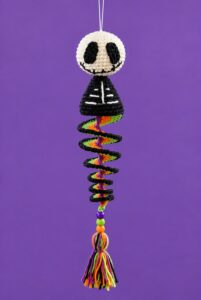
Featuring: How to Crochet the Skeleton Wind Spinner With Stripes of Halloween Colors
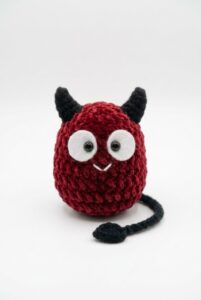
Tester Pattern: How to Crochet A Cape-Wearing Red Buddy Plushie for Halloween
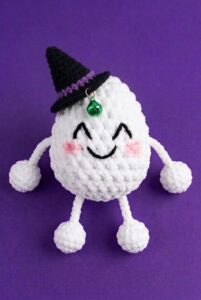
Tester Pattern: How to Crochet An Tug & Pull Witch Egg Halloween Plushie Toy
Featuring: Crochet SPOOKY-CUTE Black & White Ghost Plushie for Halloween
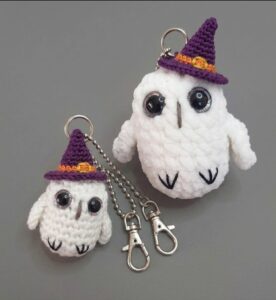
Tester Pattern: Crochet 10-Minute Pair of Ghost Owl Pals Plushies for Halloween

Featuring: Crochet 8-Legged & Four-Eyed Spider Plushie for Halloween