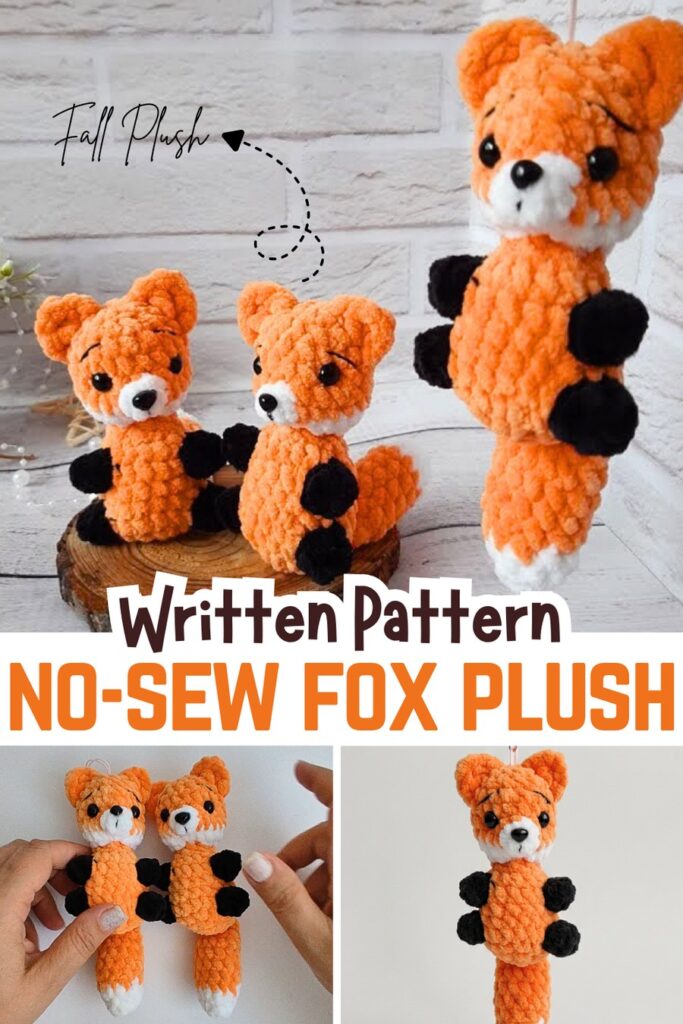
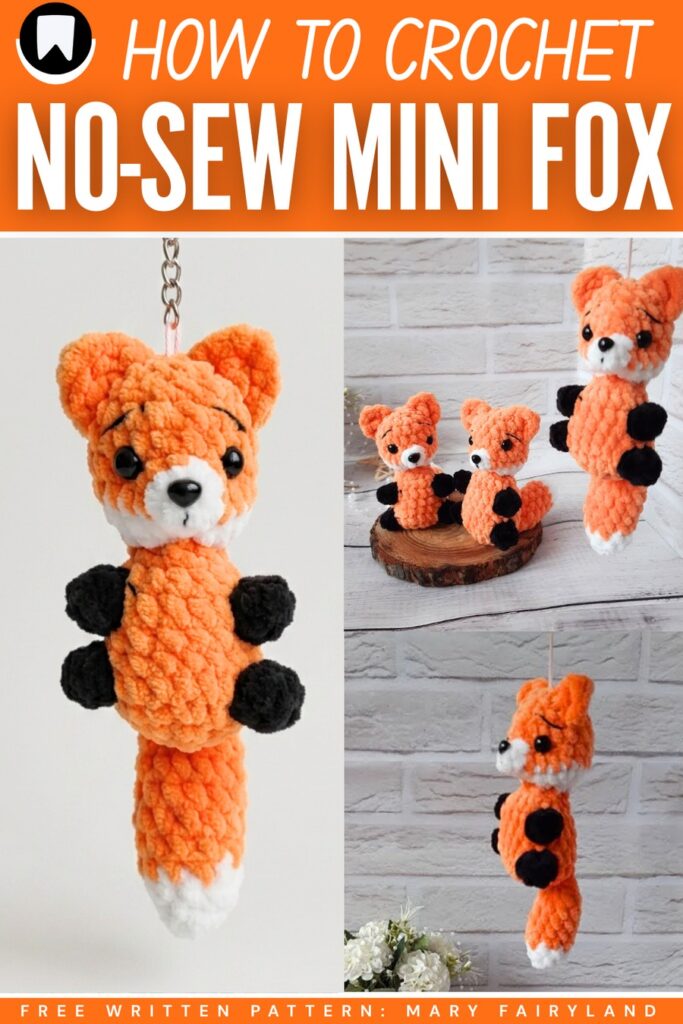
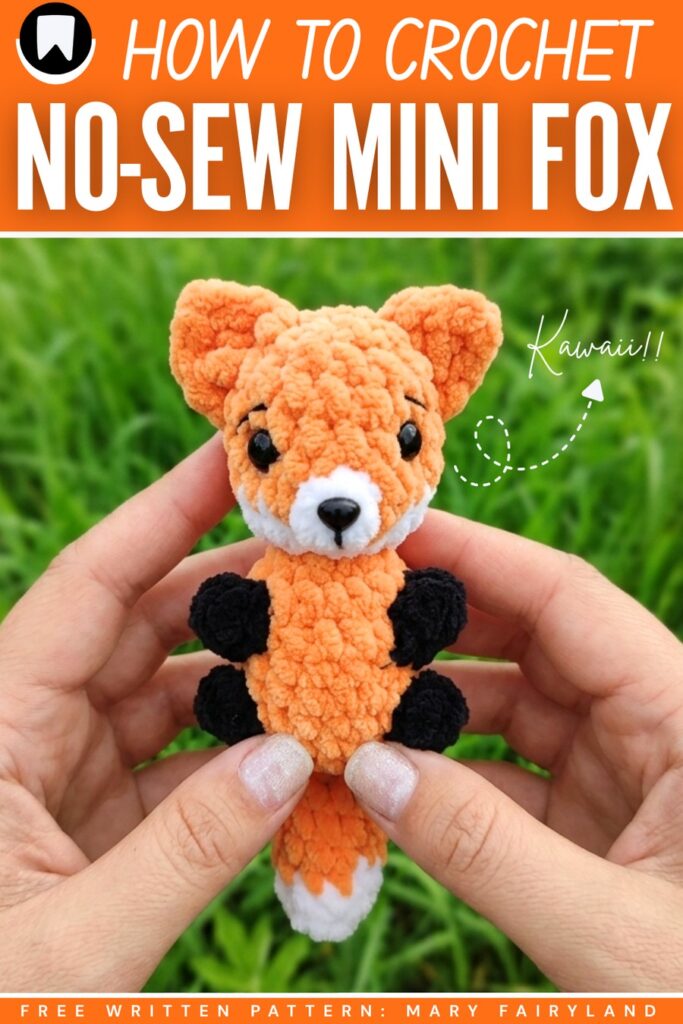
Learn how to crochet a 30-minute no-sew fox plushie that has a long stuffed tail with this FREE written pattern and a tutorial as well. This crochet fox is large enough to be an irresistible fall tote bag charm and a stress-softie, too. Unlike the crochet fuzzy yarn fox plush, you can also make it sit on your desk just like a buddy, as the tail is attached to its back.
With the clever color changes and the popcorn stitch, this crochet miniature fox plushie is all worked as a single piece.
Be sure to have a small amount of black plush yarn for the legs and arms of the fox, too. This also requires a small black plastic nose and a little bit of black cotton yarn. Anyway, continue reading for the full crochet fox plush pattern below.
[ez-toc]
How to Crochet No-Sew Fox Plushie for Autumn Gifting
This charming project is a no-sew crochet amigurumi fox that makes for a perfect little keychain or pocket-sized toy. Working entirely in one piece, you’ll crochet the tail first and seamlessly attach it to the body as you go, completely eliminating the need for sewing parts together later.
The tiny paws and pointy muzzle are cleverly crafted using textured popcorn stitches.
You’ll build up from the body straight into the head, finishing off with surface-crocheted ears and simple embroidered facial details to give your miniature fox a lovable, alert expression!
Materials
- Yarn: Weight 2/Sport (100g/120m) in three colors: Orange, Black, and White.
- Hook: 4.0 mm crochet hook
- Eyes: 8 mm safety eyes (or glue-on half-beads)
- Nose: 7×8 mm safety nose (or glue-on nose)
- Stuffing: Holofiber, polyfill, or preferred toy stuffing
- Tools: Tapestry needle, scissors, and stitch markers
- Details: Strong thread (for face sculpting) and black embroidery thread/split black yarn (for eyebrows and face details)
Abbreviations (US Terms)
- MR: Magic Ring (or ch 2, work into 2nd ch from hook)
- ch: chain
- sc: single crochet
- hdc: half double crochet
- dc: double crochet
- tr: treble crochet
- inc: increase (2 sc in one stitch)
- dec: decrease (single crochet 2 together)
- sl st: slip stitch
- st(s): stitch(es)
- Popcorn St (5-dc or 4-dc): Work 5 (or 4) double crochets into the same stitch, completely drop the loop from your hook, insert your hook into the top of the first dc, grab the dropped loop and pull it through. Ch 1 to secure.
Pattern Instructions
Tail
Start with White yarn.
Rnd 1: ch 2, work 6 sc in the 2nd ch from the hook. [6]
Rnd 2: (1 sc, inc) repeat 3 times. [9]
Rnd 3: (2 sc, inc) repeat 3 times. [12]
Are you a Beginner?
Change to Orange yarn.
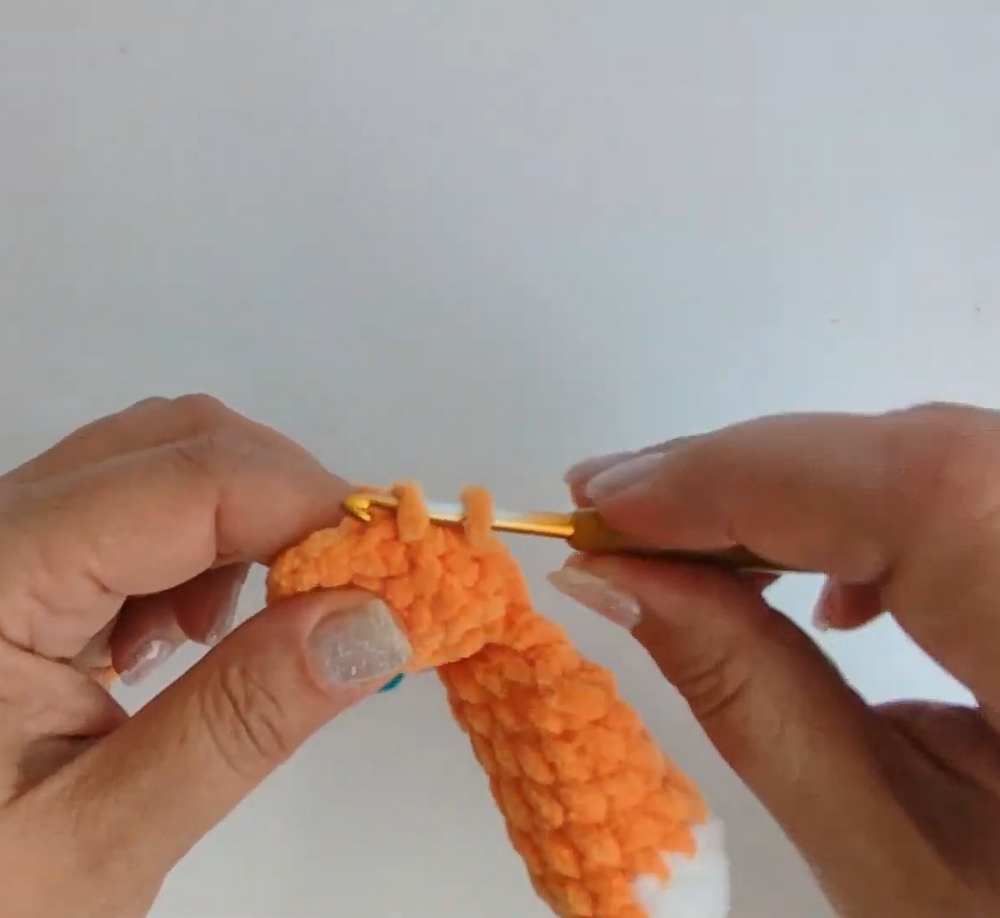
Rnds 4-8: 1 sc in each st around. [12] (5 rounds)
Lightly stuff the tail with filling.
Rnd 9: (1 sc, dec) repeat 4 times. [8]
Fold the top opening flat. Single crochet through both sides across to close the piece with 4 sc. Fasten off and weave in the end securely (no long tail is needed, as it will be crocheted into the body).
Body & Head
Start with Orange yarn.
Rnd 1: ch 2, work 6 sc in the 2nd ch from the hook. [6]
Rnd 2: inc in each st around. [12]
Rnd 3: (1 sc, inc) repeat 6 times. [18]
Rnd 4 (Attaching tail and making legs): 1 sc. Hold the tail against the body and sc through both the tail and body sts for the next 4 sts. Next, 3 sc (change to Black yarn on the last pull-through of the 3rd sc). Next st: work a 5-dc Popcorn St in Black, change back to Orange to secure it with the ch 1. Next 6 sc in Orange (change to Black on the 6th sc). Next st: work a 5-dc Popcorn St in Black, change back to Orange to secure. Next 2 sc. [18]
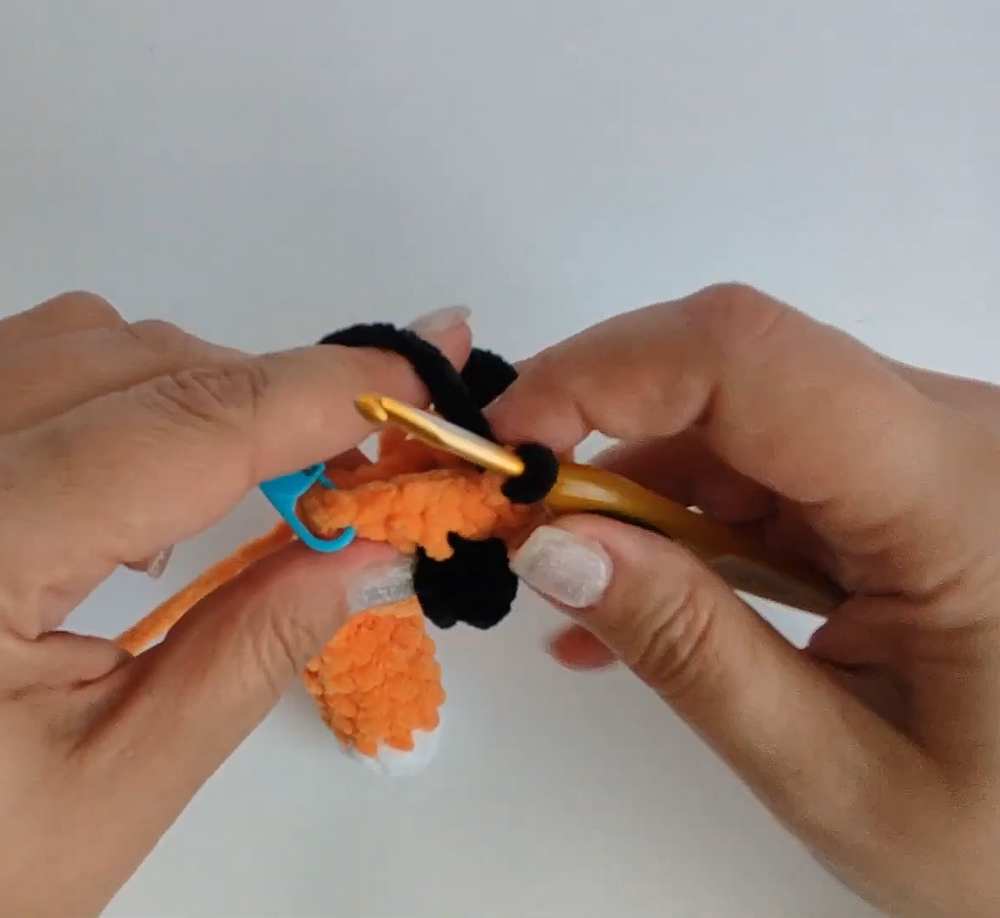
Rnd 5: 1 sc in each st around. [18]
Rnd 6: 1 sc, 2 dec, 13 sc. [16]
Rnd 7 (Making arms): 7 sc (change to Black on the 7th sc). Next st: 5-dc Popcorn St in Black, change to Orange. Next 5 sc in Orange (change to Black on the 5th sc). Next st: 5-dc Popcorn St in Black, change to Orange. Next 2 sc. [16]
Rnd 8: 1 sc in each st around. [16]
Rnd 9: 8 dec. [8]
Rnd 10: 1 sc in each st around. [8]
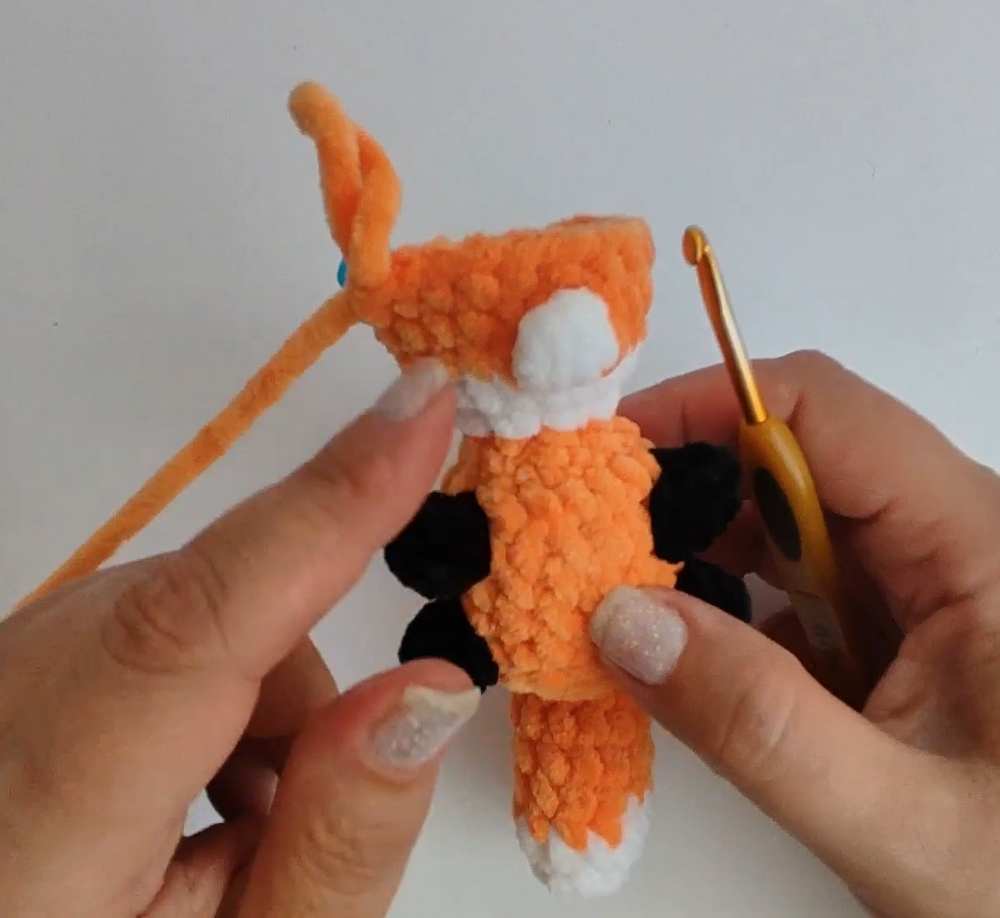
Change to White yarn.
Rnd 11: inc in each st around. [16]
Rnd 12: (3 sc, inc) repeat 4 times. Change to Orange yarn on the last pull-through of the final st. [20]
Rnd 13 (Making the muzzle): 14 sc in Orange. Change to White yarn. Next st: 4-dc Popcorn St in White (this forms the muzzle), change back to Orange. Next 5 sc in Orange. [20]
Rnds 14-15: 1 sc in each st around. [20] (2 rounds)
Stuff the body firmly.
Rnd 16: (3 sc, dec) repeat 4 times. [16]
Rnd 17: (2 sc, dec) repeat 4 times. [12]
Stuff the head firmly.
Rnd 18: (1 sc, dec) repeat 4 times. [8]
Fasten off. Thread the yarn tail through the front loops of the remaining 8 stitches, pull tight to close the hole neatly, and weave the end inside the head.
Ears (Make 2)
The ears are surface-crocheted directly onto the sides of the head using Orange yarn. Identify eye level on the head. Start about 2 stitches away from where you plan to place the eye.
Step 1: Insert hook into a stitch, pull up the Orange yarn, ch 1, and make 1 hdc in the exact same space.
Step 2: Work into the stitch in the row directly below Step 1: Make (1 dc, 1 tr, ch 1, 1 dc) all into that same stitch.
Step 3: Work into the stitch in the row directly below Step 2: Make 1 hdc and 1 sl st in that same stitch.
Fasten off and weave the loose ends inside the head. Repeat symmetrically on the opposite side of the head for the second ear.
Assembly & Details
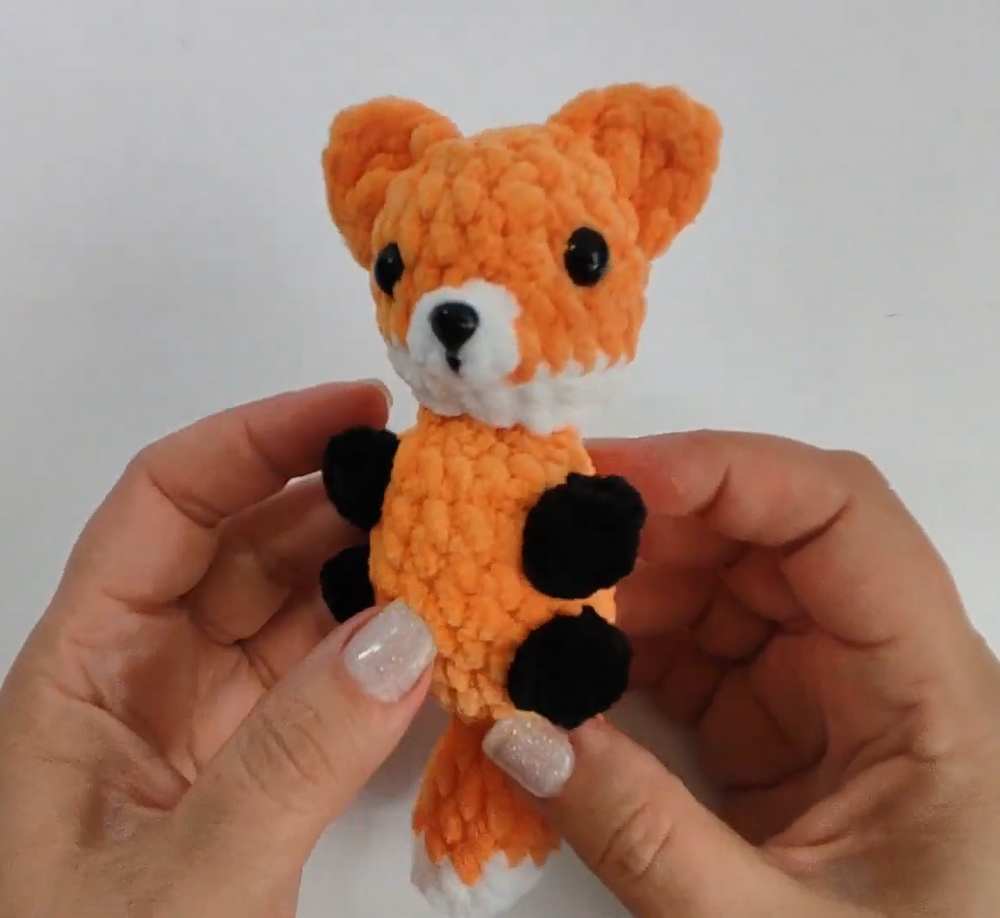
Eyes & Nose: Attach or glue the 8mm eyes between rounds 14 and 15, directly above the white muzzle, placing them about 2 stitches apart. Glue or pin the small nose directly to the center tip of the white muzzle (the 4-dc Popcorn St).
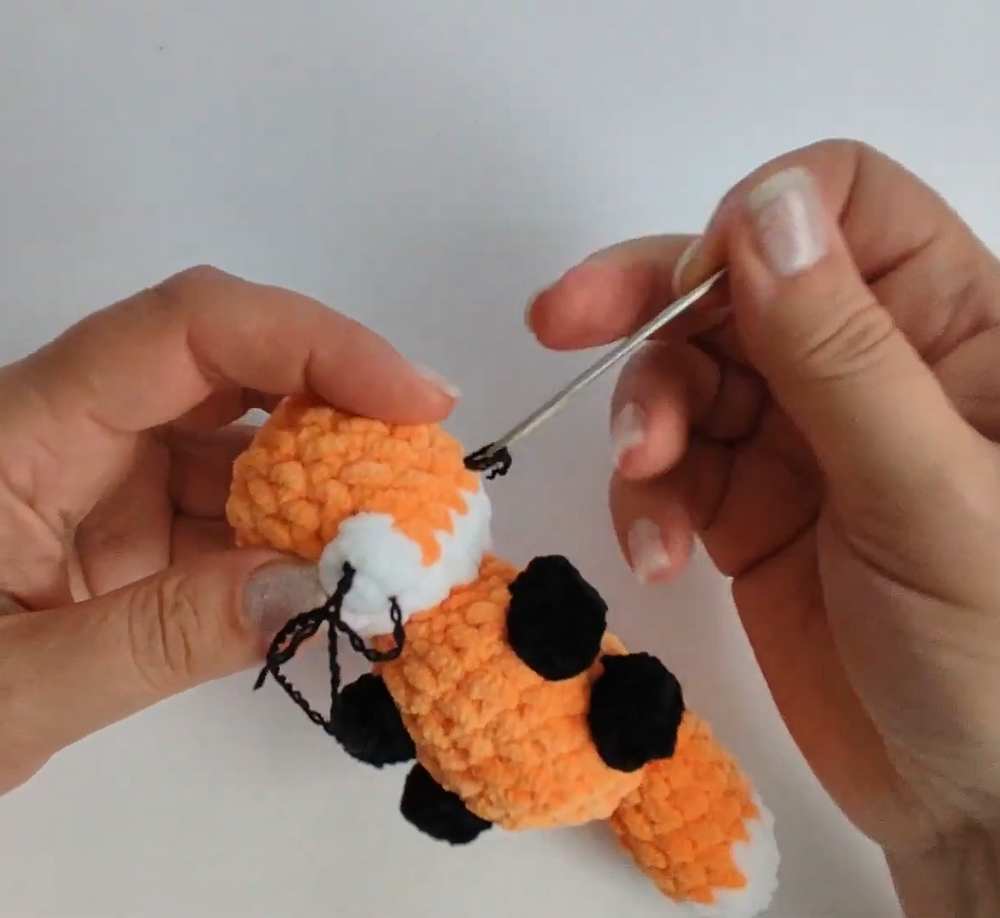
Face Sculpting (Eye Indentations): Thread a long tapestry needle with strong thread. Insert the needle at the bottom of the head (the neck area) and bring it out right at the outer corner of one eye. Insert it one stitch over, and bring it back down to the neck hole. Pull firmly to gently indent the eye and tie a secure knot. Repeat the exact same process for the second eye to give the fox’s face a cute, shaped appearance.
Mouth Line: Use black thread to embroider a tiny vertical line coming straight down from the nose.
Eyebrows: Use a split strand of black yarn or embroidery floss to stitch two small, angled eyebrows just above the eyes to give it an expressive face.
Keychain (Optional): Sew a carabiner, lanyard loop, or keychain ring to the top center of the head.
Share on Social Media!
See More:
Free Crochet 16cm No-Sew Baby Fox Plushie Pattern for Fall

Featuring: How to Crochet A Plush Blushing Flying Mr. Soul Ghost Plushie for Halloween

How to Crochet Bunny Bat White Foldable Wings Amigurumi with Bow for Halloween
Tester Call: How to Crochet A Spooky Flowers Red Horns Potted Buddy Plushie for Halloween
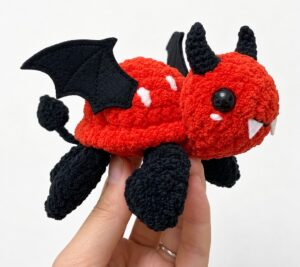
Tester Call: How to Crochet A Red & Black Spooky Turtle Plushie for Halloween
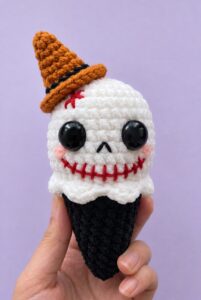
Tester Call: How to Crochet REALLY Spooky Witch Halloween Treat Plushie
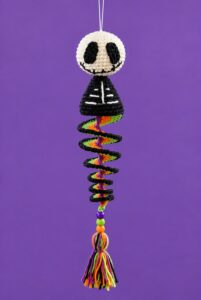
Featuring: How to Crochet the Skeleton Wind Spinner With Stripes of Halloween Colors
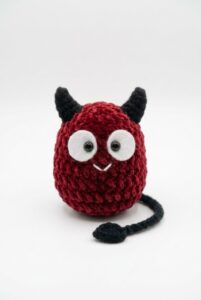
Tester Pattern: How to Crochet A Cape-Wearing Red Buddy Plushie for Halloween