


Show support for Angelica!
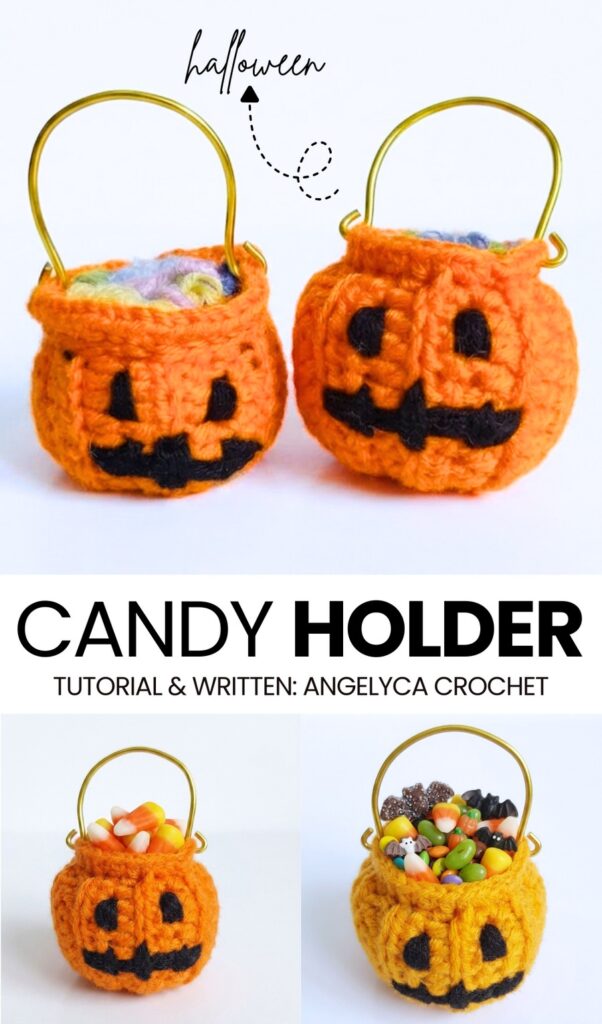
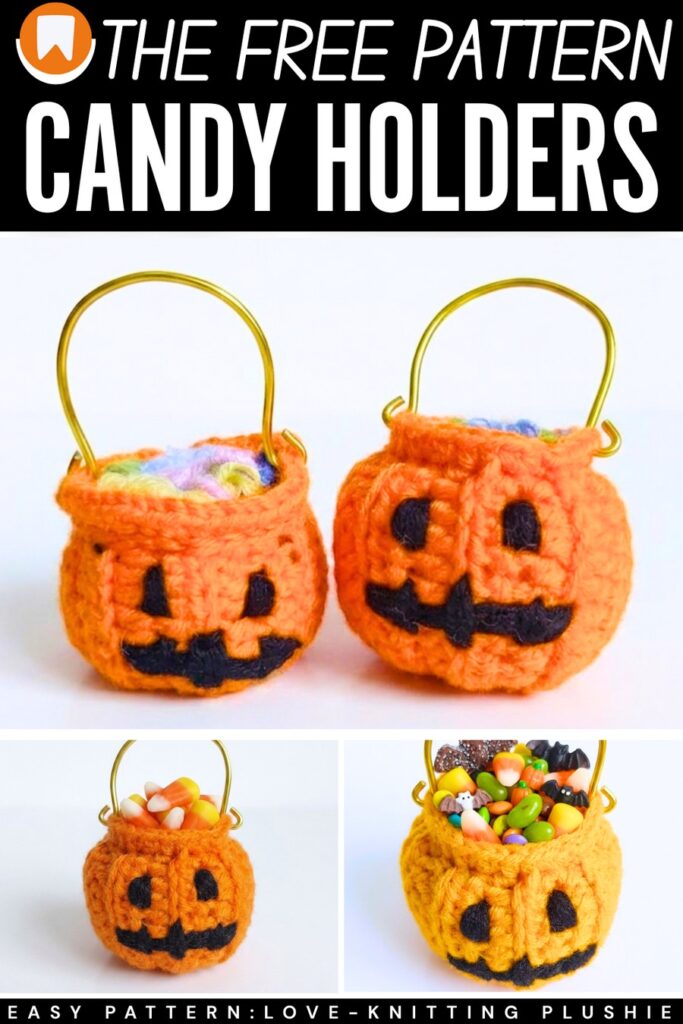
For this year’s Halloween trick-or-treating, learn how to crochet this spooky jack-o’-lantern pumpkin candy basket with a free written pattern & a tutorial, as well. This crochet miniature pumpkin candy holder has one of the most precise embroidered jack faces, and a video tutorial is here to guide you all along. You can either crochet a half I-cord as a handle for the pumpkin basket or use metallic handles.
In either case, this crochet Halloween mini basket will look kawaii, a bit spooky, and simply appealing! If you find the embroidery difficult, you can also just crochet it as a pumpkin-themed fall fruit basket to nourish the kids.
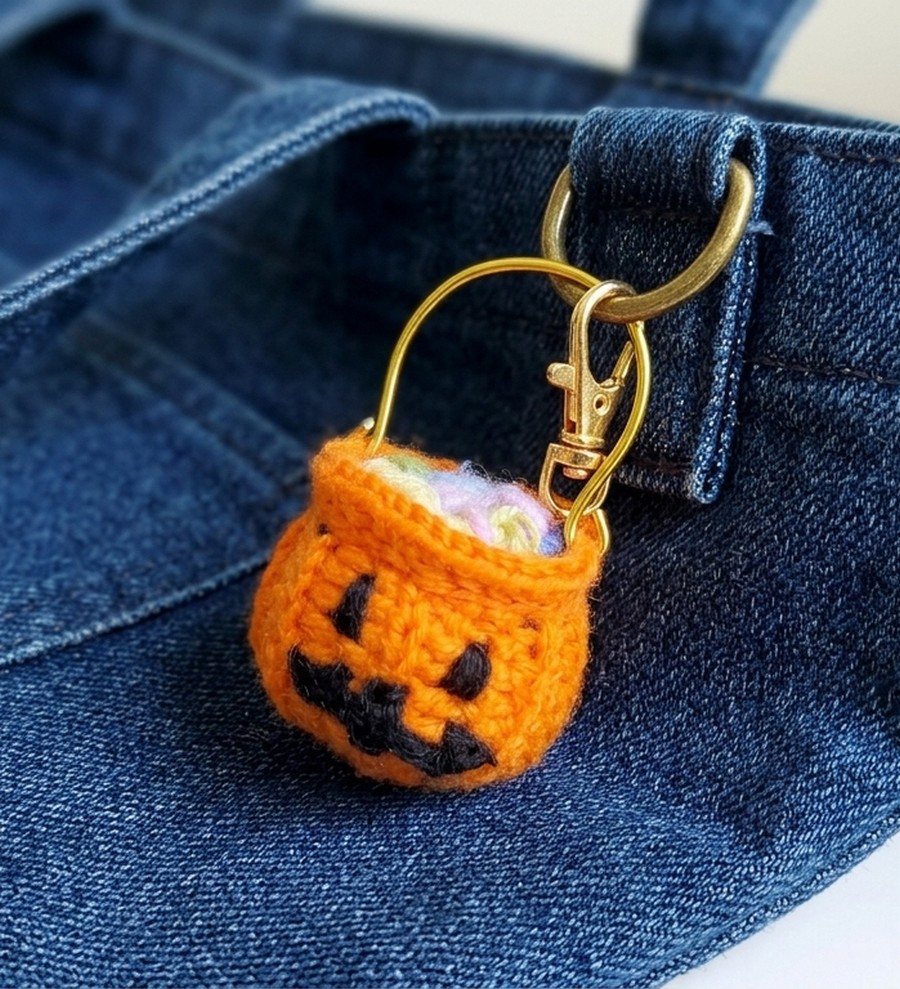
It also makes an irresistible addition to Halloween centerpieces and table decorations. Just like the witch pot, you can fill this pumpkin candy holder with small crochet eyes to make a spooky Halloween decoration. You can also use it to store your yarn scraps. Now, continue reading if you are looking for the full crochet pattern for this pumpkin basket.
[ez-toc]
Mini Crochet Spooky Pumpkin Candy Holder Pattern
Learn how to crochet a miniature pumpkin candy bucket that works up super fast! You create a ribbed, stuffed pumpkin using half double crochets, then add a small crocheted rim to the top to make it look like a little bucket.
Instead of real candy, you use a clever embroidery technique (the Rococo or Bullion stitch) on a small piece of felt to create tiny, colorful “candies.”
You glue this felt piece to the top, stitch on a cute jack-o’-lantern face, and attach a wire handle. It is the perfect little Halloween prop for your amigurumi dolls or just as a cute seasonal decoration!
Materials Needed
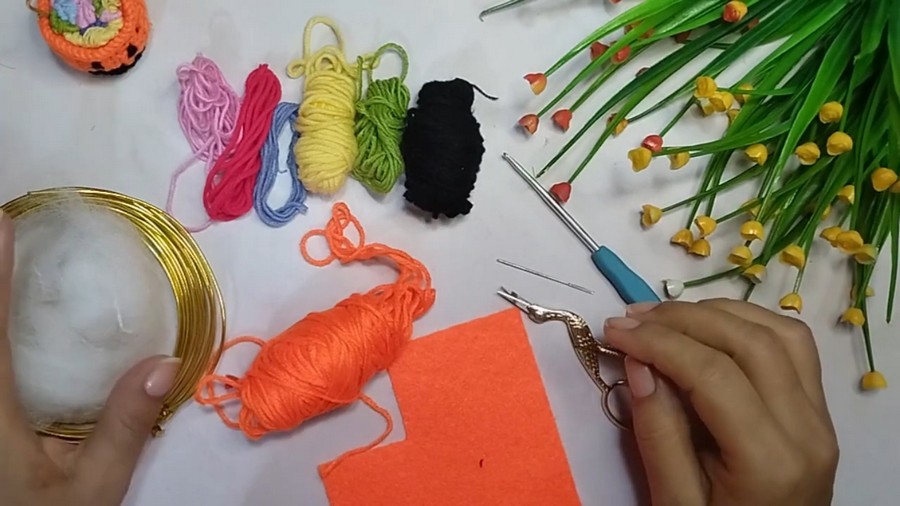
Orange Yarn: A small amount (great for using up scraps!).
Embroidery Thread/Scrap Yarn: Black for the face, and various bright colors for the candies.
Crochet Hook: 2.0 mm.
Felt: A small piece to act as the base for the candies.
Craft Wire: To shape the bucket handle.
Pliers: To cut and bend the wire.
Tapestry Needle / Yarn Needle: Needs to be fine enough to easily pass through wrapped threads for the embroidery.
Scissors.
Hot Glue (Silicone).
Fiberfill Stuffing.
Stitch Marker (Optional, but helpful for keeping track of row ends).
Abbreviations (US Terms)
ch = Chain
hdc = Half Double Crochet
sc = Single Crochet
inc = Increase (2 sc in the same stitch)
sl st = Slip Stitch
BLO = Back Loop Only (crocheting only in the furthest loop to create a ribbed texture)
st(s) = Stitch(es)
Rnd = Round
Pattern Instructions
1. The Pumpkin Body (Ribbed Panel)
Start: Ch 15.
Row 1: hdc in the 3rd ch from the hook, and place 1 hdc in each remaining chain across. (You should have 13 hdc).
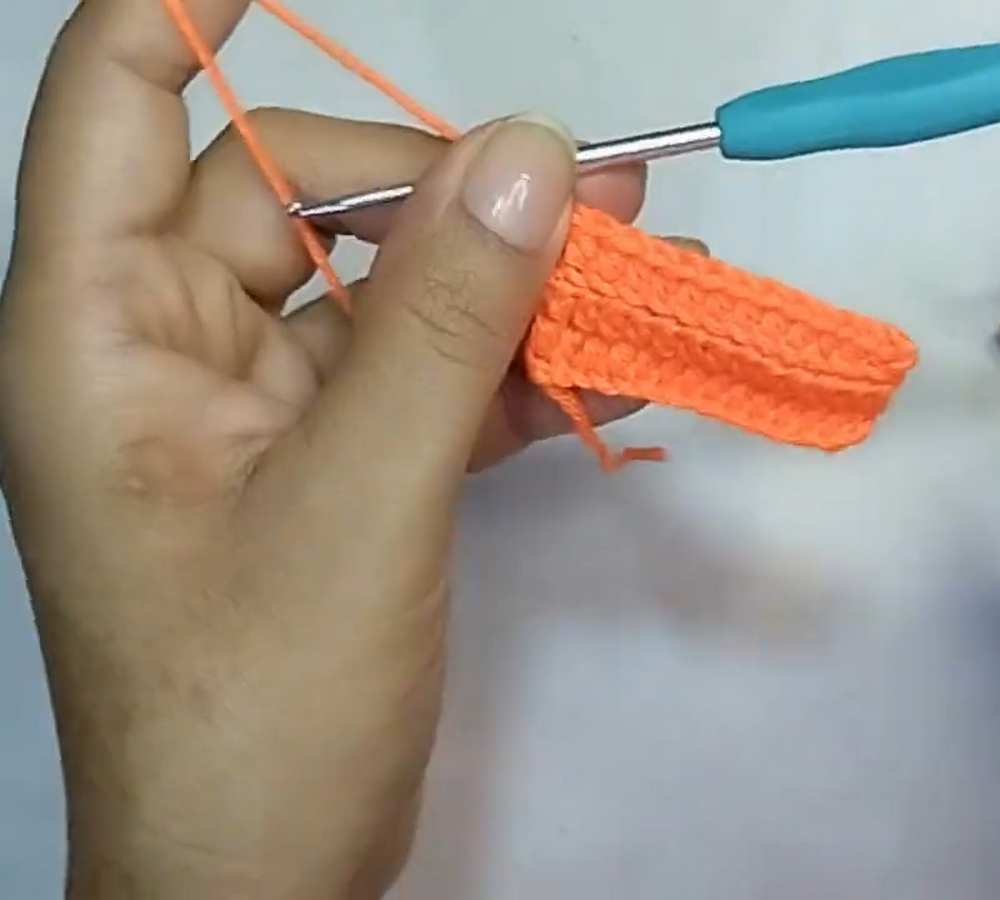
Row 2: Ch 2, turn your work. Working in the BLO (Back Loop Only), place 1 hdc in each st across. (13 hdc). Tip: If you are a beginner, place a stitch marker in the first st of the row so you don’t accidentally drop it.
Are you a Beginner? Learn Crocheting Easily!
You can learn to crochet better with this miniature trick-or-treating pumpkin basket as a beginner:
Rows 3 – 15: Repeat Row 2. This will give you a total of 15 rows, creating a stretchy, ribbed rectangle.
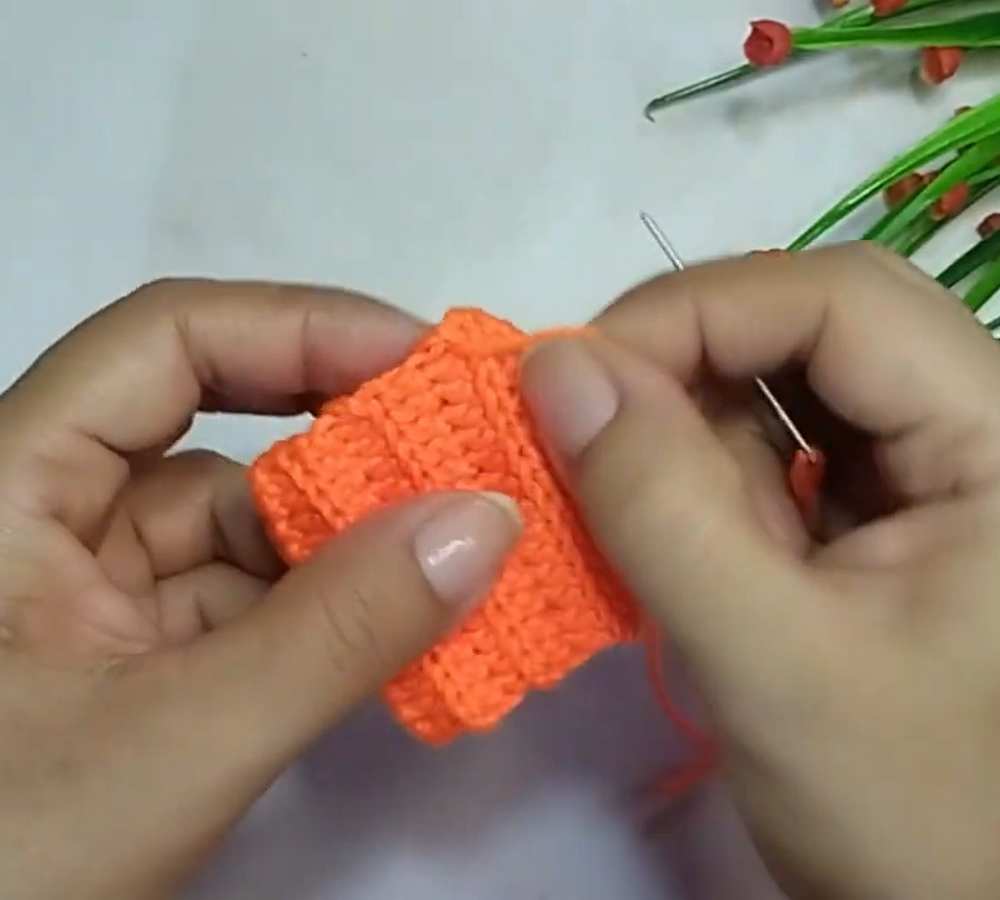
Fasten off: Leave a very long tail of yarn for sewing the pumpkin together.
2. Shaping and Stuffing the Pumpkin
Seaming: Fold your ribbed rectangle in half so the first row meets the last row. Thread your tapestry needle with the long tail and sew the two edges together using a zigzag or whip stitch (matching up the loops with the foundation chains) to form a tube.
Cinching the Bottom: Weave your needle in and out along the edge of the row ends on the bottom of the tube. Pull the yarn tight to cinch it completely closed.
Stuffing: Fill the pumpkin firmly with fiberfill stuffing.
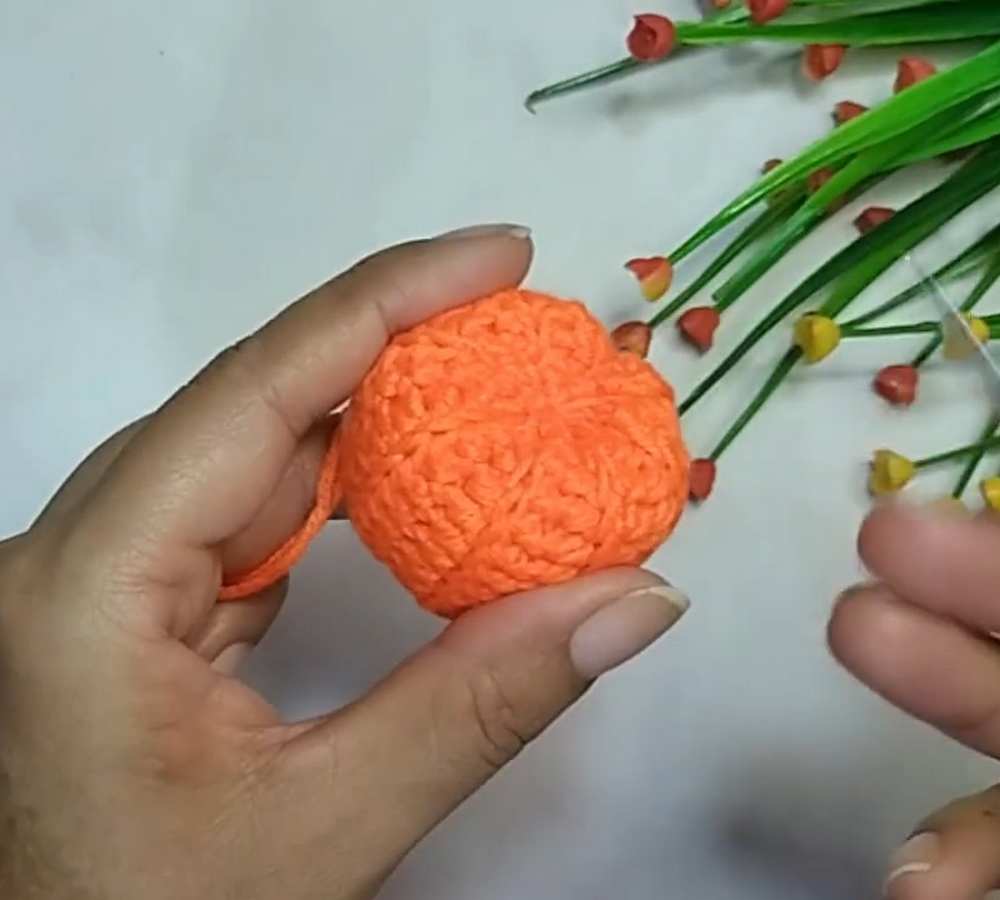
Cinching the Top: Pass the needle up to the top opening and repeat the weaving process along the top edge. Pull tightly to close the top of the pumpkin, knot it securely, and hide the yarn tail inside. (You should now have a squished, ribbed sphere!).
3. Creating the Bucket Rim (Boquilla)
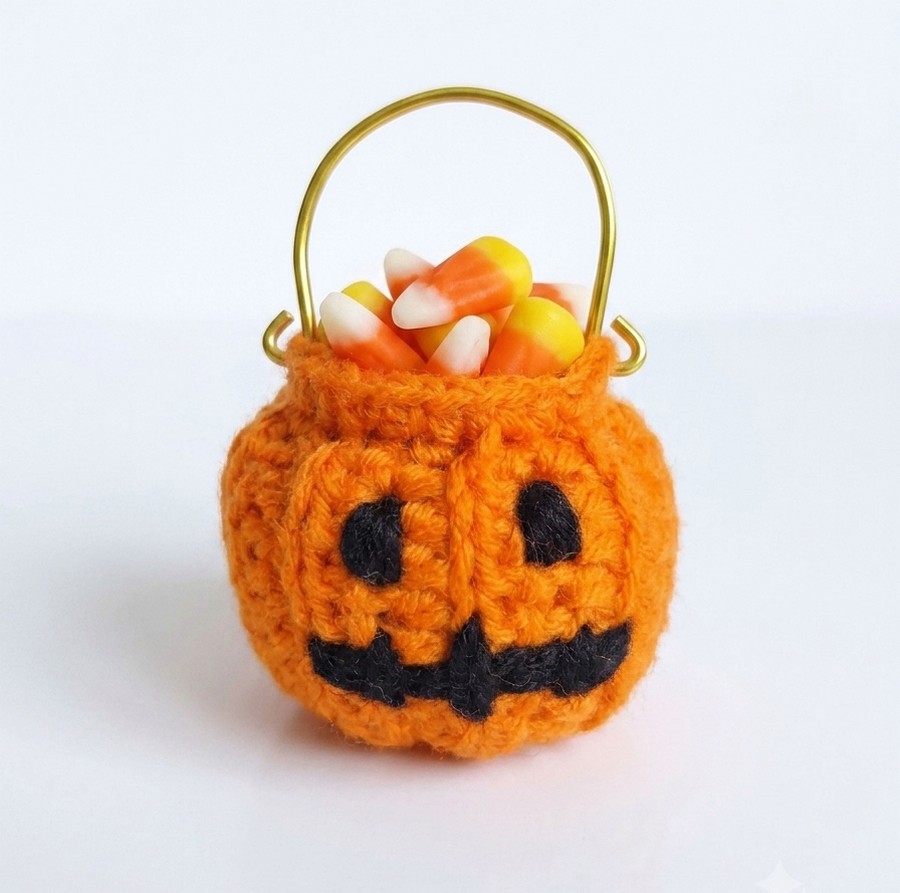
Rnd 1: Join your orange yarn with a slip knot to the very top center of the stuffed pumpkin. Sc evenly in a circle around the cinched center to form the base of the bucket’s rim. Join with a sl st.
Rnd 2: Ch 1. Work (1 sc, 1 inc) and repeat this sequence all the way around the circle to give the rim a slightly flared, bucket-like depth. Join with a sl st and fasten off.
4. Embroidering the Jack-o’-Lantern Face
Thread black yarn onto your tapestry needle.
Eyes: Sew two small, solid triangles on the side of the pumpkin.
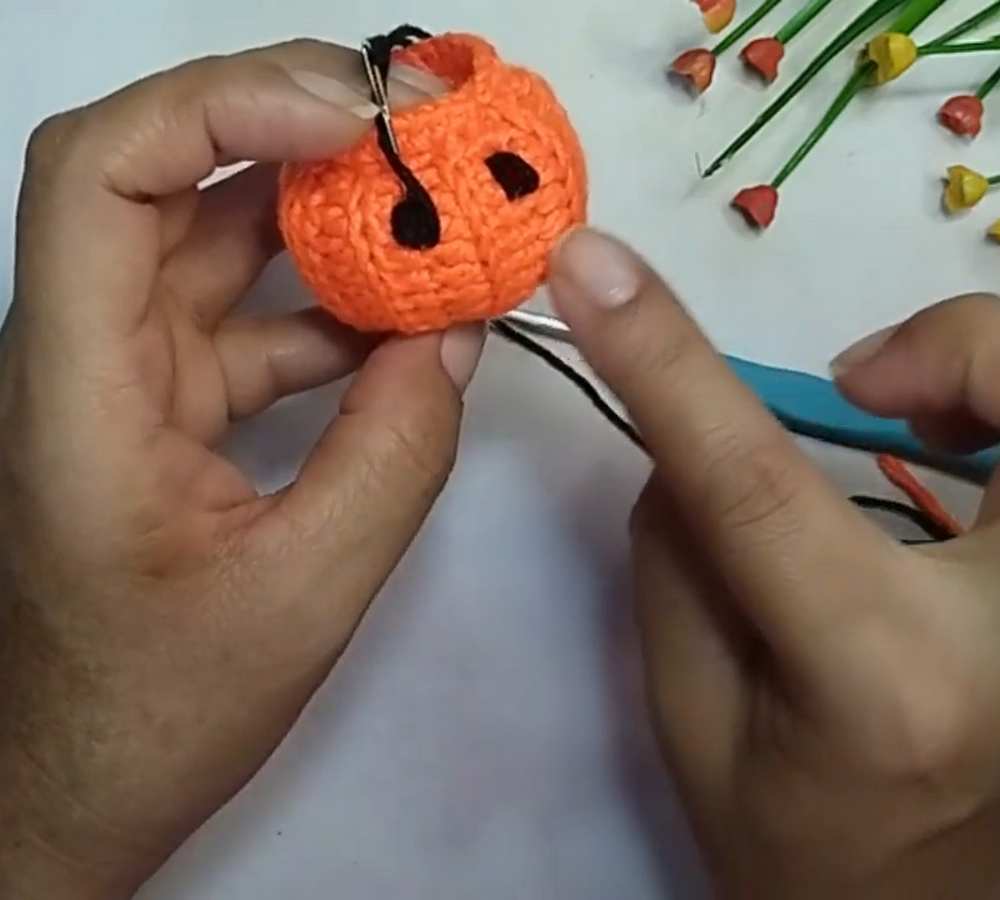
Mouth: Sew a wide, straight line below the eyes. Then, stitch small zigzag triangles pointing up and down from the line to create jagged “teeth.” Secure and hide the yarn tails inside.
5. Making the Candy Topper (Rococo / Bullion Stitch)
Take your piece of felt and trace a circle roughly the same size as the inner opening of your pumpkin’s rim.
Thread colorful yarn onto your fine needle. You will fill this circle with Rococo Stitches to look like little wrapped candies:
Bring the needle up from the back of the felt (Point A).
Insert the needle back down slightly across from where you came up (Point B), and bring the point of the needle back out at Point A. Do not pull the needle all the way through yet.
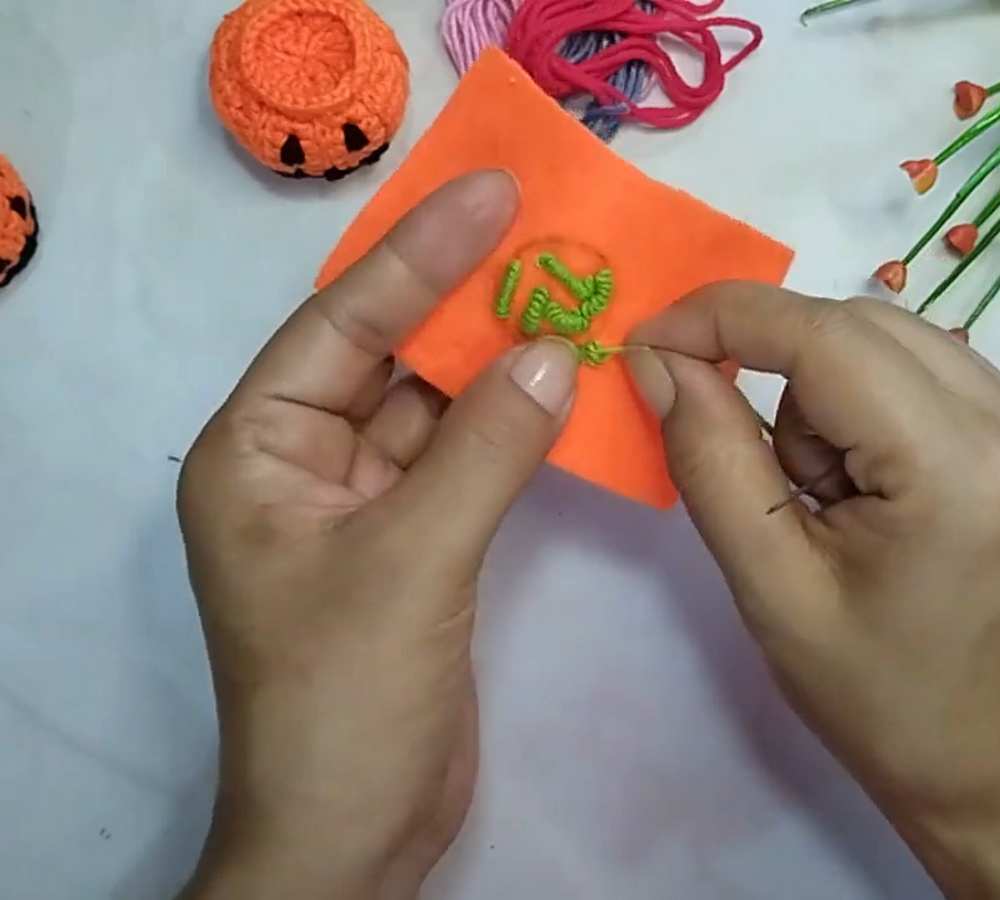
Take the working yarn and wrap it around the tip of the needle about 8 times (keep the wraps slightly loose so the needle can slide through).
Pinch the wraps lightly with your thumb and carefully pull the needle all the way through.
Lay the little “yarn worm” flat and insert the needle back down at Point B to secure it.
Repeat this all over the circle using different colors.
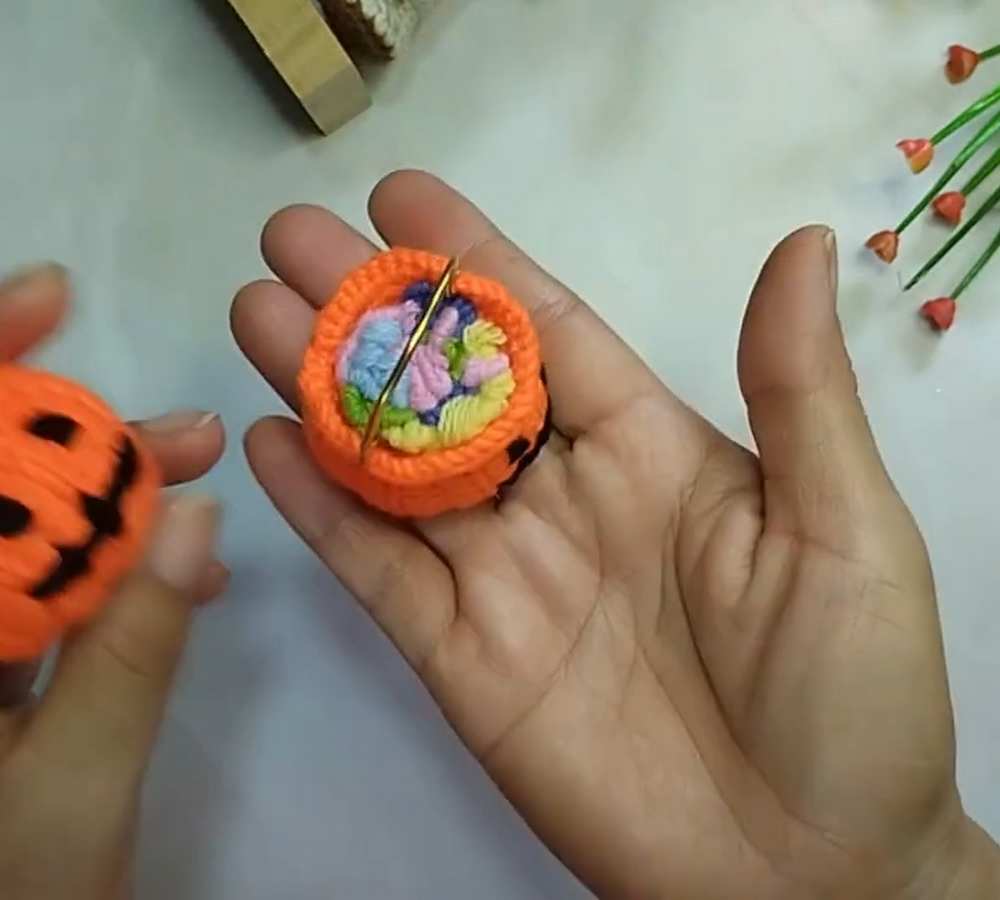
Cut the felt circle out and hot glue it right onto the top of the pumpkin, tucked inside the rim.
6. Adding the Handle
Cut a piece of craft wire measuring about 8 to 9 cm.
Using your pliers, curl the very ends of the wire into tiny loops (this makes it safe and keeps it from poking out).
Push each end of the wire into the opposite sides of the pumpkin’s top rim. Squeeze tightly to secure.
Your mini pumpkin candy bucket is complete! Trick or Treat!
Share on Social Media!
See More:

Crochet CUTEST Guest-Welcoming BOO Ghost with Bow, Hat and Pumpkin Accessories

Tester Call: How to Crochet A Candy Corn, Pumpkin & Kawii Buddy Potted Plant Plushie

Featuring: How to Crochet the Smallest Pumpkin Fall Turtle Plushie with Orange & Parrot

Pattern Tester: How to Crochet Pumpkin Ridges Face Donut Ring Plushie for Fall

How to Crochet An Amigurumi Long-Legged Kawaii Pumpkin in Shoes Buddy

How to Granny Square with Pumpkin Applique in the Middle

Tester Pattern: To Crochet Pumpkin Hello Kitty Plushie with Big Paws Buddy

Featuring: How to Crochet Tiered Unusual Texture Pumpkin Decoration (3 Sizes)

Tester Pattern: To Crochet A Grizzly Bear Presenting You A Pumpkin Plushie
