
Show support for Gulnara!
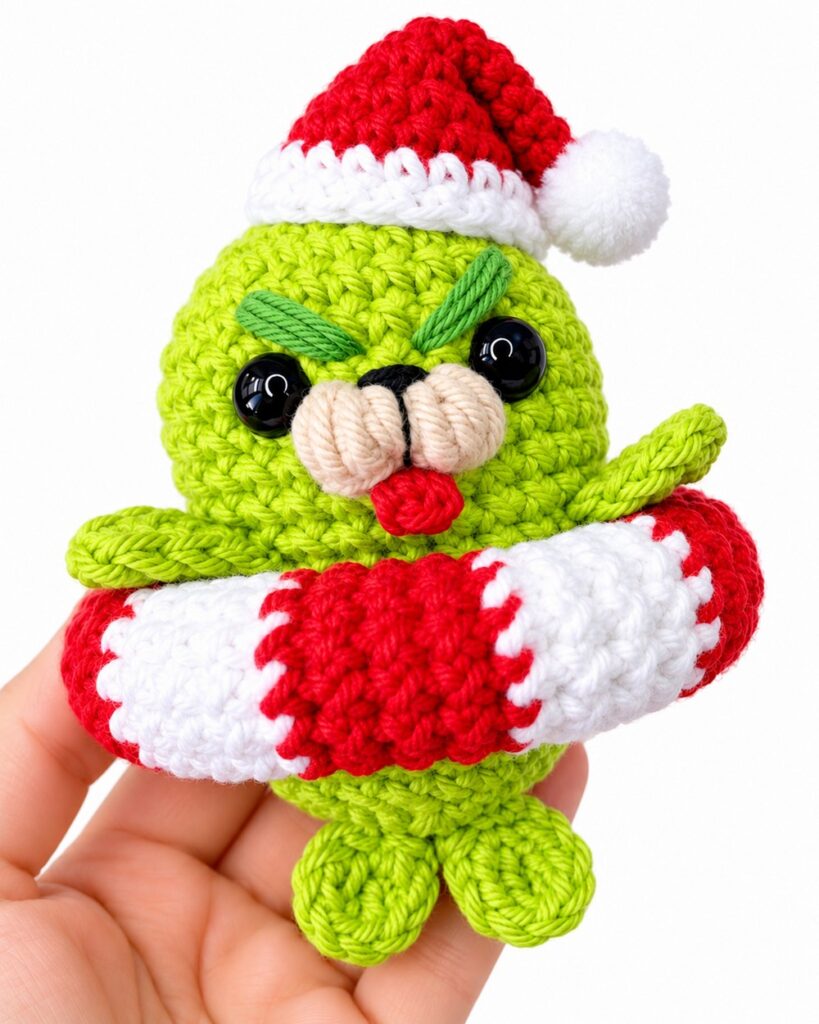
Today, I am sharing the CUTEST crochet Grinch + sea creature buddy Christmas gift pattern so far. Learn how to crochet this UNIQUE, palm-sized baby Grinch seal in a peppermint swimming tube amigurumi that is beginner-friendly and almost completely no-sew.
Learn to crochet this amigurumi baby seal with an optional Santa hat, following a FREE step-by-step tutorial and a written pattern as well.
While I wanted to share this crochet amigurumi pattern this summer, I am now happy instead because this variation is even cuter! So, continue reading to learn more about this amigurumi seal-in-a-tube project for all skill levels!
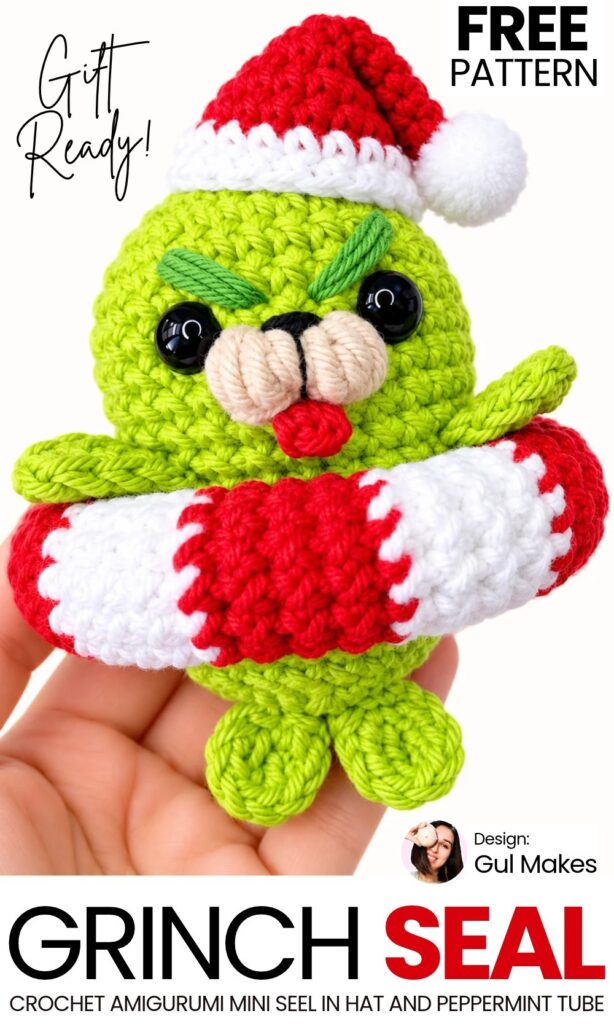
Pattern to Crochet Grinch Seal Buddy Amigurumi
Skill Level: Beginner – Level 4
Materials
Yarn: DK (Light weight number 3) cotton blend yarn (approximately 50% cotton, 50% acrylic; 50 g / 165 m / 180 yd):
Main Color: Gray (or cream / mint blue)
Muzzle Color: White (or cream)
Tongue Color: Pink
Detail Color: Small piece of black yarn or embroidery floss for the nose and eyebrows
Crochet Hook: 2.5 mm
Safety Eyes: 6 mm black safety eyes with backings
Stuffing: Polyester fiberfill
Notions: Stitch marker, tapestry/yarn needle, scissors
Abbreviations (US Terms)
MR: Magic Ring
ch: Chain
sc: Single crochet
inc: Increase (work 2 single crochets in the same stitch)
dec: Invisible decrease (single crochet 2 stitches together using front loops)
sl st: Slip stitch
dc: Double crochet
tr: Treble (triple) crochet
puff st: Puff stitch
st / sts: Stitch / stitches
Are you a Beginner? Learn Crocheting Easily!
You can learn to crochet better with this crochet amigurumi seal tutorial. Or continue to the written pattern below!
Difficult Stitch Guides
Puff Stitch (4-Loop Yarn-Over Puff):
Yarn over, insert your hook into the indicated stitch.
Yarn over and pull up a tall loop (same height as a double crochet).
Repeat steps 1 and 2 three more times in the exact same stitch (you will have 4 yarn-overs and 9 loops total on your hook).
Yarn over and carefully pull through all 9 loops on your hook.
Chain 1 to lock and close the puff stitch.
Invisible Decrease (dec):
Insert hook into the front loop only of the first stitch.
Without yarning over, insert hook into the front loop only of the next stitch.
Yarn over and pull through both front loops on your hook.
Yarn over and pull through the remaining 2 loops on your hook.
Treble Crochet (tr):
Yarn over twice (3 loops on hook).
Insert hook into the stitch, yarn over, and pull up a loop (4 loops on hook).
Yarn over, pull through the first 2 loops (3 loops remaining).
Yarn over, pull through the next 2 loops (2 loops remaining).
Yarn over, pull through the last 2 loops.
Crocheting Along Both Sides of a Chain (Oval Shape):
Work down the chain stitches in the top loops as usual. When you reach the last chain, place the indicated number of stitches in it to curve around the tip, then continue working single crochets down the unworked bottom loops on the opposite side of the chain.
Pattern Instructions
1. Front Flippers (Make 2)
Worked flat in rows around a foundation chain using Main Color (Gray).
Make a slip knot and chain 4.
Starting in the 2nd chain from hook:
Work 1 sc in each of the next 2 chains (2 sc).
Work 3 sc into the last chain to turn around the corner.
Rotate your work to crochet along the opposite side of the chain: work 1 sc in each of the remaining 2 chains (2 sc).
Total Stitches: 7 sc.
Fasten off and cut the yarn. You do not need to leave a long tail because the flippers will be crocheted directly into the body later. Set both flippers aside.
2. Baby Seal Body & Head
Worked in continuous spiral rounds from the top of the head down to the tail. Do not join rounds with a slip stitch; use a stitch marker to mark the first stitch of each round.
Round 1: Make a magic ring, work 7 sc into the ring. Pull tight to close. [7 sts]
Round 2: Work 1 inc in each of the 7 sts around. [14 sts]
Round 3: (1 sc, 1 inc) repeat 7 times. [21 sts]
Round 4: (2 sc, 1 inc) repeat 7 times. [28 sts]
Rounds 5 to 7 (3 rounds): Work 1 sc in each of the 28 sts around. [28 sts]
Round 8 (Muzzle Round):
Work 1 sc in each of the first 13 sts using Gray. On the last yarn-over of the 13th sc, switch to White yarn.
In the next stitch: work 1 puff st in White, chain 1 to close.
In the next stitch: work 1 sl st in White. (Place a stitch marker in this slip stitch; this is where the pink tongue will be attached later).
In the same stitch as the slip stitch: work 1 puff st in White. On the closing chain 1 of this puff stitch, switch back to Gray yarn.
Work 1 sc in each of the remaining 13 sts around in Gray. [28 sts]
Round 9: Work 1 sc in each st around (working cleanly into the stitches across the top of the muzzle). [28 sts]
Round 10: (5 sc, 1 dec) repeat 4 times. [24 sts]
Inserting Safety Eyes:
Place 6 mm safety eyes on Round 8, positioned right next to the outer edges of the white puff stitches (one eye directly to the left of the left puff, and the other directly to the right of the right puff).
Secure the safety backings firmly inside the head.
Round 11 (Attaching the Flippers):
Work 1 sc in each of the next 7 sts on the body.
Attach 1st Flipper: Hold the first flipper against the body. Insert your hook through the first stitch of the flipper and through the front loop of the next stitch on the body, then work 1 sc. Repeat through the next 2 stitches of the flipper and body (3 sc total to join).
Work 1 sc in each of the next 5 sts across the belly.
Attach 2nd Flipper: Hold the second flipper against the body. Work 1 sc through both the flipper and the body for the next 3 stitches (3 sc total).
Work 1 sc in each of the remaining 6 sts on the body. [24 sts]
Rounds 12 to 15 (4 rounds): Work 1 sc in each of the 24 sts around. [24 sts]
Round 16: (6 sc, 1 dec) repeat 3 times. [21 sts]
Round 17: (5 sc, 1 dec) repeat 3 times. [18 sts]
Round 18: (1 sc, 1 dec) repeat 6 times. [12 sts]
Stuffing: Stuff the seal’s head and body firmly with fiberfill, ensuring the round shape is plump and smooth.
Round 19: Work 6 dec around. [6 sts]
Do NOT fasten off.
3. Tail Flippers
Crocheted directly onto the base of the body.
Top up with any extra stuffing if needed.
Chain 1. Pinch the bottom opening flat so that the stitches line up horizontally with the face.
Insert your hook through both layers at once across the opening and work 3 sc to seal the hole closed.
Now crochet the two tail fins directly into these 3 stitches:
In the 1st stitch: chain 2, 1 dc, 1 tr, chain 3, 1 sl st.
In the 2nd (center) stitch: work 1 sl st.
In the 3rd stitch: work 1 sl st, chain 3, 1 tr, 1 dc, chain 2, 1 sl st.
Fasten off and cut the yarn. Weave the yarn tail securely inside the body.
4. Facial Details
Embroidering Nose & Eyebrows:
Thread a needle with black yarn or embroidery floss.
Make 2 to 3 small horizontal stitches between the two white puff cheeks to form a small nose.
Make a tiny angled stitch above each eye (about 1 to 2 rounds above the eye) to create cute little eyebrows.
Knot the ends and bury the tails inside the head.
Tongue:
Locate the marked slip stitch from Round 8 between the two muzzle puff stitches.
Insert your hook into this slip stitch and join Pink yarn.
Chain 2, then work 1 sl st back into the exact same stitch.
Fasten off, pull the yarn tails through to the inside of the head, knot them securely, and trim any excess.
Your adorable little baby seal is now complete!

See More:
Tester Call: How to Crochet Grinch Owl Dumpling in A Christmas Box Plushie

Tester Call: Crochet Star Ornament Plushie Tangeled in Colorful Pom Pom Christmas Lighting

How to Crochet Red Bow & Pair of Yellow Bells Crochet Christmas Bag Charm

How to Crochet Christmas Tree Yellow Treat Pouch with Colorful Poms & Red Strings

How to Crochet Holly Christmas Coaster with Snowflake Embroidery

Tester Call: How to Crochet Green Holiday Buddy in Red Scarf Coaster for Christmas Decoration
Tester Call: How to Crochet Snowman in Black Hat Star Ornament Plushie for Christmas Gifting
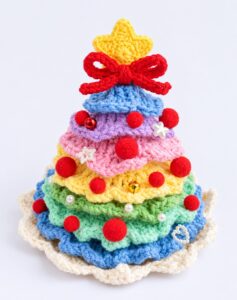
How to Crochet Knotted Bow & Star on the Top Pastel Rainbow Tiered Christmas Tree

Tester Call: How to Crochet White Holiday Bear Pluhsie for Gifting this Christmas
