

Author: Talha
I am a crochet designer, macramé maker and a crafter who also loves doing MATH.
Contributor: Rina of Art of Crochet
She is a designer of trendy crochet and has been our contributor since mid 2026 via mycraftybasket.
Show support for Rina!
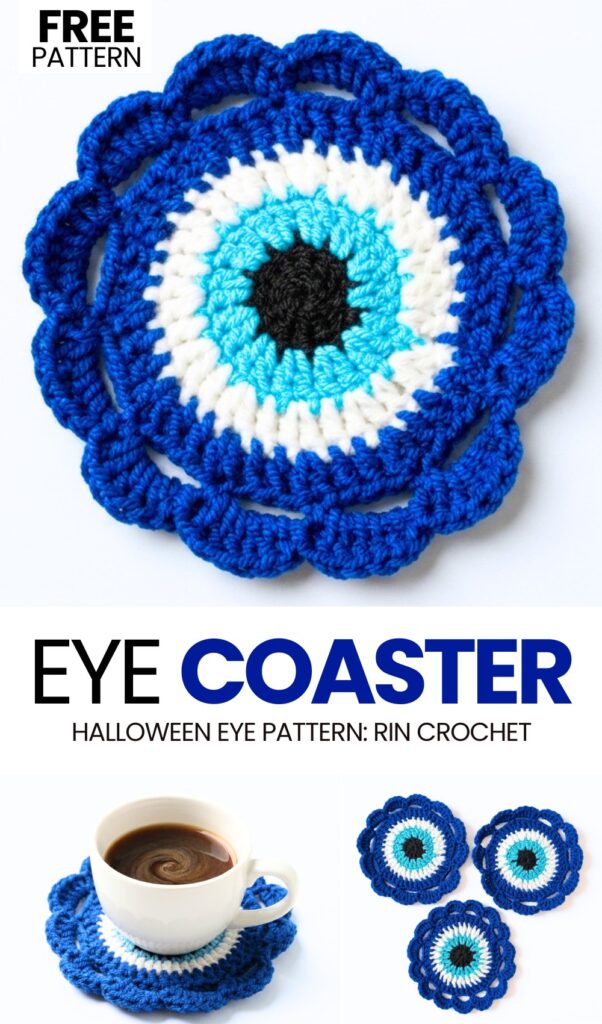
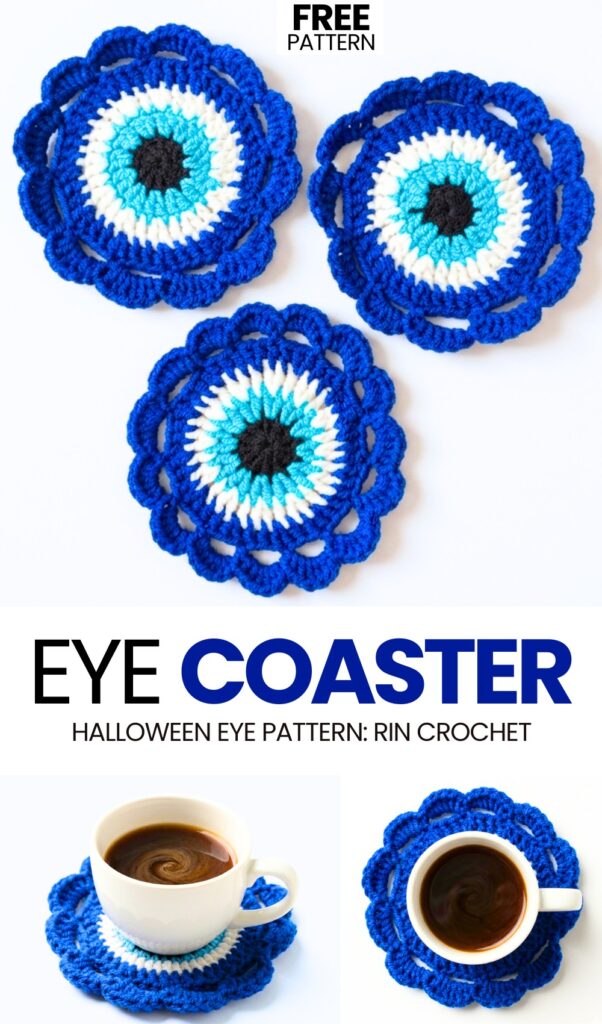
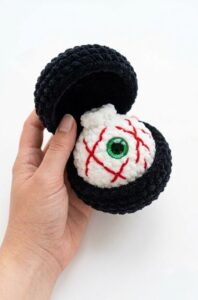
In the previous tutorial, you learned how to crochet a 2-in-1 evil eyeball pouch for Halloween! Today, continuing the “Halloween evil eye accessories” series, you will learn how to crochet this round evil eyeball coaster with UNIQUE beautiful mesh shell edging. Unlike last time, we are crocheting a circular evil eye with stripes of black, white, light blue, and dark blue. The mesh shell edging is the NEWEST addition to this eyeball coaster, which also makes it stand out from other designs.
You can also crochet this evil eyeball coaster as a dining table pad or crochet it without the edging to make an evil eye granny square. With that evil eye square, you can assemble Halloween bags, blankets, and even cardigans.
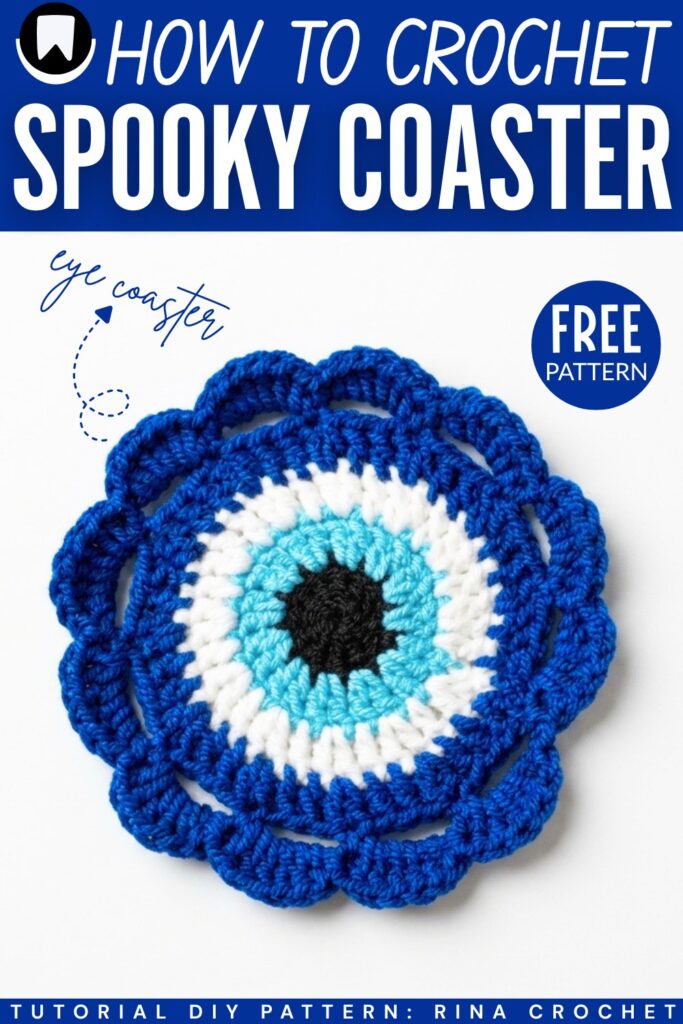
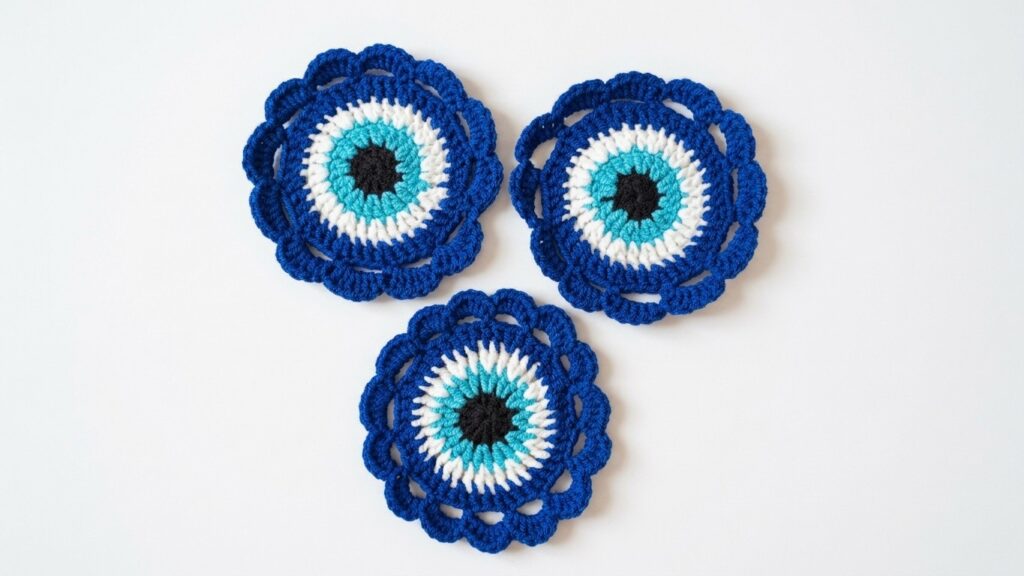
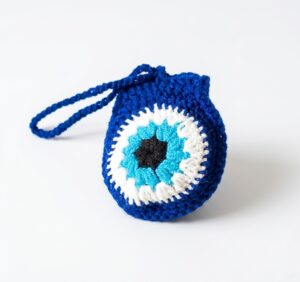
You can crochet this evil coaster in less than 30 minutes, making a crochet circle of just 5 rounds. By changing the colors using the standard method, you will get the same iconic crochet eyeball look. You can also turn your crochet coaster into a round evil eye bag by crocheting two separate pieces and seaming them. Anyway, customization is up to you; below will be the full pattern to crochet this beautiful eyeball coaster for Halloween.
Similar Project(s)
Pattern to Crochet the Quirkiest Ghost for Beginners
Skill Level: Beginner – Level 2
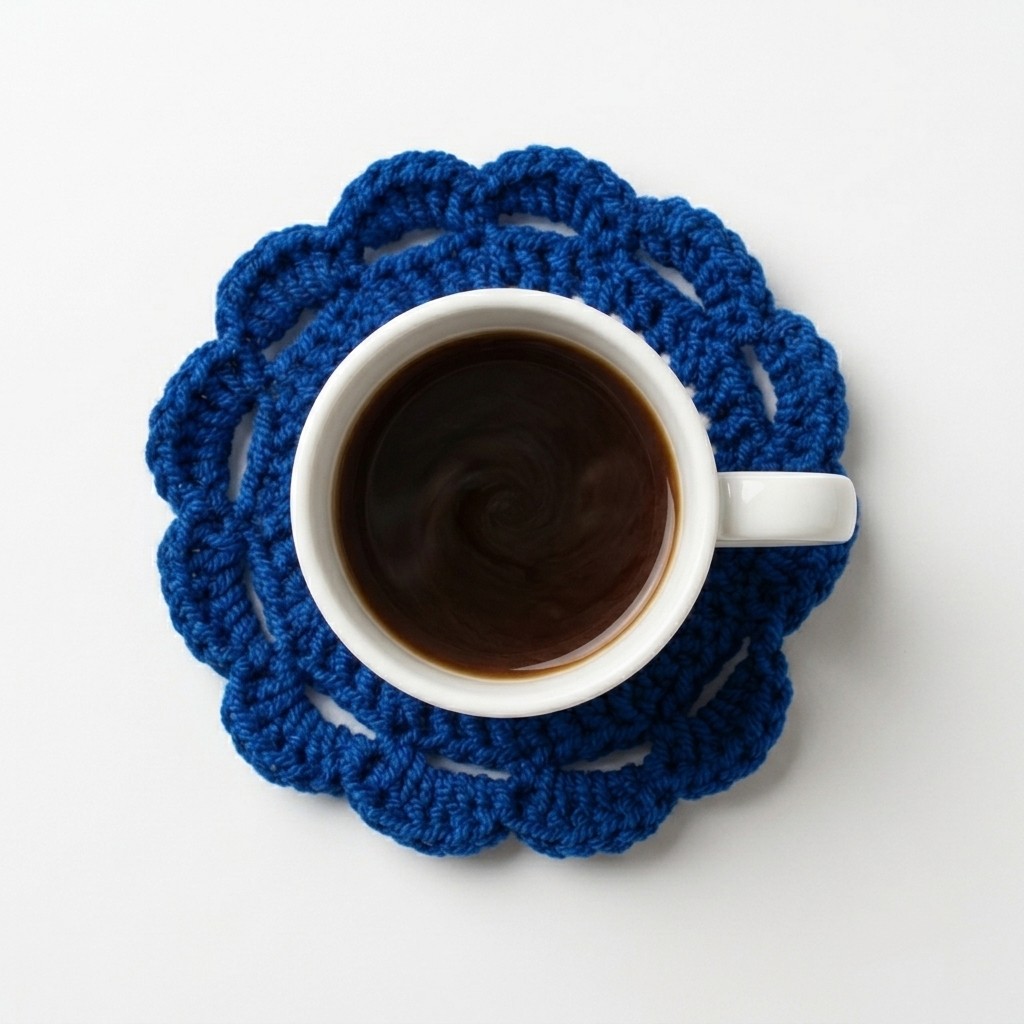
This project is to make a small mat for a cup. The mat looks like an eye. You use four colors of yarn. You use black yarn for the center. You use light blue yarn next. Then you use white yarn.
You use dark blue yarn for the last part. You use a hook to make stitches in a circle. You make a wavy edge at the end. You cut the yarn and hide the ends with a needle. This mat is a good gift.
Materials List
Yarn: Acrylic yarn in four colors: Black, Light Blue, White, and Dark Blue.
Hook: 2.5 mm crochet hook.
Tools: Scissors and a yarn needle for weaving in ends.
Abbreviations
MR: Magic Ring
ch: Chain
dc: Double Crochet
slst: Slip Stitch
st: Stitch
rep: Repeat
Are you a Beginner? Learn Crocheting Easily!
You can learn to crochet this UNIQUE spooky ghost amigurumi as a beginner by following this tutorial, too:
Crochet Pattern Instructions
Round 1: Black Yarn
Start with a Magic Ring.
ch 3 (this counts as your first double crochet).
Work 11 dc into the ring. (Total: 12 dc).
Pull the ring tight and join with a slst to the top of the beginning ch-3.
Fasten off the black yarn.
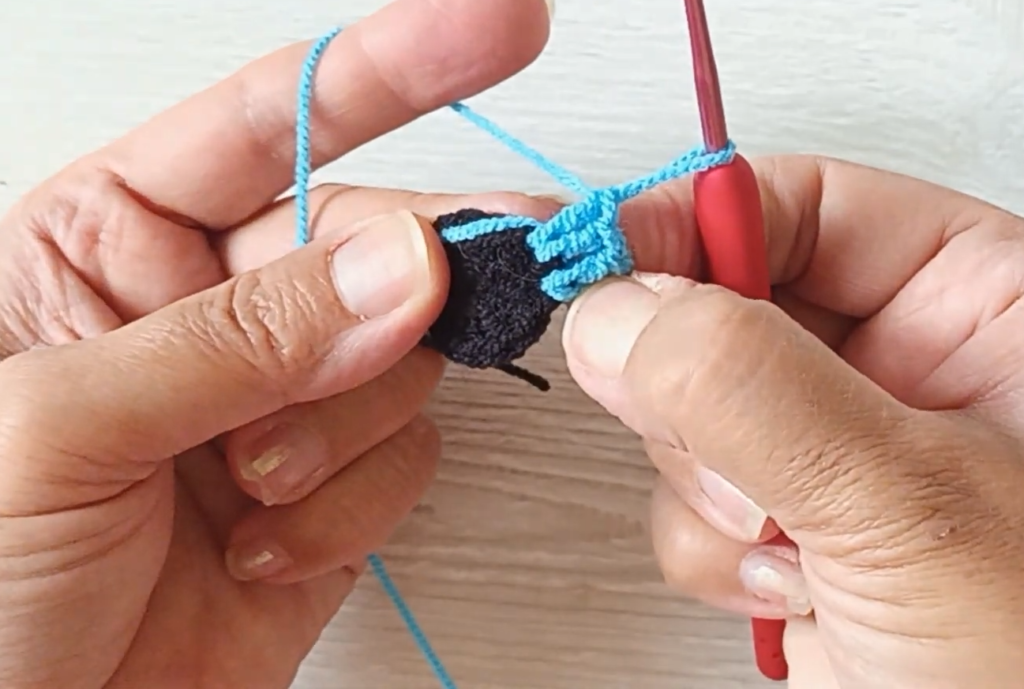
Round 2: Light Blue Yarn
Join the light blue yarn to any stitch from the previous round.
ch 3 (counts as 1 dc), work 1 dc in the same stitch.
Work 2 dc in each stitch around. (Total: 24 dc).
Join with a slst to the top of the beginning ch-3.
Fasten off the light blue yarn.
Round 3: White Yarn
Join the white yarn to any stitch from the previous round.
ch 3 (counts as 1 dc), work 2 dc in the next stitch.
rep (1 dc, 2 dc in the next stitch) 11 times. (Total: 36 dc).
Join with a slst to the top of the beginning ch-3.
Fasten off the white yarn.
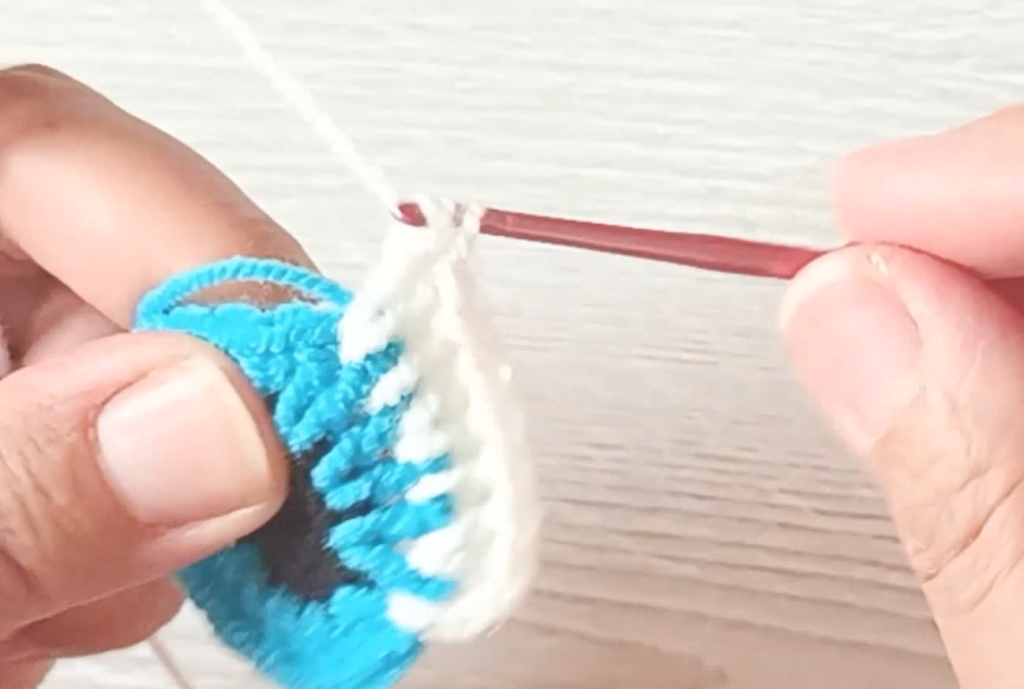
Round 4: Dark Blue Yarn
Join the dark blue yarn to any stitch from the previous round.
ch 3 (counts as 1 dc), work 1 dc in the next stitch, then 2 dc in the following stitch.
rep (1 dc in next 2 sts, 2 dc in the next stitch) 11 times. (Total: 48 dc).
Join with a slst to the top of the beginning ch-3. Do not fasten off.
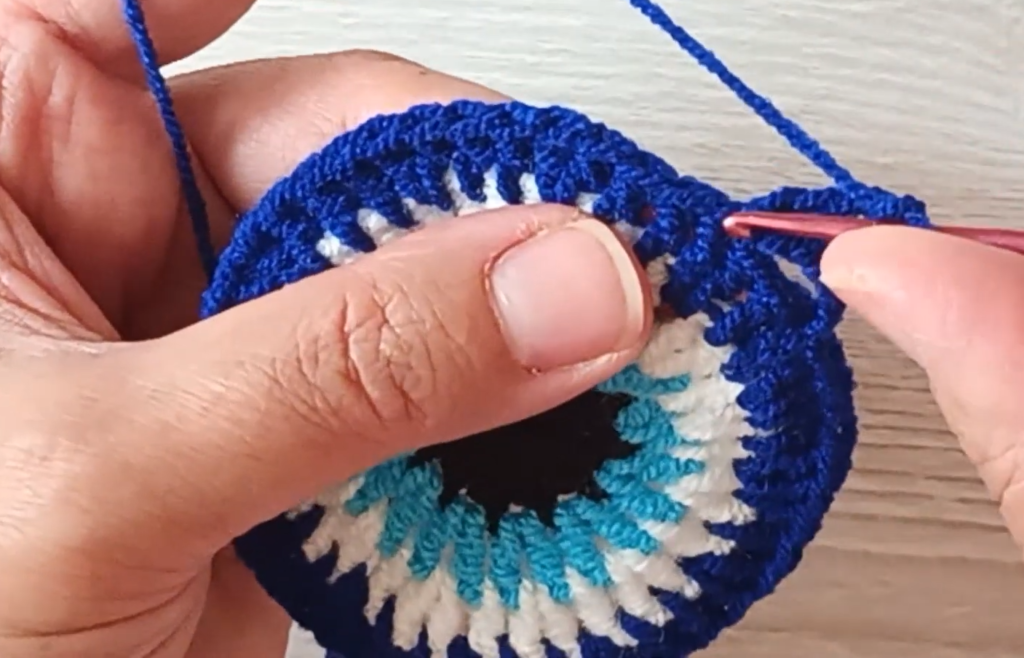
Round 5: Border Preparation (Dark Blue)
ch 5, skip 2 stitches, slst into the next stitch.
rep (ch 5, skip 2 sts, slst into the next stitch) all the way around the circle.
This creates a series of loops around the edge.
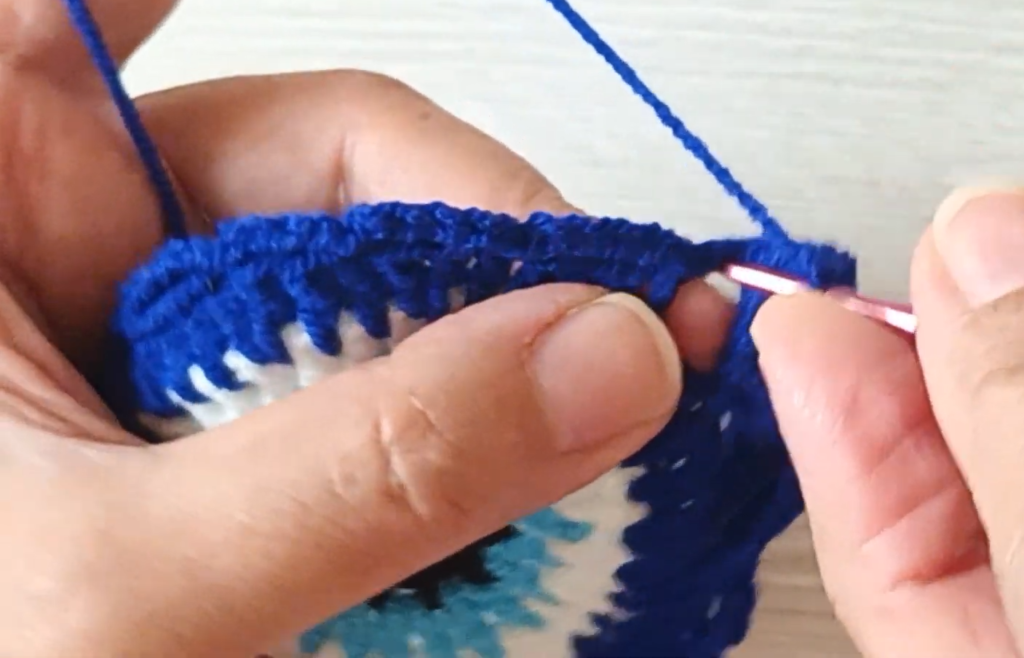
Round 6: Shell Border (Dark Blue)
Work 6 dc into the first ch-5 loop.
slst into the slip stitch of the previous round (the anchor point between the loops).
rep (6 dc in the next loop, slst in the next anchor point) until you have worked into every loop.
Join with a final slst.
Fasten off.
Share on Social Media!
See More:
Wanna Crochet Something Else?
How to Crochet Snowflake Buddy Amigurumi with Holy Leaf
How to Crochet the Craziest FUNNY Christmas Tree Buddy Amigurumi Ornament
How to Crochet Christmas Yellow Goggle Character Bell Buddy in Santa Hat
How to Crochet Big Hair Bow Trick-or-Treat Ghosts Amigurumi with Treat Basktets
How to Crochet Amigurumi Big Nose Slouchy Hat Gnome Amigurumi
How to Crochet Green Bolt Zombie Man Amigurumi Doll Pattern



