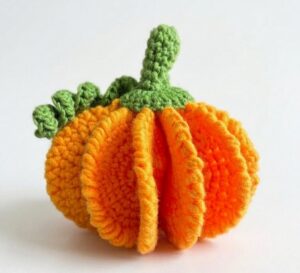
Author: Talha
I am a crochet designer, macramé maker and a crafter who also loves doing MATH.
Contributor: Annie of AnnieAHMAD
She crochets and designs accessories and cute things and has been our friend since mid 2026 via mycraftybasket.
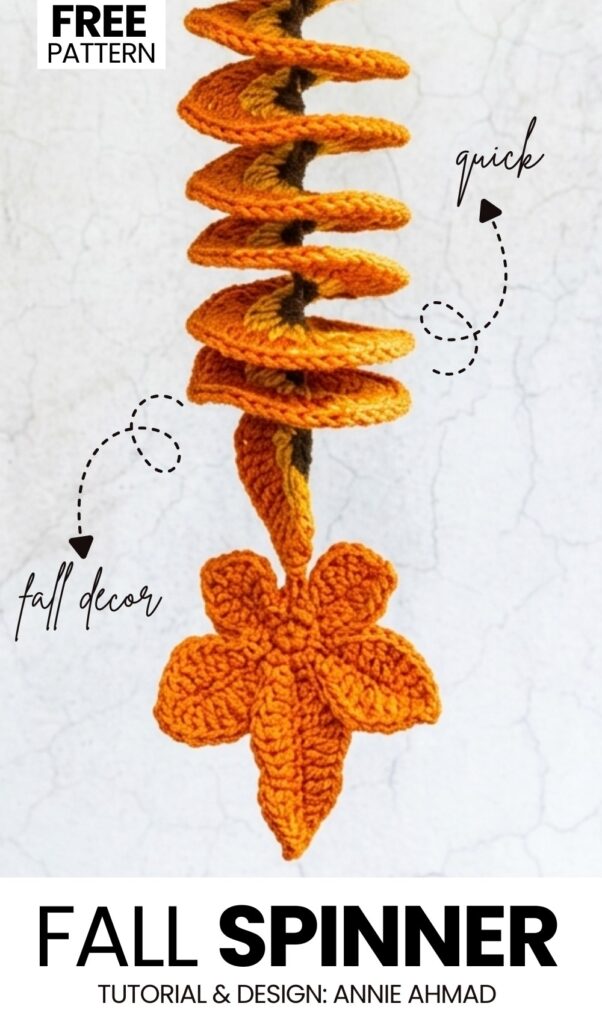
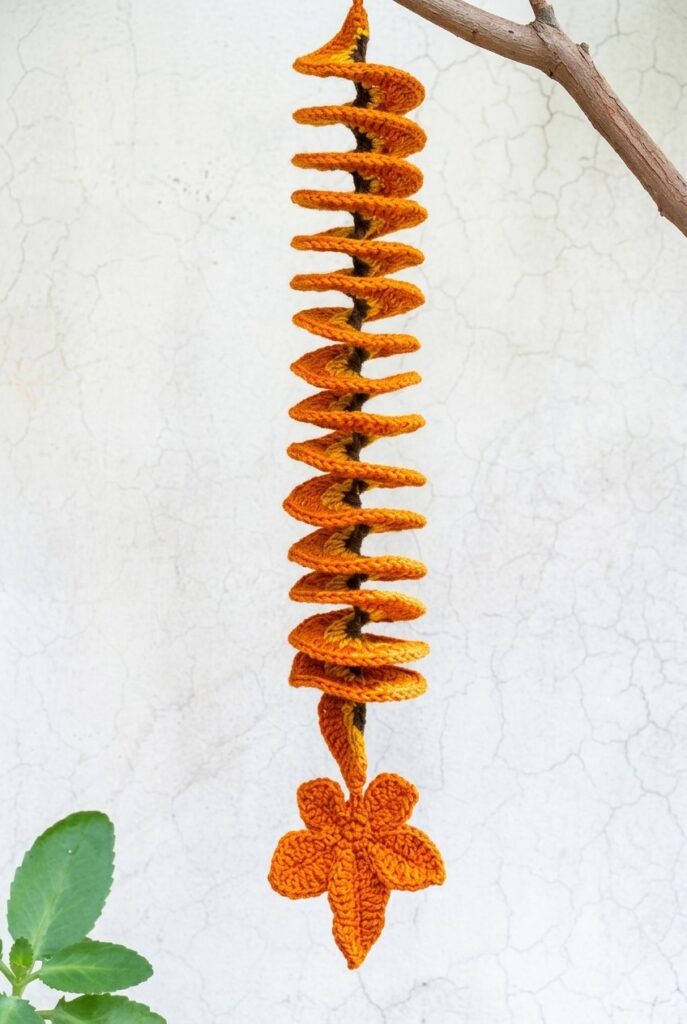
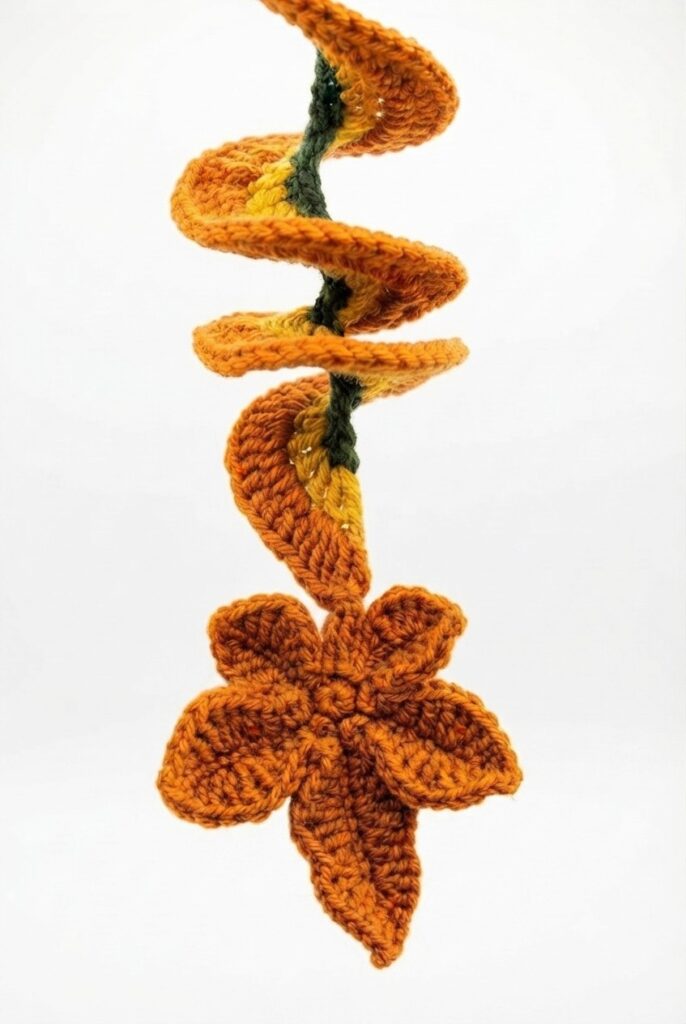
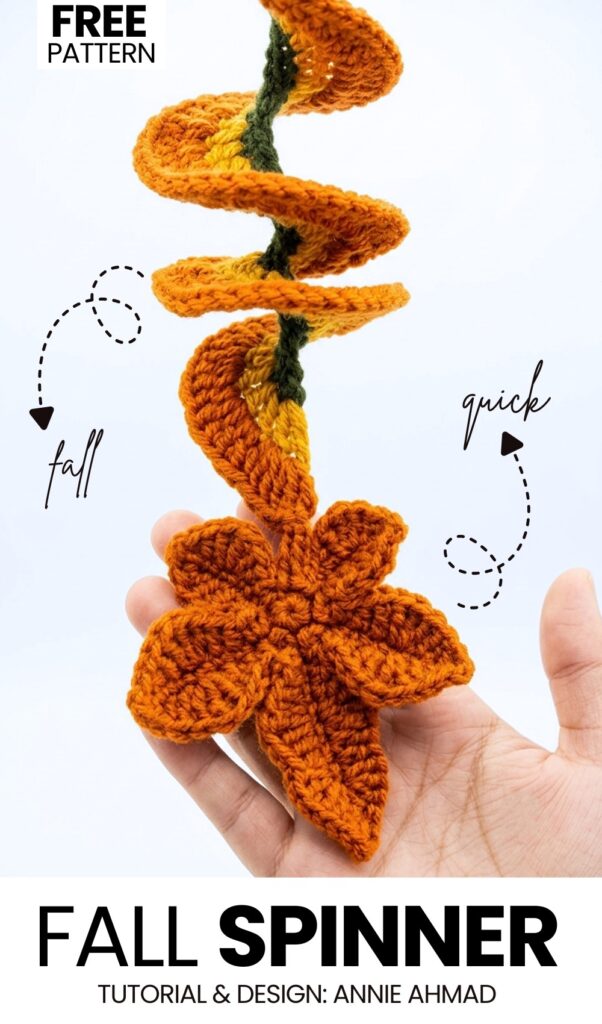
Last year, I could share a single “fall wind spinner” pattern. However, this year, that’s not the case. Starting with this crochet autumn’s ultimate wind spinner for fall decoration that you can learn how to crochet with a FREE pattern + tutorial! This is a beautiful striped wind spinner made in fall colors such as orange, golden yellow, and green. At the bottom, a small maple leaf is hanging. Crochet and hang this wind spinner near your coffee table, on the porch, or over a window near your crochet table.
This crochet fall wind spinner, by design, is recommended to be crocheted longer. However, since the spinner spiral pattern is repetitive, you can also crochet many small maple wind spinners as well.
If you want your crochet fall wind spinner to have other leaves, luckily, I have already shared a guide for crocheting 3 fall leaves. You can also embellish your wind spinner with a crochet pumpkin applique. Or you can also make it more colorful, such as by crocheting a peacock version using turquoise, blue, and yellow. Anyway, below is the crochet pattern for the same spinner.
Similar Project(s)
Pattern to Crochet Fall Wind Spinner
Skill Level: Intermediate – Level 0
We are crocheting an Autumnal Spiral Leaf Spinner. It is a tritone spiral (dark green, yellow, and orange) and is anchored by a beautifully textured five-pointed autumn leaf. Here is how you will crochet one autumn wind spinner:
Pattern Materials & Tools
Yarn: Cotton or acrylic yarn in four distinct colors: Dark Green (Stem/Spiral Core), Golden Yellow (Inner Spiral), Bright Orange (Outer Spiral), and Rust/Dark Orange (Leaf).
Hook Size: 3.0mm (as seen in the video).
Notions: Yarn needle for assembly, scissors.
Skill Level: Intermediate (requires knowledge of working in back bumps, magic rings, and various stitch heights including treble crochet).
Abbreviations (US Terms)
ch: chain
sl st: slip knot/slip stitch
sc: single crochet
hdc: half double crochet
dc: double crochet
tr: treble crochet
inc: increase (two stitches in the same space)
MR: magic ring
st: stitch
Are you a Beginner? Learn Crocheting Easily!
You can learn to crochet this autumn winder spinner as a beginner by following this tutorial, too:
Phase 1: The Spiral Core (Dark Green)
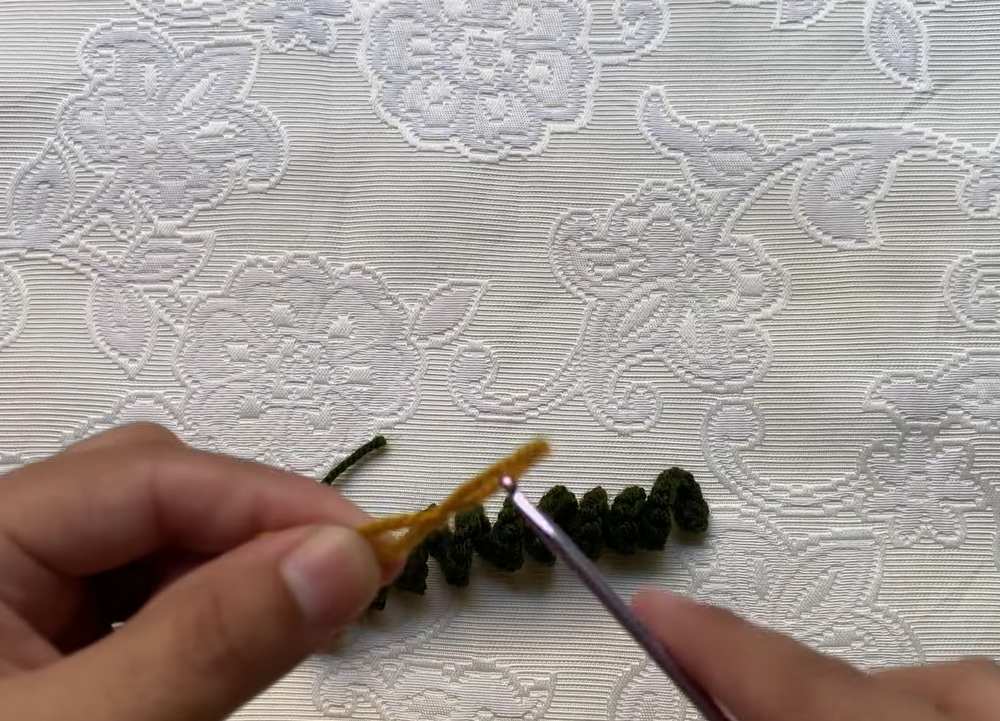
The foundation of the mobile is the central “vine” that creates the initial twist. By placing multiple stitches into a single chain, the work naturally curls into a helix.
Foundation: Start with a slip knot using the Dark Green yarn. Chain 57.
The Twist: Identify the “back side” (the horizontal bumps on the back of the chain). Starting in the second chain from the hook, work a Single Crochet Increase (sc inc) into every back bump across the entire chain.
Finish: You should have a tightly curled green strip. Cut the yarn, pull through the loop to secure, and set aside.
Phase 2: Expanding the Spiral (Yellow & Orange)
This phase adds width and color gradients to the spiral, making it look like a ruffed fall vine.
Layer 1: The Inner Edge (Golden Yellow)
Join: Attach the Golden Yellow yarn to the first stitch of the green spiral with a slip knot and a slip stitch.
Pattern: Ch 2. In the same stitch, work a double crochet (dc).
Increases: Work 2 Double Crochets (2dc) into every single stitch across the green spiral.
Finish: This will significantly increase the circumference, forcing the piece into a more dramatic spiral shape. Fasten off.
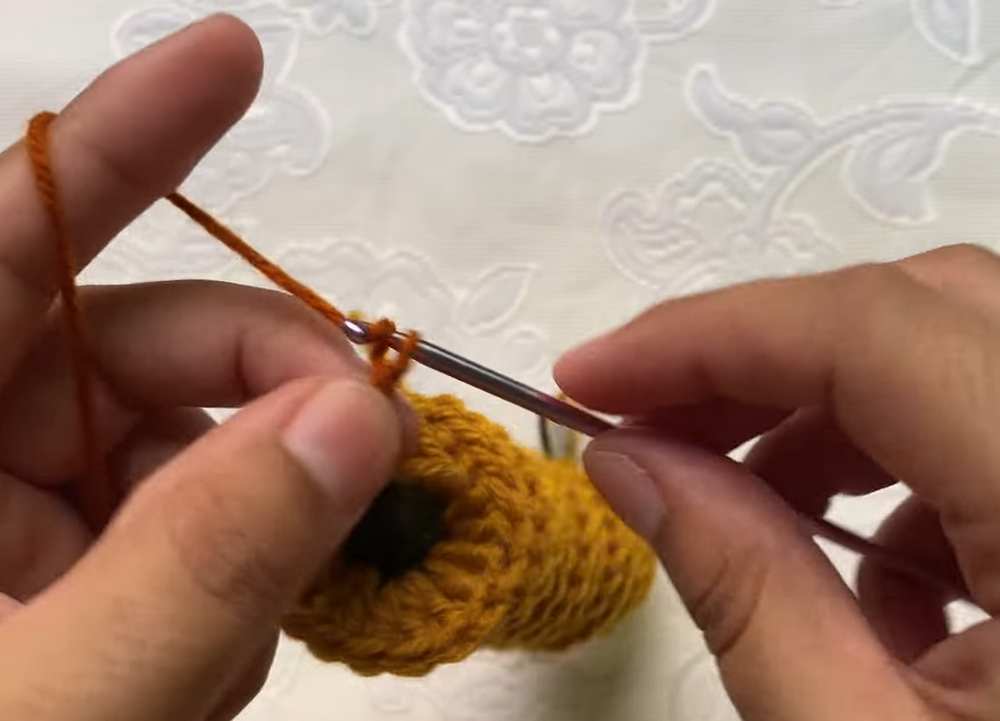
Layer 2: The Outer Edge (Bright Orange)
Join: Attach the Bright Orange yarn to the first stitch of the yellow layer with a slip knot and a slip stitch.
Pattern: Ch 2. Work a dc in the first stitch.
Extreme Increases: To create a ruffled, “potato chip” effect, work 3 Double Crochets (3dc) into every single yellow stitch across.
Finish: Fasten off and weave in the ends. The spiral is now complete and should hang with a heavy, bouncy twist.
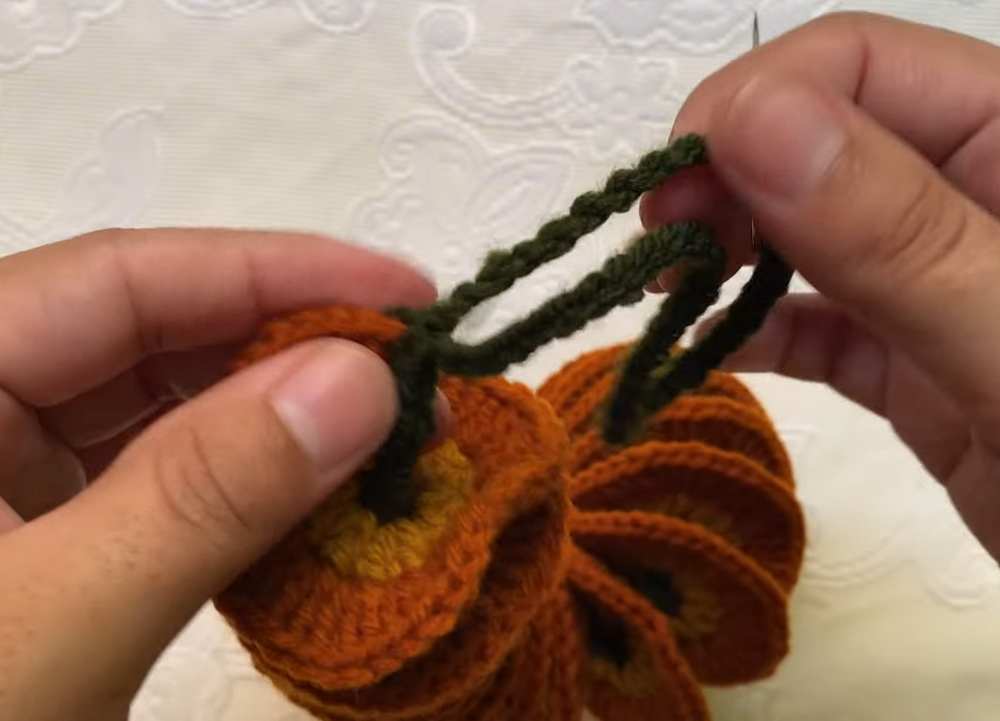
Phase 3: The Hanging Loop (Dark Green)
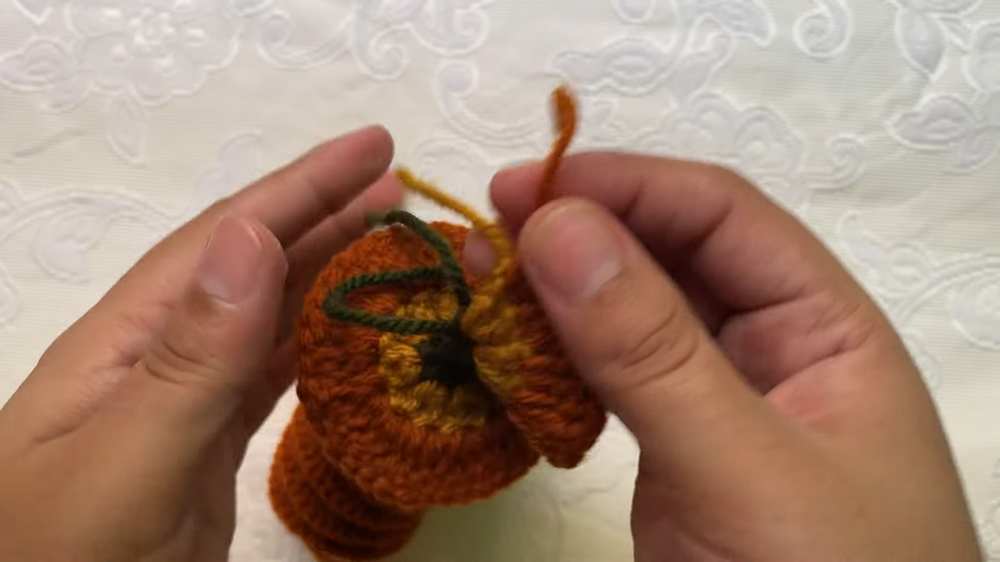
Foundation: Start with a slip knot in Dark Green.
Top Attachment: Join to the very top of the green spiral core with a slip stitch.
Strength: Work 4 sc into the top edge to create a sturdy base.
The Chain: Ch 45 (or your desired length for hanging).
Secure: Sl st back into the base sc. Fasten off and weave in ends.
Phase 4: The Autumn Leaf (Rust/Dark Orange)
The leaf is worked in rounds and then shaped into five distinct lobes using various stitch heights to mimic the points of a maple or oak leaf.
Step 1: The Center and Stems
Center: Create a Magic Ring (MR). Work 6 sc into the ring. Join with a sl st to the first sc.
The Five Veins: We will now create five chain-stems coming off the center.
Vein 1: Ch 6, work 5 sc down the back side of the chain. Sl st into the next stitch of the MR.
Vein 2: Ch 8, work 7 sc down the back side. Sl st into the next stitch of the MR.
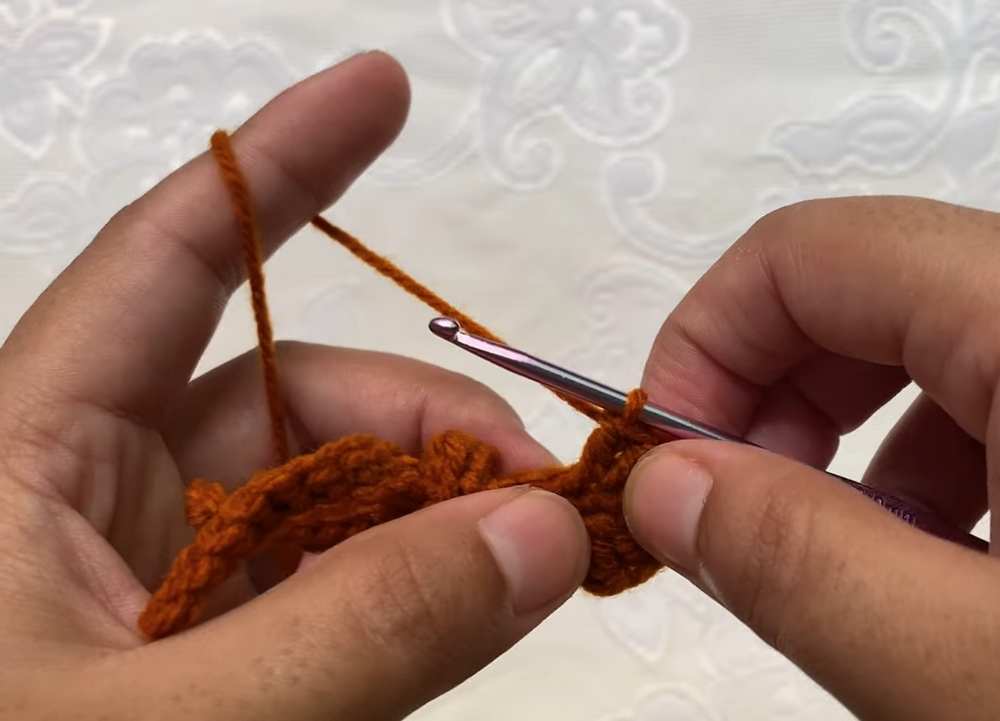
Vein 3 (The Peak): Ch 10, work 9 sc down the back side. Sl st into the next stitch of the MR.
Vein 4: Ch 8, work 7 sc down the back side. Sl st into the next stitch of the MR.
Vein 5: Ch 6, work 5 sc down the back side. Sl st into the next stitch of the MR.
Note: You should now have a “starburst” shape with five green stems of varying lengths.
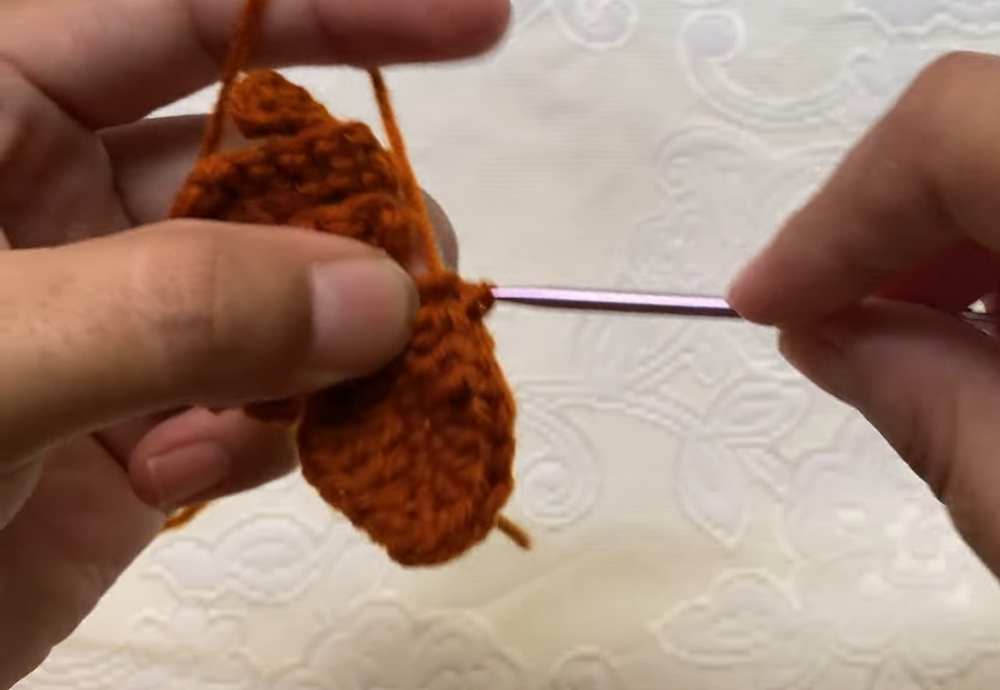
Step 2: Shaping the Petals/Lobes (L1 – L3)
Now, we work around each of these stems to create the “flesh” of the leaf.
Working Layer 1 (L1):
Skip the initial sl st.
Along the first stem, work: sc, hdc, then in the next space work a cluster of (dc, tr, dc).
Follow with an hdc and sl st at the tip.
Ch 1, sl st into the tip again, then work back down the other side of the stem: hdc, (dc, tr, dc) cluster, hdc, and sc.
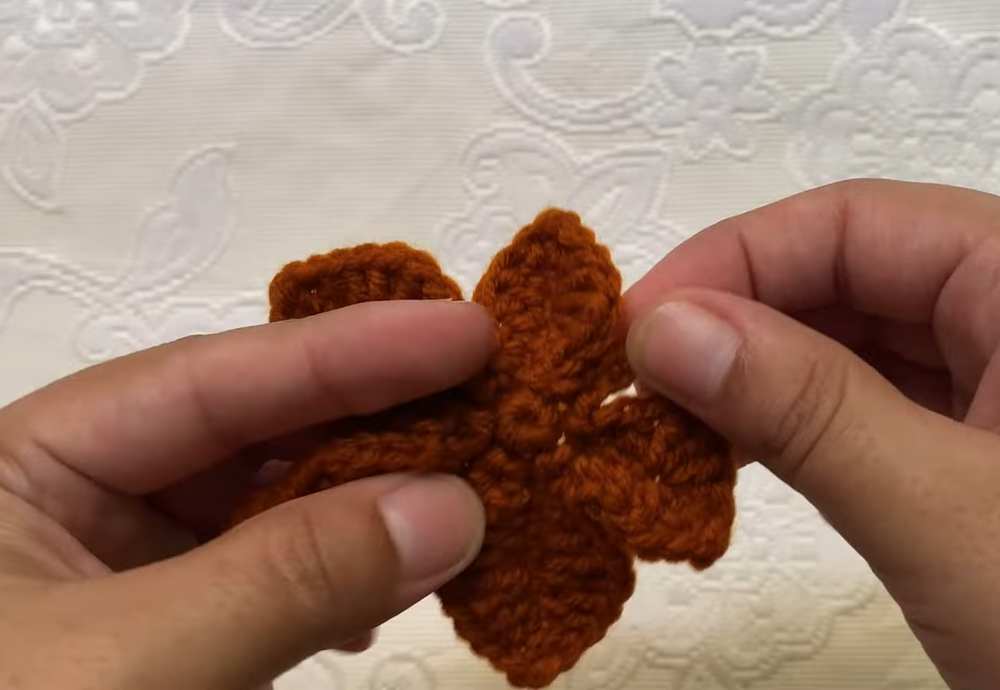
Working Layer 2 (L2):
This row increases the height of the stitches to widen the leaf.
Pattern: sc, hdc, dc, then a cluster of (dc, tr, dc) at the widest point.
Continue with dc, hdc, and sl st.
At the tip: Ch 1, sl st, then mirror the sequence back down: hdc, dc, (dc, tr, dc), dc, hdc, sc.
Working Layer 3 (L3):
This row is for the larger lobes (the 8-ch and 10-ch stems).
Follow the height gradient: sc, hdc, dc, then a cluster of (tr, dc, tr) to create a sharp point on the side of the lobe.
At the very top peak of the leaf: Work a (3dc) cluster to round it out or a (dc, ch 2, dc) for a sharp point.
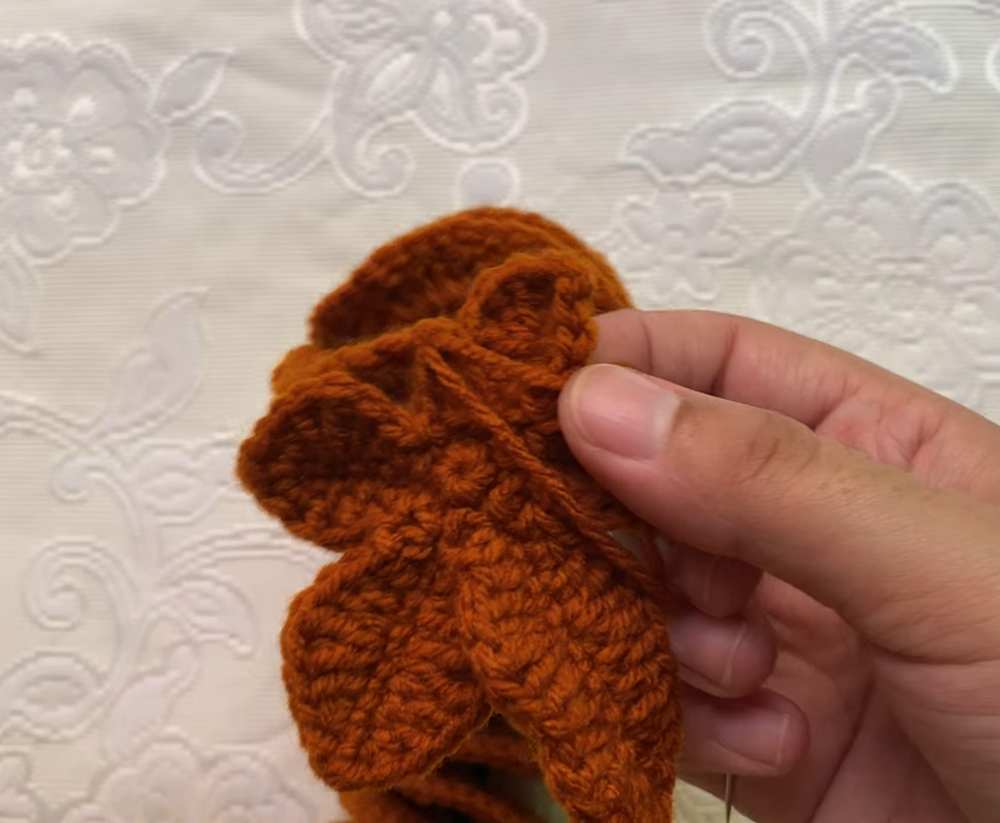
Step 3: Final Edging (L4 – L5)
L4: Work a final pass of sc and hdc around the entire leaf to smooth the transitions between lobes. In the valleys between lobes, use slip stitches to keep the leaf shape defined.
L5: Use sc to finish the final lobe. Fasten off, leaving a long tail (approx. 10 inches) for sewing.
Phase 5: Assembly & Finishing
Preparation: Lay the spiral mobile flat. Identify the bottom end of the dark green central core.
Attachment: Thread the long tail from the leaf onto a yarn needle.
Sewing: Position the top center of the leaf against the bottom tip of the green spiral. Sew through the stitches of the magic ring and the spiral base several times to ensure it is secure.
Weaving: Carefully weave the remaining tail up into the green core of the spiral so it is hidden from view.
Final Grooming: Gently pull the spiral to stretch it out. The weight of the leaf will help the spiral hold its shape. If the leaf is curling, you may lightly steam block it to keep it flat.
Final Result: You now have a rotating, kinetic piece of autumn decor that captures the colors and movement of falling leaves!
Save for Later!
See More:
How to Crochet A Mushroom & Maple Leaf Keychain for Fall
How to Crochet A Fall Pumpkin Out of Fallburst Motifs with a Maple Leaf
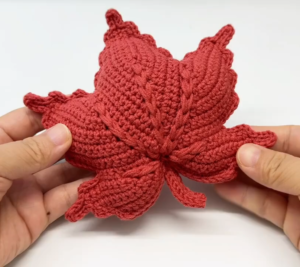
How to Crochet Maple Leaf Amigurumi Pillow Pattern for Fall
![[PDF Pattern] Crochet A Plush Autumn Acorn-Lover Plushie for Fall](https://criazalblog.com/wp-content/uploads/2026/09/crochet-squirrel-2-225x300.jpg)
[PDF Pattern] Crochet A Plush Autumn Acorn-Lover Plushie for Fall

Featuring: How to Crochet Pumpkin Lover Puppy Plushie for Fall Decorations
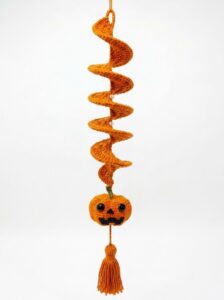
Tester Pattern: How to Crochet A Face Pumpkin Fall Wind Spinner for Playing With
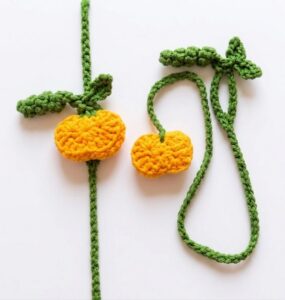
Featuring: How to Crochet Interlocking 3D Pumpkin Bookmark for Fall
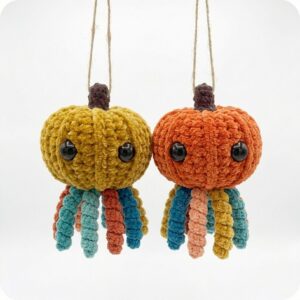
Tester Call: The Easiest Pumpkin-Octopus Hybrid Variation with UNIQUE Fall Pallete
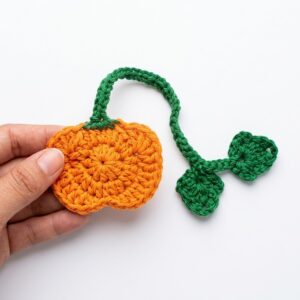
Featuring: How to Crochet A Back-to-School Pumpkin Bookmark for Fall