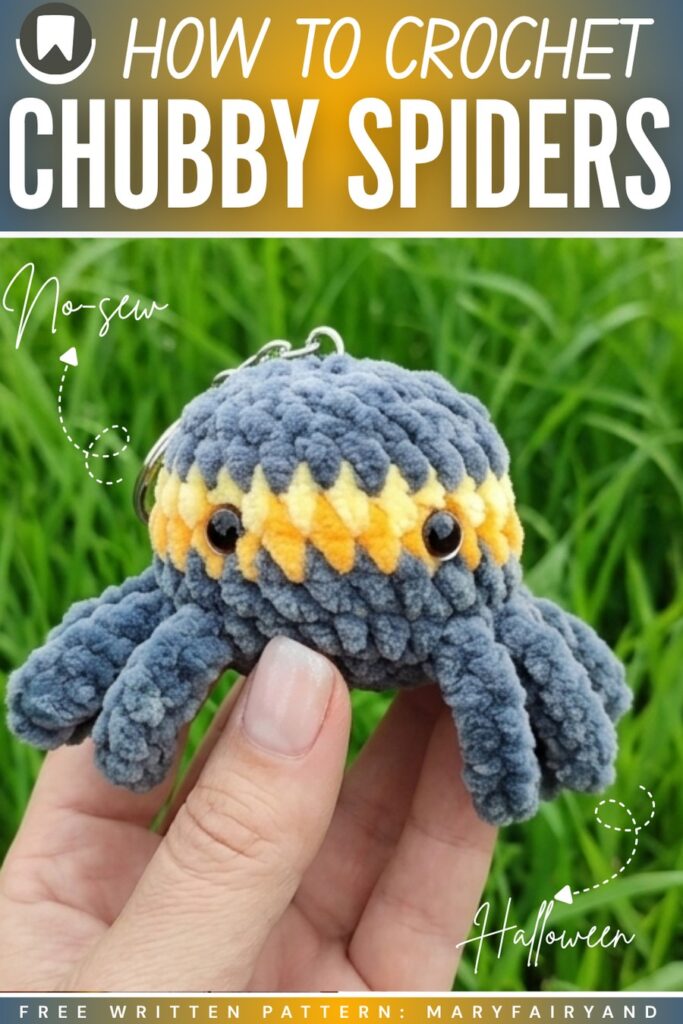
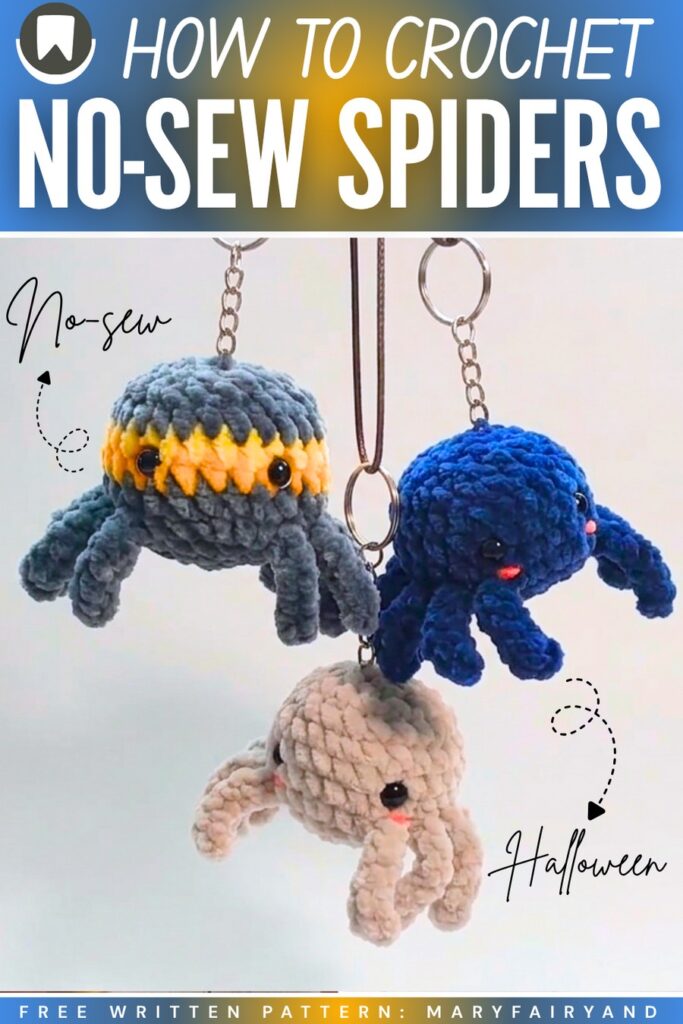
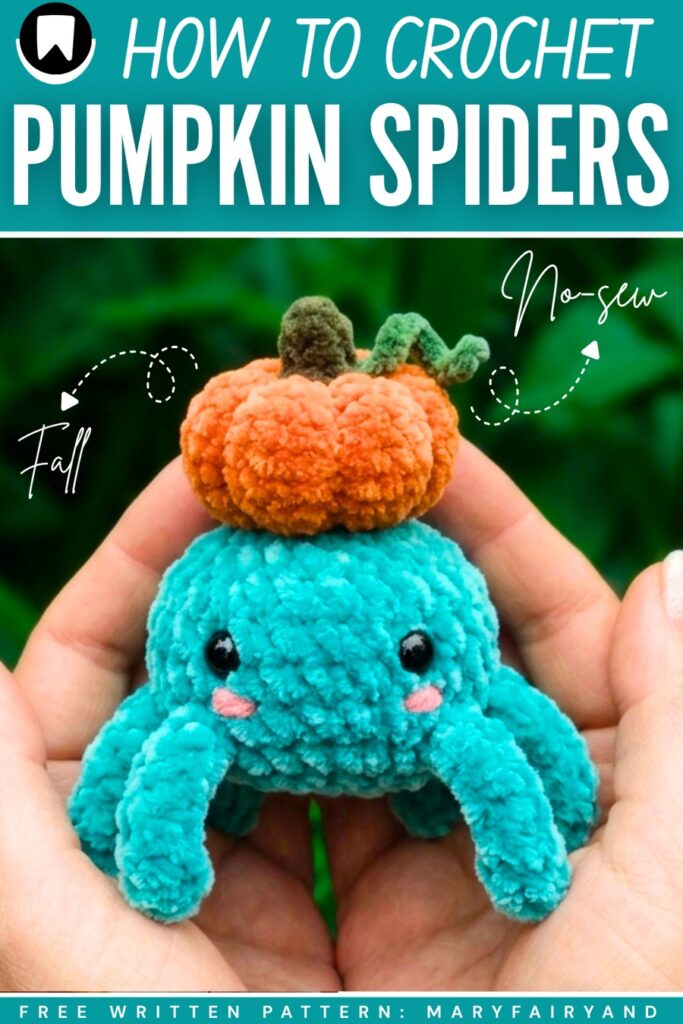
This Halloween, learn how to crochet this beautiful & no-sew baby spider plushie for absolute beginners with a FREE written pattern and a tutorial as well. This quick and easy spider plushie has a beautiful spider stripe colorwork and a palm-sized & soft, and chubby body, which makes it an irresistible stress toy & Halloween present.
You can also crochet your baby spider with 6 eyes to make it look a bit spookier. You can also add a spooky mouth embroidery! Anyway, customization is left to your creative imagination.
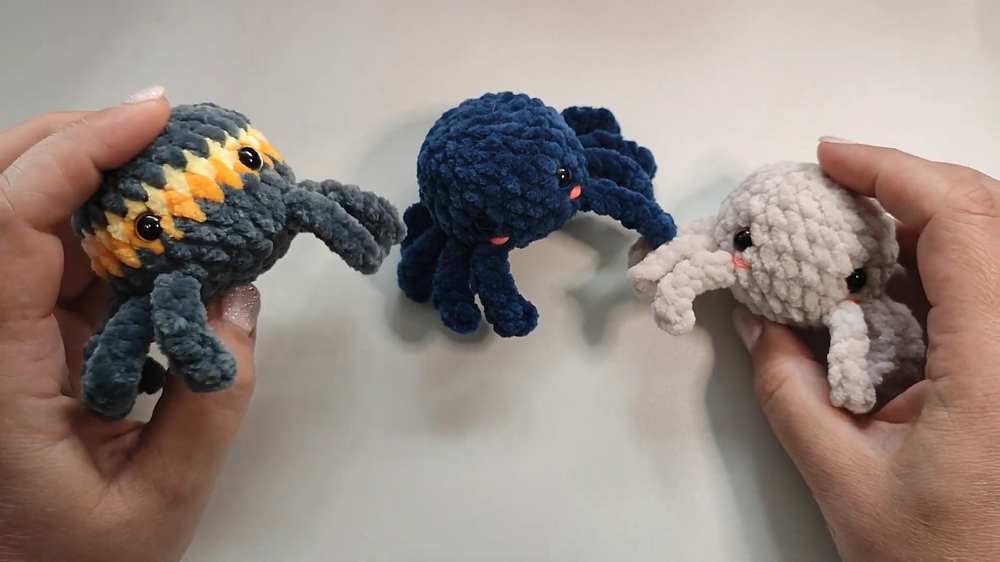
Choose from blue, black and yellow, red, or white spider plush. Luckily, including the crochet legs and arms, it is worked as a single piece. You can also combine your scraps of super bulky yarn while crocheting this kawaii spider plush. Now, continue reading for the full pattern below.
How to Crochet Colorwork Baby Spider Plushie
This quick and easy 10-minute project is perfect for using up leftover yarn scraps! It yields an adorable, tiny, plush spider amigurumi that works up in just 11 rounds. Measuring about 5×6 cm (without the legs), it is constructed entirely in one piece, so there is absolutely no sewing of legs onto the body!
It makes a fantastic little keychain, a spooky-cute backpack charm for a child, or a fun hanging accessory for your car’s rearview mirror.
Abbreviations (US Terms)
- ch = chain
- sc = single crochet
- sl st = slip stitch
- inc = increase (2 sc in one stitch)
- dec = decrease (sc 2 together)
- st(s) = stitch(es)
- MR = magic ring
Materials Needed
- Yarn: Super bulky plush/chenille yarn (e.g., Himalaya Dolphin Baby) – you only need about 10 grams!
- Hook: 4.0 mm crochet hook.
- Eyes: 8 mm safety eyes.
- Pink Thread: Pink embroidery floss or thin yarn (like Mouline) for the cheeks.
- Extras: Hollowfiber or toy stuffing, tapestry needle, scissors, stitch marker, and an optional keychain ring or carabiner to finish.
Pattern Instructions
The Spider Body & Legs
Note: The entire spider is worked in a continuous spiral in one piece.
- Rnd 1: Ch 2, then make 6 sc into the 2nd ch from the hook. (6 sts) (Alternatively, you can start with 6 sc in a MR).
- Rnd 2: Inc in each st around. (12 sts)
- Rnd 3: (1 sc, inc) repeat 6 times around. (18 sts)
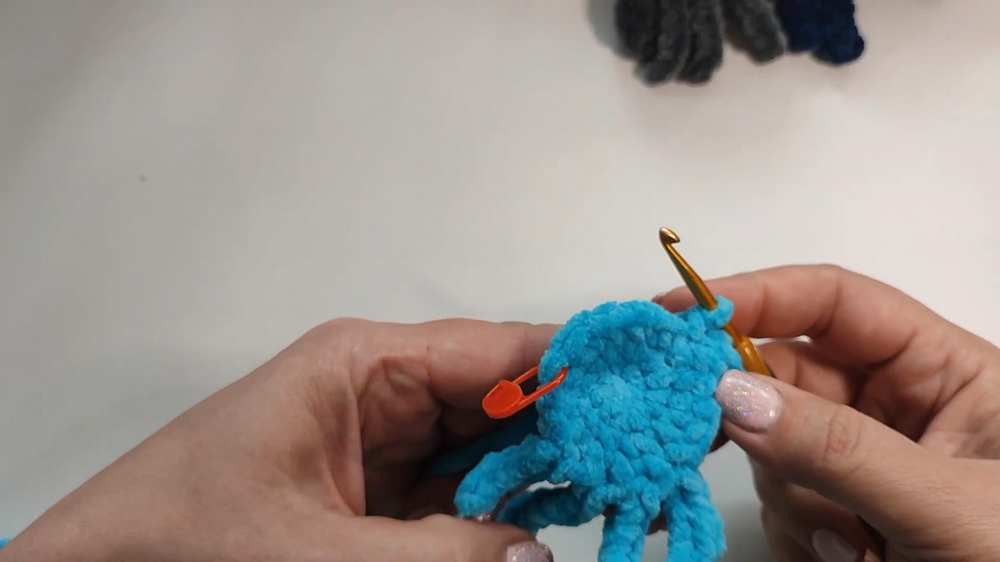
Are you a Beginner?
If you can’t follow the written pattern, continue with the tutorial or the pattern below!
- Rnd 4 (Creating the Legs): 3 sc. Leg 1: Ch 7. Starting in the 2nd ch from the hook, sl st 6 times back down the chain. 1 sc in the next st on the body. Leg 2: Ch 7, 6 sl st back down the chain. 1 sc in the next st on the body. Leg 3: Ch 7, 6 sl st back down the chain. 1 sc in the next st on the body. Leg 4: Ch 7, 6 sl st back down the chain. Make 5 sc along the body. Leg 5: Ch 7, 6 sl st back down the chain. 1 sc in the next st on the body. Leg 6: Ch 7, 6 sl st back down the chain. 1 sc in the next st on the body. Leg 7: Ch 7, 6 sl st back down the chain. 1 sc in the next st on the body. Leg 8: Ch 7, 6 sl st back down the chain. Make 4 sc along the body to finish the round.
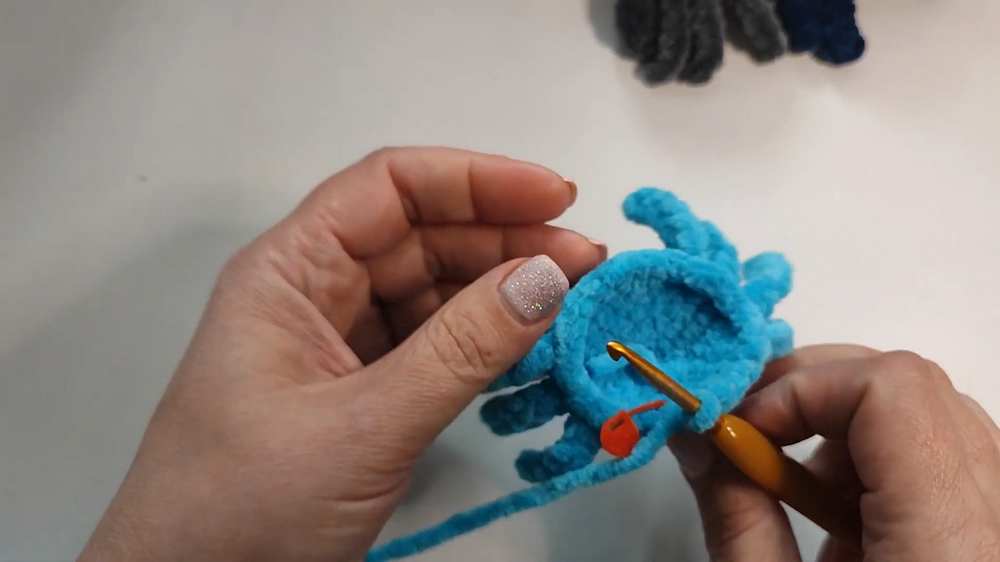
- Rnd 5: (2 sc, inc) repeat 6 times around. (24 sts) Important: When you reach the stitches where the legs are attached, push the legs forward and make sure you are stitching into the main body stitches between or directly behind the base of the legs.
- Rnds 6 – 8: Sc in each st around for 3 rounds. (24 sts)
- Rnd 9: (2 sc, dec) repeat 6 times around. (18 sts)
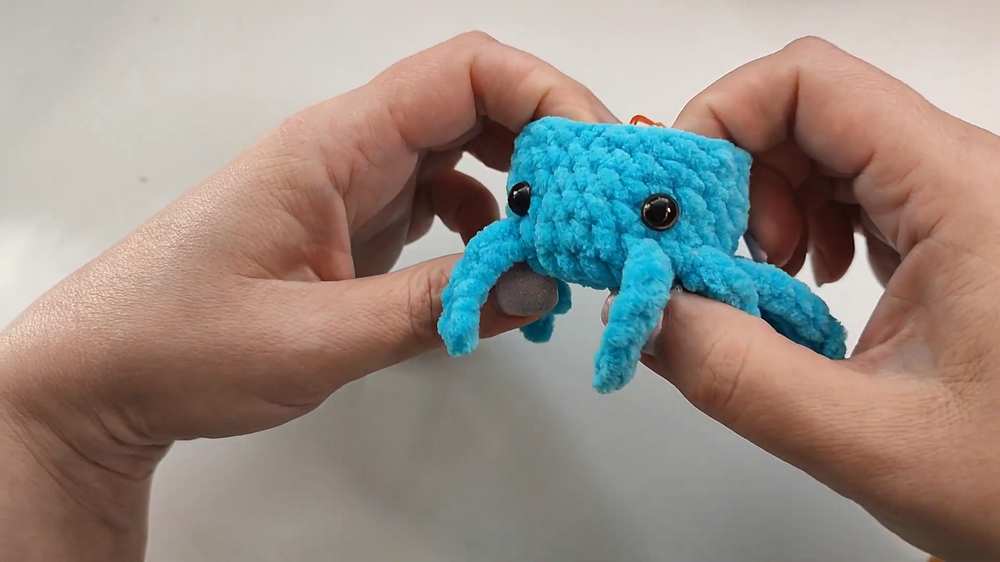
Attaching the Eyes: Insert your 8mm safety eyes between rounds 6 and 7, above the front legs. Secure tightly.
- Rnd 10: (1 sc, dec) repeat 6 times around. (12 sts)
- Stuff the spider firmly with hollowfiber.
- Rnd 11: Dec 6 times. (6 sts)

Finishing
- Fasten off, leaving a short tail.
- Thread the tail onto a tapestry needle and weave through front loops of remaining 6 stitches. Pull tight to close.
- Reinforce closure if needed by pulling the center tight and weaving the end inside.
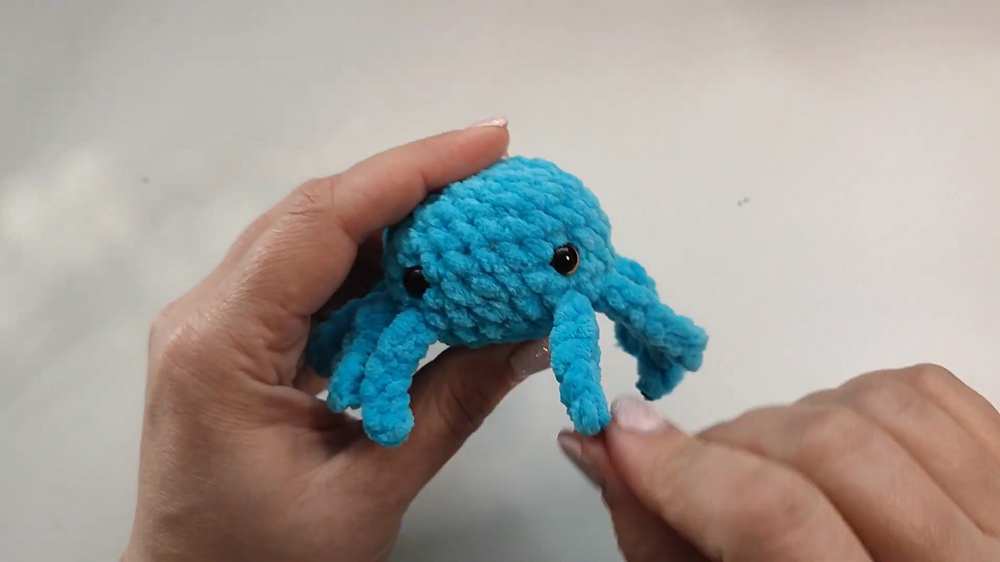
- Cheeks: Use pink embroidery floss to add 3 small stitches under each eye for rosy cheeks.
- Attach a keychain ring or carabiner if desired.
For the Pumpkin Version:
The Pumpkin Body (Orange)
This piece is worked in continuous rounds. Do not join at the end of each round; use a stitch marker to keep track.
Round 1: Make a Magic Ring (MR) and work 6 single crochet (sc) into the ring. (6 sts)
Round 2: Work 2 sc in each stitch around (Increase). (12 sts)
Round 3: 1 sc, 1 inc repeat around. (18 sts)
Round 4: 2 sc, 1 inc repeat around. (24 sts)
Rounds 5–8: Sc in each stitch around. (24 sts for 4 rounds)
Round 9: 2 sc, 1 dec (Decrease) repeat around. (18 sts)
Stuff the pumpkin firmly with fiberfill here.
Round 10: 1 sc, 1 dec repeat around. (12 sts)
Round 11: Dec around. (6 sts)
Important: Fasten off, leaving a very long tail (about 18–20 inches). You will need this to create the pumpkin’s ridges!
Use your yarn needle to weave through the front loops of the last 6 stitches and pull tight to close the bottom hole.
Shaping the Ridges:
Take your yarn needle with the long tail and thread it straight up through the center of the pumpkin, from the bottom hole out through the top center.
Bring the yarn around the outside of the body, tugging tightly to compress the plush fabric and create an indentation (rib).
Insert the needle back through the bottom center and up through the top again.
Repeat this 5 to 6 times around the pumpkin to create the classic segmented pumpkin shape. Knot securely at the base and hide the tail inside the body.
The Stem (Brown)
Row 1: Chain 5.
Row 2: Starting in the second chain from your hook, slip stitch (sl st) in each chain across. (4 sts)
Fasten off, leaving a tail for sewing.
The Curly Vine (Green)
Row 1: Chain 8.
Row 2: Work 2 or 3 sl st into each chain across (this natural crowding will cause the chain to spiral and curl).
Fasten off, leaving a tail for sewing.
Share on Social Media!
See More:
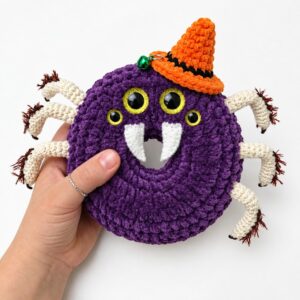
Pattern Tester: How to Crochet A Plush Spider in Hat Doughnut Plushie for Gifting
Tester Pattern: How to Crochet Spider in Black Food Box Plush for Gifting
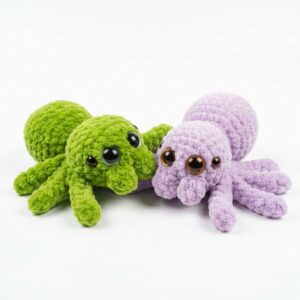
Featuring: Crochet 8-Legged & Four-Eyed Spider Plushie for Halloween
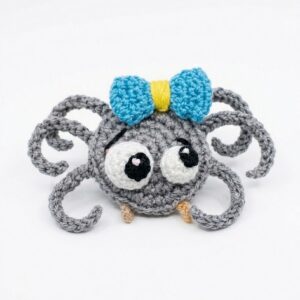
How to Crochet a Funny Googly-Eyed Spider in A Bow Amigurumi Decorations
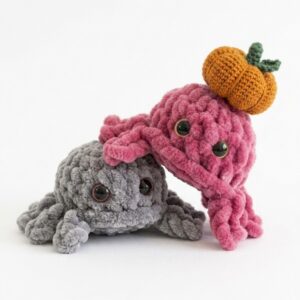
How to Crochet the CUTEST No-Sew Baby Spider Plushie for Halloween Craft Fairs
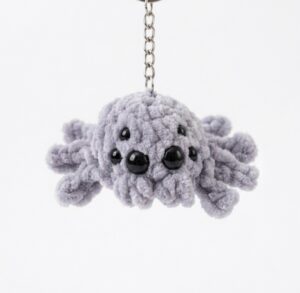
How to Crochet a Jumping Spider Plushie for Halloween in Under 20 Minutes
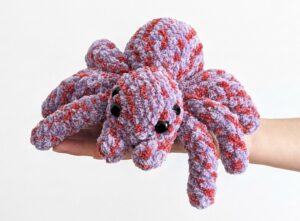
How to Crochet Big Low-Sew Black-&-Red Spider Plushie for Halloween

Featuring: How to Crochet A Plush Blushing Flying Mr. Soul Ghost Plushie for Halloween

How to Crochet Bunny Bat White Foldable Wings Amigurumi with Bow for Halloween