Author: Talha
I am a crochet designer, macramé maker and a crafter who also loves doing MATH.

Featuring: Nhung of NN Handmade
She is a Vietnamese professional plushie designer who became our friend during early 2026.
Show support for Nhung!
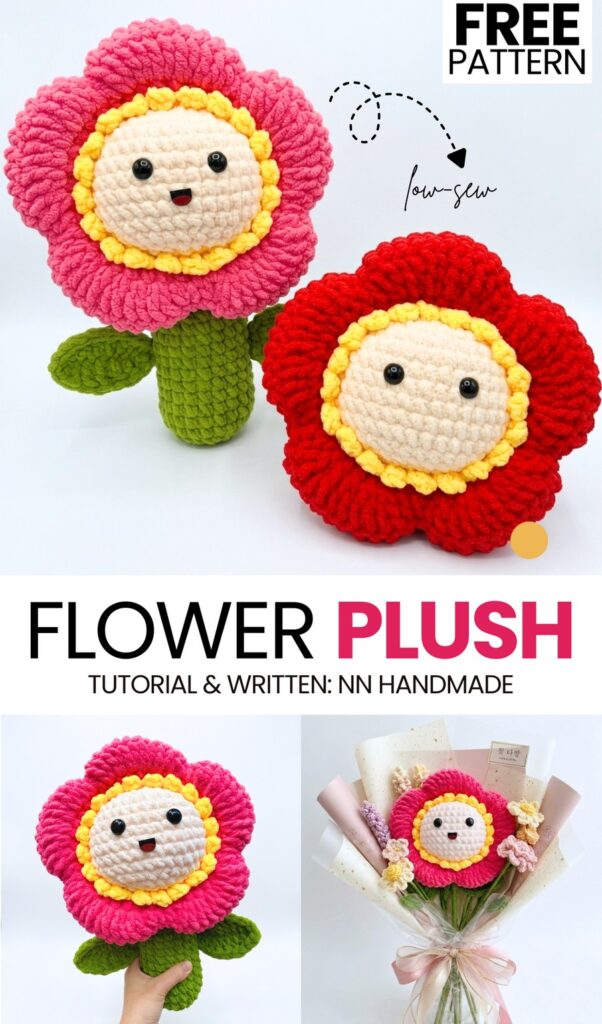
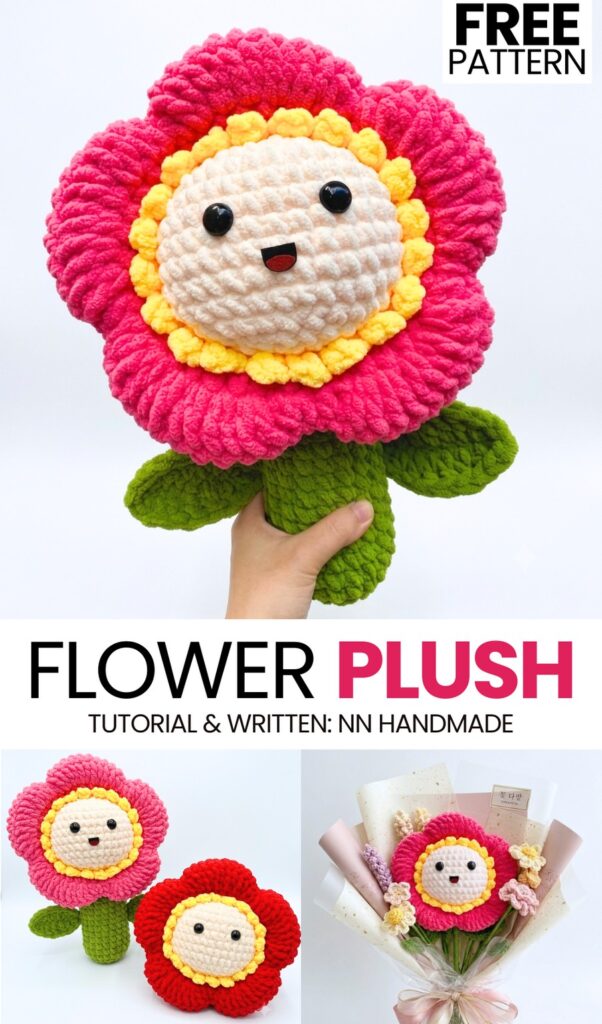
Looking for the MOST cheerful & cozy present for someone? Learn how to crochet this low-sew cheering flower plushie with today’s free written pattern + a tutorial. This is a big flower plush inspired by the Mochi Amigurumi. So, you can also crochet this pink flower without a stem and leaves, as a flower mochi plush. I recommend it for Mother’s Day, Christmas, New Year, Valentine’s Day, and even Friendship Day.
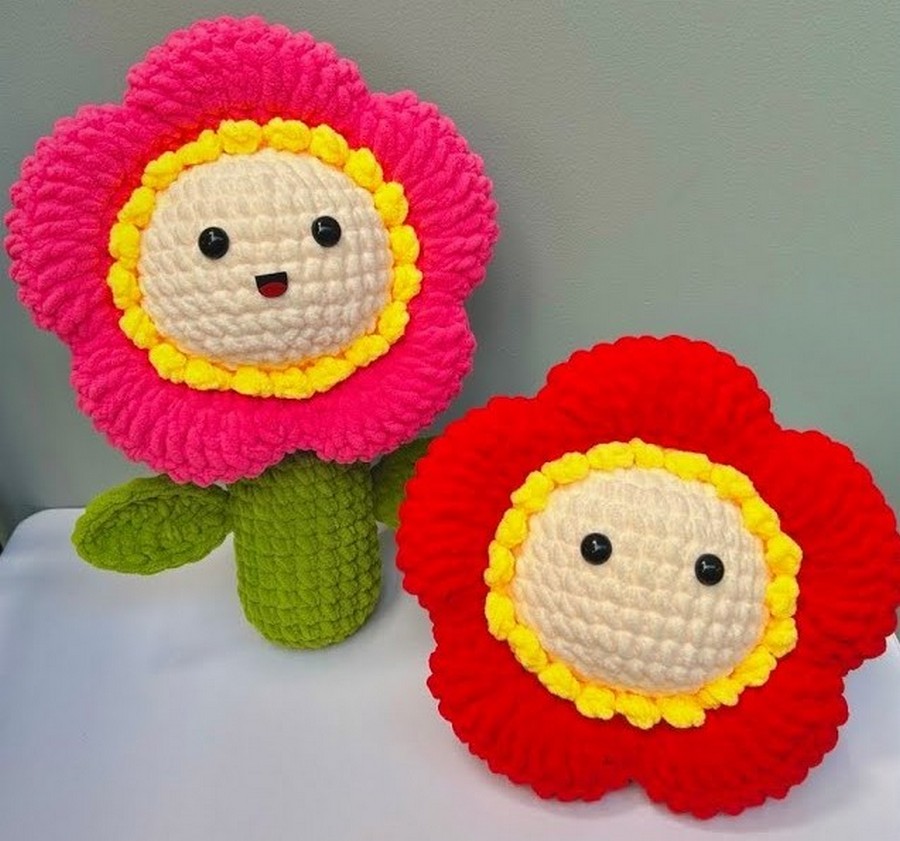
You can either crochet the pink or red plush flower version while you remake yours. I especially like the yellow textured edging in between the no-sew flower petal part & the skin-colored face part. We shall make the expression lifelike by using felt for the mouth.
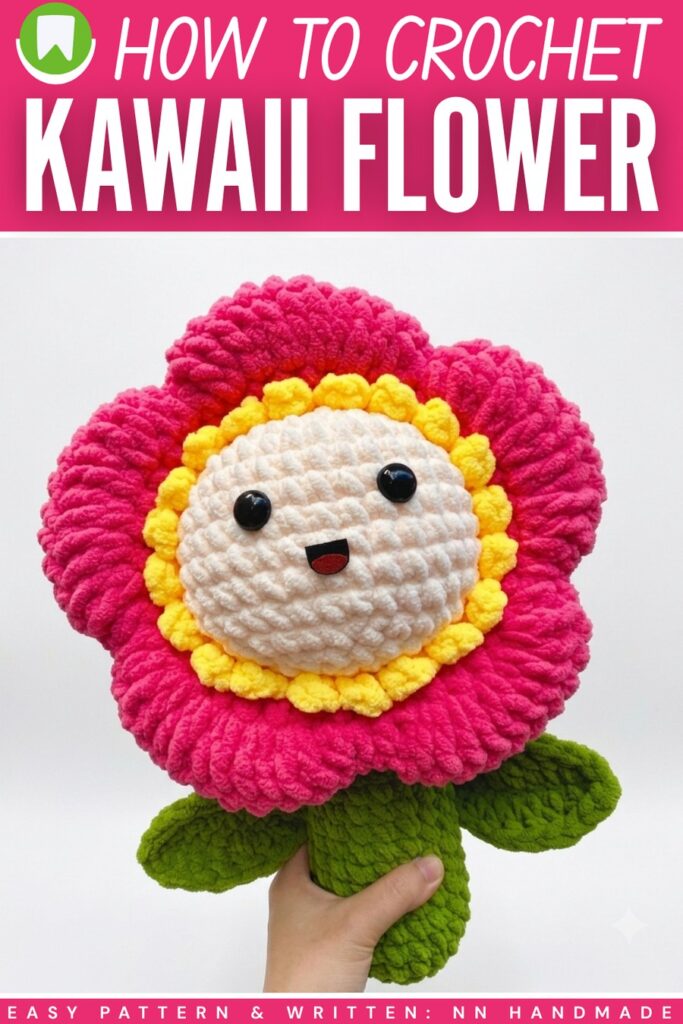
With the velvet yarn, this plush flower will measure 26 cm by 38 cm, which is enough to make it an irresistible sofa and sleeping snuggler. You can also use it to welcome guests by attaching it to your front door. I always recommend crocheting flowers using plush yarn like this big flower & the daisy flower I shared at the end of 2025. Anyway, continue reading to learn how to crochet this flower pattern.
Similar Project(s)
How to Crochet Big Flower Plushie
This crochet pattern details how to make a large 5-petal decorative flower plush pillow (approx. 26 x 38 cm) using extra-thick chenille blanket yarn (jumbo/velvet blanket yarn). It consists of a center bulb (face), a green backing base, 5 overlapping pink petals, yellow stamens, a stuffed green stem, and wire-framed leaves.
Materials & Tools
Yarn: Chunille/Velvet blanket yarn (very thick/jumbo style) in Beige/Skin (face), Green (base/stem/leaves), Pink (petals), and Yellow (stamens).
Hook: 8.0 mm crochet hook.
Other: Fiberfill stuffing, a tapestry needle, crafting wire (for the leaves), black safety eyes (~5 stitches apart), and a small scrap of black felt for the mouth.
Abbreviations (US Terms)
MR: Magic Ring
ch / bính: Chain
sc / mũi đơn: Single crochet
hdc / mũi nửa kép: Half double crochet
dc / mũi kép đơn: Double crochet
inc / v: Increase (2 sc in one stitch)
dec / giảm: Decrease
dc-inc: Double crochet increase (2 dc in one stitch)
dc-dec: Double crochet decrease (2 dc together)
sl st / mũi trượt: Slip stitch
Note on technique: The designer uses joined rounds for the round pieces. At the end of each round, join with a sl st to the first stitch, ch 1, and work the first stitch of the new round into that same space.
Part 1: The Center Bulb (Face Background)
Using Beige/Skin color yarn.
Round 1: 8 sc into a MR. Join with a sl st, ch 1. (8)
Round 2: 8 inc. Join, ch 1. (16)
Round 3: (1 sc, 1 inc) x 8. Join, ch 1. (24)
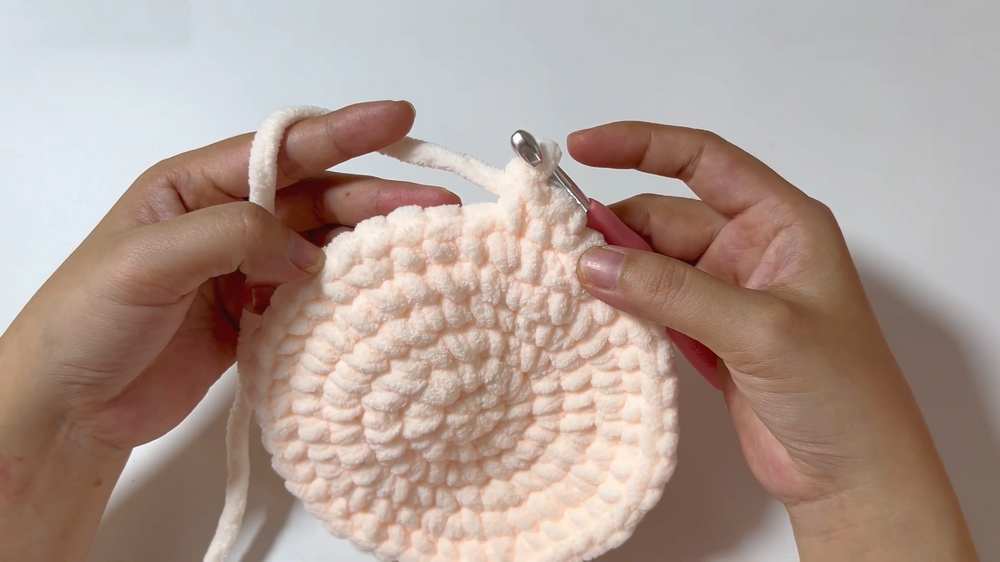
Round 4: (3 sc, 1 inc) x 6. Join, ch 1. (30)
Round 5 (Stitch shifting): (2 sc, 1 inc, 2 sc) x 6. Join, ch 1. (36)
Are you a Beginner? Learn Crocheting Easily!
You can learn to crochet this smiling flower plushie better with this tutorial as a beginner:
Round 6: (5 sc, 1 inc) x 6. Join, ch 1. (42)
Rounds 7–12: 42 sc around. Join, ch 1. (42 for 6 rounds)
Round 13: (5 sc, 1 dec) x 6. Join, ch 1. (36)
Round 14: (2 sc, 1 dec, 2 sc) x 6. Join, ch 1. (30)
Round 15: (3 sc, 1 dec) x 6. Join, ch 1. (24)
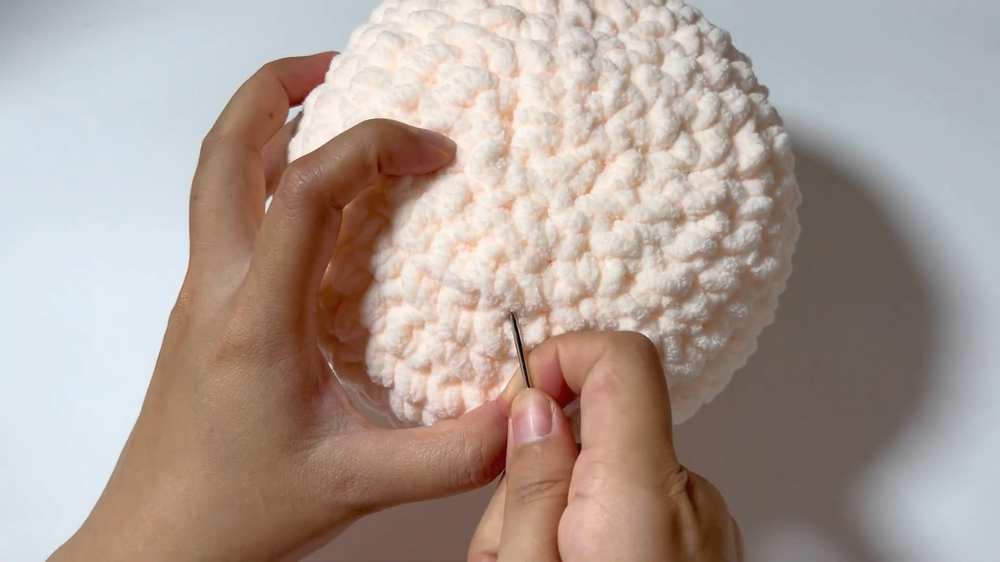
Stuff the bulb firmly with fiberfill at this stage.
Round 16: (1 dec, 1 sc) x 8. Join, ch 1. (16)
Round 17: (1 sc, 1 dec) x 5, 1 sc. Join, ch 1. (11)
Finish stuffing.
Round 18: 5 dec (roughly). Fasten off, pull tight to close the hole, and weave in your tail.
Part 2: The Green Backing Cup (Base)
Using Green yarn.
Rounds 1–6: Repeat the exact setup as the Center Bulb (Rounds 1–6) to reach 42 stitches.
Rounds 7–11: 42 sc around. Join, ch 1. (42 for 5 rounds)
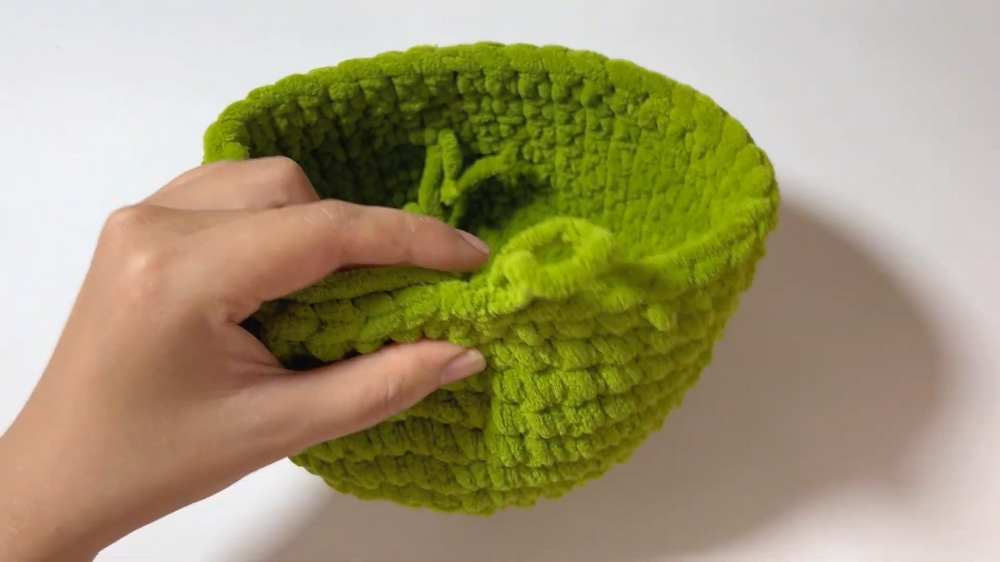
Round 12: 19 sc, 1 dec, 19 sc, 1 dec. Join, ch 1. (40)
Round 13: 40 sc around. Join. Fasten off and leave a tail for assembly.
Part 3: The 5 Pink Petals
Place the Beige Center Bulb inside the Green Backing Cup. Attach Pink yarn to the front loops only of the rim stitches to work the petals around the perimeter. The petals are divided into 5 repeating segments across the 40 available stitches (8 stitches per petal section).
Round 1: 40 hdc around. Join, ch 1. (40)
Round 2: Work the following pattern 5 times around the circle:
5 dc-inc (10 dc total), 1 hdc, 1 sc, 1 hdc.
Round 3: Work the following pattern 5 times around:
10 dc, 1 hdc, 1 sc, 1 hdc.
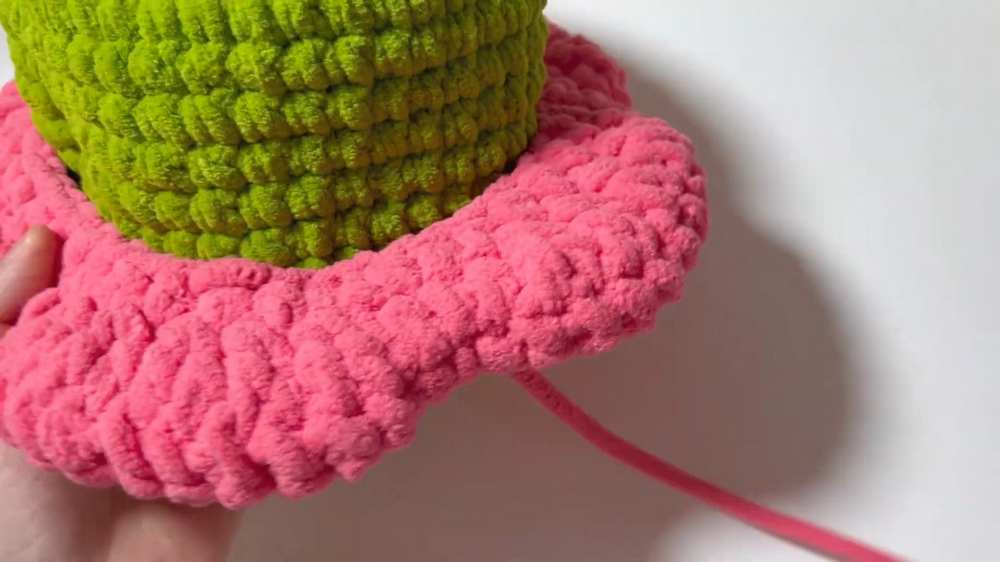
Round 4 (Decreasing): Work the following pattern 5 times around:
5 dc-dec (5 dc total), 1 hdc, 1 sc, 1 hdc.
Round 5: 1 hdc in each stitch around. Join. Fasten off, leaving an extra-long tail.
Fold the petal tips down toward the green backing and sew the top edge of Round 5 down to the back cup. Lightly fill each petal pocket with fiberfill before sewing them shut completely.
Part 4: The Yellow Stamens
Attach Yellow yarn to the back loops left unworked between the center bulb and the petals.
Repeat around the circle: Ch 4, sl st into the 4th chain from hook, skip 1 stitch along the base rim, sl st into the next base stitch. Repeat this small chain-loop sequence all the way around to create a ruffled border.
Part 5: Stem & Leaves
Stuffed Stem
Using Green yarn.
Round 1: 8 sc into a MR. Join, ch 1. (8)
Round 2: 8 inc. Join, ch 1. (16)
Round 3: (3 sc, 1 inc) x 4. Join, ch 1. (20)
Rounds 4–17: 20 sc around. Join, ch 1. (20 for 14 rounds)
Stuff the tube firmly with fiberfill and sew it centered to the bottom of the green backing cup.
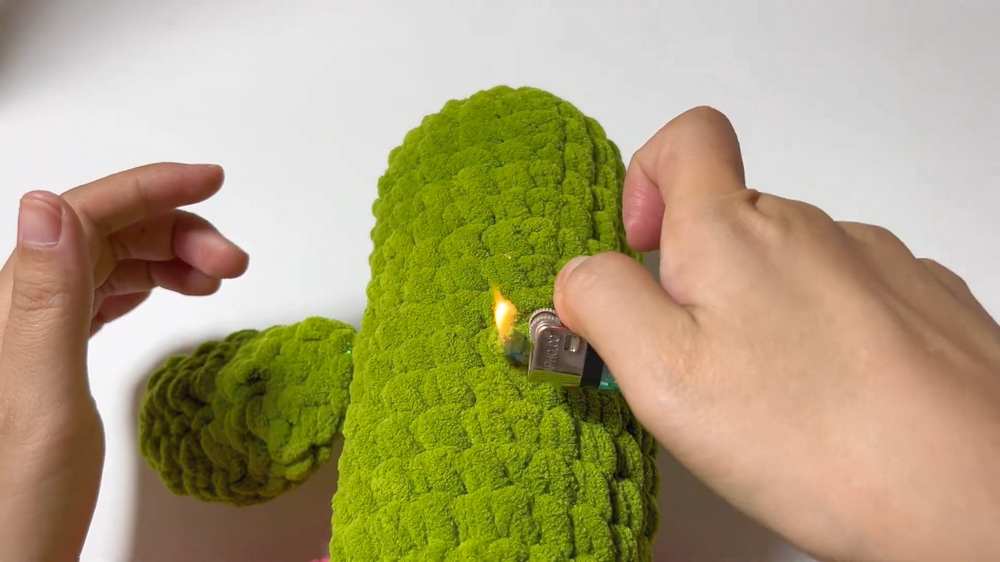
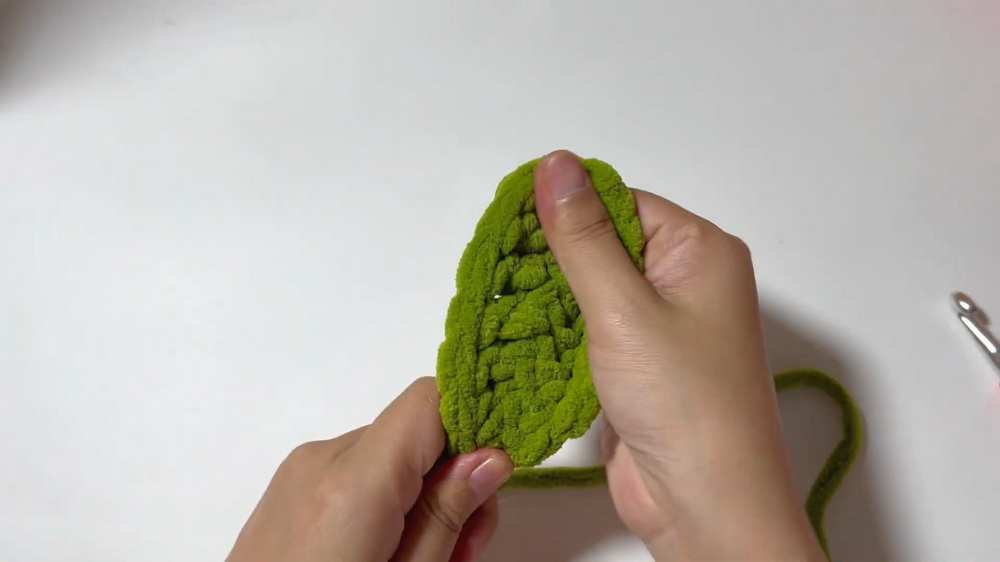
Leaves (Make 2)
Using Green yarn and a piece of craft wire to support the shape.
Ch 9. Lay the wire along the chain to work over it.
Skip the 1st ch, 1 sc, 1 hdc, 4 dc, 1 hdc, 1 sc in the last chain. Ch 1, turn to work down the back edge of the foundation chain.
1 sc, 1 hdc, 4 dc, 1 hdc, 1 sc. Sl st to close. Fasten off and leave a tail to sew the leaves onto the sides of the stem.
Part 6: Assembly & Face
Securely attach the leaves onto the lower half of the green stem.
Position the black safety eyes on the Beige bulb between Rounds 5 and 6, leaving roughly 5 stitches of separation.
Glue a small, friendly smiling mouth cut out of black felt right underneath the eyes.
Share on Social Media
See More:
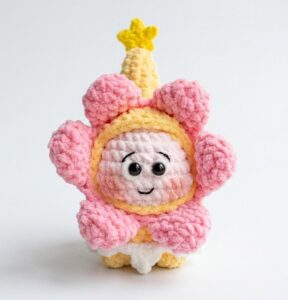
How to Crochet A Twinkle Plushie with a Removeable Flower Hat
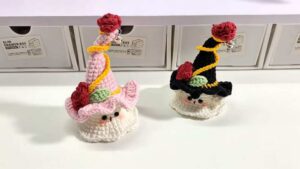
How to Crochet Baby Ghost In Flower-Decorated Witch Hat Amigurumi for Halloween
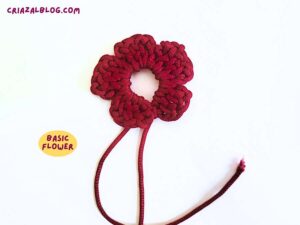
How to Crochet An Easy Flower as A Quick Accessory
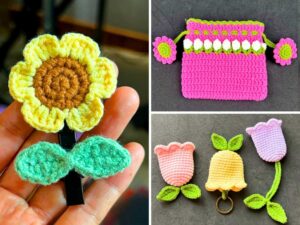
How to Crochet Flower Accessories
Pattern Tester: How to Crochet Orange, Yellow and White Donut Ring Plushie
Pattern Tester: How to Crochet Cat in A Potion Box Plushie for Festivals
Tester Pattern: How to Crochet Birthday-Popper Dumpling Plushie for Gifting
Tester Pattern: How to Crochet A Funny Orange Food Plushie for Kids

Tester Pattern: How to Crochet Dumpling Buddy in A Steamer Costume Plushie