Author: Talha
I am a crochet designer, macramé maker and a crafter who also loves doing MATH.

Contributor: Elche of Otakulandia Crochet
She is a GREAT crochet designer based in Spain who became our contributor via mycraftybasket!
Show support for Otakulandia!
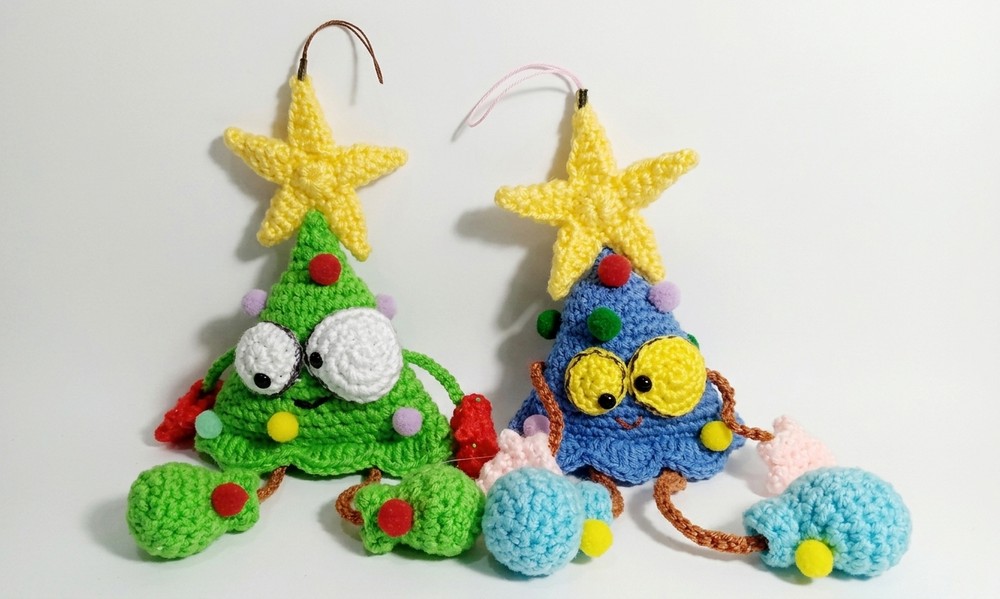
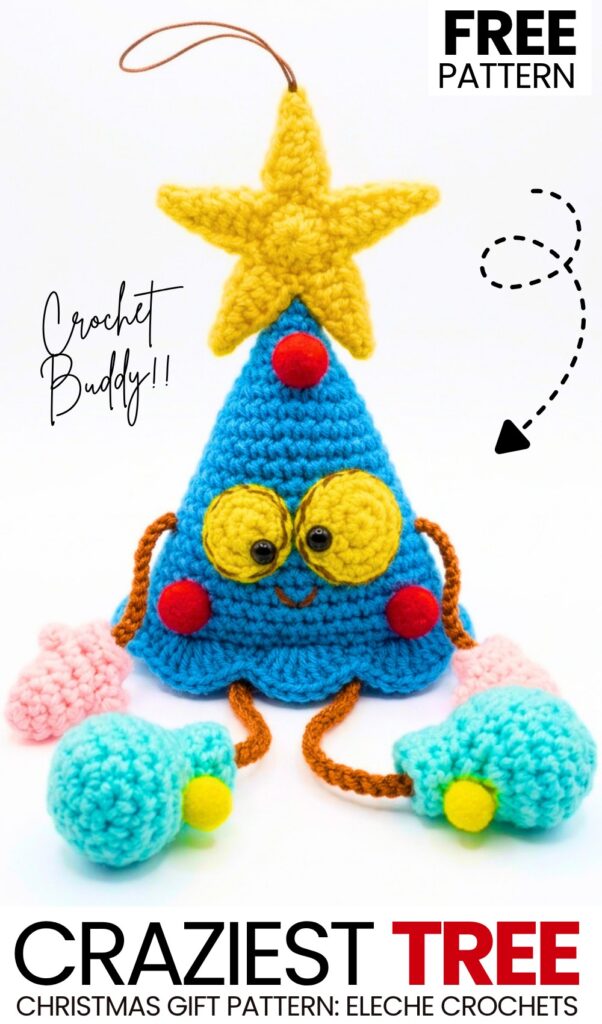
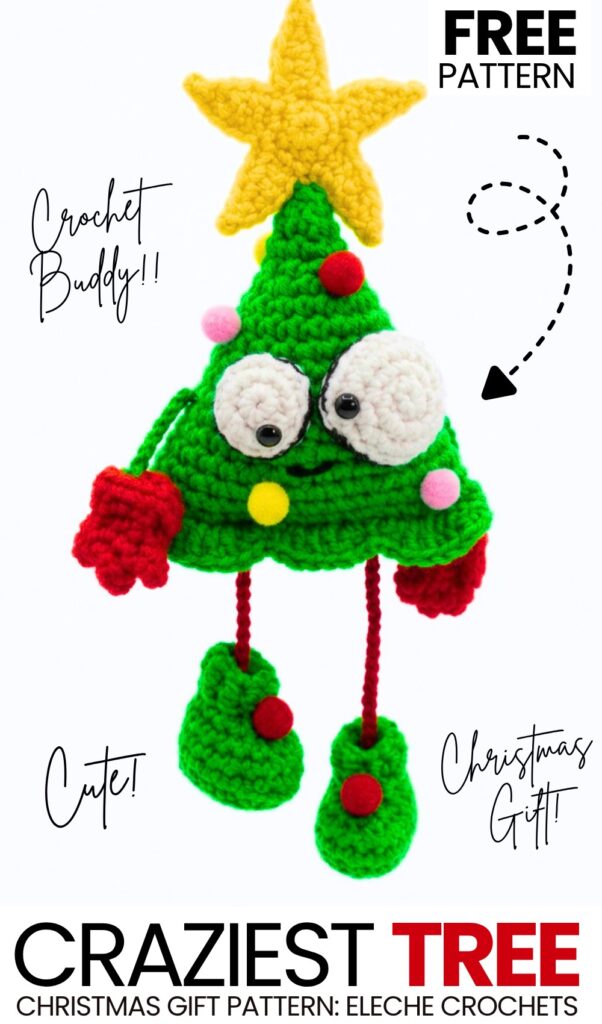
This year, our crochet “Christmas tree buddy” amigurumi series will be MORE FUN than ever. That’s because I will include more funny and crazy crochet Christmas tree amigurumi ideas, along with the traditional decorative ones. Today’s crochet amigurumi craziest leggy Christmas tree buddy is one of these quirky crochet Christmas gifts that you can learn to crochet with a FREE tutorial and a written pattern as well. Choose from the crochet green tree with the red mittens and green boots, or a white tree with blue boots and pink mittens.
Both of these crochet Christmas tree amigurumi are on my favorite list. The different-sized googly eyes with misplaced black pupils and the chain-stitch legs make these Christmas tree bud amigurumi especially funny.
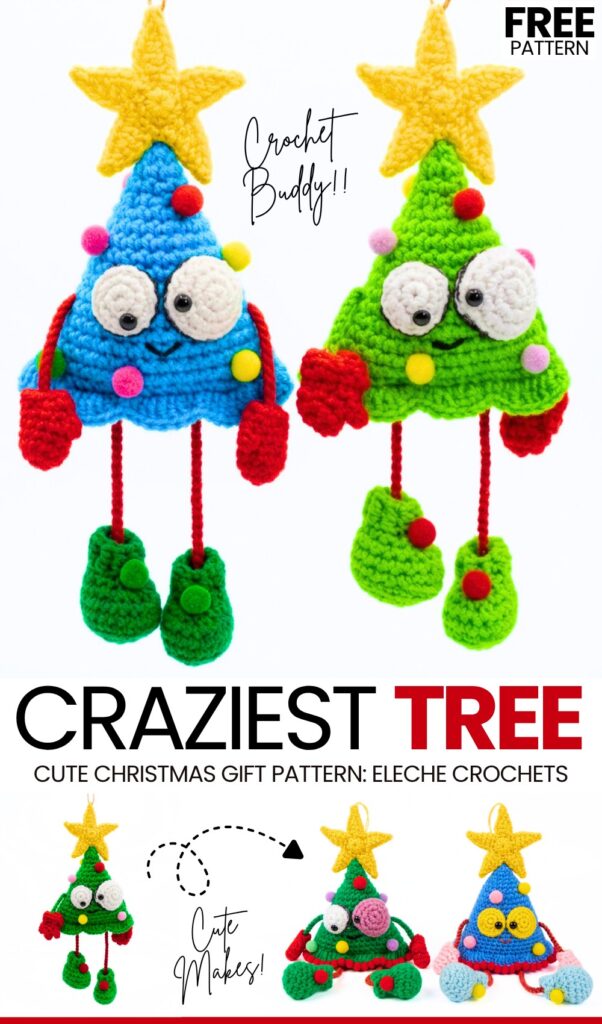
You will also like teh colorful addition of pom poms as the Christmas tree lighting and a NEW crochet star appliqué on the top. These funny crochet Christmas trees look equally cute, both hanging and placed, supported by the wall, as buddies. Be sure to crochet both of these funny Christmas tree variations. I would still recommend using just the white for the eyes. Anyway, continue reading to learn more about this super cute crochet amigurumi tree project!
Similar Project(s)
Pattern to Crochet the Funny Amigurumi Christmas Tree Buddy
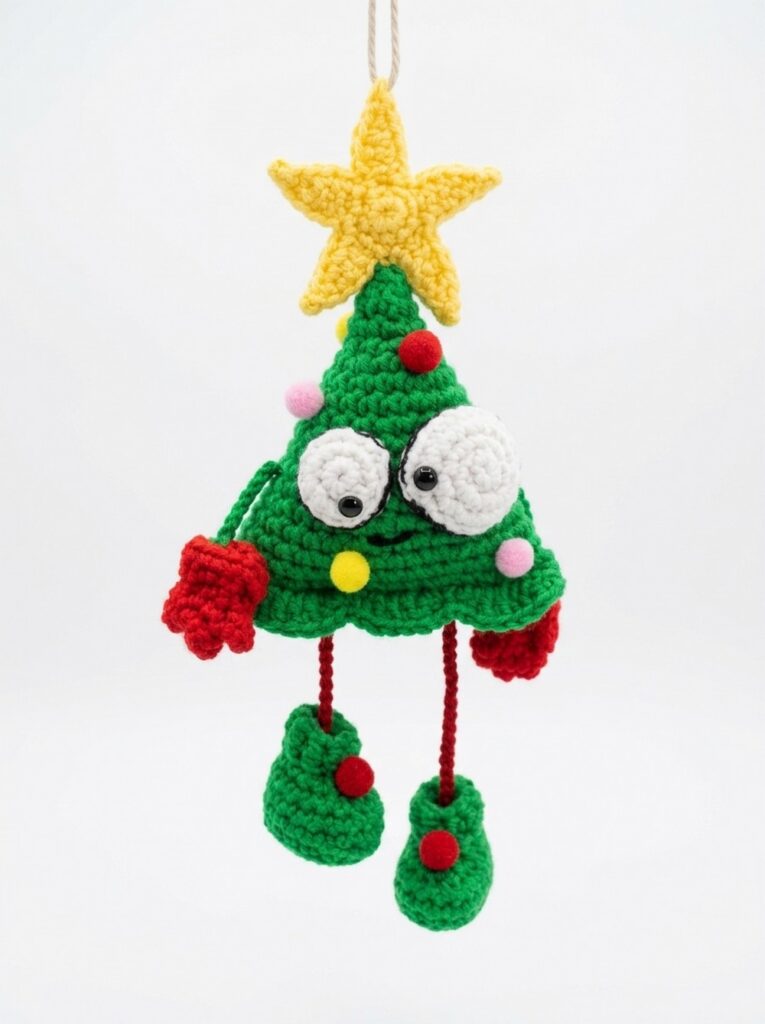
This is a fun and crazy Christmas tree toy. It has long arms and long legs. When you hang it up, the arms and legs move. It wears small boots and warm mittens. A big star sits on the top of the tree. The tree has two big eyes and a happy mouth. It is very easy to make. You can hang it in your room or on your big Christmas tree. Children will like it a lot.
Materials
Yarn: Green (for the tree), Red (for the boots), Brown (for the arms, legs, and mouth), Yellow or White (for the eyes and star), and White (for the mittens).
Crochet Hook: 2.5 mm or 3.0 mm (matching your yarn size).
Stuffing: Polyfill or toy stuffing for the body and boots.
Decorations: Small decorative craft balls or mini pom-poms for tree ornaments.
Marker: A black marker (to outline the edges of the eyes).
Tools: Yarn needle, scissors, stitch marker, and a hot glue gun.
Abbreviations (US Terms)
MR = Magic Ring
ch = chain
st(s) = stitch(es)
sl st = slip stitch
sc = single crochet
hdc = half double crochet
dc = double crochet
inc = increase (2 sc in the same stitch)
dec = decrease (crochet 2 stitches together)
tr-dec = triple decrease (crochet 3 stitches together)
BLO = back loops only
- FO = fasten off
Are you a Beginner? Learn Crocheting Easily!
You can learn to crochet better with this amigurumi googly-eyed funny Christmas tree using the following video tutorial or continue to the pattern:
Detailed Crochet Pattern
1. The Tree Body (Use Green Yarn)
Work in a continuous spiral. Do not join rounds unless noted.
Round 1: Make a MR, work 5 sc into the ring. (5 sts)
Round 2: (1 inc, 4 sc). (6 sts)
Round 3: 2 inc, 4 sc. (8 sts)
Round 4: inc in each st around until you reach 13 sts. (13 sts)
Round 5: 1 sc, 1 inc — repeat around until you have 20 sts. (20 sts)
Rounds 6 – 7: 1 sc in each st around. (20 sts)
Round 8: 9 sc, 1 inc, 9 sc, 1 inc. (22 sts)
Round 9: 1 sc in each st around. (22 sts)
Round 10: 10 sc, 1 inc, 10 sc, 1 inc. (24 sts)
Round 11: 5 sc, 1 inc — repeat 4 times. (28 sts)
Round 12: 1 sc in each st around. (28 sts)
Round 13: 6 sc, 1 inc — repeat 4 times. (32 sts)
Round 14: 1 sc in each st around. (32 sts)
Round 15: 14 sc, 1 inc, 1 sc, 1 inc — repeat 2 times. (36 sts)
Round 16: 1 sc in each st around. (36 sts)
Round 17: 15 sc, 1 inc, 1 sc, 1 inc — repeat 2 times. (40 sts)
Round 18 (The Bottom Frill): 1 sc in the next st, (1 hdc and 1 dc) in the next st, 1 dc in each of the next 2 sts, (1 dc and 1 hdc) in the next st, 1 sc in each of the next 2 sts. Repeat this ruffled frill pattern all the way around the bottom edge. FO, leaving a tail. Stuff the tree firmly.
2. The Boots (Make 2, Use Red Yarn)
Round 1: Ch 5. Starting in the 2nd ch from the hook, 1 inc. 1 sc in next 2 chs. 3 sc in the last ch. Turn your work to crochet down the opposite side of the chain: 3 sc, 1 inc in the last st. (12 sts)
Round 2: 1 sc, 1 inc, 3 sc, 3 inc, 3 sc, 2 inc. (16 sts)
Round 3: Working in the BLO, 1 sc in each st around. (16 sts)
Rounds 4 – 5: 1 sc in each st around. (16 sts)
Round 6: 5 sc, 3 dec, 5 sc. (13 sts)
Round 7: 5 sc, 1 tr-dec (pull 3 stitches together into one decrease), 5 sc. (11 sts)
Round 8: 1 sc in each st around. (11 sts)
Round 9: 2 sc, 1 inc — repeat around to slightly flare the top of the boot. FO and leave a tail for sewing. Stuff the boots with a little polyfill.
3. The Mittens (Make 2, Use White Yarn)
Round 1: Make a MR, work 7 sc into the ring. (7 sts) Round 2: 2 sc, 1 inc, 2 sc, 1 inc, 1 sc. (9 sts) Rounds 3 – 4: 1 sc in each st around. (9 sts) Round 5: 3 sc, 3 sc in the next st, 3 sc, 3 sc in the next st. (13 sts) FO and weave in the ends. The Thumb: Thread a yarn needle, pass it through the side of the mitten to create a small yarn loop, then wrap the yarn around the loop repeatedly to make a thick thumb. Knot and hide the thread inside.
4. The Legs (Use Brown Yarn)
Row 1: Ch 50. (Keep the tension slightly loose).
Row 2: Turn, sl st in each ch across (49 sl sts). FO. Take this long brown string and thread it completely through the inside bottom of the green tree body so that equal lengths hang out on the left and the right. These are your two wiggly legs! Sew the red boots securely to the bottom ends of the legs.
5. The Arms (Make 2, Use Brown Yarn)
Row 1: Attach brown yarn to the open inside edge of one mitten. Ch 15. FO. Sew the top of the chain directly to the upper sides of the tree body. Repeat for the other arm.
6. The Star (Make 2 Pieces, Use Yellow Yarn)
Round 1: Make a MR, ch 2, 9 hdc into the ring. Sl st to the first hdc to join. (9 sts)
Round 2 (Star Points): Ch 6. Starting in the 2nd ch from the hook, work: 1 sl st, 1 sc, 1 hdc, 1 dc, 1 dc. Skip 1 st on the center circle, sl st into the next st. Repeat this sequence 5 times to create 5 star points. FO. Make a second star exactly the same way. Place both stars back-to-back (right sides facing out) and sew them together along the edges to make one thick, sturdy star. Sew the completed star to the very top tip of the tree.
7. The Eyes (Use Yellow or White Yarn)
Small Eye:
Round 1: Make a MR, work 7 sc. (7 sts)
Round 2: 1 inc, 1 sc — repeat around. (10 sts) Sl st and FO.
Large Eye:
Round 1: Make a MR, work 7 sc. (7 sts)
Round 2: 1 inc in each st around. (14 sts)
Round 3: 1 sc in each st around. (14 sts) Sl st and FO. Using your black marker, carefully outline the outer edges of both eyes to make them stand out. Sew both eyes side-by-side on the upper middle section of the tree.
8. Final Assembly
Mouth: Using a long piece of brown yarn and a yarn needle, embroider a happy “V” shaped smile right below the eyes.
Ornaments: Warm up your hot glue gun and carefully attach your small decorative craft balls or pom-poms all over the green body of the tree.
Share on Social Media!
See More:
How to Crochet Christmas Yellow Goggle Character Bell Buddy in Santa Hat
![[PDF Pattern] How to Crochet Smiling Snowman Wind Spinner for Christmas](https://criazalblog.com/wp-content/uploads/2026/09/snowman-wind-spinner-224x300.jpg)
[PDF Pattern] How to Crochet Smiling Snowman Wind Spinner for Christmas
![[PDF Pattern] How to Crochet Mr. Cookie Crochet Christmas Gift Basket](https://criazalblog.com/wp-content/uploads/2026/09/crochet-gingerbread-basket-2-223x300.jpg)
[PDF Pattern] How to Crochet Mr. Cookie Crochet Christmas Gift Basket
![[PDF Pattern] How to Crochet A Green Christmas Character Basket in Santa Hat Pattern](https://criazalblog.com/wp-content/uploads/2026/09/crochet-grinch-basket-1-296x300.jpg)
[PDF Pattern] How to Crochet A Green Christmas Character Basket in Santa Hat Pattern

Tester Pattern: To Crochet A Snowball Christmas Dumpling in Basket Plush
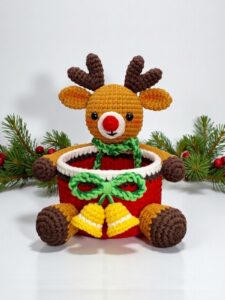
PDF Pattern | How to Crochet A Christmas Animal Basket for Gifting
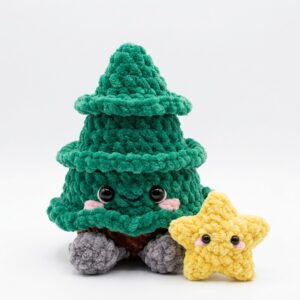
Featuring: Crochet Amuseables Sitting Christmas Tree & Star Are Buddies Plushie
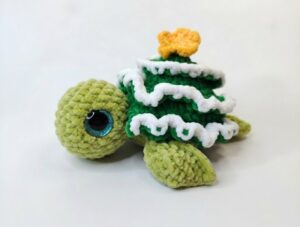
Featuring: How to Crochet A Christmas Tree Turtle Plushie for Gifting
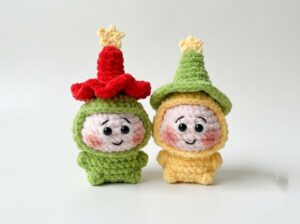
How to Crochet Christmas Hat Twinkle Plushie (Quick Gift for Kids)