Author: Talha
I am a crochet designer, macramé maker and a crafter who also loves doing MATH.

Contributor: Elche of Otakulandia Crochet
She is a GREAT crochet designer based in Spain who became our contributor via mycraftybasket!
Show support for Otakulandia!
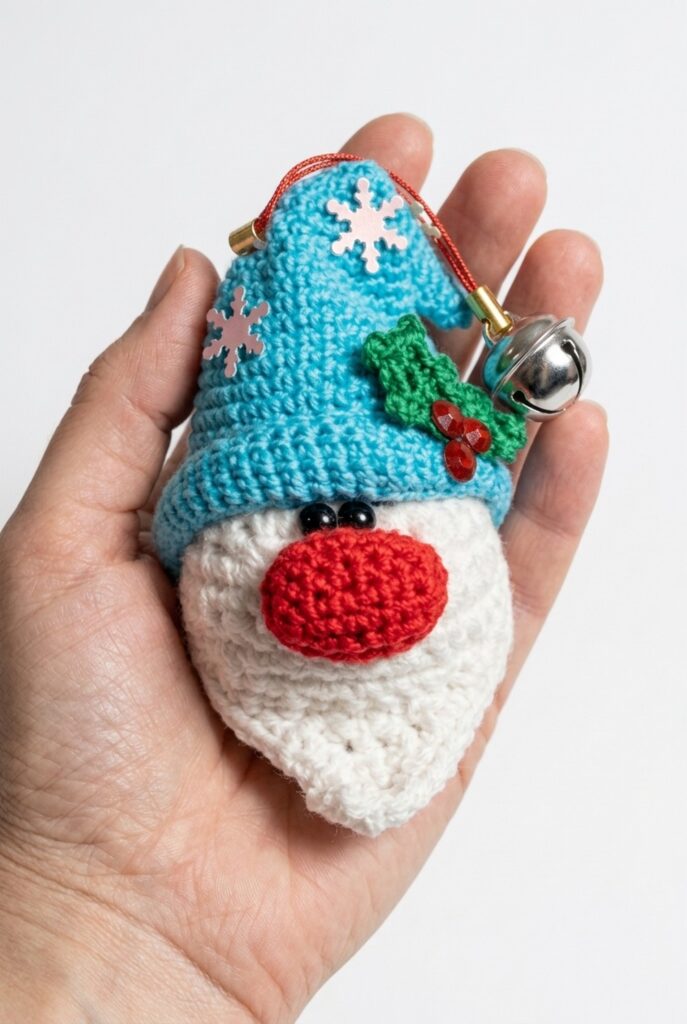
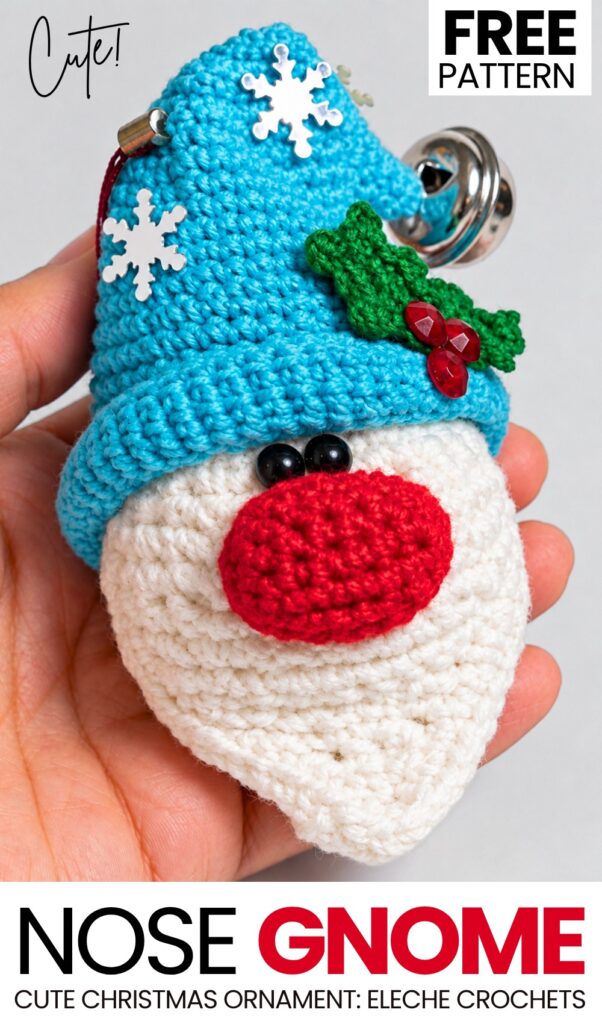
Are you looking for a FUNNY, unique, and oh-so-cute crochet Christmas character ornament this year? Learn how to crochet this adorable, red-nosed amigurumi white gnome in a slouchy Santa hat with a FREE video tutorial and a written pattern as well. The crochet hat has a silver jingle bell on top and a small crochet holy leaf attached on the side, too. You can also choose from a blue-hat crochet big-nosed gnome amigurumi following the same pattern.
I especially like the joined half-bead eyes of this crochet gnome that make it look a bit quirkier but super cute. This crochet amigurumi Santa gnome can also be crocheted for NEW year.
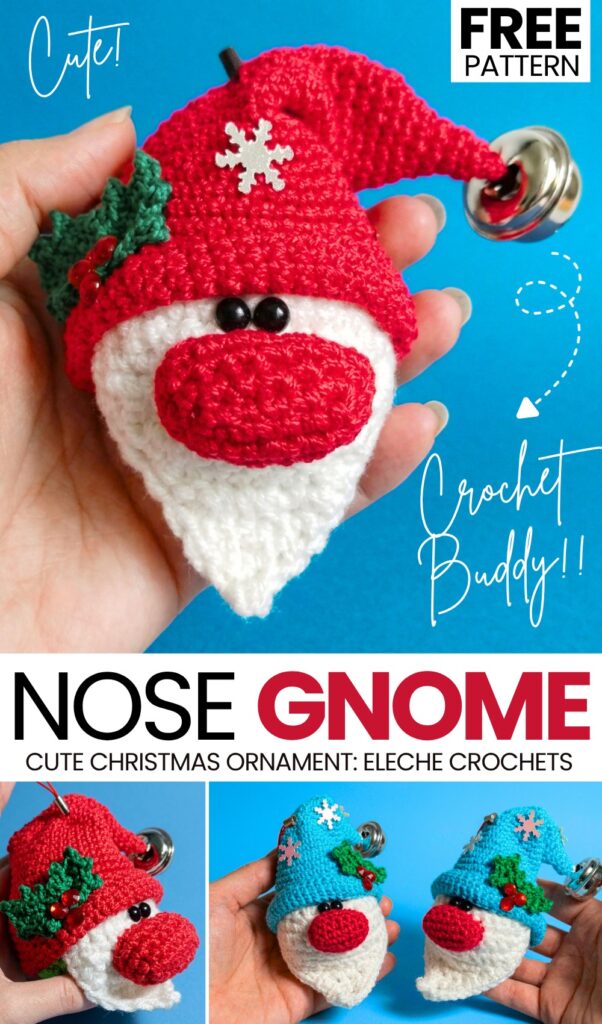
Use this crochet gnome as an ornament for the Christmas tree, a surprise gift in a crochet gift box, and even a buddy for your bag. You can also crochet your gnome amigurumi using the skinny plush yarn. Anyway, continue reading to learn more about this crochet amigurumi gnome with a red nose and funny eyes!
Similar Project(s)
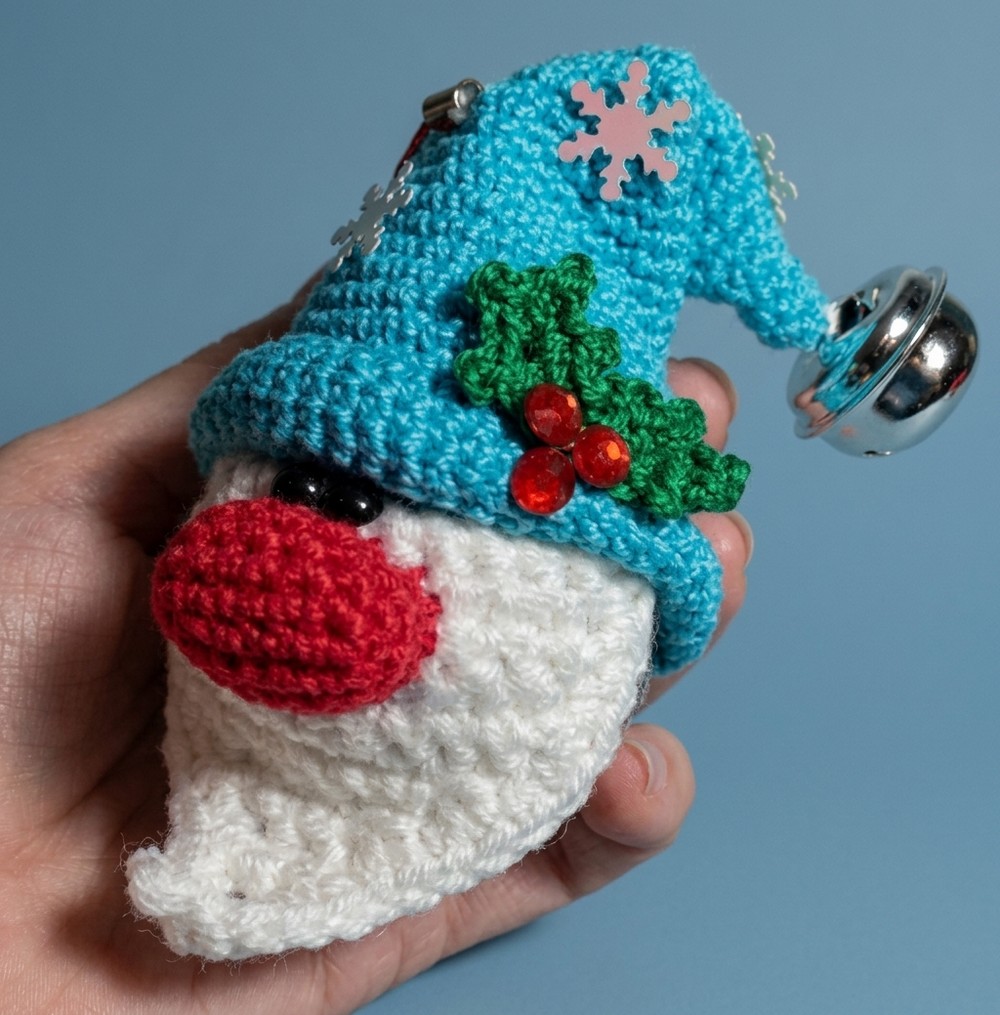
Pattern to Crochet a Big-Nosed Bear Gnome Amigurumi
This project is a small crochet toy. The video shows how to make a Christmas gnome. The video does not show a dog. This pattern is for the gnome in the video. First, you will make a round body. Next, you will make a white beard. Then, you will make a big nose. You will make small green leaves. You will sew the parts together. You will use yarn and a hook. The words in this pattern are simple and exact.
Materials
Yarn for the body
White yarn (for the beard)
Yarn for the nose
Green yarn (for the leaves)
Crochet hook (size 2.55 mm)
Crochet hook (size 1.75 mm)
Stuffing
Small black eyes
Yarn needle
Scissors
Glue or hot glue (optional, for decorations)
Are you a Beginner? Learn Crocheting Easily!
You can learn to crochet better with this miniature amigurumi big-nosed gnome using the following video tutorial or continue to the pattern:
Detailed Pattern
The Body Use the body color yarn and a 2.55 mm hook.
Round 1: Make a magic circle. Work 7 single crochets into the circle. (7 stitches)
Round 2: Work 2 single crochets in each stitch around. (14 stitches)
Round 3: Work 1 single crochet in the next stitch, then 2 single crochets in the next stitch. Repeat this around. (20 stitches)
Round 4: Work 1 single crochet in the next 2 stitches, then 2 single crochets in the next stitch. Repeat this around. (26 stitches)
Round 5: Work in the back loops only (the loops furthest from you). Work 1 single crochet in each stitch around. (26 stitches)
Rounds 6-8: Work 1 single crochet in each stitch around for 3 rounds. (26 stitches)
Round 9: Work 1 single crochet in the next 4 stitches, then make 1 invisible decrease. Repeat this around. (22 stitches)
Round 10: Work 1 single crochet in each stitch around. (22 stitches)
Round 11: Work 1 single crochet in the next 4 stitches, then make 1 invisible decrease. Repeat this around. (18 stitches)
Round 12: Work 1 single crochet in each stitch around. (18 stitches)
Round 13: Work 1 single crochet in the next 2 stitches, then make 1 invisible decrease. Repeat this around. (14 stitches)
Round 14: Work 1 single crochet in each stitch around. (14 stitches) Stop and push stuffing into the body now.
Round 15: Make invisible decreases in every stitch around until the hole is closed. (7 stitches) Fasten off. Weave the yarn through the front loops of the remaining stitches and pull tight to close the top.
The Beard Use the white yarn and a 2.55 mm hook.
Row 1: Chain 14. Starting in the second chain from the hook, work 13 single crochets.
Rows 2-4: Turn your work (do not chain 1). Work 13 single crochets across. Repeat for 3 rows.
Row 5: Turn (do not chain 1). Work 10 single crochets.
Row 6: Turn (do not chain 1). Make 1 decrease, then work 8 single crochets.
Row 7: Turn (do not chain 1). Make 1 decrease, then work 6 single crochets.
Row 8: Turn (do not chain 1). Make 1 decrease, then work 4 single crochets.
Row 9: Turn (do not chain 1). Make 1 decrease, then work 3 single crochets.
Row 10: Turn (do not chain 1). Make 1 decrease, then work 1 single crochet.
Border: Work single crochets evenly around the entire outside edge of the beard. When you reach the bottom sharp point, make a picot (chain 2, slip stitch into the same stitch). Continue single crocheting up the other side. Fasten off and leave a tail for sewing.
The Nose Use 2 strands of yarn and a 1.75 mm hook.
Round 1: Chain 6. Starting in the second chain from the hook, work 4 single crochets. In the last chain, work 4 single crochets in the same hole. Working down the other side of the chain, work 4 single crochets. In the first chain, work 4 single crochets. (16 stitches)
Rounds 2-4: Work 1 single crochet in each stitch around for 3 rounds. (16 stitches) Fasten off and leave a tail for sewing.
The Holly Leaves (Make 2) Use 1 strand of green yarn and a 1.75 mm hook.
Row 1: Chain 5. Working down the chain: In the second chain, work 1 single crochet. In the next chain, work 1 half double crochet, make a picot (chain 2, slip stitch into the base of the chain), and 1 single crochet in the same stitch. Continue this sequence down the chain, then repeat on the opposite side of the chain to finish the leaf. Fasten off and leave a tail.
Assembly
Beard: Count up to Round 7 from the bottom of the body. Sew the top flat edge of the beard across this round. Do not sew the bottom point, so the beard hangs free.
Nose: Place the nose directly above the center of the beard. Push a small amount of stuffing inside, then sew it securely to the body.
Eyes: Glue or sew the small black eyes right above the nose. Place them very close together.
Leaves: Sew or glue the small holly leaves onto the body.
Share on Social Media!
See More:
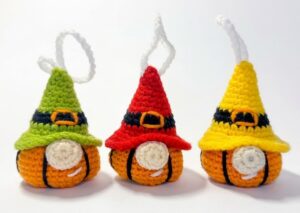
How to Crochet the EASIEST Pumpkin Gnome Amigurumi Keychains for Halloween

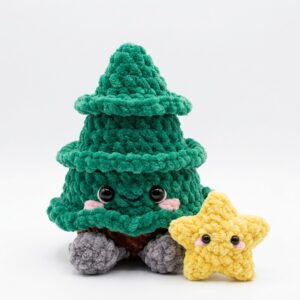
How to Crochet the Craziest FUNNY Christmas Tree Buddy Amigurumi Ornament
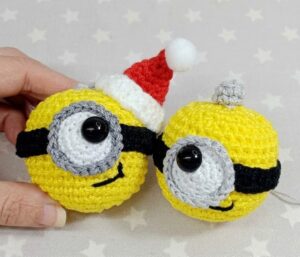
How to Crochet Christmas Yellow Goggle Character Bell Buddy in Santa Hat
![[PDF Pattern] How to Crochet Smiling Snowman Wind Spinner for Christmas](https://criazalblog.com/wp-content/uploads/2026/09/snowman-wind-spinner-224x300.jpg)
[PDF Pattern] How to Crochet Smiling Snowman Wind Spinner for Christmas
![[PDF Pattern] How to Crochet Mr. Cookie Crochet Christmas Gift Basket](https://criazalblog.com/wp-content/uploads/2026/09/crochet-gingerbread-basket-2-223x300.jpg)
[PDF Pattern] How to Crochet Mr. Cookie Crochet Christmas Gift Basket
![[PDF Pattern] How to Crochet A Green Christmas Character Basket in Santa Hat Pattern](https://criazalblog.com/wp-content/uploads/2026/09/crochet-grinch-basket-1-296x300.jpg)
[PDF Pattern] How to Crochet A Green Christmas Character Basket in Santa Hat Pattern

Tester Pattern: To Crochet A Snowball Christmas Dumpling in Basket Plush
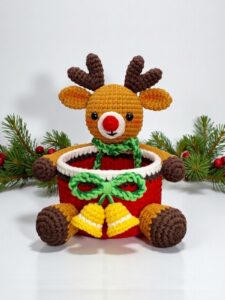
PDF Pattern | How to Crochet A Christmas Animal Basket for Gifting
Featuring: Crochet Amuseables Sitting Christmas Tree & Star Are Buddies Plushie