Author: Talha
I am a crochet designer, macramé maker and a crafter who also loves doing MATH.

Contributor: Lyubov of Love Knitting
She is a Ukrainian crochet plushie designer and our most favorite crocheter. She became our contributor on mid 2026 through mycraftybasket.
Show support for Lyubov!
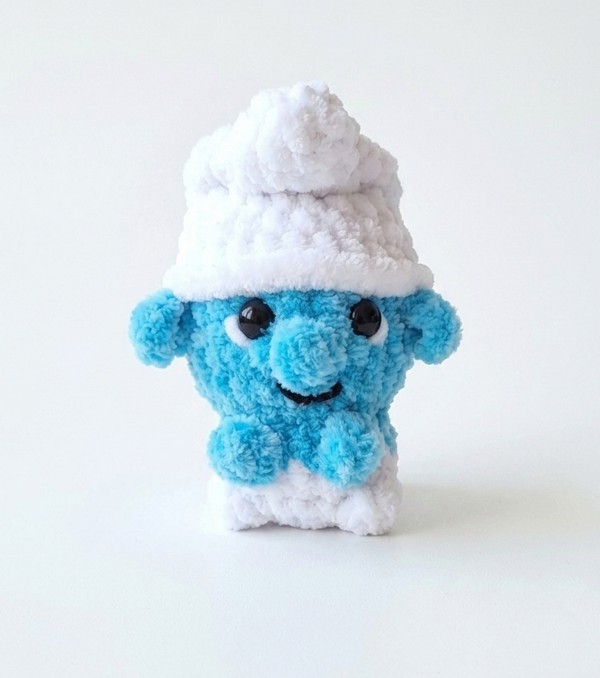
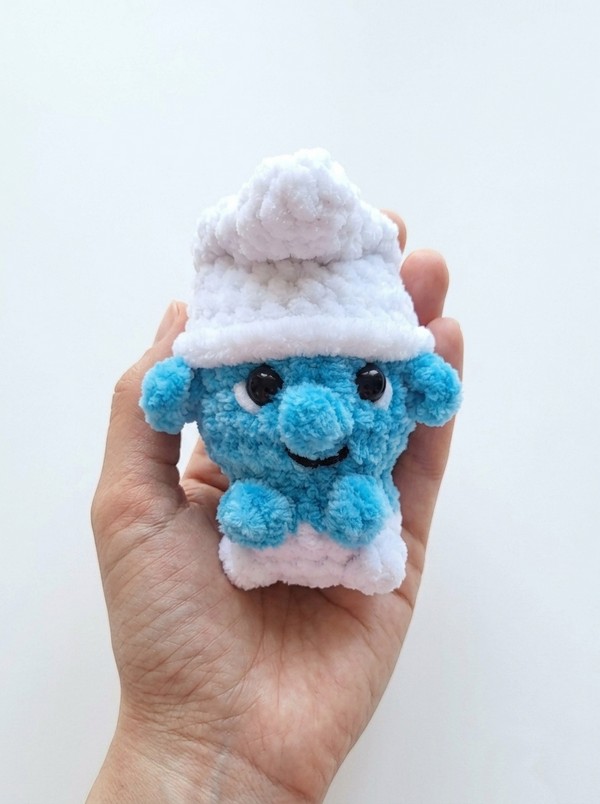
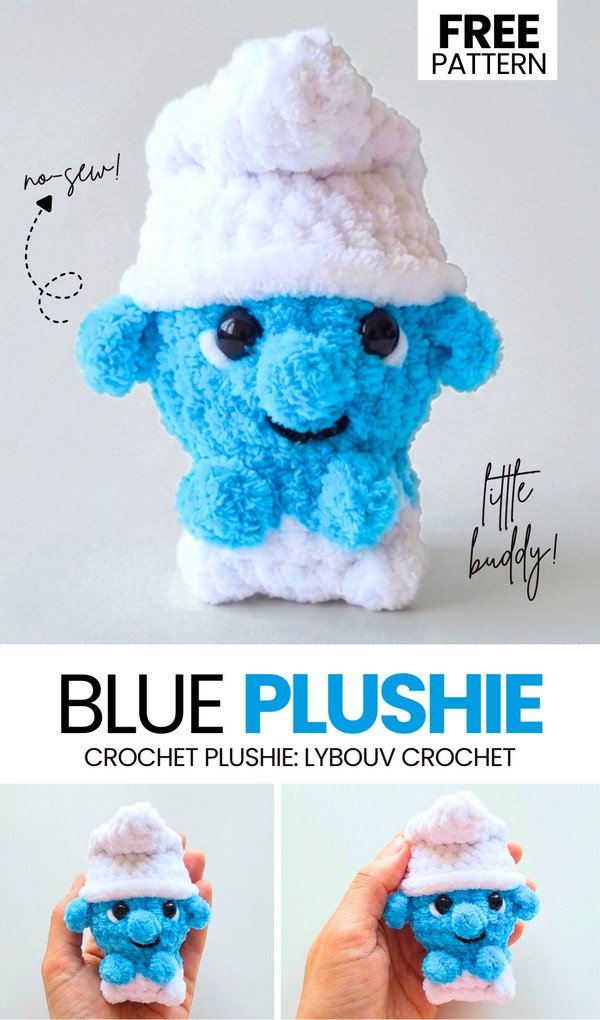
Let’s continue the crochet “iconic characters plushie” series with this crochet no-sew little Smurf plushie desk buddy! This is the Smurf body amigurumi plushie you can crochet with the step-by-step tutorial + written pattern in less than 30 minutes. Also a part of the blue character plushies series, it is an irresistible crochet bag charm for your tote bag. It is designed as a Chibi crochet Smurf buddy with a slouchy white hat and a no-sew buddy body base. You can also crochet a heart plushie for your Smurf plushie if you are looking for a Valentine’s Day gift.
This sitting Smurf base includes the bobble stitch legs, arms, and nose, and a colorwork white costume, too. You can use this crochet Smurf plushie base for crocheting the old Smurf (crocheting surface-stitch beard) and even the girl version (by crocheting yarn hairs). You can also add eyelashes to the eyes.
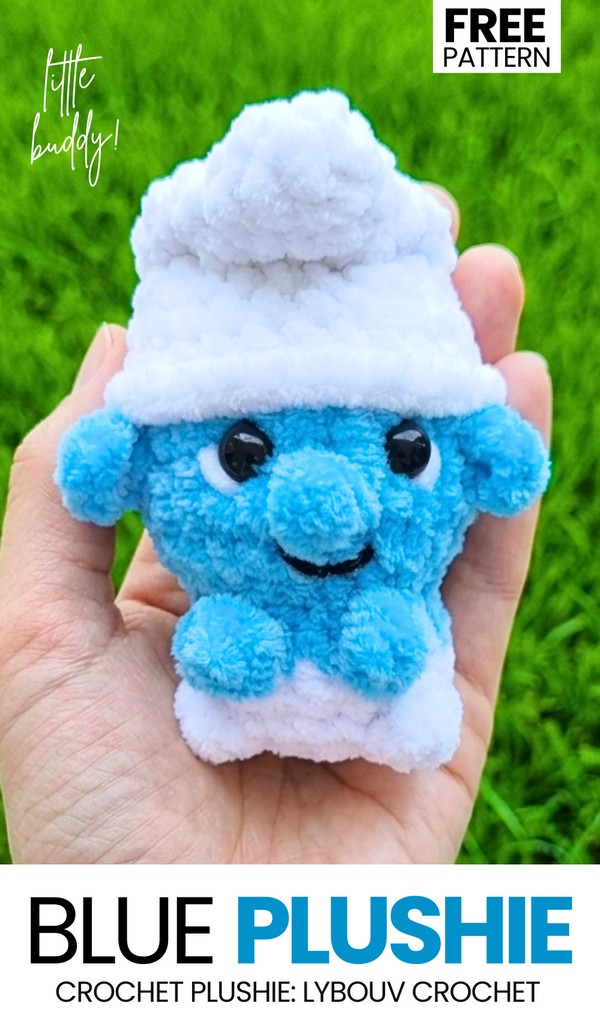
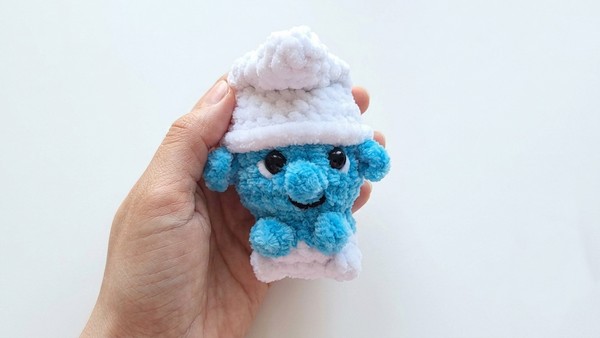
You can also crochet the Smurf with the iconic red costume for Christmas and New Year. You can also hang it as a Christmas ornament. The finished crochet Smurf plushie made from super-bulky chenille yarn will measure 10cm. Crocheting one plushie is a perfect gift for beginners. Now, continue reading to learn more about this iconic crochet character plushie and the full guide to crocheting one.
Similar Project(s)
Pattern to Crochet the Little Smurf Plushie
Skill Level: Beginner (Level 3)
You will make a classic character with a blue body and a white hat. The steps are fast to follow. You start at the feet and work your way up to the top of the hat.
You will crochet the tail, arms, and nose into the main body so you do not have to sew them on later. When the body is done, you will crochet the ears right onto the sides of the head and sew the top of the hat to bend forward.
Materials
Plush Yarn (Super Bulky / Category 6): White (for the pants and hat) and Light Blue (for the main body/skin).
Crochet Hook: 4.0 mm.
Safety Eyes: 10 mm.
Stuffing: Fiberfill.
Embroidery Thread/Yarn: Thin black thread for the mouth. White plush yarn for eye details.
Tools: Yarn needle and scissors.
Abbreviations
MR = Magic Ring
ch = chain
sc = single crochet
hdc = half double crochet
dc = double crochet
inc = increase (2 sc in one stitch)
dec = decrease (sc 2 together)
sl st = slip stitch
dc3tog = double crochet 3 together in the same stitch (cluster of 3 dc)
BLO = Back loops only
FLO = Front loops only
st(s) = stitch(es)
R = round
Are you a Beginner? Learn Crocheting Easily!
You can learn to crochet better with this smurfy buddy plushie tutorial as a beginner:
Share on Social Media!
See More:
How to Crochet No-Sew Tiny Pikachu Plush Doll for Your Pokémon Love
How to Crochet Miniature Winnie the Pooh No-Sew Plushie for Kids
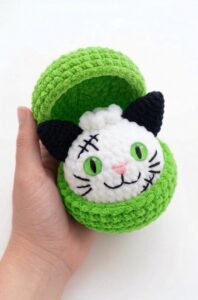
Pattern Tester: How to Crochet Cat in A Potion Box Plushie for Festivals
Tester Pattern: How to Crochet Birthday-Popper Dumpling Plushie for Gifting
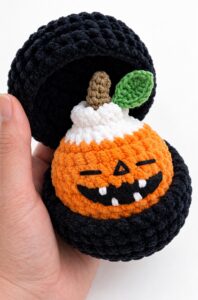
Tester Pattern: How to Crochet A Funny Orange Food Plushie for Kids

Tester Pattern: How to Crochet Dumpling Buddy in A Steamer Costume Plushie
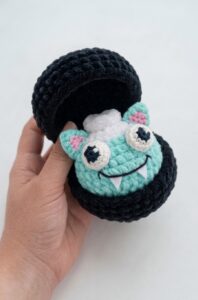
Tester Pattern: How to Crochet A Monster Funny Bao Bun Plushie for Kids
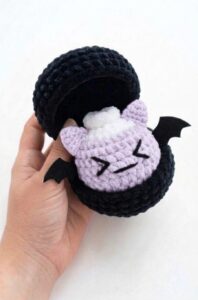
Tester Pattern: To Crochet A Plush Spooky Bat Bao Bun Plushie
![[PDF Pattern] Crochet A Plush Autumn Acorn-Lover Plushie for Fall](https://criazalblog.com/wp-content/uploads/2026/09/crochet-squirrel-2-225x300.jpg)
[PDF Pattern] Crochet A Plush Autumn Acorn-Lover Plushie for Fall