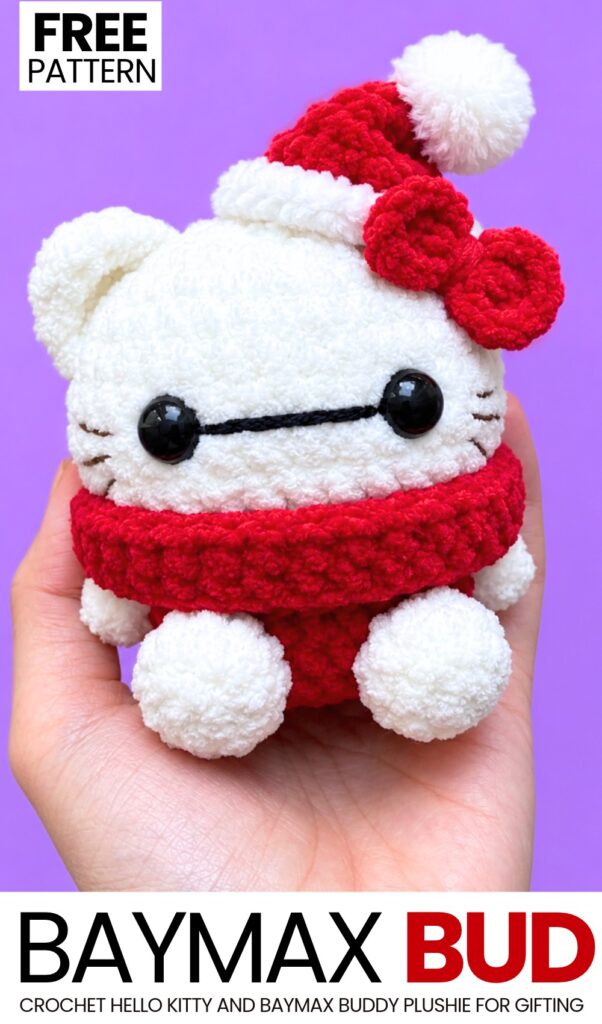
This will be the 3rd, but the CUTEST and the MOST huggable crochet Baymax buddy plushie pattern of this year! Say welcome to your next crochet buddy for this winter – the crochet Hello Kitty Baymax buddy in a red scarf plushie that you can learn to crochet with a FREE written pattern for all skill levels. This is an irresistible crochet holiday for its cuteness and how quick and low-sew it is.
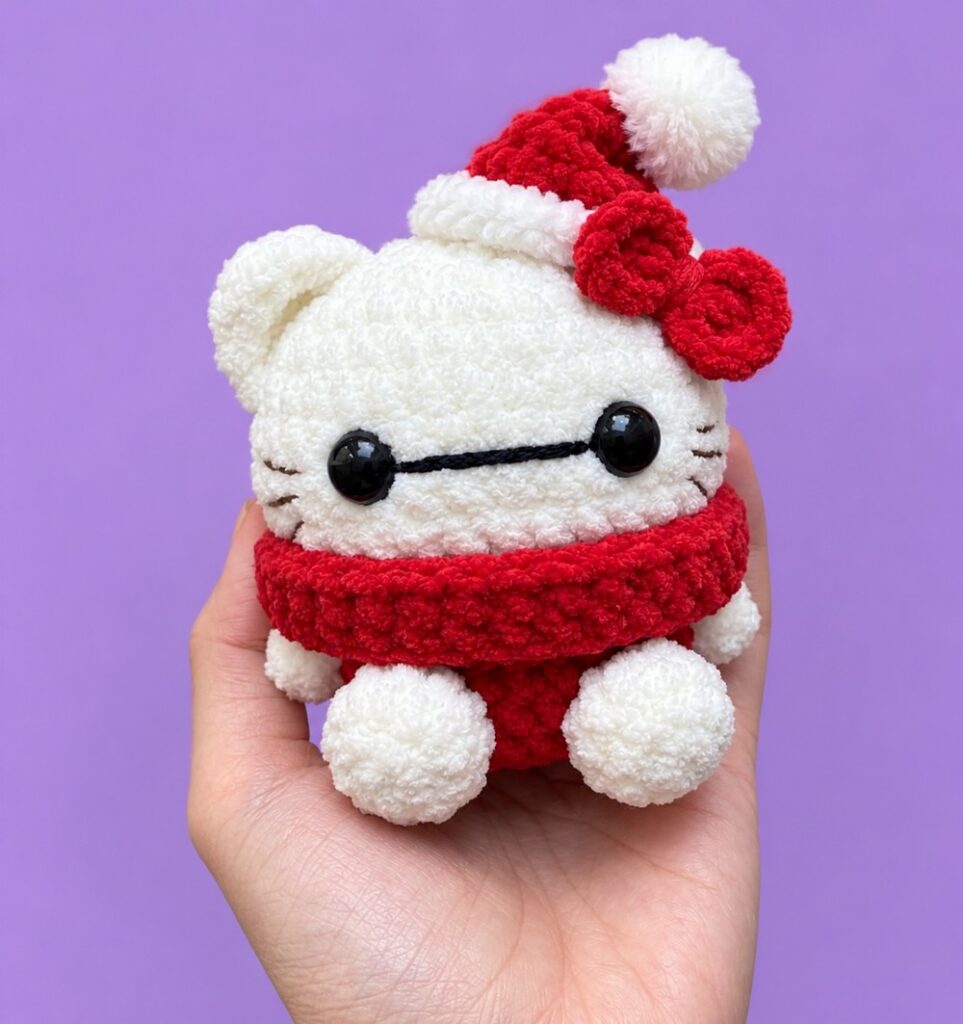
We will be crocheting a sitting chubby Baymax cat plushie in this pattern with a bow, a crochet Santa hat (pattern will be available soon!), and the same iconic Baymax face.
This crochet plush Baymax can be crocheted in under 1 hour as a gift for your loved one. So, continue reading to learn more about this crochet plush Christmas gift project!
Pattern to Crochet the Baymax Kitty Buddy Plushie for Gifting
Skill Level: Beginner to Easy
Materials & Tools
Yarn:
Category 6 (Super Bulky) plush chenille/bouclé yarn in White (for the Head, Ears, Legs, Arms, Santa Hat Trim, and Pom-Pom)
Category 6 (Super Bulky) plush chenille yarn in Red (for the Body, Scarf, Santa Hat, and Bow)
Crochet Hook: 4.0 mm crochet hook (to keep stitches tight so stuffing doesn’t show through)
Safety Eyes: Two 12 mm–14 mm black glossy safety eyes (with washer backs) — Note: Larger eyes than the keychain version are used to match the plushie’s chunky scale
Embroidery Thread / Yarn:
Medium-weight black yarn (for the Baymax horizontal line connecting the eyes)
Dark brown embroidery floss or thin yarn (for the whiskers)
Notions:
Polyester fiberfill stuffing
Yarn/tapestry needle
Stitch marker
Sewing pins
Scissors
Tweezers (optional, for tucking yarn tails)
Hot glue gun & glue sticks (optional, for no-sew assembly)
Abbreviations & Symbols (US Crochet Terms)
MR: Magic Ring
ch: Chain
sl st: Slip stitch
sc: Single crochet
hdc: Half double crochet
dc: Double crochet
inc: Increase (work 2 sc in the same stitch)
dec: Invisible decrease (insert hook into front loops only of next 2 stitches, yarn over, pull through both loops, yarn over, pull through remaining 2 loops)
(…) × N: Repeat instructions inside parentheses N times
[N]: Total stitch count at the end of the round/row
Part 1: Head (White Plush Yarn)
(worked in continuous spiral rounds. Place a stitch marker in the first stitch of every round to keep track of your progress.)
Round 1: Make a MR and work 6 sc into the ring. Gently pull the starting yarn tail to close the ring tight. [6]
Round 2: Work 1 inc in each stitch around (6 inc total). [12]
Round 3: (1 sc in the next stitch, 1 inc in the next stitch) × 6. [18]
Round 4: (1 sc in each of the next 2 stitches, 1 inc in the next stitch) × 6. [24]
Round 5: (1 sc in each of the next 3 stitches, 1 inc in the next stitch) × 6. [30]
Round 6: (1 sc in each of the next 4 stitches, 1 inc in the next stitch) × 6. [36]
Rounds 7–10 (4 rounds): Work 1 sc in each of the 36 stitches around without increasing. [36]
Insert the Eyes:
Pause here to attach the two black safety eyes between Round 8 and Round 9, leaving 6 stitches of space between them. Secure the plastic washer backs firmly on the inside of the head.
Round 11: (1 sc in each of the next 4 stitches, 1 dec across the next 2 stitches) × 6. [30]
Round 12: (1 sc in each of the next 3 stitches, 1 dec across the next 2 stitches) × 6. [24]
Round 13: (1 sc in the next stitch, 1 dec across the next 2 stitches) × 8. [16]
Stuff the Head:
Stuff the head firmly with polyester fiberfill, shaping it gently with your hands so it has a smooth, plump, slightly oval rounded shape.
Round 14: Work 8 dec around. [8]
Finishing the Head:
Cut the yarn leaving a long tail. Thread the tail onto a yarn needle and weave it through the front loops of all 8 stitches in Round 14. Pull tight to close the opening completely. Tie a secure final knot, weave the remaining yarn tail inside the head, trim any excess, and use tweezers to tuck the end neatly inside.
Part 2: Ears — Make 2 (White Plush Yarn)
(Retained from the base pattern to give the rounded triangular kitty ears.)
Leave a short tail, make a slip loop, and ch 4 (do not pull the first chain stitch too tight).
Skip the first chain from the hook and begin working into the second chain stitch from the hook:
Work 1 sc in the second chain from the hook, then ch 1.
Work 1 dc in the next (middle) chain stitch, then ch 1.
Work 1 sc in the last chain stitch, then ch 1.
Cut the yarn, leaving a long tail for sewing (or a short tail if hot gluing).
Tie the starting yarn tail and ending yarn tail together tightly in a knot at the base of the ear.
Repeat to make a second ear.
Attaching the Ears:
Use pins to mark the ear placement on the head:
From one eye, count 5 stitches outward to the side, then move up 1 stitch, and place your first pin.
From that first pin, count up 4 stitches toward the top of the head, and place your second pin.
Repeat on the opposite side of the head so both ears are symmetrical (note: the left ear as you face it will sit slightly tucked under the Santa hat and bow).
Sew each ear firmly onto the head between the two marked pins, stitching cleanly along the front and back base of the ear so it stands up securely.
Knot the yarn, trim, and tuck the tails inside the head using tweezers.
Part 3: Baymax Eye-Line & Whiskers (No Nose)
(Omitting the yellow nose completely to create the signature Baymax expression.)
Baymax Eye-Line (Black Yarn):
Thread a length of black yarn onto a yarn needle.
Insert the needle from the back or bottom of the head and bring it out directly against the inner edge of the right safety eye (between Rounds 8 and 9).
Stretch the black yarn straight across the 6-stitch gap and insert the needle directly against the inner edge of the left safety eye.
Pull gently so the line sits flat and taut against the plush yarn without pinching the face inward. (Optional: Go back across once more for a slightly thicker, bold line.)
Bring both ends of the black yarn out through the same stitch at the bottom of the head, tie a tight knot, trim, and tuck the ends inside.
Whiskers (Dark Brown Thread):
Thread a needle with dark brown embroidery floss or thin yarn.
On the cheek next to the right eye, embroider 3 short whiskers:
Middle whisker: Stitch straight out horizontally from the side of the eye across about 2 stitches.
Top whisker: Stitch slightly angled upward just above the middle whisker.
Bottom whisker: Stitch slightly angled downward just below the middle whisker.
Repeat symmetrically on the left cheek next to the left eye.
Bring both ends of the thread out of the same stitch, tie them together securely, trim, and tuck the knot inside the head with tweezers.
Part 4: Body (Red Plush Yarn)
(Work in continuous spiral rounds; do not join unless specified.)
Round 1: 6 sc in MR. [6]
Round 2: inc × 6. [12]
Round 3: (1 sc, 1 inc) × 6. [18]
Round 4: (2 sc, 1 inc) × 6. [24]
Rounds 5–8 (4 rounds): 24 sc. [24]
Round 9: (2 sc, 1 dec) × 6. [18]
Finishing & Assembly:
Stuff the body firmly with fiberfill.
To Sew: Fasten off leaving a long tail, then whipstitch the open edge of Round 9 directly to the bottom center of the head.
No-Sew Alternative (Recommended): Fasten off and weave in the end. Apply hot glue along the rim of Round 9 and press firmly onto the base of the head—the scarf will conceal the seam once attached.
Part 5: Legs — Make 2 (White Plush Yarn)
(Worked in continuous rounds; positioned forward so the plushie sits cutely.)
Round 1: 6 sc in MR. [6]
Round 2: (1 sc, inc × 2) × 2. [10]
Round 3: 10 sc. [10]
Round 4: (3 sc, 1 dec) × 2. [8]
Finishing & Assembly:
Stuff each leg firmly with fiberfill so they hold a plump, round ball shape.
Fasten off tightly, leaving a long tail for sewing (or weave in ends if hot gluing).
Pin and sew (or glue) the two legs onto the front lower portion of the red body (around Rounds 2–4 of the body), angled slightly outward so the plushie sits upright.
Part 6: Little Arms — Make 2 (White Plush Yarn)
(Tiny rounded nub arms peeking out from beneath the red scarf on either side of the body.)
Round 1: 6 sc in MR. [6]
Rounds 2–3 (2 rounds): 6 sc. [6]
Finishing & Assembly:
Lightly stuff the tip of each arm (or leave unstuffed for a soft nub).
Fasten off leaving a tail for sewing (or weave in ends for gluing).
Attach one arm to each side of the upper body (around Round 7–8 of the body), tucked just underneath the bottom edge of the scarf.
Part 7: Scarf (Red Plush Yarn)
(Worked as a joined loop in turned rows.)
Foundation: ch 37, sl st to the first ch to form a ring (take care not to twist the chain). [37]
Row 1: ch 1, 37 sc around, sl st to the first sc to join, turn. [37]
Row 2: ch 1, 37 sc around, sl st to the first sc to join. [37]
Finishing & Assembly:
Fasten off and weave in loose ends.
Stretch and slide the scarf loop over the body and nestle it snugly around the neck to completely hide the head-to-body join.
Part 8: Bow (Red Plush Yarn)
(Made in plush red yarn to match the Santa hat and scarf, featuring structured rounded loops and a wrapped center.)
Make a MR.
Work the entire bow into the MR in the following order:
First half: ch 3, work 4 dc into the ring, ch 3, work 1 sl st into the ring.
Second half: ch 3, work 4 dc into the ring, ch 3, work 1 sl st into the ring.
Cut the yarn, leaving a long tail (about 12 inches). Pull the starting yarn tail tightly to close the center of the magic ring.
Wrap the long red yarn tail tightly around the center of the bow 4 to 5 times to cinch the middle and create the neat center knot.
Tie the two red yarn tails together tightly at the back of the bow.
Attaching the Bow:
Position the bow right at the lower front edge of the Santa hat brim, resting just in front of the base of the ear on the right side as you face the plushie.
Use your yarn needle (or hot glue) to secure the back of the bow firmly onto the head and hat brim, then weave in and tuck any remaining yarn tails inside the head.

See More:
Tester Call: How to Crochet Mr. Baymax Snail in Santa Hat & Scarf with Christmas Wreath Shell Plushie
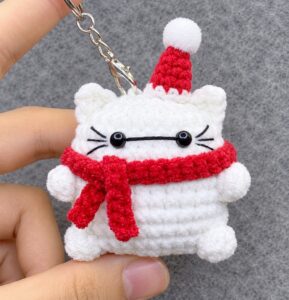
Tester Call: How to Crochet Amigurumi No-Sew Baymax Kitty Cat Gift for Christams
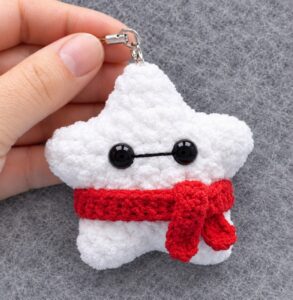
Tester Call: How to Crochet A Plush Mr. Baymax Star Ornament and Charm for Gifting
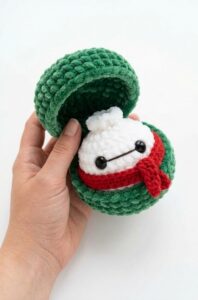
How to Crochet Baymax Dumpling Plushie for Gifting At Christmas
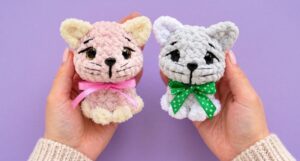
Featuring: How to Crochet Holiday Present Kitty Cat Pluhsie with Bow Ribbon
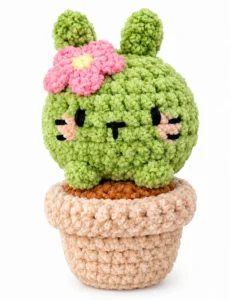
Featuring: Video Tutorial to Crochet Anti-Stress No-Sew Green Kitty over A Cactus Pot Plush
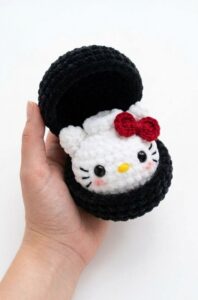
Tester Pattern: How to Crochet Hello Kitty Dumpling Plushie for Playing With
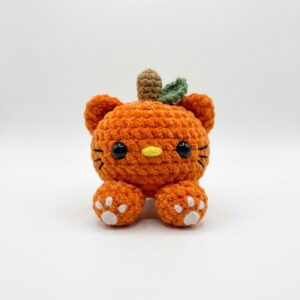
Tester Pattern: To Crochet Pumpkin Hello Kitty Plushie Decoration with Big Paws Buddy
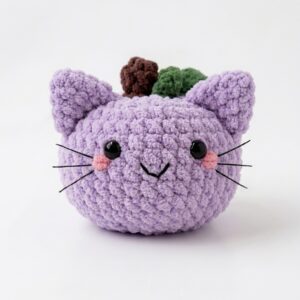
Tester Pattern: How to Crochet Smiling Pumpkin Kitty Cat Plushie