Author: Talha
I am a crochet designer, macramé maker and a crafter who also loves doing MATH.
Contributor: Rina of Art of Crochet
She is a designer of trendy crochet and has been our contributor since mid 2026 via mycraftybasket.
Show support for Rina!
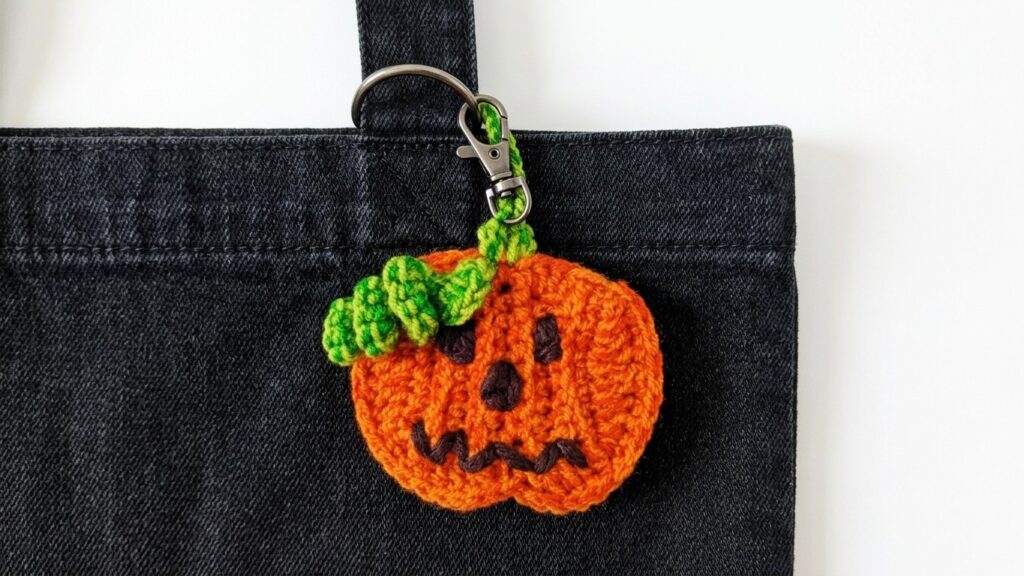
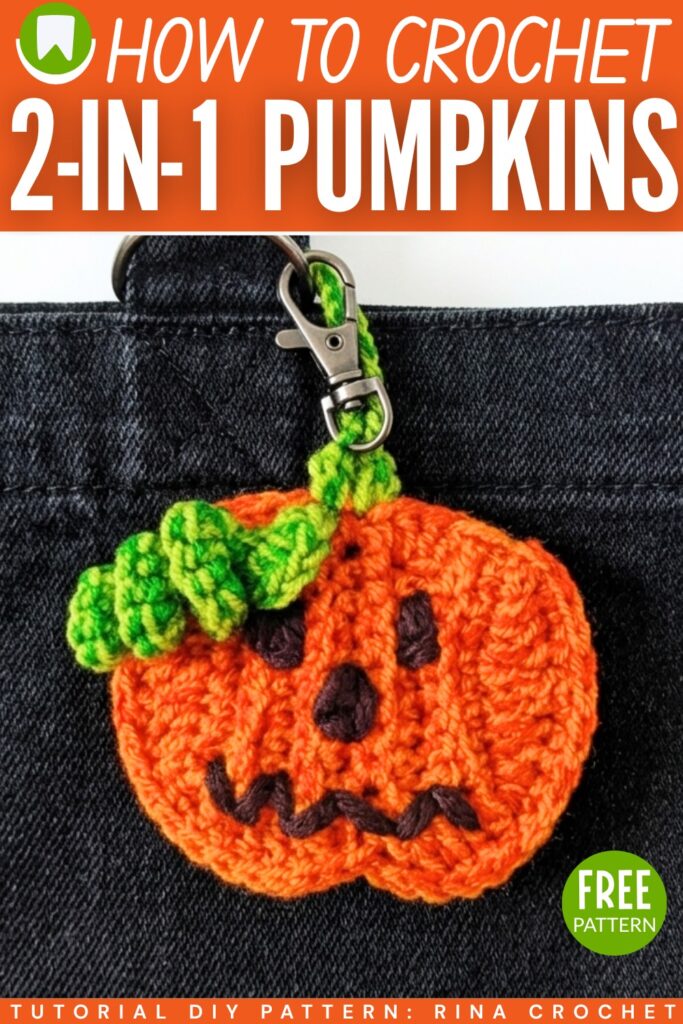
Today’s crochet pumpkin project is both 2-in-1 and 2-designs-in-1! Introducing the spooky-faced crochet pumpkin charms with hanging loops that also double as coin purses or AirPods pouches. In this tutorial, you will learn how to crochet the more functional design of the two pumpkin pouch variations. Soon, I will also bring the FREE pattern for the first pumpkin charm design, too. This pumpkin keychain also has a curly vine, hanging loop, and spooky embroidered jack face, too.
Requires crocheting two ribbed pumpkin pieces that will be seamed later on and working on the crochet pumpkin stem and the loop. You can crochet this 2-in-1 pumpkin charm and pouch easily within 45 minutes.
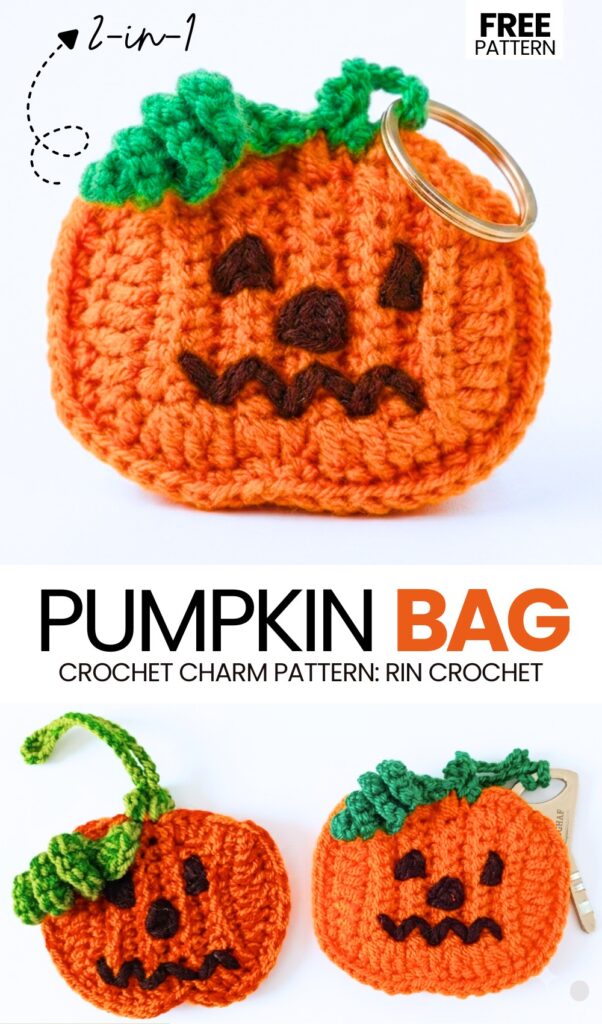
To close this crochet pumpkin pouch, you will also learn how to crochet a small loop through which you can pass the longer loop like a string. Then, attach your jack purse to the handle of your trick-or-treating purse or fall tote bag. You would be fine, especially if you give these pumpkin charms as a gift to little ones. Anyway, continue reading to learn more about this Halloween pouch project + how to crochet applique and assemble it.
Similar Project(s)
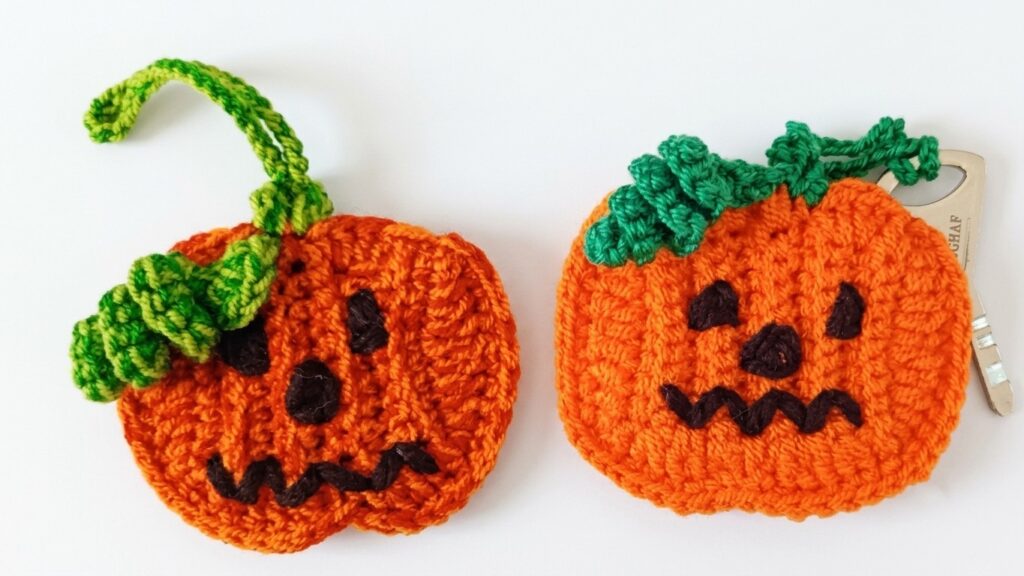
Pattern to Crochet 2 Pumpkin Charms for Halloween
Skill Level: Beginner – Level 3
This project is for making a small pumpkin pouch. You use orange, green, and black yarn. You use a hook to make a flat piece with lines. You make two pieces to form a pocket. You sew a face on the front. You add a stem and a leaf on top. You put a loop so you can hang it on your keys. You can put small things inside it.
Materials
Yarn: Orange, Green, and Black (lightweight or Cotton yarn preferred).
Crochet Hook: size matching your yarn (typically 2.5mm or 3.0mm).
Tools: Yarn needle, scissors, felt or hot glue (optional for backing/lining, though crocheted pieces join together directly)
Abbreviations
ch: chain
sc: single crochet
hdc: half double crochet
dc: double crochet
tr: treble crochet
sl st: slip stitch
blo: back loop only
Are you a Beginner? Learn Crocheting Easily!
You can learn to crochet this UNIQUE pumpkin ghost as a beginner by following this tutorial, too:
Pattern Instructions
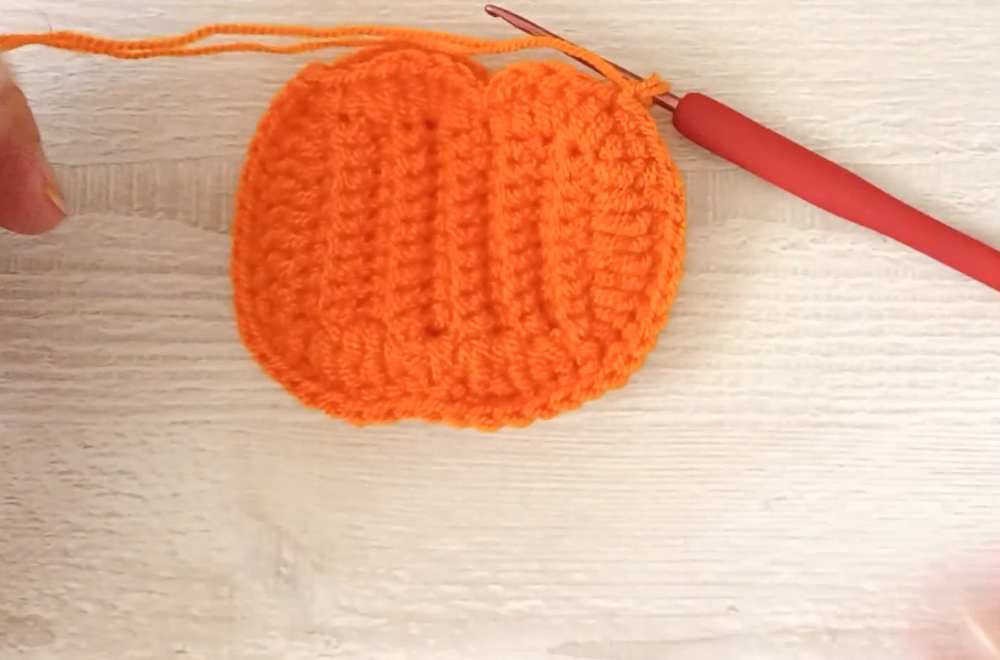
1. Pumpkin Panels (Make 2 in Orange Yarn)
Foundation: ch 11
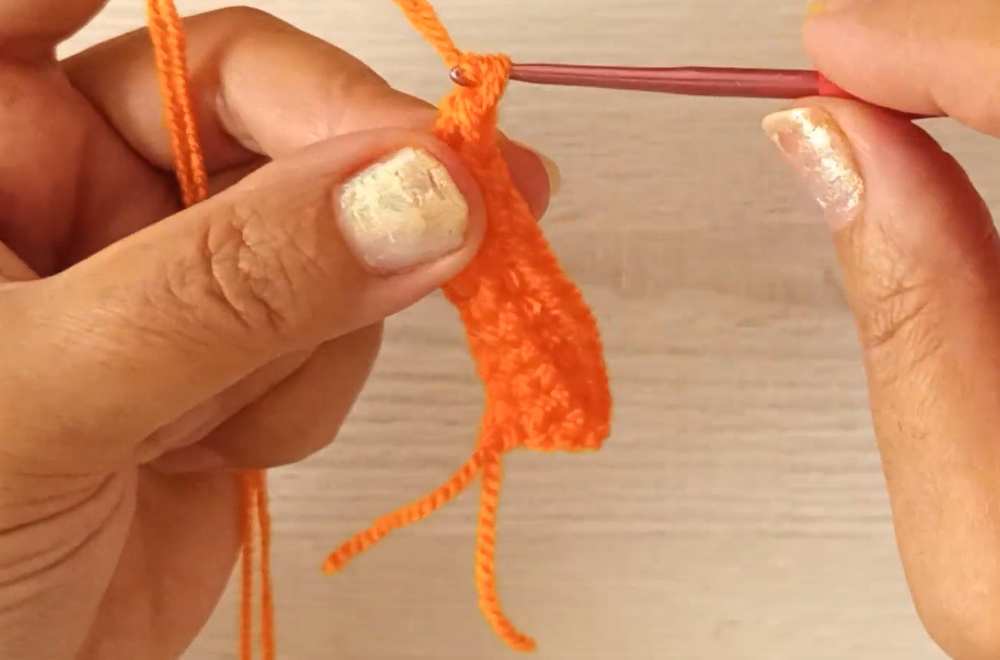
R1: Starting in the second chain from the hook, 10 sc, ch 1, turn (10)
R2–10: 10 sc in blo, ch 1, turn (10) — Repeat for a total of 10 rows to create a ribbed square.
Border / Shaping (Working around the edges to form the pumpkin curve):
Side 1: ch 1, 1 sc, 2 hdc in one stitch, 2 dc in one stitch
Top Curve: 1 dc, 1 hdc in one stitch, 1 sc, 1 hdc, 1 dc in one stitch, 2 dc in one stitch, 2 hdc in one stitch
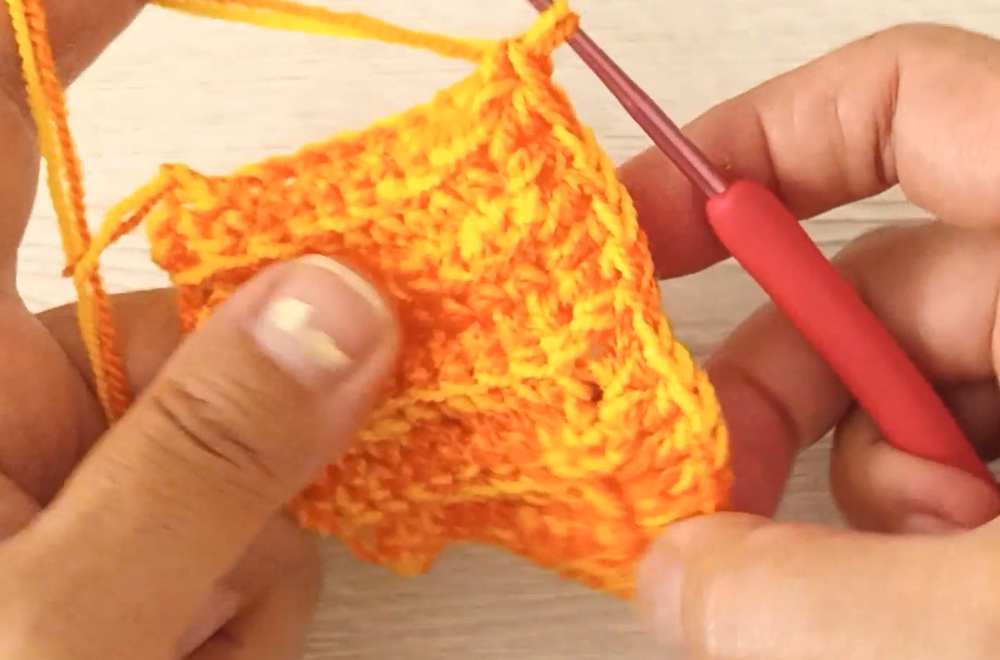
Side 2: 1 sc, 2 hdc in one stitch, 2 dc in one stitch, 1 dc, 1 hdc in one stitch, 1 sc, 2 hdc, 2 dc, 1 tr, 2 dc, 2 hdc, sl st
Fasten off on the first panel. Do not fasten off on the second panel if you want to use it to join.
2. Face Embroidery
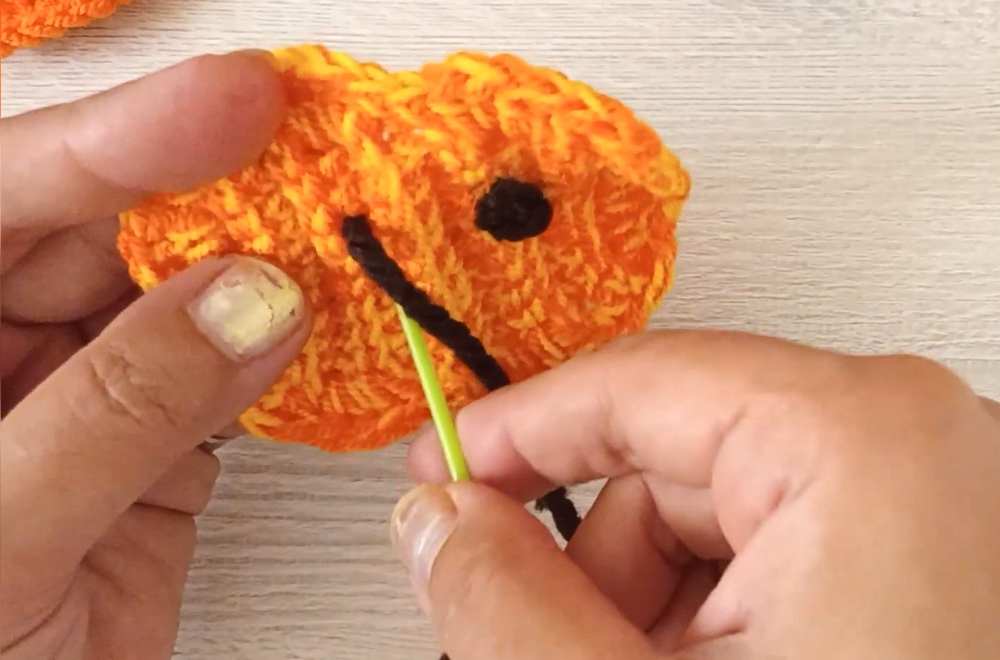
Using black yarn and a yarn needle, embroider two triangular eyes, a small triangular nose, and a zigzag mouth onto the front panel of the pumpkin before joining.
3. Joining the Panels
Place both panels together with the wrong sides facing each other.
Join orange yarn and sc around both parts to connect them, leaving the top open to form a pocket/pouch. Fasten off.
4. Stem and Leaves (Green Yarn)
Stem Loop: Attach green yarn to the top center of the pumpkin. ch 1, 1 sc, sl st, ch 6, sl st, 1 sc, sl st. Fasten off.
Curly Vine (Optional/Alternative version shown in video): Attach green yarn, ch 20, then work 3 sc in each chain back down to create a corkscrew vine effect, then secure to the top.
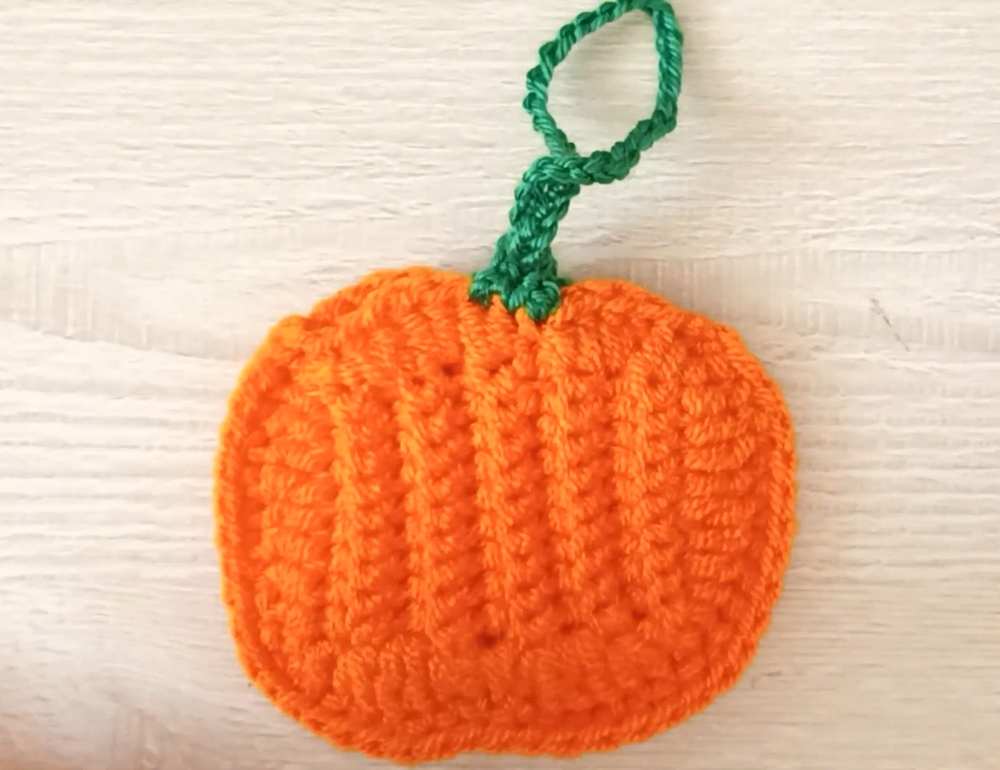
Leaf: Attach green yarn on the side of the stem, ch 1, 1 sc, sl st, ch 6, sl st, 1 sc, sl st, and weave in ends.
Share on Social Media!
See More:

How to Granny Square with Pumpkin Applique in the Middle

Tester Pattern: To Crochet Pumpkin Hello Kitty Plushie with Big Paws Buddy

Featuring: How to Crochet Tiered Unusual Texture Pumpkin Decoration (3 Sizes)

Tester Pattern: To Crochet A Grizzly Bear Presenting You A Pumpkin Plushie

Tester Pattern: To Crochet A Witch Cat Plush Gifting You A Pumpkin Softie
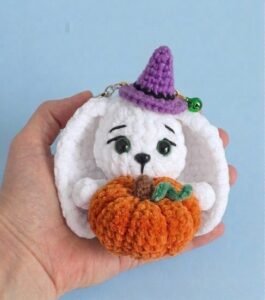
Tester Pattern: Free Crochet Pumpkin-Holding Witch Bunny Plushie Pattern
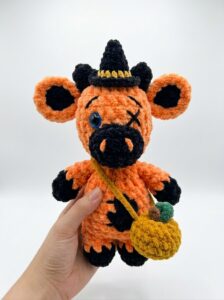
Tester Pattern: How to Crochet Spooky Cow with Pumpkin Bag Plushie
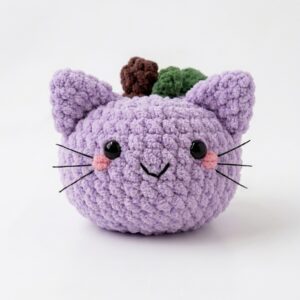
Tester Pattern: How to Crochet Smiling Pumpkin Kitty Cat Plushie
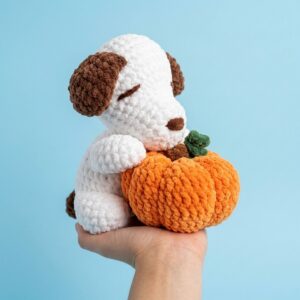
Featuring: How to Crochet Pumpkin Lover Puppy Plushie for Fall Decorations