Show support for Mari!
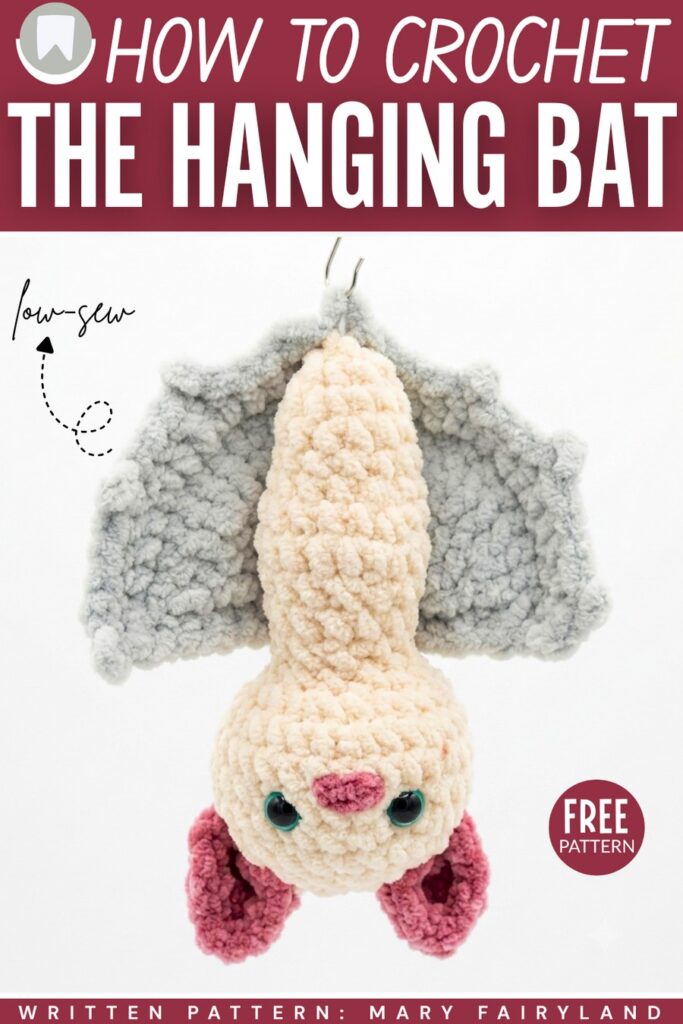
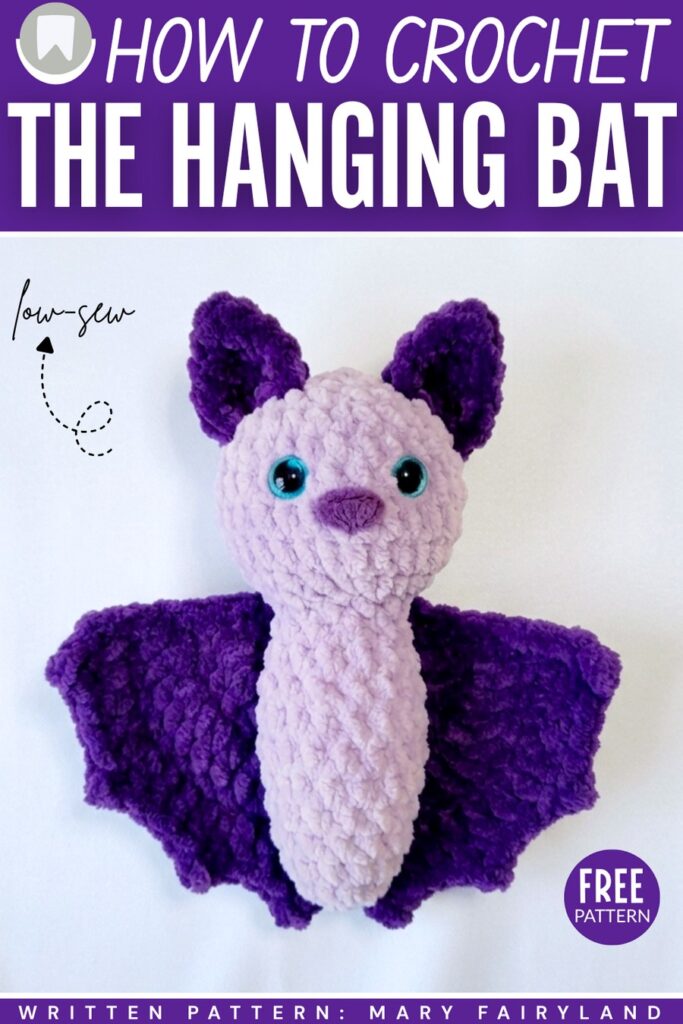
Looking for an EASY-to-crochet hanging bat decoration for Halloween that doubles as a softie for kids? Learn how to crochet this low-sew flying bat plushie designed for absolute beginners, following a written pattern + tutorial as well. This crochet plushie bat has the hanging loop attached to its feet, so you can hang it in its iconic cave sleeping pose. You can crochet this bag either as a keychain by using cotton yarn or as a gift for kids using plush yarn.
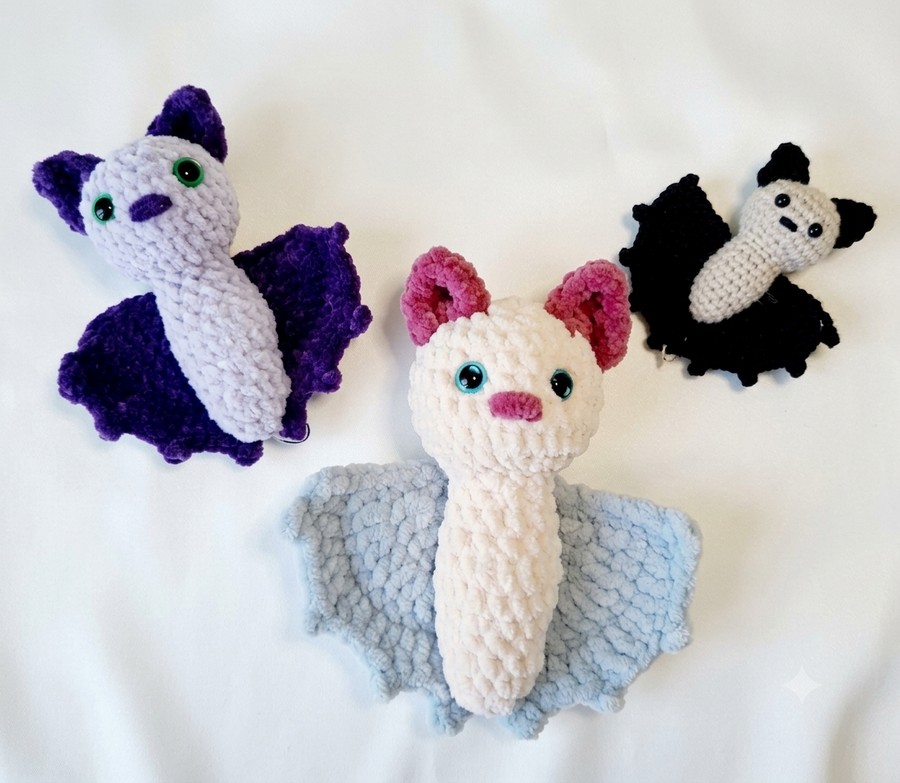
Choose from the crochet pink bat with grey wings, beige bat with black wings, or white bat with purple wings. All these crochet bat variations are spooky and all cute. I like the picot edging of the wings and how they are just crocheted from a semi-circle.
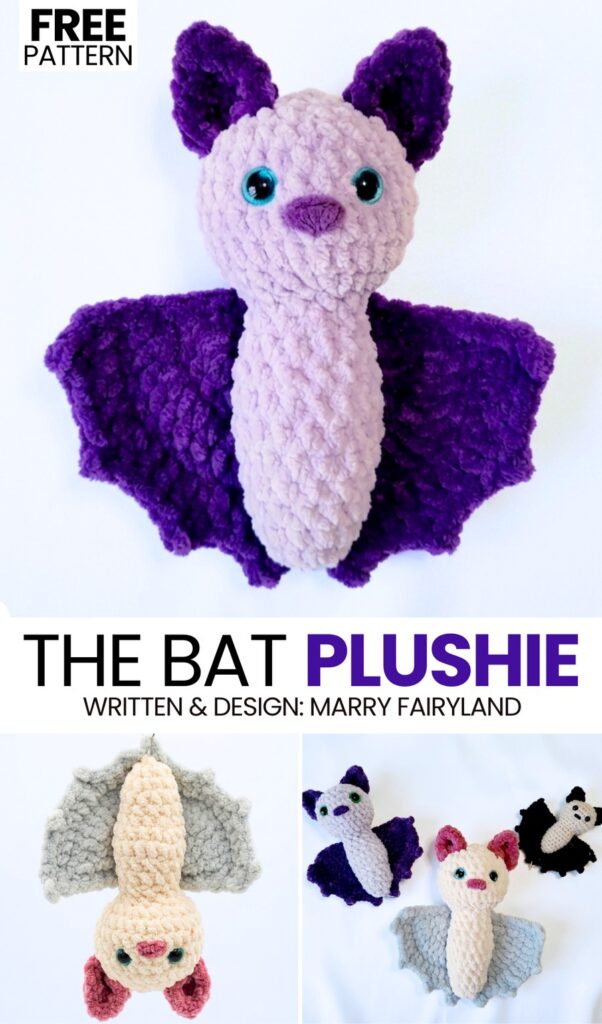
This is a 30-minute plushie bat project that will make a perfect last-minute Halloween present for kids. You can also hang your crochet bat from a tree. To make it look spooky, you can also embroider a cross-stitch eye as a replacement for one of the eyes. You can also use the eyes with the eyelashes. Now, continue reading to learn more about this Halloween bat project.
[ez-toc]
Pattern to Crochet Deep Ridges Pumpkin Amigurumi Plush
This cute crochet bat project is very fast and easy to make – taking only about 15 minutes! It only needs a simple pattern, but shows how you can change the size of your bat just by using different types of yarn. For example, using thick plush yarn makes a large 15-centimeter bat, and thin plush yarn makes a medium 12-centimeter bat.
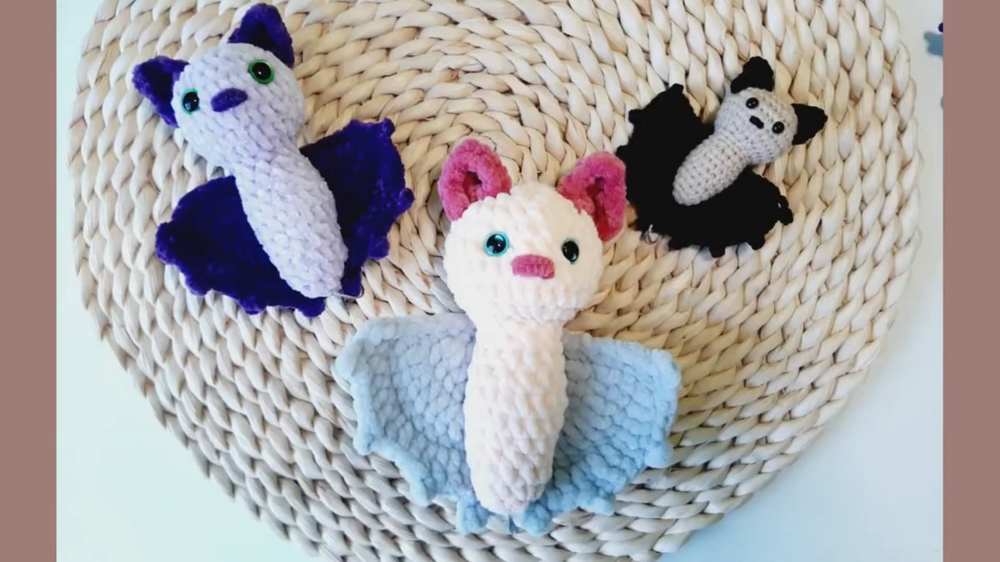
Also, the regular cotton yarn makes a tiny 8-centimeter bat. It is a fun, quick project that lets you easily make a soft little toy in whichever size you like best.
Materials Needed to Crochet the Plush Bat
Yarn: Thin chenille/plush yarn (like Himalaya Velvet or YarnArt Dolce Baby) in two colors: a main color for the body and a contrast color for the wings/ears. Note: You can use any yarn weight (e.g., blanket yarn or cotton), just adjust your hook and eye size accordingly.
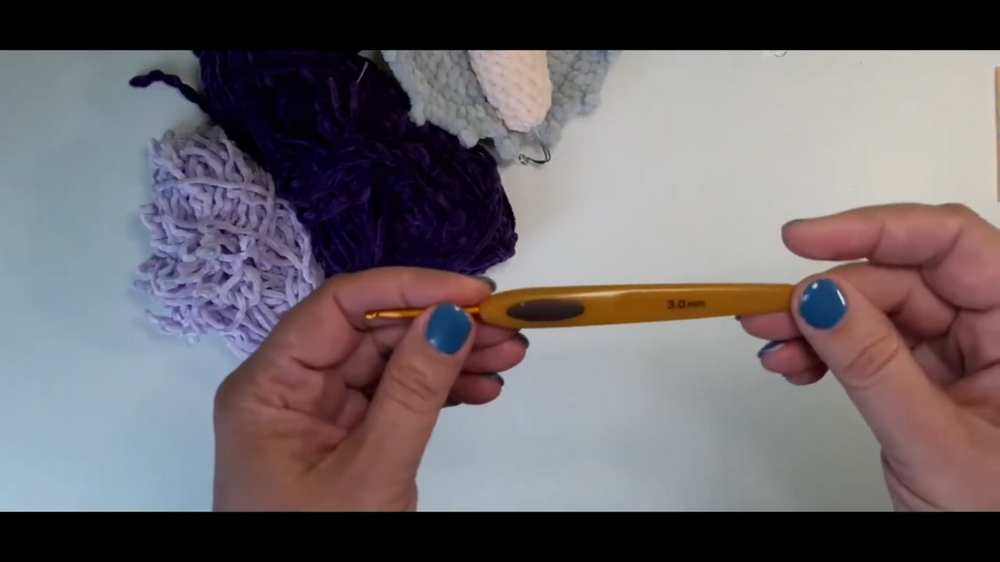
Hook: 3.0 mm (for thin plush yarn)
Eyes: 9mm safety eyes
Stitch marker, tapestry needle, and polyfill stuffing
Abbreviations
mr = magic ring (the video uses a ch 2, working into the 1st ch)
ch = chain
sc = single crochet
dc = double crochet
inc = single crochet increase (2 sc in one stitch)
dc inc = double crochet increase (2 dc in one stitch)
dec = invisible decrease
sl st = slip stitch
st(s) = stitch(es)
Are you a Beginner? Learn Crocheting Easily!
You can learn to crochet this Halloween decoration bat as a beginner by following this tutorial, too:
Share on Social Media!
See More:

How to Crochet Bunny Bat White Foldable Wings Amigurumi with Bow for Halloween
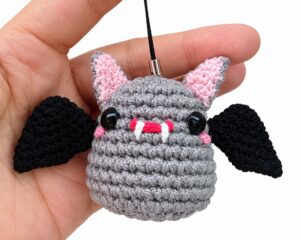
How to Crochet Red Mouth Spooky-Cute Grey and Black Bat Amigurumi
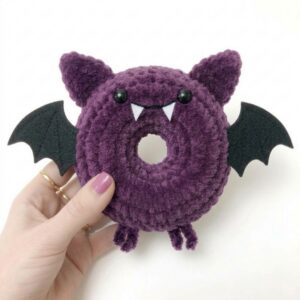
Pattern Tester: How to Crochet A Spooky-Cute Bat Food Ring Plush for Gifting
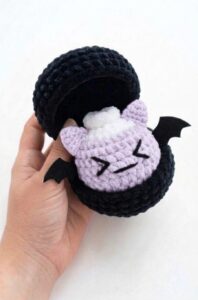
Tester Pattern: To Crochet A Plush Spooky Bat Bao Bun Plushie
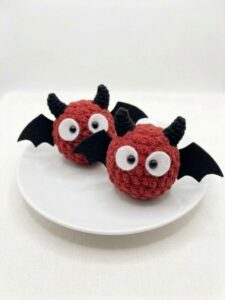
Tester Pattern: To Crochet A Red Soot Bat Amigurumi Plushie Pattern
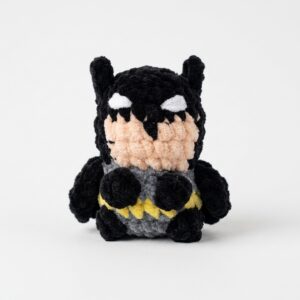
How to Crochet Low-Sew Mr. Bat Superhero Plushie for Kids
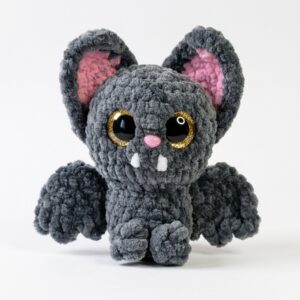
How to Crochet Glitter-Eyed Kawaiiest Bat Softie for Halloween
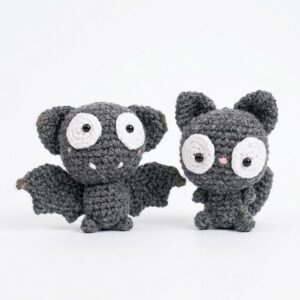
Featuring: Crochet Black Kitty Amigurumi But it is A Bat for Halloween (2-in-1 Tutorial)
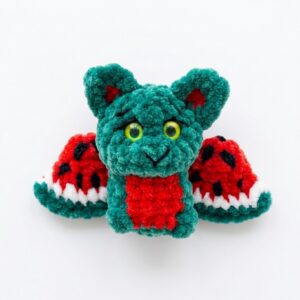
How to Crochet the Watermelon Bat No-Sew Plushie Pattern