Author: Talha
I am a crochet designer, macramé maker and a crafter who also loves doing MATH.
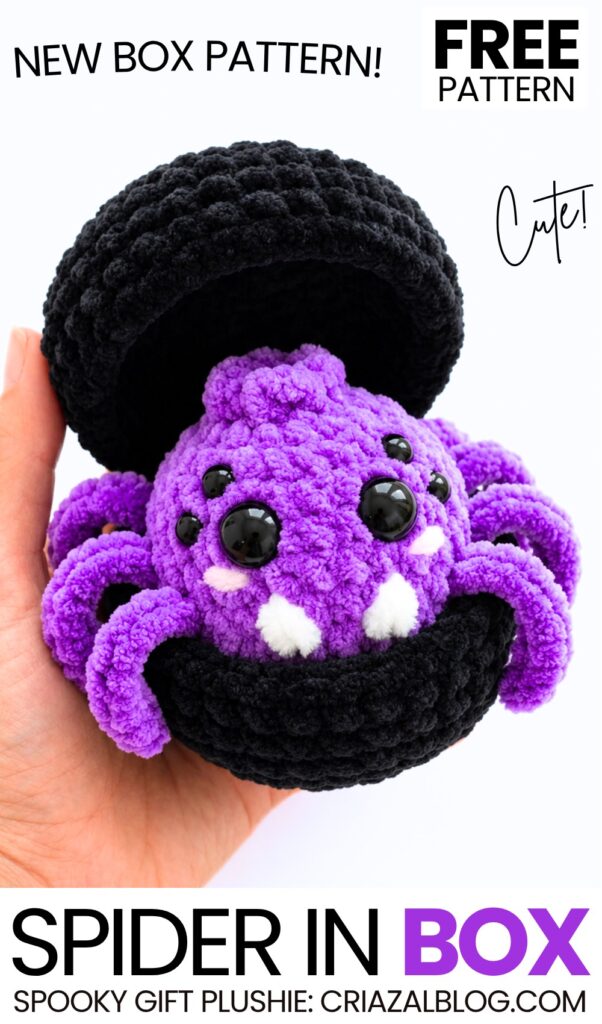
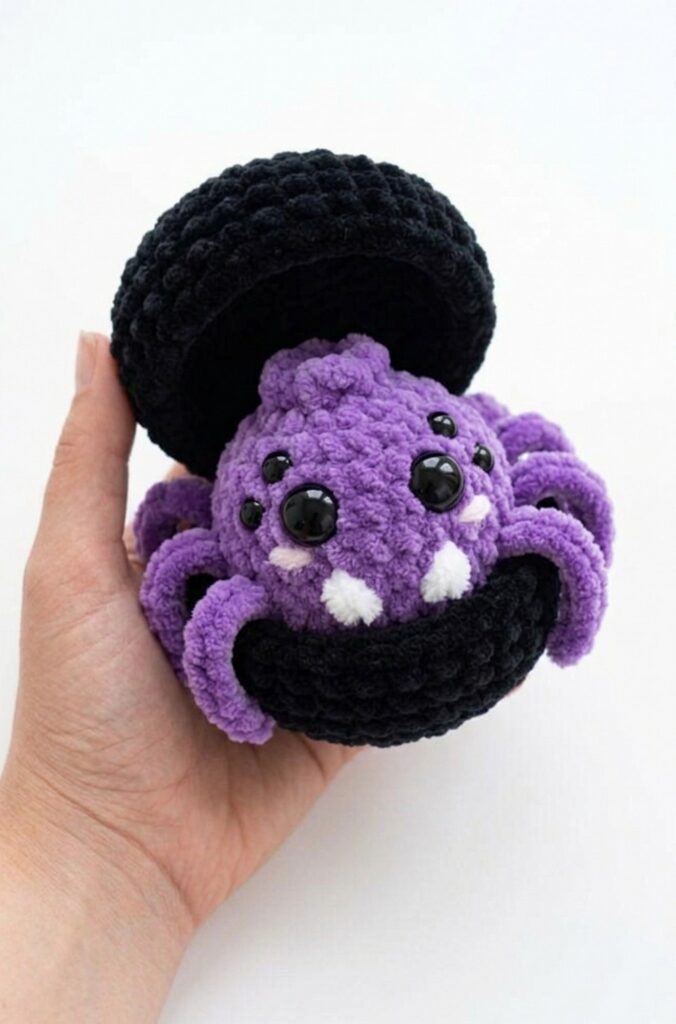
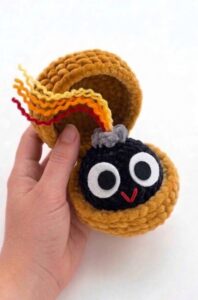
Today, you will learn to crochet a SUPER FUN and unique chonky spider plush present. And this is also part of my “community-fav crochet plushie” series. So, welcome to this CUTE crochet 6-eyed amigurumi spider in a black steamer basket plush with a FREE written pattern for absolute beginners.
Our little crochet spider has 8 bendable legs that you can make using either the purple pipe cleaners or the crochet pattern below, along with craft wire pieces.
You cannot close the box because the legs actually are the FUN part of this crochet spider in a box plush. That is, the spider is trying to hide in a box even when it cannot fit inside; isn’t it fun? You can crochet your spider in a food basket plush using mint green, purple, green, and even pink. Anyway, continue reading to learn more about this crochet plush spider and basket project!
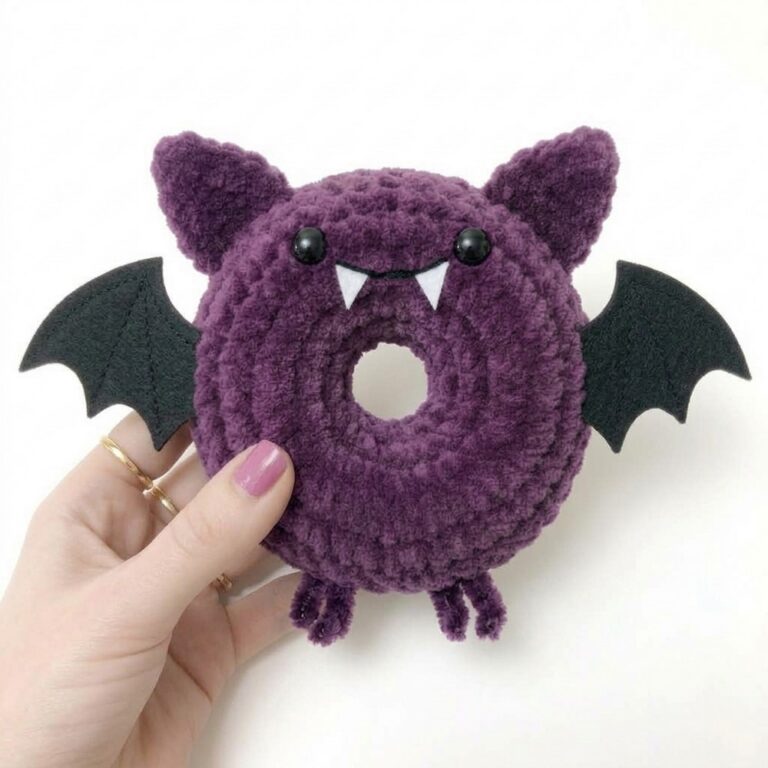
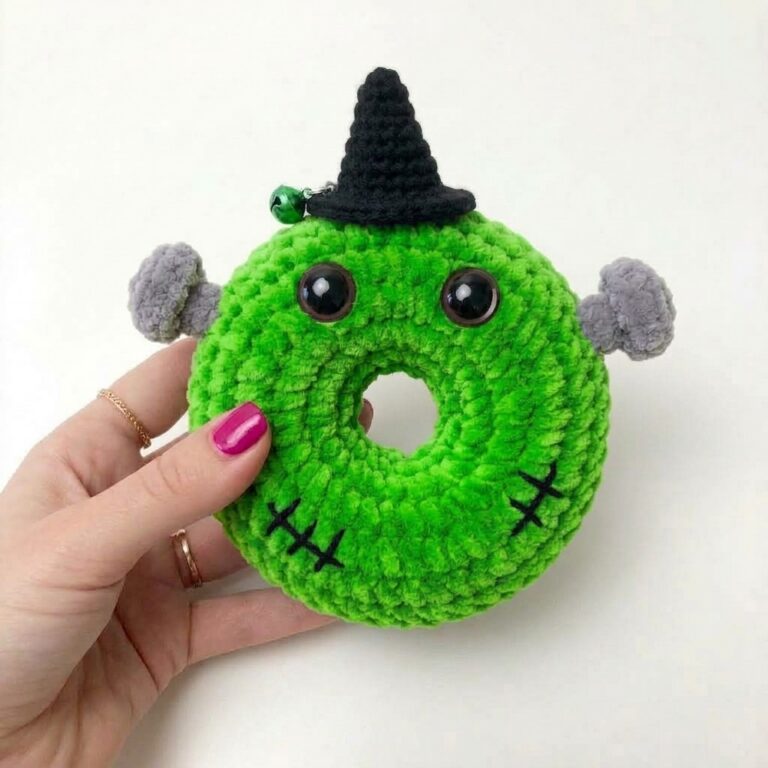
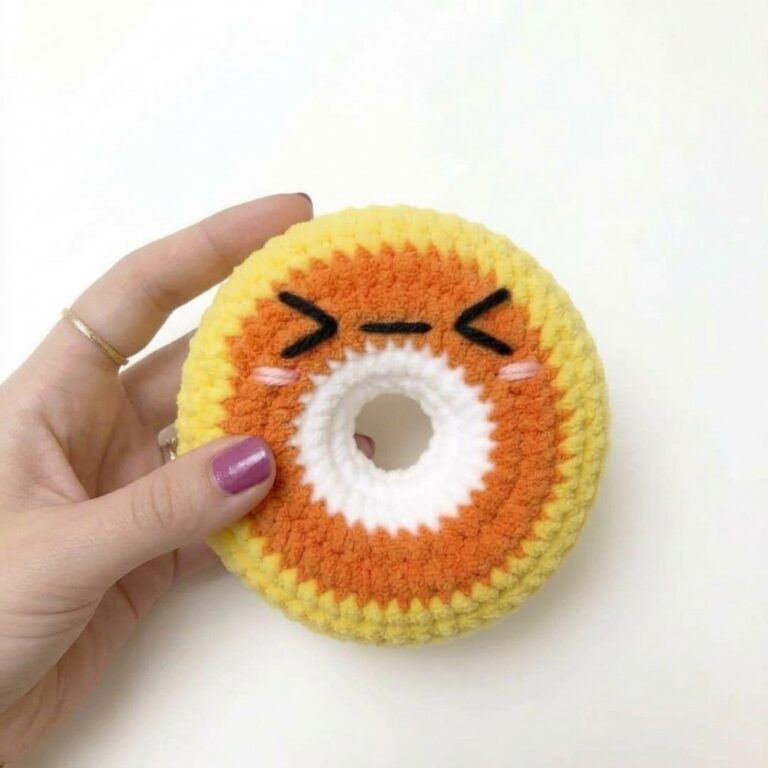
Similar Project(s)
Pattern to Crochet the Plush Spider in A Food Box Plush
Skill Level: Beginner – Level 4
Materials List
Plush yarn (100g / 120m) for the dumpling body.
Plush yarn (slightly thicker, 100g / 120m) for the box/basket.
Super bulky purple yarn for the spider legs.
Semi-cotton yarn (like YarnArt Jeans) in black for the smile, a matching color for closing the top hole, and white for the fangs.
Purple pipe cleaners (optional, as an alternative to crocheted legs).
Crochet hook: 4 mm.
Toy stuffing.
Plastic safety eyes (12 mm) for the main eyes.
Small black half-beads (e.g., 6mm or 8mm) for the secondary spider eyes.
Craft glue (fabric or super glue for the half-beads).
Yarn needle for sewing and weaving in ends.
Scissors.
Abbreviations List
MR = Magic Ring
sc = single crochet
inc = increase (2 single crochets in one stitch)
dec = decrease (crochet 2 stitches together)
sl st = slip stitch
ch = chain
BLO = back loops only
FLO = front loops only
R = Round
1. The Spider Dumpling Pattern
R1: 8 sc in MR (8).
R2: 8 inc (16).
R3: (1 sc, inc) repeat 8 times (24).
R4: (2 sc, inc) repeat 8 times (32).
R5 to R8 (4 rounds): 32 sc (32).
R9: (2 sc, dec) repeat 8 times (24).
Note: Insert the 12 mm safety eyes between R7 and R8, leaving 6 stitches between the eyes.
R10: (1 sc, dec) repeat 8 times (16).
Stuff the dumpling with toy stuffing now. Make it soft and squishy, not too tight.
R11: 8 dec (8).
Creating the top “skirt” ruffle:
R12: Working in FLO only, (inc, 1 sc) repeat all the way around until the end of the round. Cut the yarn and finish with a sl st.
Closing the top hole:
Take a piece of semi-cotton yarn on a needle. Weave it through the remaining unworked back loops (BLO) of R11. Pull the ends tightly to close the hole, tie a knot, and hide the threads inside the body.
2. Spider Features
The Fangs (Make 2)
Using the white semi-cotton yarn:
Ch 3.
Sl st in the 2nd ch from the hook, sc in the next ch.
Fasten off, leaving a long tail for sewing.
The Legs (Make 8)
You have two options for the legs:
Option 1 (Crocheted): Using the super bulky purple yarn, ch 8. Sl st in the 2nd chain from the hook and in each chain stitch across (7 sl sts total). Fasten off, leaving a long tail for sewing. Also, insert craft wires in your spider legs to make them bendable.
Option 2 (Pipe Cleaners): Cut 4 purple pipe cleaners in half to create 8 bendable legs.
3. Basket / Box Pattern (Make 2 parts)
R1: 8 sc in MR (8).
R2: 8 inc (16).
R3: (1 sc, inc) repeat 8 times (24).
R4: (2 sc, inc) repeat 8 times (32).
R5: (7 sc, inc) repeat 4 times (36).
R6: 36 sc in BLO (36).
R7 to R8 (2 rounds): 36 sc (36).
For the top lid: Cut the yarn, finish off, and hide the end.
For the bottom base: Do NOT cut the yarn.
4. Full Assembly Guide
Follow these steps in order to easily put your spider dumpling and its box together without the legs getting in the way of the face details!
See More:
Featuring: Crochet 8-Legged & Four-Eyed Spider Plushie for Halloween
How to Crochet a Funny Googly-Eyed Spider in A Bow Amigurumi Decorations
How to Crochet the CUTEST No-Sew Baby Spider Plushie for Halloween Craft Fairs
How to Crochet a Jumping Spider Plushie for Halloween in Under 20 Minutes
How to Crochet Big Low-Sew Black-&-Red Spider Plushie for Halloween
Free Crochet Spider-Man Spider & Batman Spider Amigurumi Plushie for Halloween
Free Crochet Halloween Pumpkin Décor Plushie with a Spider & Cobweb
Tester Pattern: How to Crochet Birthday-Popper Dumpling Plushie for Gifting

Tester Pattern: How to Crochet Dumpling Buddy in A Steamer Costume Plushie