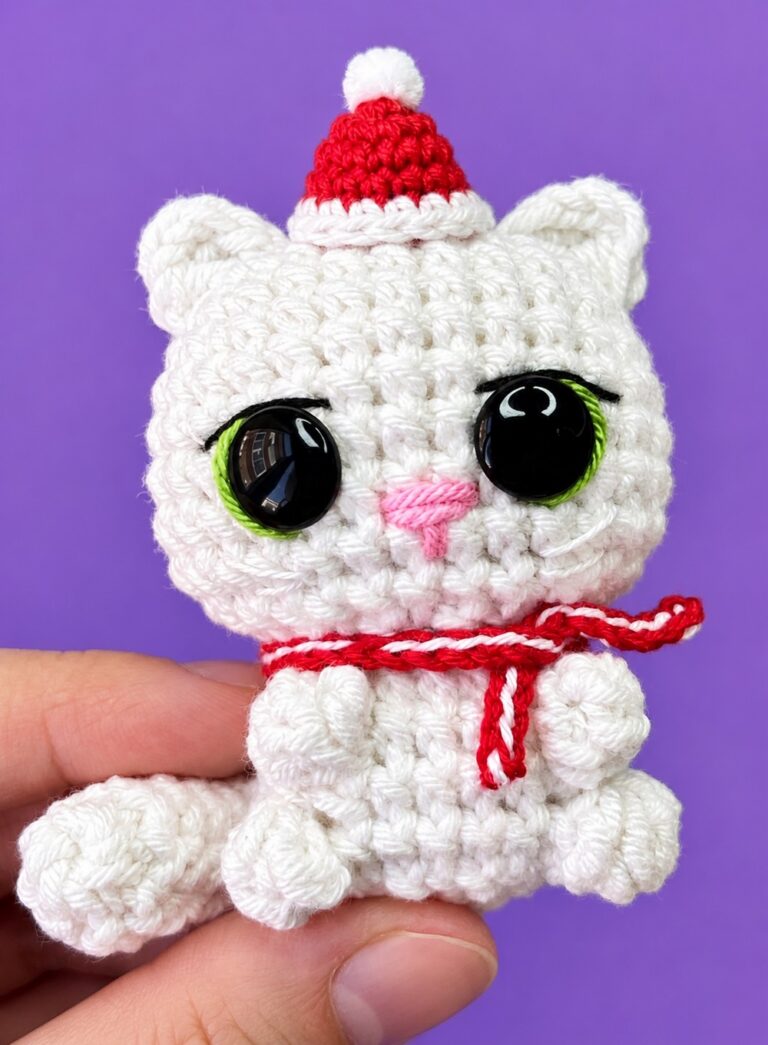
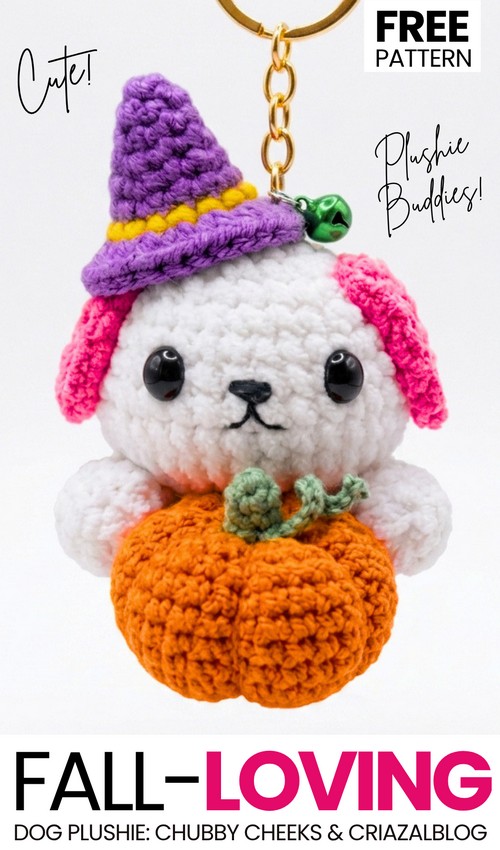
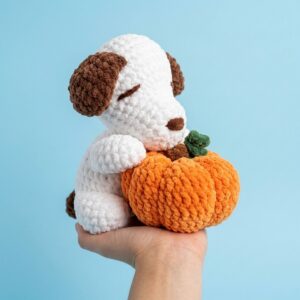
Today, I am gonna share another crochet plushie pattern from the “animal plushies holding an orange fruit for fall.” This time, I have used the floppy-eared puppy plushie as a base and designed this crochet fall-lover miniature baby dog plushie that makes an irresistibly cute present and desk buddy!
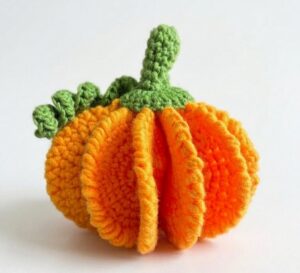
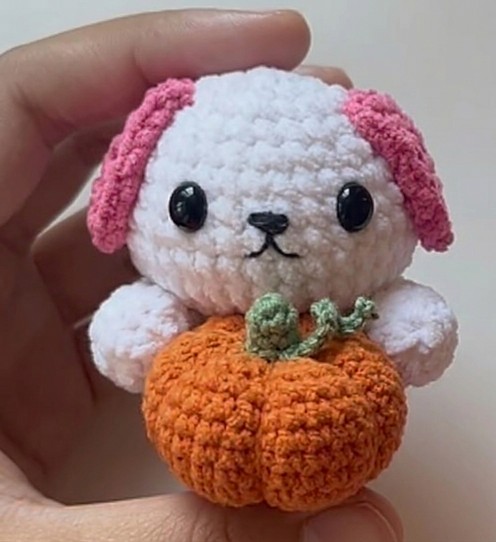
I liked it more with the crochet mini ribbed pumpkin made out of cotton yarn instead of the plush yarn, unlike the bear holding a pumpkin plush. The crochet amigurumi pumpkin also has a little coiled vine and a stem as well.
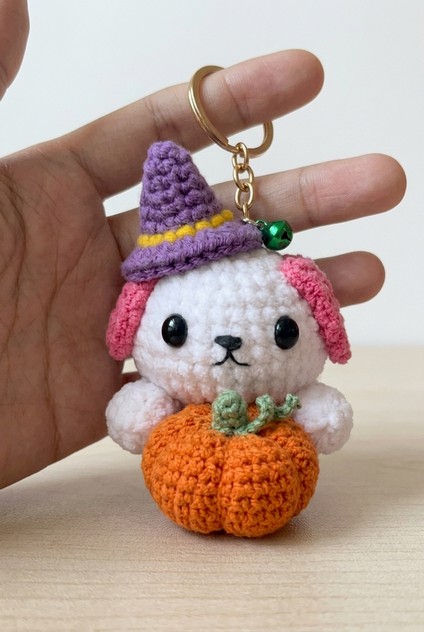
The oval half beads have been used instead of the circle beads, and it makes the crochet pink-ear puppy plush look so adorable. We also have a small crochet witch hat that is attached, tilted to the head. Overall, this is my favorite crochet Halloween plushie so far, so continue reading for the full puppy pumpkin plush pattern!
[ez-toc]
Pattern to Crochet the Plush Dog Holding a Pumpkin Plush
This updated pattern transforms the puppy into a festive Halloween crochet keychain featuring a white dog with pink ears, a witch hat, and a ribbed pumpkin.
Materials Needed
Yarn:
- White plush yarn (for dog head and hands)
- Pink plush yarn (for dog floppy ears)
- Orange DK yarn (for pumpkin)
- Green yarn (for pumpkin stem and curly vine)
- Purple yarn (for witch hat)
- Yellow yarn (for witch hat band)
Embroidery / Face Details:
Black yarn or 8 mm safety eyes
Thin black embroidery thread (for nose and mouth line)
- Crochet Hook: 2.5 mm crochet hook
- Stuffing: Polyester fiberfill
- Tools: Yarn needle, stitch markers, scissors, pins
- Optional: Gold keychain hardware, small green jingle bell
Key Terms & Abbreviations
MR: Magic Ring
st(s): Stitch(es)
sc: Single Crochet
inc: Increase (2 sc in the same stitch)
dec: Invisible Decrease (sc 2 stitches together using front loops only)
ch: Chain
hdc: Half Double Crochet
dc: Double Crochet
sl st: Slip Stitch
Part 1: Head (White Yarn) Work in continuous rounds. Mark the first stitch of every round.
Round 1: 8 sc into a magic ring. [8]
Round 2: 8 inc. [16]
Round 3: (1 sc, 1 inc) x 8. [24]
Round 4: 1 sc in each st around. [24]
Round 5: (2 sc, 1 inc) x 8. [32]
Rounds 6–7: 1 sc in each st around for 2 rounds. [32]
Round 8: 8 sc, 1 inc, 1 sc, 1 inc, 10 sc, 1 inc, 1 sc, 1 inc, 8 sc. [36]
Rounds 9–10: 1 sc in each st around for 2 rounds. [36]
Round 11: 8 sc, 1 dec, 1 sc, 1 dec, 10 sc, 1 dec, 1 sc, 1 dec, 8 sc. [32]
Round 12: (2 sc, 1 dec) x 8. [24]
Round 13: (1 sc, 1 dec) x 8. [16]
Stuff the head firmly with fiberfill.
Round 14: 8 dec across all stitches. [8]
Fasten off, leaving a short tail. Weave through front loops of remaining 8 sts, pull tight to close, and hide the end inside the head.
Part 2: Facial Details
Eyes: Insert 8 mm black safety eyes between Rounds 7 and 8 (spaced 6 stitches apart) or embroider eyes using black yarn.
Nose: Using black embroidery thread, embroider a horizontal nose stitch across 2 stitches centered between the eyes.
Mouth: Bring thread down directly from the middle of the nose to form a inverted “T” or small curved smile line.

Part 3: Floppy Dog Ears (Make 2 – Pink Yarn) Chain foundation:
Row 1: Chain 7. Starting in 2nd ch from hook:
1 sc in 1st ch
1 hdc in each of next 2 ch
1 dc in each of next 2 ch
5 dc into the last ch stitch
Rotate piece to work down opposite side of chain:
1 dc in each of next 2 ch spaces
1 hdc in each of next 2 ch spaces
1 sc in last ch space
Fasten off, leaving a long tail for sewing.
Attachment: Sew top edge of ears onto top sides of the head between Rounds 3 and 4, placed about 4 stitches outward from each eye.
Part 4: 10-Round Pumpkin (Orange DK Yarn)
Round 1: 6 sc into a magic ring. [6]
Round 2: 6 inc. [12]
Round 3: (1 sc, 1 inc) x 6. [18]
Round 4: (2 sc, 1 inc) x 6. [24]
Round 5: (3 sc, 1 inc) x 6. [30]
Round 6: 1 sc in each st around for 2 rounds. [30]
- Round 7: (3 sc, 1 dec) x 6. [24]
Round 8: (2 sc, 1 dec) x 6. [18]
Round 9: (1 sc, 1 dec) x 6. [12]
- Round 10: 1 dec x 6. [6]
Stuff firmly with fiberfill. Fasten off, leaving a long tail (approx. 40 cm).
Thread needle with the long tail, pass through inner loops to draw top partially closed, then wrap yarn around the outside from bottom to top 5–6 times, pulling tightly to pull in segments and create pumpkin ridges. Knot underneath and secure.
Pumpkin Stem (Green Yarn)
Round 1: 5 sc into a magic ring. [5]
Rounds 2–3: 1 sc in each st around for 2 rounds. [5]
Fasten off, leaving a long tail for sewing onto the top center of the pumpkin.
Curly Vine (Green Yarn)
Chain 9. Starting in 2nd ch from hook, work 3 sc into each chain stitch across to create a twist. Fasten off, leaving a tail to attach next to the stem.
Part 5: The Witch Hat
Round 1 (Purple): Magic ring, 4 sc, sl st to join. [4]
Round 2: Ch 1, (1 sc, 1 inc) x 2, sl st. [6]
Round 3: Ch 1, (2 sc, 1 inc) x 2, sl st. [8]
Round 4: Ch 1, (3 sc, 1 inc) x 2, sl st. [10]
Round 5: Ch 1, (4 sc, 1 inc) x 2, sl st. [12]
Round 6: Ch 1, (5 sc, 1 inc) x 2, sl st. [14]
Round 7 (Switch to Yellow): Ch 1, 14 sc around, sl st. [14]
Round 8 (Switch to Purple): Ch 1, 2 hdc in each st around, sl st to join. [28]
Fasten off, leaving a long purple yarn tail to sew directly to the head. Lightly stuff the tip of the hat.
Part 6: Hands (Make 2 – White Yarn)
Round 1: 6 sc into a magic ring. [6]
Round 2: 6 inc. [12]
Rounds 3–8: 1 sc in each st around for 6 rounds. [12]
Stuff the lower hand lightly. Flatten opening at top, skip last st, and crochet 5 sc across through both opposing layers to seal.
Fasten off, leaving a long tail for sewing.
Part 7: Assembly & Finishing
Attach Pumpkin: Sew the top center of the pumpkin to the bottom front of the head (centered 4 rows below eyes).
Attach Hands: Sew the top edge of each hand to the sides of the head/neck. Wrap the hands forward around the sides of the pumpkin and secure with a stitch midway down each hand.
Attach Hat: Place the witch hat tilted slightly over one ear on top of the head. Sew along the inner base of Round 7 to secure it flat to the head.
Keyring & Bell (Optional): Attach a small green bell to the side of the hat rim and attach a keychain loop through the center top of the head/hat tip.
Share on Social Media!
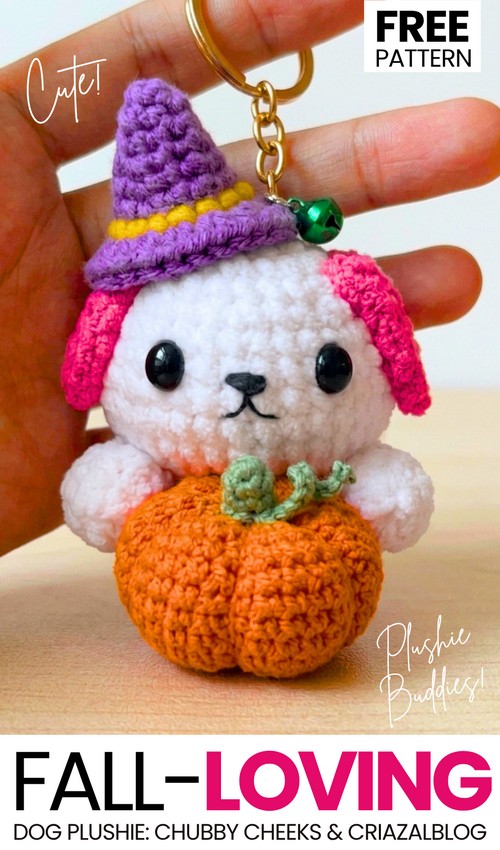
Crochet the Puppy Holding an Orange Fruit Amigurumi
Featuring: How to Crochet Pumpkin Lover Puppy Plushie for Fall Decorations
 Claire of CrochetCalls
See More:
Featuring: The MOST Well-Detailed Yet Easy Crochet Rooster Fall Plushie (2-in-1 Tutorial)

Featuring: How to Crochet the Smallest Pumpkin Fall Turtle Plushie with Orange & Parrot

Pattern Tester: How to Crochet Pumpkin Ridges Face Donut Ring Plushie for Fall
![[PDF Pattern] Crochet A Plush Autumn Acorn-Lover Plushie for Fall](https://criazalblog.com/wp-content/uploads/2026/09/crochet-squirrel-2-225x300.jpg)
[PDF Pattern] Crochet A Plush Autumn Acorn-Lover Plushie for Fall
Featuring: How to Crochet Pumpkin Lover Puppy Plushie for Fall Decorations
Tester Pattern: How to Crochet A Face Pumpkin Fall Wind Spinner for Playing With
Featuring: How to Crochet Interlocking 3D Pumpkin Bookmark for Fall
Tester Call: The Easiest Pumpkin-Octopus Hybrid Variation with UNIQUE Fall Pallete
Featuring: How to Crochet A Back-to-School Pumpkin Bookmark for Fall