Author: Talha
I am a crochet designer, macramé maker and a crafter who also loves doing MATH.
Contributor: Inna of InnaMK Crochet
She is a plushie designer and toy maker using crochet. Via mycraftybasket!
Show support for Inna!
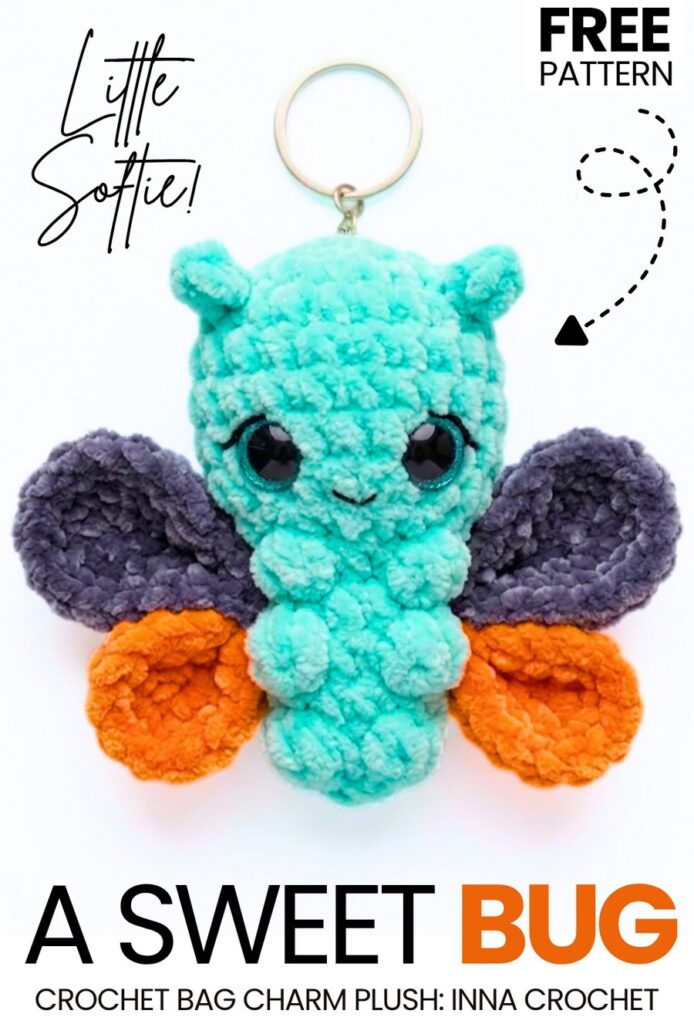
I am back with another plushie pattern from the “crochet no-sew and cute” animal plushie series. Today, let’s learn how to crochet this oh-so-cute and no-sew butterfly plushie that can also be adapted to make a bee plushie following the same 2-in-1 crochet plush tutorial + a written pattern as well. It is also one of the easiest crochet plushies, with the wings crocheted just by making a crochet circle, folding, and hook-sewing it to the no-sew bat plushie body. Crochet this plush as a festive gift for a little one (can be completed in 33 minutes with recommended yarn).
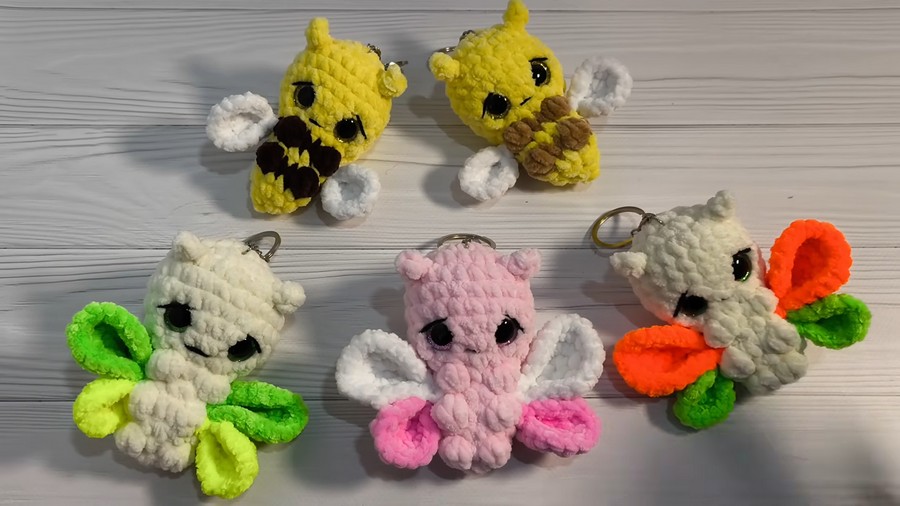
The idea is to crochet the butterfly body with yellow and brown stripes for the bee variation and make only 4 bobble stitch legs and 2 circle wings. Crochet this butterfly plush and bee pair, attach a keyring, and you have an ultimate softie and bag charm!
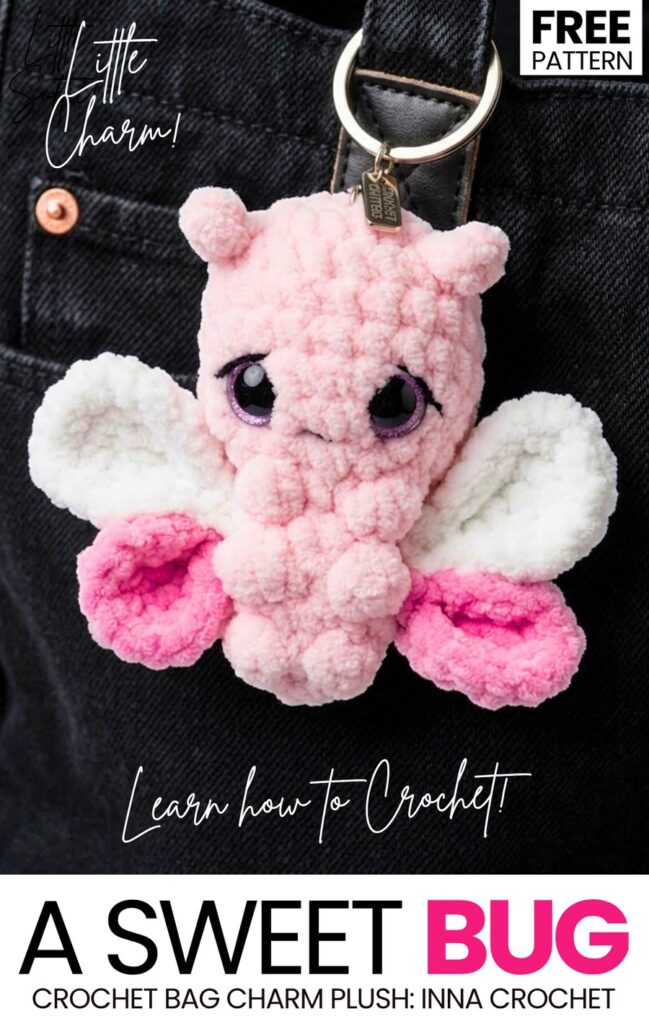
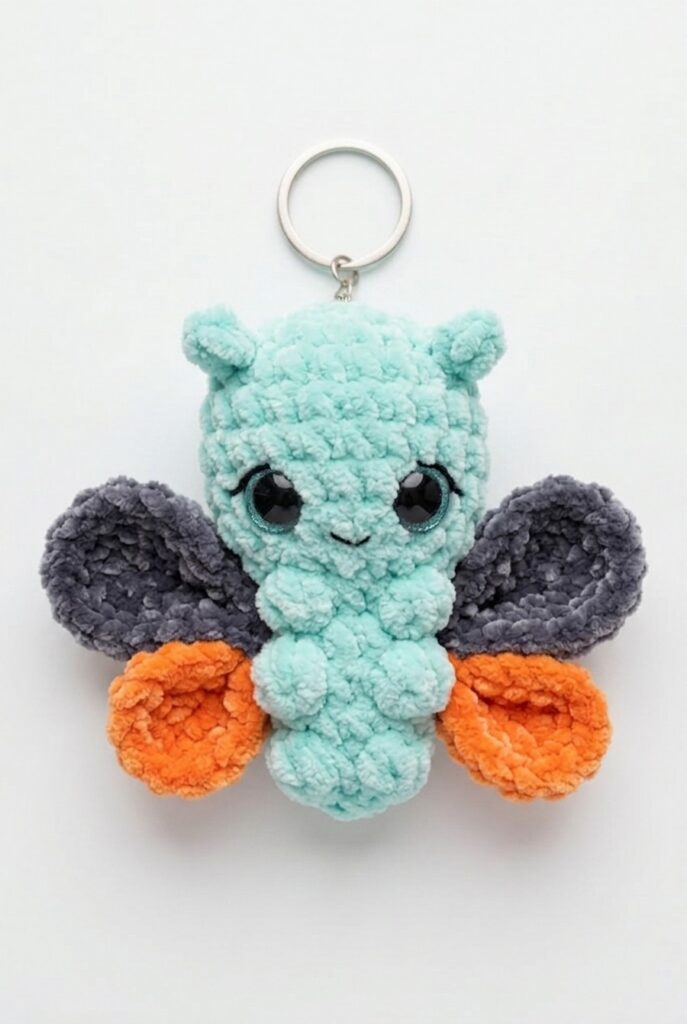
Choose from the pink, green, and orange wing variations. You can also crochet your butterfly plush in Monarch colors (orange and black for Halloween). What I especially like about these crochet butterfly plushies is the addition of embroidered eyebrows and eyelashes along with the glitter eyes that make them look simply the most adorable. Soon, I will also try to bring a separate pattern to crochet the plush butterfly. Continue reading to learn more about this spring-memory crochet plush project and the pattern!
Similar Project(s)
Pattern to Crochet the Plush Butterfly Miniature
This crochet project is a small plush bee and butterfly keychain. You make the body using soft plush yarn. You work from the head down to the bottom of the body in round rows. Next, you make small wings and antennae and sew them onto the body. You add small safety eyes and a key ring loop so you can hang it on a bag or keys.
Materials Needed
Plush Chenille Yarn (100g / 120m):
Yellow and Dark Brown (or Black) for the Bee
Pink, Light Blue, or Purple for the Butterfly Body
White for the Wings
Crochet Hook: 3.5 mm
Safety Eyes: 8 mm or 9 mm black safety eyes
Stuffing: Fiberfill / Hollofiber
Keychain Hardware: Key ring with chain or lobster clasp
Tools: Yarn needle, scissors, stitch marker
Pattern Abbreviations (US Terms)
MR: Magic Ring (or Ch 2, work into 2nd chain from hook)
ch: chain
sc: single crochet
inc: increase (2 sc in the same stitch)
dec: decrease (single crochet 2 stitches together)
hdc: half double crochet
dc: double crochet
sl st: slip stitch
st(s): stitch(es)
Are you a Beginner? Learn Crocheting Easily!
You can learn to crochet better with this kawaii plush butterfly with the following video tutorial or continue to the pattern:
Detailed Crochet Pattern
1. Main Body (Bee & Butterfly)
Work in continuous rounds.
Rnd 1: Work 6 sc into a MR [6 sts].
Rnd 2: Work 6 inc [12 sts].
Rnd 3: (1 sc, inc) × 6 [18 sts].
Rnd 4: (2 sc, inc) × 6 [24 sts].
Rnd 5: 24 sc around [24 sts].
Rnd 6: 24 sc around [24 sts].
Color Note for Bee: Switch to Dark Brown / Black yarn at the end of Round 6. Switch back to Yellow at Round 8, then back to Dark Brown at Round 10 to create stripes.
Eye Attachment: Insert safety eyes between Rnds 4 and 5, spacing them 4 stitches apart.
Rnd 7: 24 sc around [24 sts].
Rnd 8: (2 sc, dec) × 6 [18 sts]. Begin stuffing the body with fiberfill.
Rnd 9: 18 sc around [18 sts].
Rnd 10: (1 sc, dec) × 6 [12 sts]. Add final stuffing to make the body firm.
Rnd 11: 6 dec [6 sts].
Fasten off, weave the yarn tail through the front loops of the remaining 6 stitches, pull tight to close, and hide the tail inside the body.
2. Wings
Bee Wings (Make 2)
Use White Plush Yarn.
Row 1: Ch 4. Starting in the 2nd chain from hook, work: 1 sl st, 1 sc, (1 hdc, ch 2, sl st) all into the last chain.
Fasten off, leaving a yarn tail for sewing.
Butterfly Wings (Make 2 Upper Wings & 2 Lower Wings)
Use White or Pink Plush Yarn.
Upper Wing (Make 2):
Ch 5. Starting in the 2nd chain from hook: 1 sc, 1 hdc, 1 dc, 3 dc in the last chain.
Turn to work along the opposite side of the chain: 1 dc, 1 hdc, 1 sc, sl st to first st. Fasten off.
Lower Wing (Make 2):
Ch 4. Starting in the 2nd chain from hook: 1 sc, 1 hdc, 2 hdc in the last chain.
Work along the opposite side: 1 hdc, 1 sc, sl st to first st. Fasten off.
3. Antennas (Make 2)
Use Dark Brown or Black Yarn.
Ch 4.
Starting in the 2nd chain from hook, work 3 sl st back down the chain.
Fasten off, leaving a tail for attachment.
Assembly Instructions
Attach Antennas: Sew the two antennas to the top of the head between Rnd 2 and Rnd 3, spaced about 2 stitches apart.
Attach Wings:
For the Bee, sew the two small wings flat onto the back between Rnd 6 and Rnd 7.
For the Butterfly, sew the upper wing and lower wing together first, then attach the combined wing set to each side of the back.
Keychain Attachment: Securely stitch the key ring chain or loop to the top center of the head using matching yarn.
Final Details: Weave in any remaining yarn ends and trim them cleanly.
Share on Social Media!
See More:
Featuring: How to Crochet Super Bulky Yarn Rainbow Little Caterpillar Bug Plushie
How to Crochet Blue No-Sew Hedghog Superhero Plushie for Kids
How to Crochet No-Sew Red & Blue Superhero Amigurumi for Kids
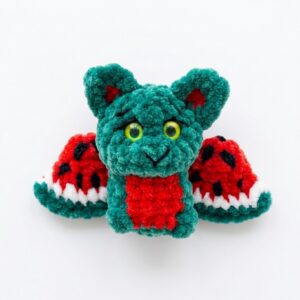
How to Crochet the Watermelon Bat No-Sew Plushie Pattern
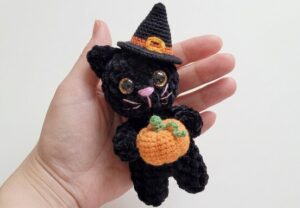
How to Crochet A Cosplay No-Sew Cat Plushie Holding A Pumpkin
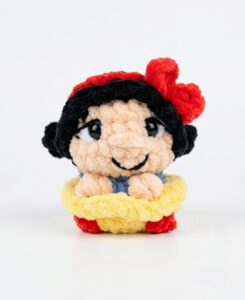
How to Crochet A No-Sew Princess Snow White Plushie for Cosplay
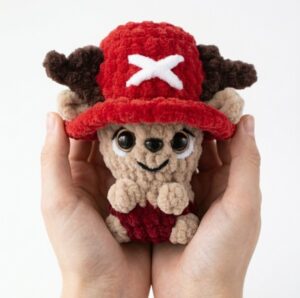
How to Crochet No-Sew Dear Character Plushie (FREE PATTERN)
How to Crochet A Miniature No-Sew Smurf Plushie Tutorial
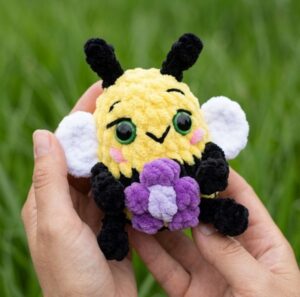
How to Crochet A Kawaii Bee No-Sew Plushie for Kids