Show support for her!
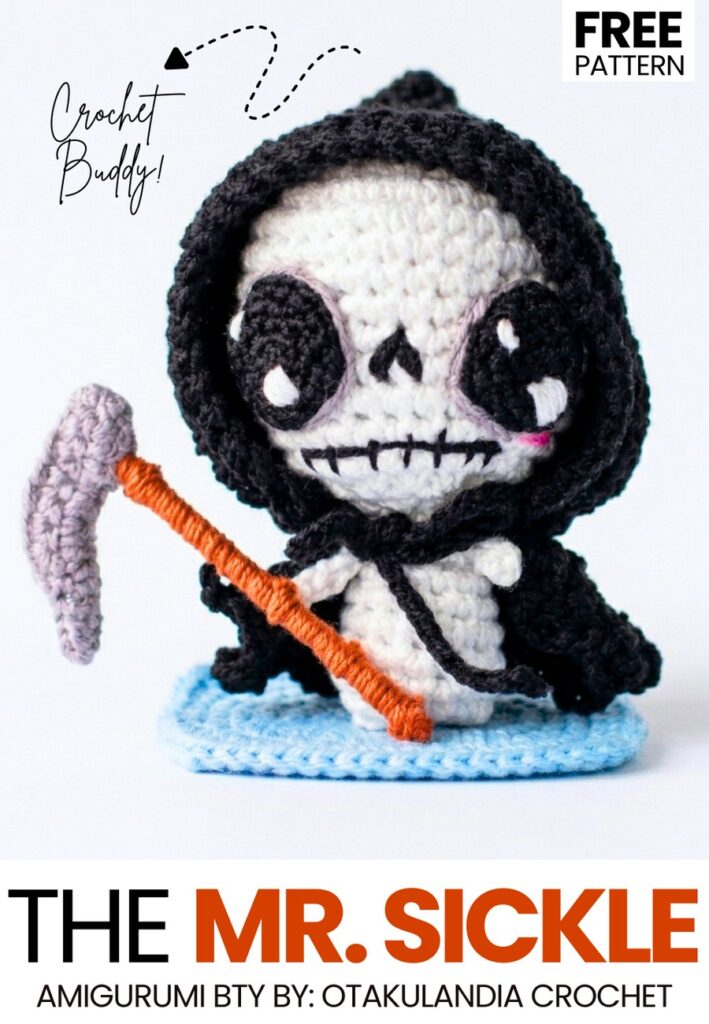
This is part 3 of the “crochet Chibi Halloween amigurumi figures” series! And today, you will learn how to crochet this oh-so-cute amigurumi Mr. Sickle holder using the same Chibi Halloween doll base. Our little kawaii-eyed amigurumi Reaper holds a crocheted sickle that looks so cute in its tiny arms. Just like the previous spooky buddy tutorials in this series, I will provide you with the crochet pattern for both the doll base and Mr. Sickle accessories so you can crochet a complete amigurumi spooky figure. Can be crocheted in less than 45 minutes.
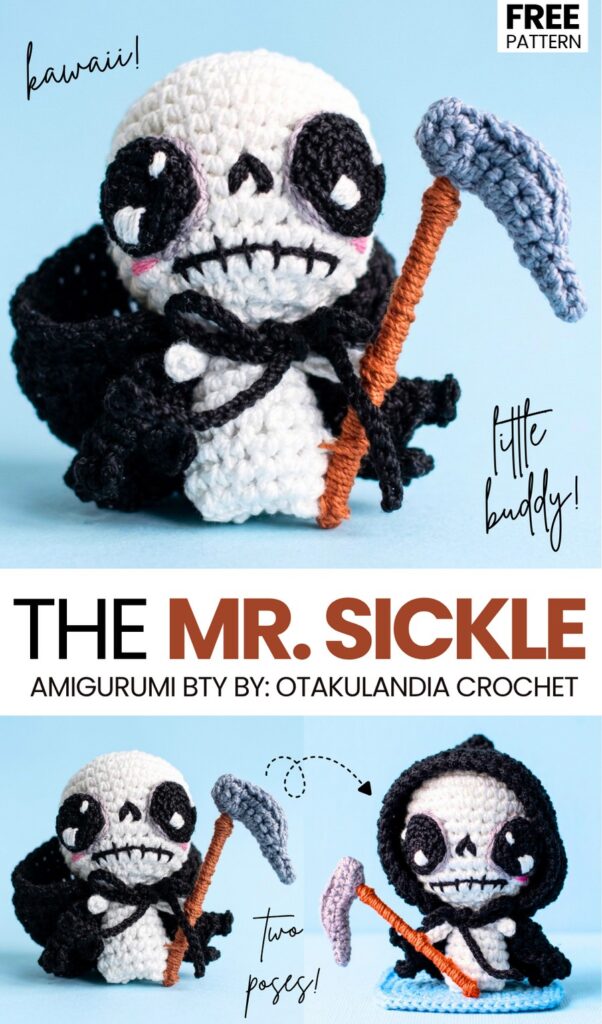
You can display this little amigurumi Mr. Sickle holder with both the hood on and off, and it will look simply cute in both ways. The crochet cape is also removable, so you can also crochet one for your little kitty amigurumi.
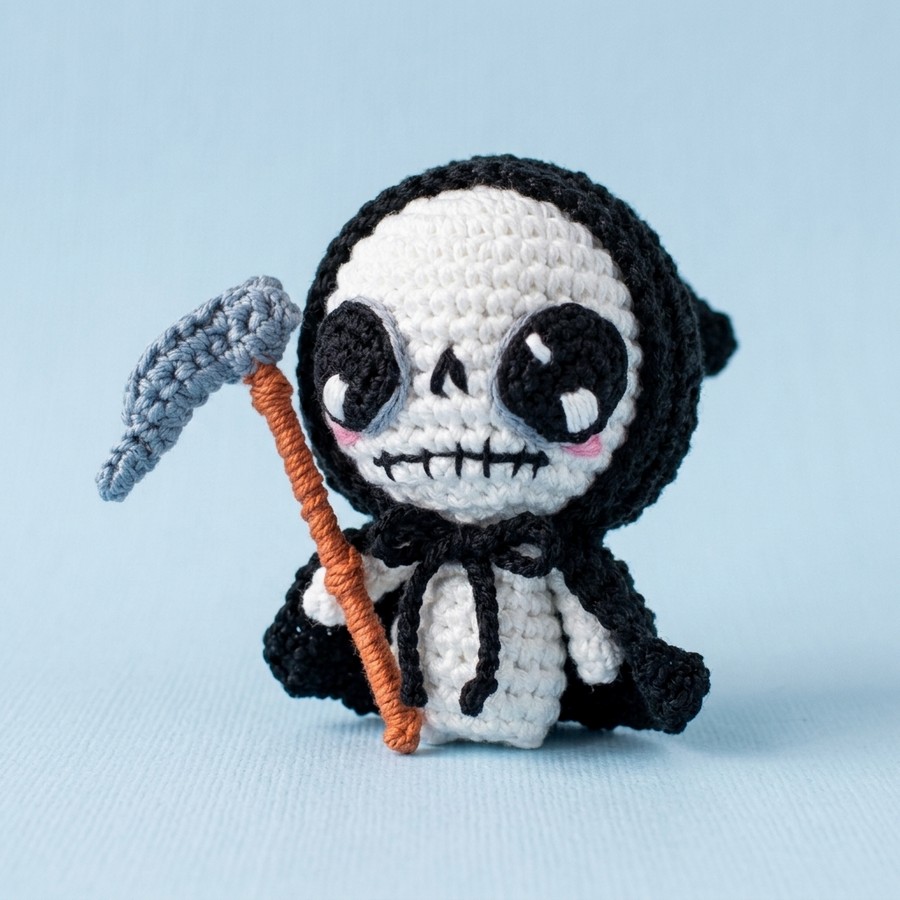
For the crochet sickle handle, we will use a copper-colored thread and wrap it around a cotton swab. You can also crochet and present this amigurumi Mr. Sickle along with the crochet pumpkin buddy and the flying witch buddy amigurumi. So, this Halloween, continue following this amigurumi spooky buddy series to learn the upcoming amigurumi characters, too. The next will be the Mr. Bolt zombie amigurumi buddy. Now, continue reading to learn more about this crochet amigurumi Mr. Sickle.
[ez-toc]
Tutorial to Crochet the Amigurumi Mr. Grim Reaper Doll
This project is a small grim reaper toy. You will use yarn to make a white face, a black body, a black hood, and a tiny scythe. It is easy to make and uses basic crochet stitches. Crochet the head and body together in one piece. Then make the arms, hood, and tool separately, and sew them on.
Materials Needed
Yarn: Medium worsted weight yarn (Size 4) in Black, White, Brown, and Light Gray.
Crochet Hook: 3.5 mm (or size appropriate for your yarn tension to leave no holes).
Stuffing: Polyfill fiber stuffing.
Eyes: 8mm or 10mm safety eyes (optional—you can also embroider black eyes).
Tools: Yarn needle, stitch marker, and scissors.
Abbreviations (US Terms)
MR: Magic Ring
SC: Single Crochet
INC: Increase (2 SC in one stitch)
DEC: Decrease (invisible decrease recommended)
CH: Chain
SL ST: Slip Stitch
BLO: Back Loop Only
FLO: Front Loop Only
- FO: Fasten Off
Are you a Beginner? Learn Crocheting Easily!
You can learn to crochet better with this kawaii Mr. Sickle amigurumi with the following video tutorials or continue to the pattern:
1. Head and Body (The Base Pattern)
Start with White yarn for the skull/face.
Round 1: 6 SC in a MR [6]
Round 2: INC in every stitch [12]
Round 3: (1 SC, INC) repeat 6 times [18]
Round 4: (2 SC, INC) repeat 6 times [24]
Round 5: (3 SC, INC) repeat 6 times [30]
Round 6-10: SC in each stitch around (5 rounds) [30]
Insert safety eyes between rounds 8 and 9, about 5 stitches apart.
Round 11: (3 SC, DEC) repeat 6 times [24]
Round 12: (2 SC, DEC) repeat 6 times [18]
Begin stuffing the head firmly.
Round 13: (1 SC, DEC) repeat 6 times [12]
Change to Black yarn in the last stitch to begin the cloak.
Round 14: FLO (1 SC, INC) repeat 6 times [18]
Round 15: (2 SC, INC) repeat 6 times [24]
Round 16-22: SC in each stitch around (7 rounds) [24]
Stuff the body firmly.
Round 23: BLO (2 SC, DEC) repeat 6 times [18]
Round 24: (1 SC, DEC) repeat 6 times [12]
Round 25: DEC 6 times [6]
FO, leaving a tail. Weave the tail through the front loops of the remaining 6 stitches and pull tight to close. Weave in the end.
2. The Hood
Use Black yarn.
Round 1: 6 SC in a MR [6]
Round 2: INC in every stitch [12]
Round 3: (1 SC, INC) repeat 6 times [18]
Round 4: (2 SC, INC) repeat 6 times [24]
Round 5: (3 SC, INC) repeat 6 times [30]
Round 6: (4 SC, INC) repeat 6 times [36]
Round 7-13: SC in each stitch around (7 rounds) [36]
Round 14: (4 SC, DEC) repeat 6 times [30]
Round 15: SC in each stitch around [30]
FO, leaving a long tail for sewing. Place the hood over the white head. Sew the edges of the hood securely around the neck line.
3. Arms (Make 2)
Start with White yarn.
Round 1: 5 SC in a MR [5]
Round 2: SC in each stitch around [5]
Change to Black yarn in the last stitch.
Round 3-7: SC in each stitch around (5 rounds) [5]
Do not stuff the arms. Pinch the opening flat.
Round 8: SC 2 across the top to close the arm.
FO, leaving a long tail for sewing. Sew the arms to the sides of the body just under the neck.
4. The Scythe
Start with Brown yarn for the handle.
Row 1: CH 13.
Row 2: Starting in the 2nd CH from the hook, SL ST down the chain (12 SL ST total).
FO, and weave in the brown ends.
Attach Light Gray yarn near the top of the brown handle (about 2 stitches down from the top).
Row 1: CH 6.
Row 2: Starting in the 2nd CH from the hook, SL ST in the first CH, SC in the next CH, Half Double Crochet (HDC) in the next 2 CH, Double Crochet (DC) in the last CH.
FO, leaving a small tail. Sew the base of the gray blade firmly to the brown handle. Weave in all remaining ends.
Assembly Finishing Touch: Using a small piece of black yarn, tack the scythe to the inside of one of the reaper’s white hands so it looks like he is holding it!
Share on Social Media!

See More:

Featuring: How to Crochet A Plush Blushing Flying Mr. Soul Ghost Plushie for Halloween

How to Crochet Bunny Bat White Foldable Wings Amigurumi with Bow for Halloween

Tester Call: How to Crochet A Spooky Flowers Red Horns Potted Buddy Plushie for Halloween
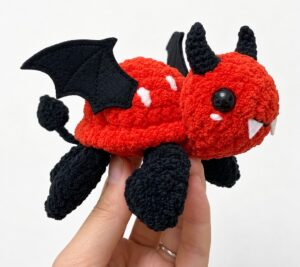
Tester Call: How to Crochet A Red & Black Spooky Turtle Plushie for Halloween
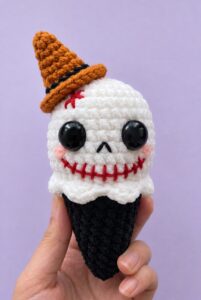
Tester Call: How to Crochet REALLY Spooky Witch Halloween Treat Plushie
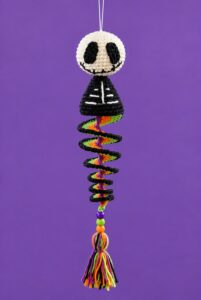
Featuring: How to Crochet the Skeleton Wind Spinner With Stripes of Halloween Colors
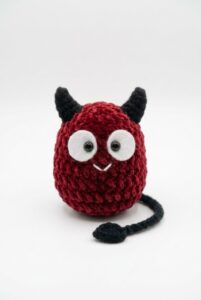
Tester Pattern: How to Crochet A Cape-Wearing Red Buddy Plushie for Halloween
Tester Pattern: How to Crochet An Tug & Pull Witch Egg Halloween Plushie Toy
Featuring: Crochet SPOOKY-CUTE Black & White Ghost Plushie for Halloween