

Author: Talha
I am a crochet designer, macramé maker and a crafter who also loves doing MATH.
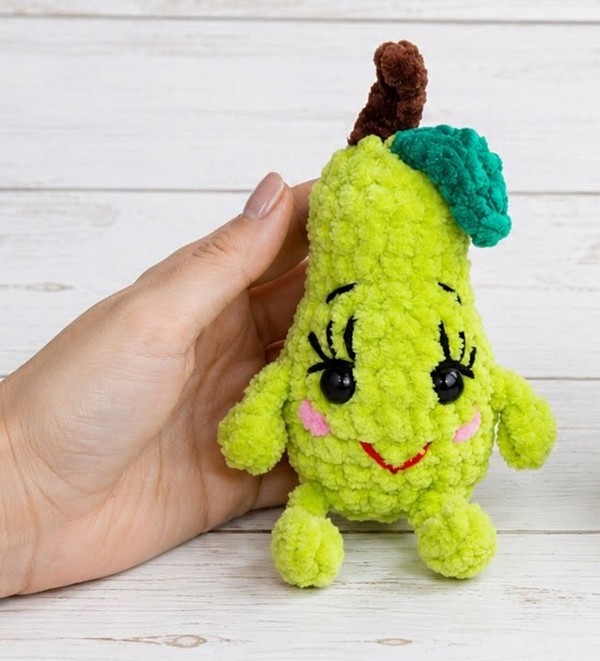
Looking for an absolutely UNIQUE crochet pear plushie for this year’s harvest celebrations? Learn how to crochet this smiling & sitting pear desk buddy plushie with a step-by-step tutorial + a written pattern as well. This is a no-sew pear character plushie with legs and arms and a KAWAII girl face. Add this crochet pear plushie to this year’s crochet fruit basket or make an evergreen crochet buddy for your crochet time. This crochet pear also has long eyelashes, a red mouth, blush, and eyebrows, too.
This crochet sitting pear buddy plushie will only measure 9cm with the super bulky chenille yarn. It works up fast, and you can crochet one as a snuggler gift for the kids, too.
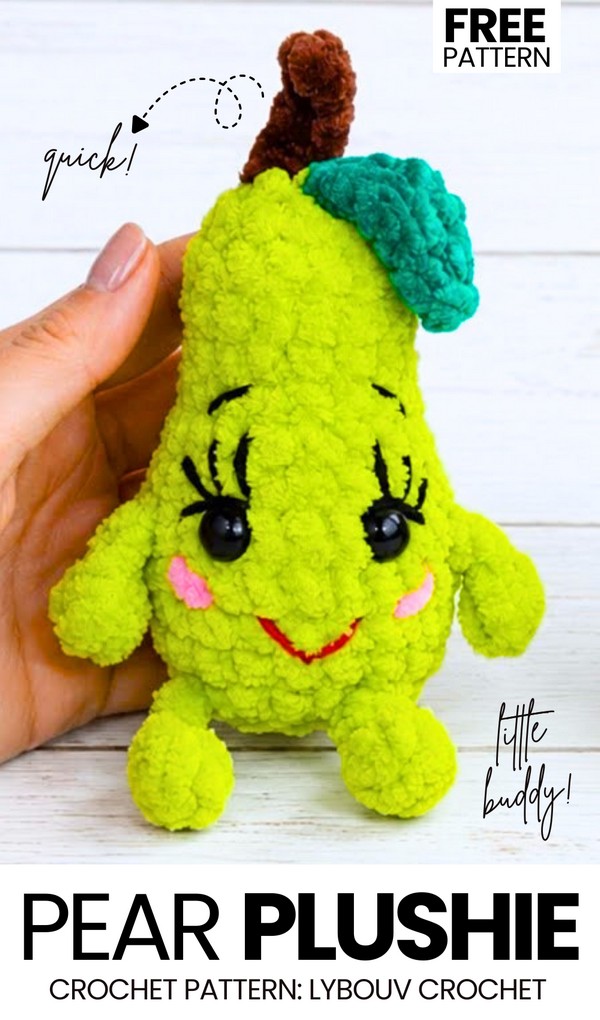
You can also turn it into a crochet eggplant buddy plushie by using the purple yarn instead of the green yarn for the main body. It also has a small stalk and a long leaf. I am gonna keep bringing new pear and other fruits plushie patterns here, so be sure to follow us. Below is the full crochet pattern to make this plushie from top down to the bottom. Only the legs and the arms will be crocheted and sewn separately.
Similar Project(s)
Pattern to Crochet A Pear Character Plushie
Skill Level: Beginner
This project is very fast and fun to make. You will make a cute and soft pear that has a happy face. The steps are easy to read and follow. You will start at the bottom of the pear and crochet up to the top. While you make the body, you will also make the small arms and legs at the exact same time.
When the body is done, you will make the leaf and the brown stem and sew them to the top. The bottom is flat so your pear can sit on a shelf or desk by itself.
Materials
Plush Yarn (Super Bulky / Category 6): Yellow-Green (or Pear color) for the main body.
Plush Yarn: A small amount of Green for the leaf and Brown for the stem.
Crochet Hook: 4.0 mm.
Safety Eyes: 10 mm.
Stuffing: Fiberfill.
Embroidery Thread/Yarn: Thin black thread for the eyelashes, eyebrows, and mouth. A bit of pink yarn for the cheeks.
Tools: Yarn needle and scissors.

Abbreviations
MR = Magic Ring
ch = chain
sc = single crochet
hdc = half double crochet
dc = double crochet
inc = increase (2 sc in one stitch)
dec = decrease (sc 2 together)
sl st = slip stitch
dc2tog = double crochet 2 together in the same stitch (cluster of 2 dc)
st(s) = stitch(es)
- R = round
Are you a Beginner? Learn Crocheting Easily!
You can learn to crochet better with this crochet amigurumi pear buddy as a beginner:
See More:
Tester Pattern: How to Crochet the Puppy Holding an Orange Fruit Amigurumi
How to Crochet An Orange, Watermelon & Strawberry Fruit Bat Plushie
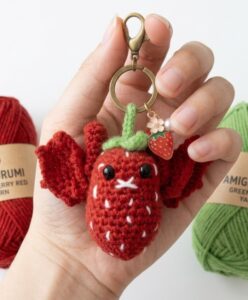
How to Crochet A Fruit Bat Amigurumi for Halloween Pattern
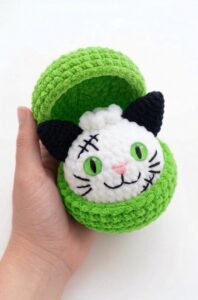
Pattern Tester: How to Crochet Cat in A Potion Box Plushie for Festivals
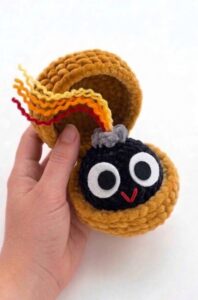
Tester Pattern: How to Crochet Birthday-Popper Dumpling Plushie for Gifting
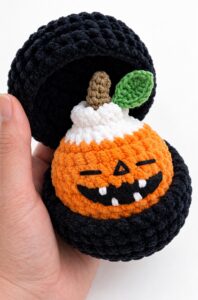
Tester Pattern: How to Crochet A Funny Orange Food Plushie for Kids

Tester Pattern: How to Crochet Dumpling Buddy in A Steamer Costume Plushie
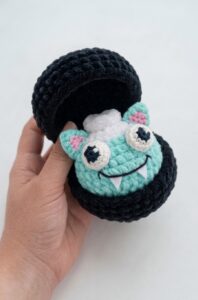
Tester Pattern: How to Crochet A Monster Funny Bao Bun Plushie for Kids
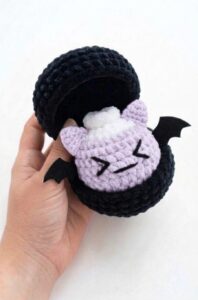
Tester Pattern: To Crochet A Plush Spooky Bat Bao Bun Plushie
![[PDF Pattern] Crochet A Plush Autumn Acorn-Lover Plushie for Fall](https://criazalblog.com/wp-content/uploads/2026/09/crochet-squirrel-2-225x300.jpg)


