Pattern Type: Video Tutorial & Written, all by the passionate crafter.
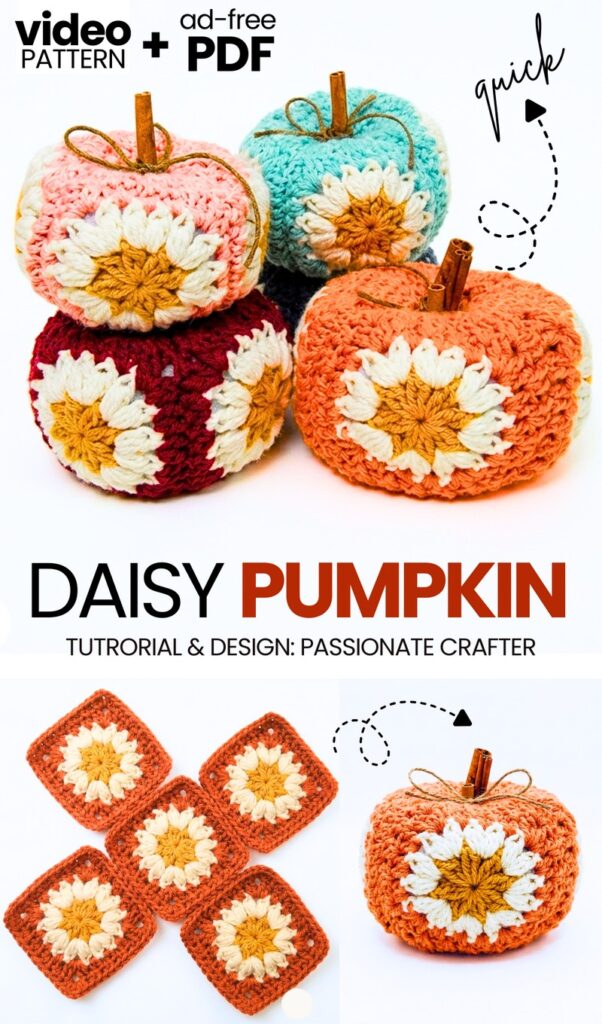
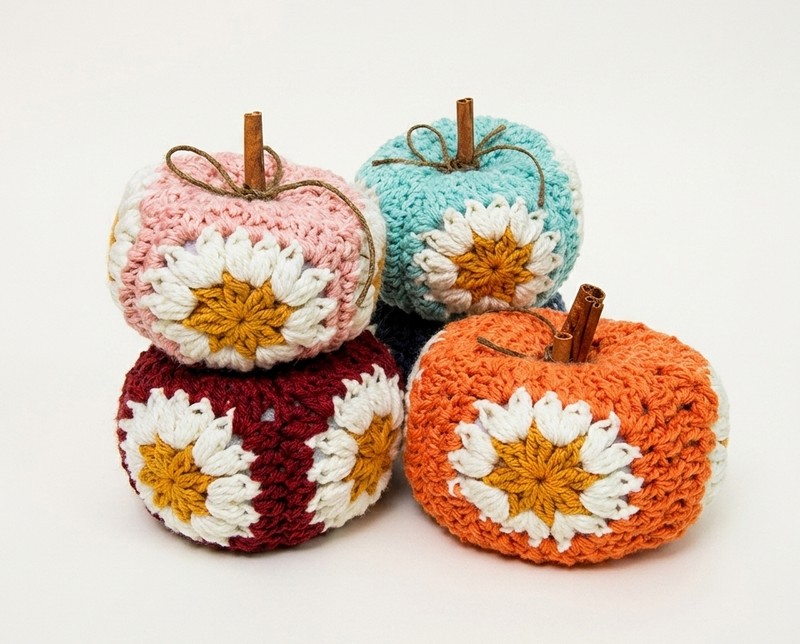
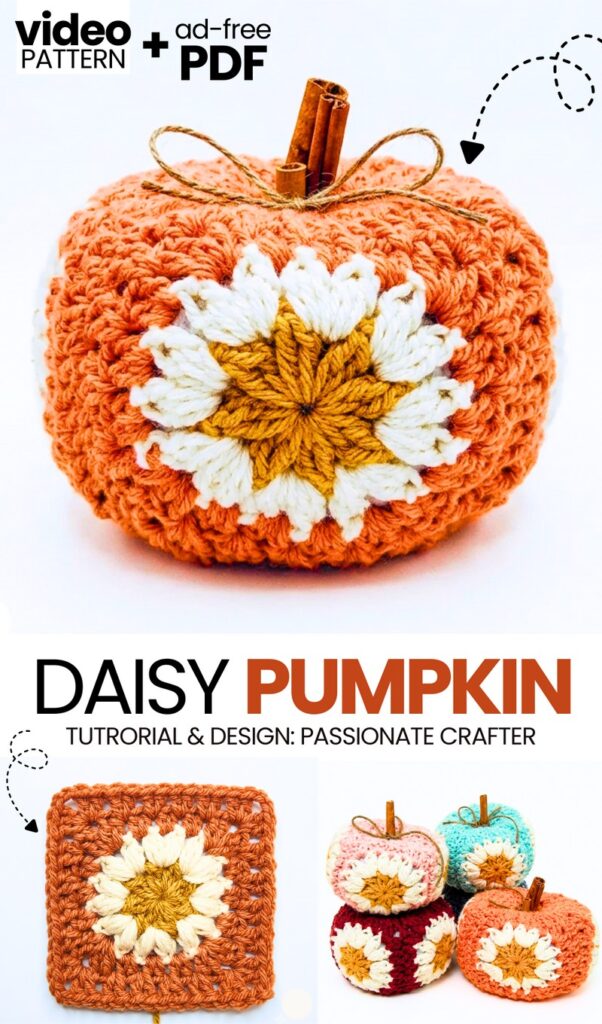
Yesterday, I shared a FREE pattern to crochet a pumpkin decoration out of hexagon motifs! But that’s not the only way you can crochet the pumpkins out of crochet motifs. To show that off, today I will feature this “crochet pumpkin out of 5 granny squares” tutorial for absolute beginners. This is an even quicker method and makes an even more elegant crochet pumpkin than the one we crocheted last time. Learn to crochet this granny square pumpkin in 3 sizes and following colors:
Aqua, earthy red, aluminum, and more! Since we are using the popular daisy granny square, I will provide you with the written pattern to crochet that square as well. You can learn how to assemble the 5 squares into a plumpy pumpkin with the video tutorial.
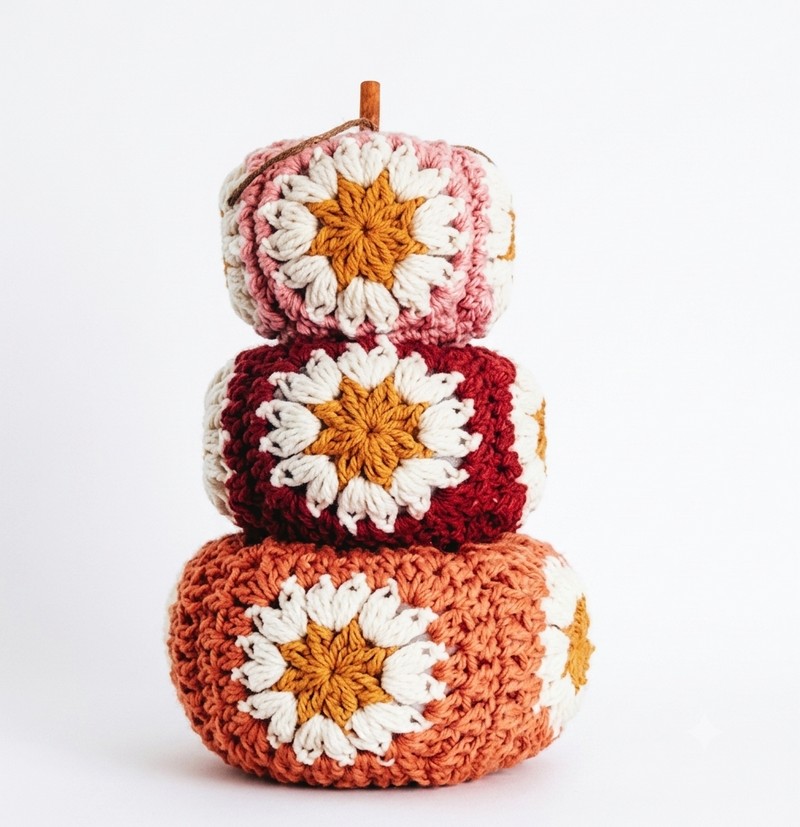
You can tier the pumpkins from bigger to smaller and make your fall decor truly special. The idea is to crochet squares of different dimensions for different sizes of the pumpkins. For example, for a bigger pumpkin, each daisy square must measure 17 cm by 17 cm. You can also use your pumpkin as a pincushion. Just like the previous one, it should be finished with the cinnamon bark and a twine cord bow. Now, continue reading to learn more about this crochet fall project.
[ez-toc]
Tutorial to Crochet A Pumpkin Out of 5 Puffy Granny Squares
Let’s learn how to crochet a large pumpkin using five granny squares. You need bulky yarn and an eight millimeter hook. First, you start with a magic ring. Then, you crochet puff stitches and double crochet stitches to make the squares.
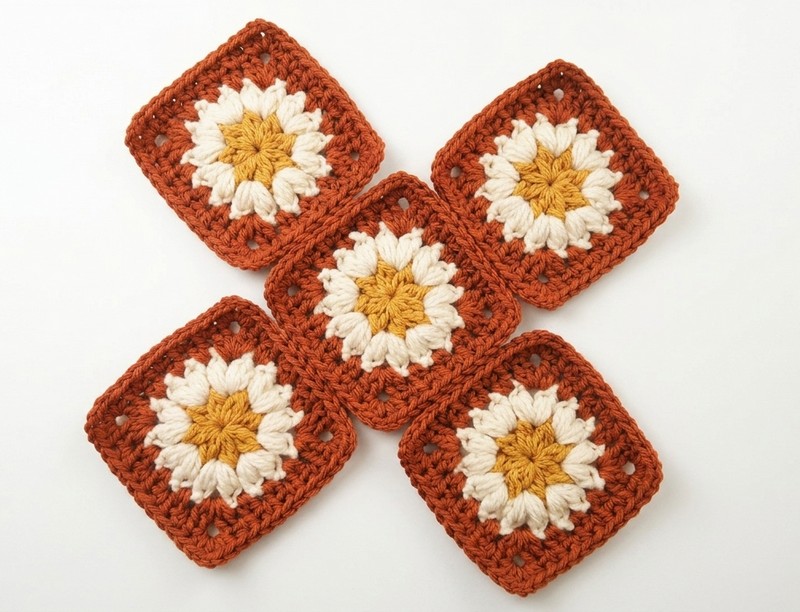
After making five squares, you arrange them with one in the middle and four on the sides. You sew the squares together using a mattress stitch. Next, you crochet around the top edge using single crochet and invisible decrease stitches to close the opening. Finally, you stuff the pumpkin, insert a cinnamon stick, and shape the final pumpkin.
Difficulty Level
Intermediate This project is rated intermediate because it goes beyond basic flat rows. It requires you to work in the round, convert a circle shape into a square, and execute multi-step textured stitches (like the puff stitch and clusters). Furthermore, it involves assembling multiple geometric pieces using a mattress stitch and structurally shaping a 3D stuffed object using invisible decreases and a long tapestry needle.
Materials & Abbreviations
Materials
Yarn: Bulky weight yarn (The creator uses Lion Brand “Hue + Me” in 3 colors: 15g mustard, 40g cream, and 100g main color)
Hook: 8.0 mm crochet hook
Stuffing: Fiberfill
Notions: Tapestry needles (one regular, one extra long), scissors, and a measuring tape
Stem: Cinnamon stick and optional twine
Pattern Abbreviations:
MR: Magic Ring
ch: Chain
sl st: Slip Stitch
sc: Single Crochet
hdc: Half Double Crochet
dc: Double Crochet
dc2tog: Double Crochet Two Together (Cluster)
puff: Puff Stitch
dec: Decrease (Invisible Decrease)
1. The Puff Stitch
This stitch creates the textured “bobble” look in the second round of the square.
Yarn over, insert your hook into the chain space, grab the yarn, and pull up a loop (leave it slightly loose). You now have 3 loops on the hook.
Yarn over, insert your hook into the same space, grab the yarn, and pull up another loop. You now have 5 loops on the hook.
Yarn over, insert your hook into the same space, grab the yarn, and pull up a final loop. You now have 7 loops on the hook.
Grab the yarn and pull it through all 7 loops at once.
Learn Crocheting Now!
Better learn the whole method of crocheting this fall pumpkin with the following tutorial:
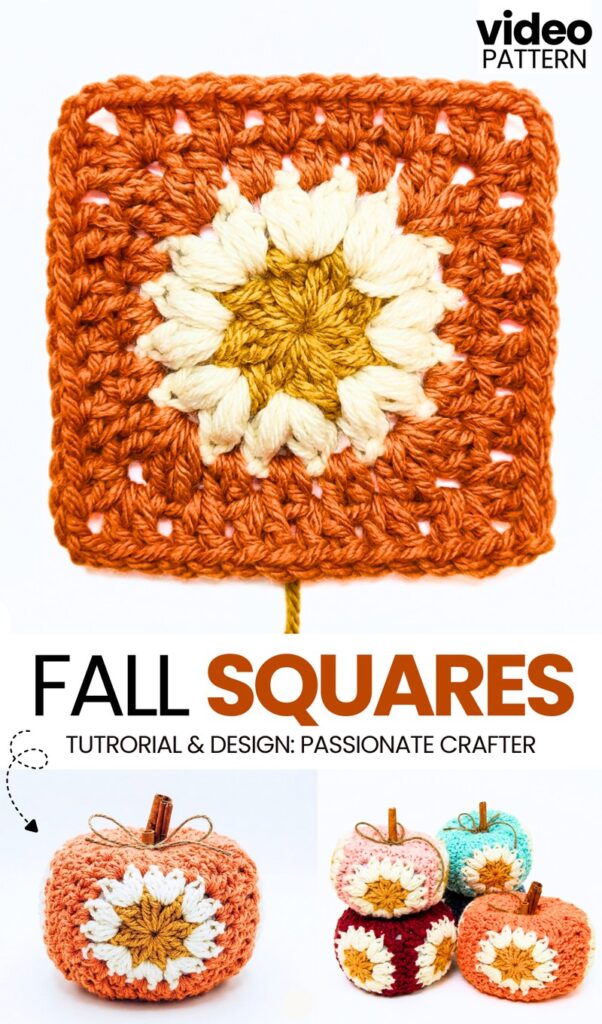
Square Pattern (Classical Daisy)
Note that, the pattern used in the tutorial is traditional, which means anyone can share a pattern for that!
Round 1: Start with a magic ring. Work double crochet three-together stitches into the ring, with a chain 1 between each. You should have 8 of these stitches at the end. Slip stitch to join into the first chain-1 space.
Round 2: Using a new color, join in any chain-1 space. Chain 1, then work a puff stitch into that space. Chain 2 and work another puff stitch into the same space. Repeat this (puff stitch, chain 2, puff stitch, chain 2) in each of the 8 chain-1 spaces. You will have 16 puff stitches and 16 chain-2 spaces total.
Round 3: Join your main color in any chain-2 space. Chain 2, then work 2 double crochets, chain 2, and 2 double crochets into the same space to create a corner. In each of the next three chain-2 spaces, work 2 half double crochets. Repeat this pattern for all four sides.
Round 4: Join in a corner space. Chain 3, and work 1 double crochet, chain 2, and 2 double crochets into the corner. Then, in each space between the stitch clusters from the previous round, work 2 double crochets all the way around the square.
Full Written Pattern?
Follow the free pattern with the pictures or use the “ask” feature of the tutorial to retrieve the quick pattern. Both of these methods are designer-compliant!
See More:

Crochet CUTEST Guest-Welcoming BOO Ghost with Bow, Hat and Pumpkin Accessories

Tester Call: How to Crochet A Candy Corn, Pumpkin & Kawii Buddy Potted Plant Plushie

Featuring: How to Crochet the Smallest Pumpkin Fall Turtle Plushie with Orange & Parrot

Pattern Tester: How to Crochet Pumpkin Ridges Face Donut Ring Plushie for Fall

How to Crochet An Amigurumi Long-Legged Kawaii Pumpkin in Shoes Buddy

How to Granny Square with Pumpkin Applique in the Middle

Tester Pattern: To Crochet Pumpkin Hello Kitty Plushie with Big Paws Buddy

Featuring: How to Crochet Tiered Unusual Texture Pumpkin Decoration (3 Sizes)