Author: Talha
I am a crochet designer, macramé maker and a crafter who also loves doing MATH.

Featuring: Nhung of NN Handmade
She is a Vietnamese professional plushie designer who became our friend during early 2026.
Show support for Nhung!
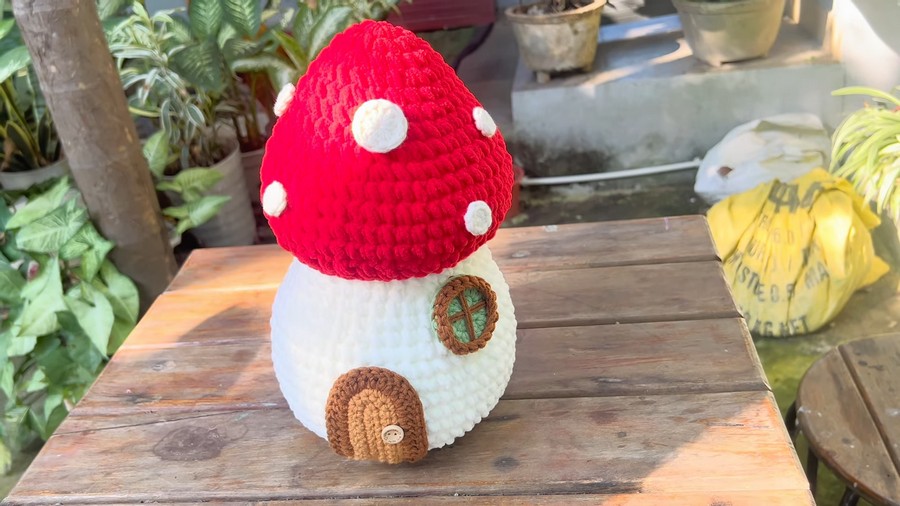
This autumn, decorate your room with this crochet fairy tale mushroom house plushie. Learn how to crochet this LIFELIKE mushroom fairy house with a written pattern & a tutorial, as well. This is a 35cm high toadstool mushroom plush with a small crochet door and a window well. This is a pretty low-sew, quick and easy mushroom plushie that you can also turn into a sofa pillow (without attaching the door and window) and pincushion.
With the super bulky yarn, you can finish crocheting this mushroom pretty quickly. Though I agree it is a little bigger project. It is also perfect for making a Christmas centerpiece along with a crochet bunny plush & a little fairy doll.
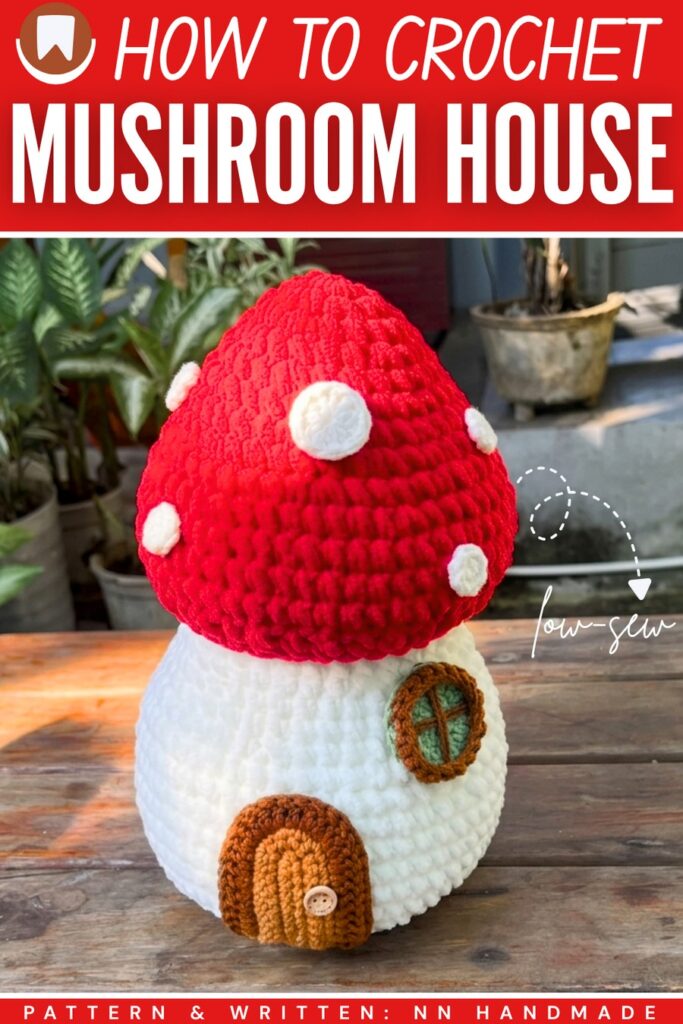
If you want to learn to crochet this mushroom house following a video tutorial, there is a 2-part guide. However, in the written pattern, I will provide you with the instructions for crocheting the complete mushroom plush. You can also turn it into a bag by sewing a zipper between the mushroom cap and the stem and attaching the I-cord or double crochet handles.
Similar Project(s)
Pattern for Crochet Mushroom Plushie House
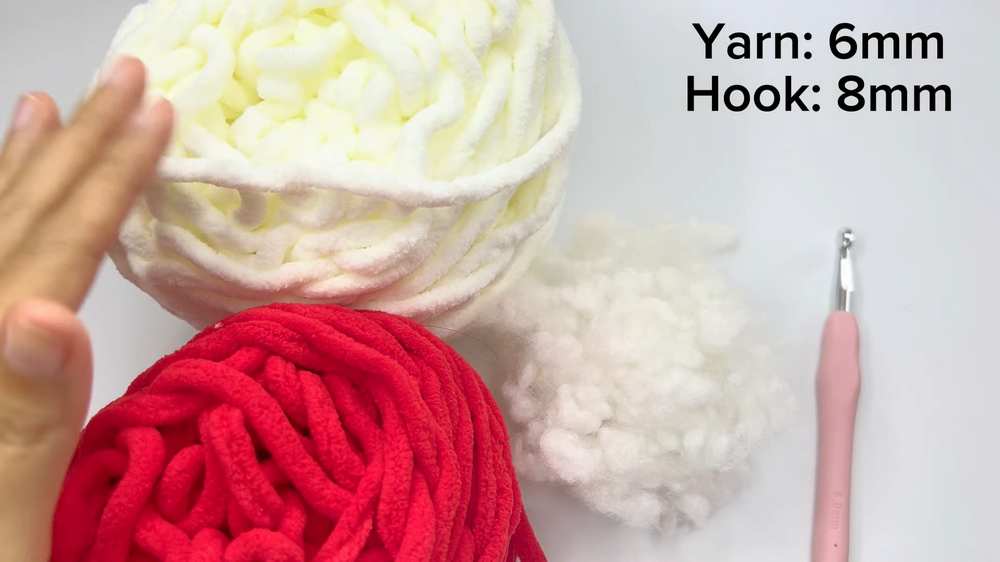
The main body of this crochet mushroom plush is crocheted using jumbo chenille blanket yarn with an 8.0 mm hook to stand approximately 35 cm tall. The fine decorations are crocheted using Milk Cotton yarn (double-stranded) and a 4.5 mm hook.
Materials & Tools
Main Structure Yarn: Jumbo Chenille Blanket Yarn in Red (Cap) and White/Cream (Stem/Base).
Decoration Yarn: 4-Ply Milk Cotton Yarn (worked double-stranded) in White, Light Brown, Dark Brown, and Light Green/Teal.
Hooks: 8.0 mm hook (for Chenille) and 4.5 mm hook (for Cotton details).
Other: Fiberfill stuffing, a tapestry needle, hot glue gun, and a small button (1.5 cm) for the doorknob.
Part 1: The Main Structural Pieces (8.0 mm Hook & Chenille)
Note: Rounds are joined using a slip stitch (sl st) to the first stitch of the round, followed by a chain-1 (or chain-2 for half-double crochets).
A. The Mushroom Cap (Red Yarn)
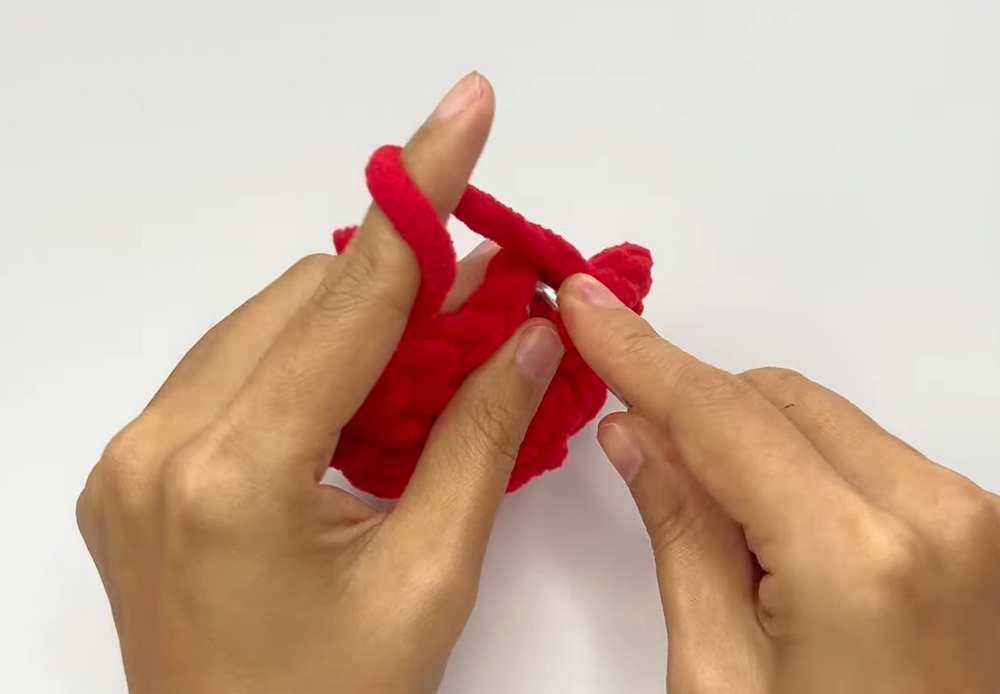
Round 1: 8 sc into a Magic Ring (MR). Sl st to join, ch 1. (8)
Round 2: 8 inc (2 sc in each stitch). Join, ch 1. (16)
Round 3: (3 sc, 1 inc) x 4. Join, ch 1. (20)
Round 4: (2 sc, 1 inc, 2 sc) x 4. Join, ch 1. (24)
Are you a Beginner? Learn Crocheting Easily!
You can learn to crochet this lovely mushroom house with the following tutorial as a beginner:
Round 5: (5 sc, 1 inc) x 4. Join, ch 1. (28)
Round 6: (3 sc, 1 inc, 3 sc) x 4. Join, ch 1. (32)
Round 7: (7 sc, 1 inc) x 4. Join, ch 1. (36)
Round 8: (5 sc, 1 inc) x 6. Join, ch 1. (42)
Round 9: (3 sc, 1 inc, 3 sc) x 6. Join, ch 1. (48)
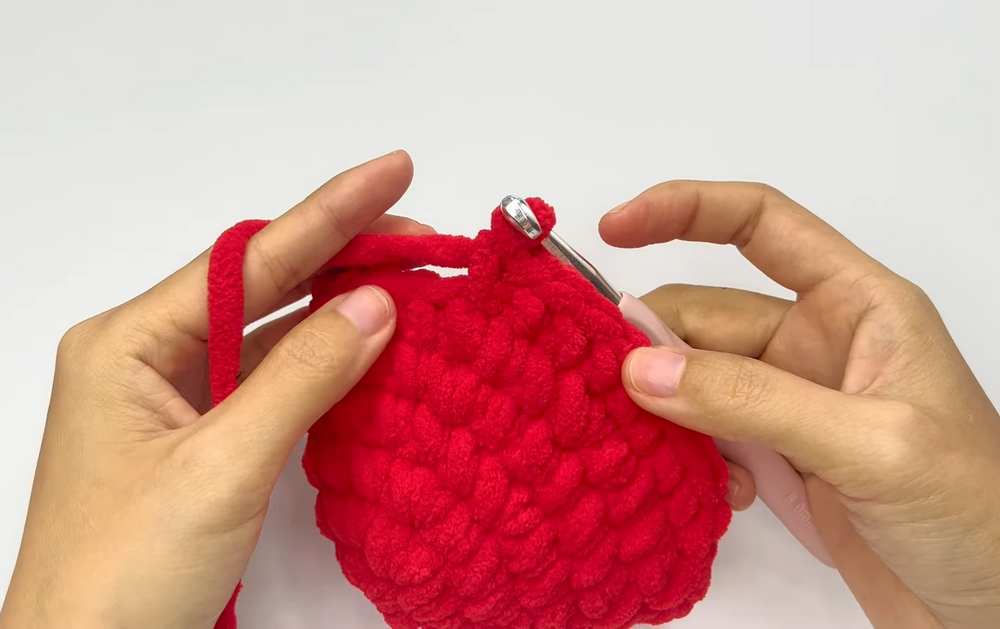
Round 10: (7 sc, 1 inc) x 6. Join, ch 1. (54)
Rounds 11–13: 54 sc around. Join, ch 1. (54 for 3 rounds)
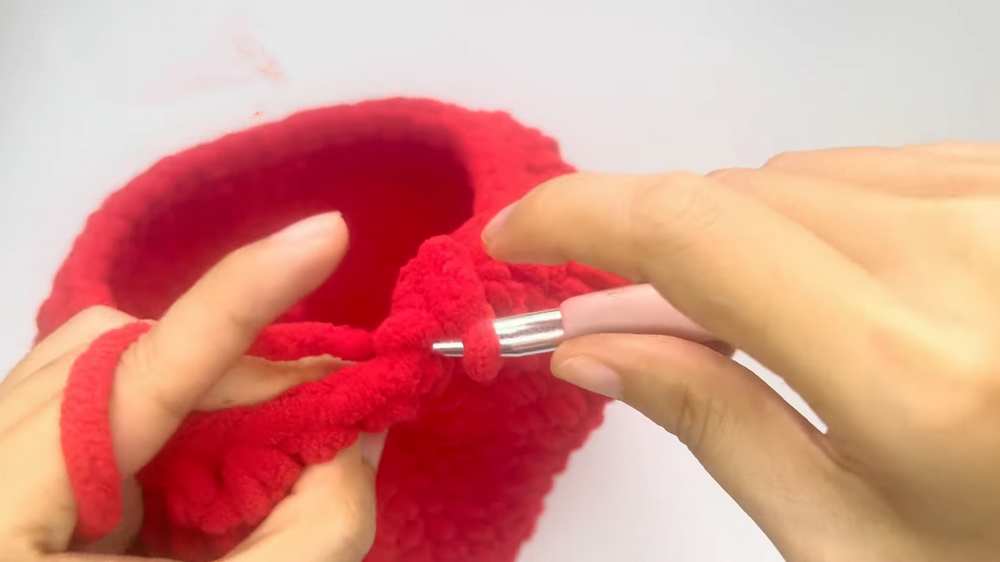
Round 14: (1 hdc, 1 hdc-dec) around. Join, ch 1. (36)
Round 15: 36 sc around. Join. Fasten off, leaving a long red yarn tail for assembly. (36)
B. The House Stem (White/Cream Yarn)
Round 1: 8 sc into a MR. Join, ch 1. (8)
Round 2: 8 inc. Join, ch 1. (16)
Round 3: (1 sc, 1 inc) around. Join, ch 1. (24)
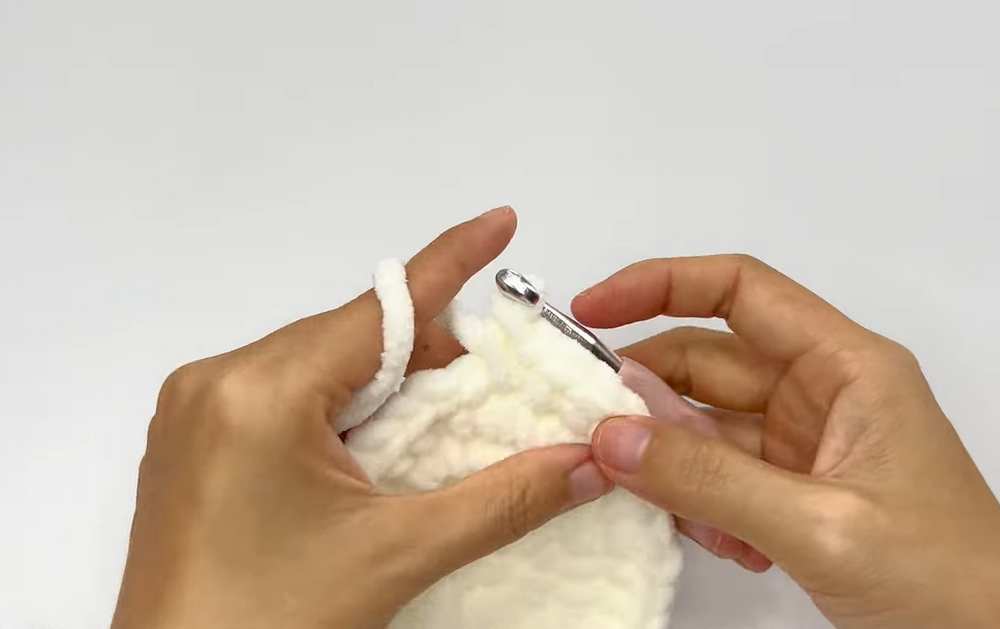
Round 4: (1 sc, 1 inc, 1 sc) around. Join, ch 1. (32)
Round 5: (3 sc, 1 inc) around. Join, ch 1. (40)
Round 6: (2 sc, 1 inc, 2 sc) around. Join, ch 1. (48)
Round 7: 48 sc worked in the Back Loops Only (BLO). Join, ch 1. (48)
Round 8: (5 sc, 1 inc) around. Join, ch 1. (56)
Rounds 9–11: 56 sc around. Join, ch 1. (56 for 3 rounds)
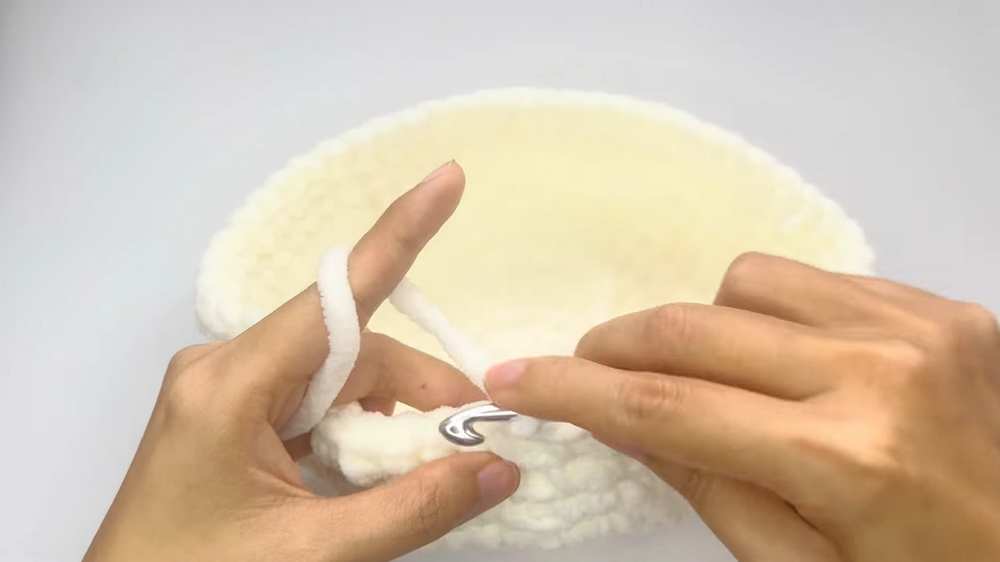
Round 12: (5 sc, 1 dec) around. Join, ch 1. (48)
Rounds 13–14: 48 sc around. Join, ch 1. (48 for 2 rounds)
Round 15: (2 sc, 1 dec, 2 sc) around. Join, ch 1. (40)
Rounds 16–17: 40 sc around. Join, ch 1. (40 for 2 rounds)
Round 18: (8 sc, 1 dec) around. Join, ch 1. (36)
Round 19: 36 sc around. Join. Fasten off and weave in the tail. (36)
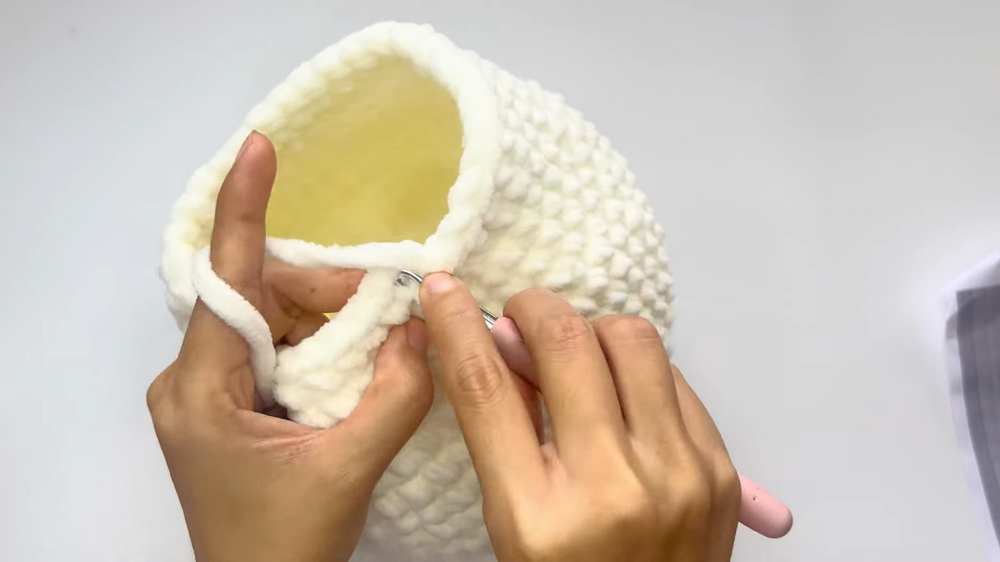
Part 2: The Decorative Details (4.5 mm Hook & Double-Stranded Milk Cotton)
A. Mushroom Cap Dots (White)
Small Dots (Make 6): 8 sc into a MR. Sl st to join, fasten off.
Large Dots (Make 2): 10 dc into a MR. Sl st to join, fasten off.
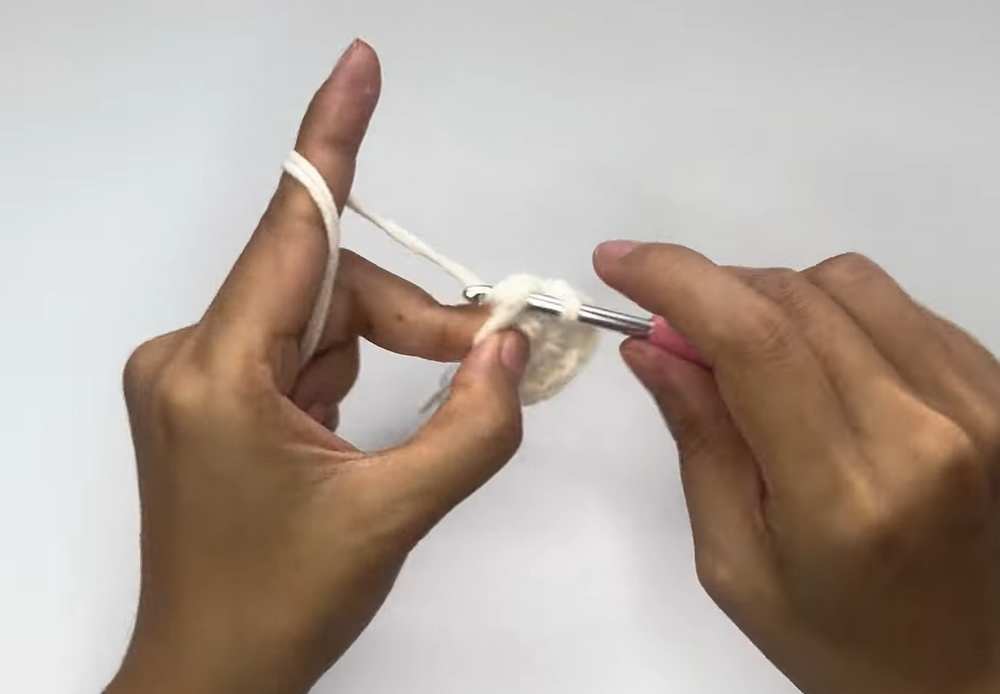
B. The Round Window (Green/Teal & Dark Brown)
Round 1: Using Green/Teal, 10 dc into a MR. Sl st to join, ch 2. (10)
Round 2: 10 dc-inc (2 dc in each stitch). Sl st to join, fasten off. (20)
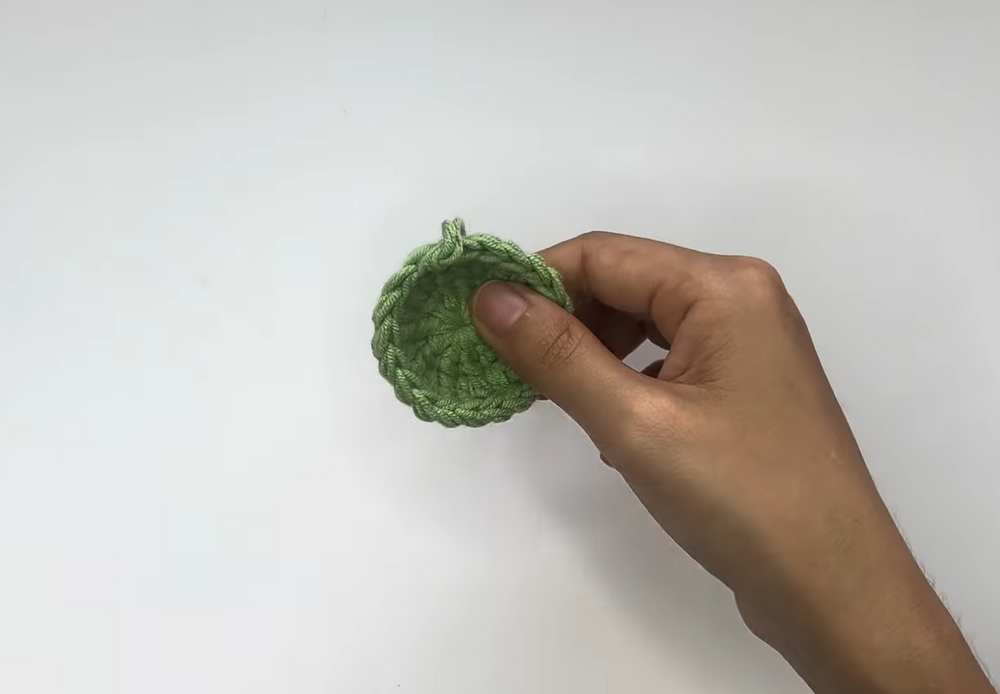
Border: Attach Dark Brown to the front loops only of Round 2. Work 20 sc around. Sl st to join, fasten off leaving a tail.
Use dark brown thread to stitch an “+” shape across the center of the green circle to form the window panes.
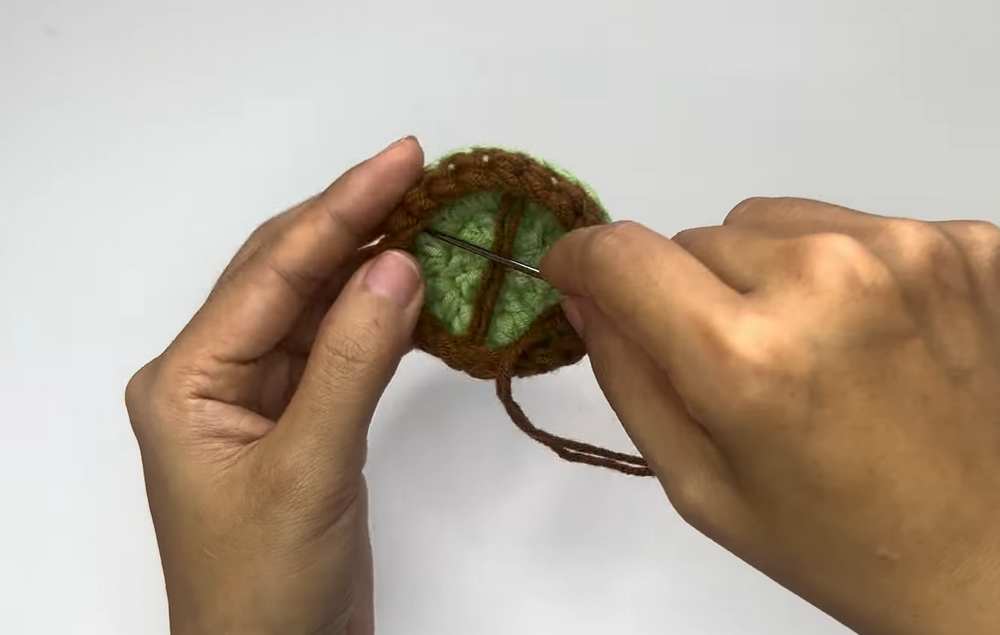
C. The Main Door
Start with Light Brown.
Row 1: Ch 11. Skipping the first chain, work 9 sc down the chain. In the last chain stitch, work 3 sc into the same space. Turning to work up the opposite side of the chain, work 9 sc. Ch 1, turn.
Row 2: 8 sc, 3 inc (2 sc in each of the next 3 apex stitches), 9 sc. Ch 1, turn.
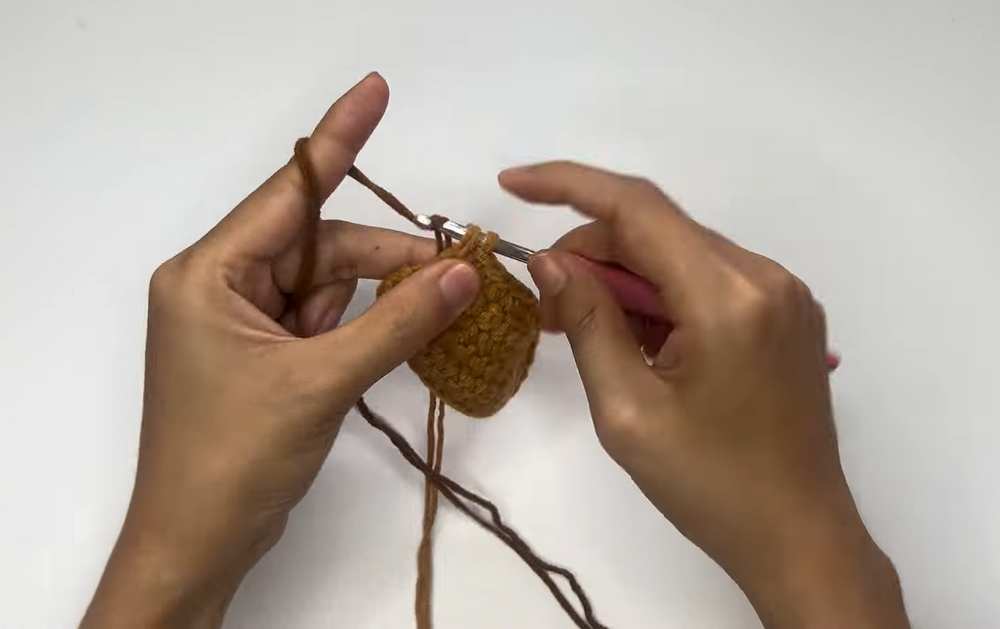
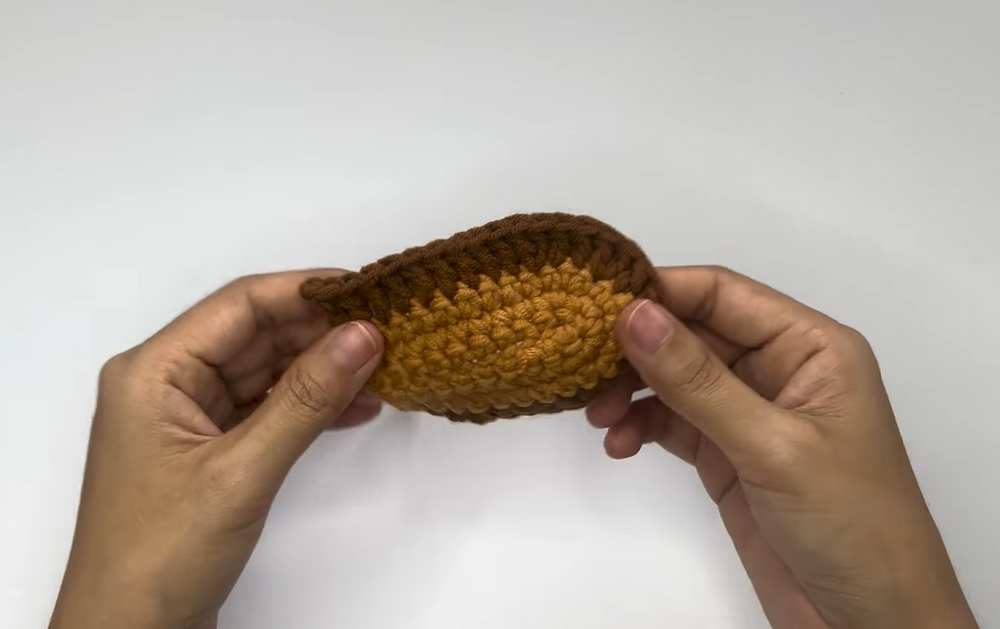
Row 3: 8 sc, (1 sc, 1 inc) x 3 times over the curved top, 9 sc. Switch to Dark Brown yarn on the last stitch. Ch 2, turn.
Row 4 (Border): 8 dc, (2 dc, 1 dc-inc) x 3 times over the curved top, 9 dc. Ch 1, fasten off, and leave a long tail.
Part 3: Final Assembly
Stuffing the Base: Stuff the White/Cream stem base firmly with fiberfill, making sure the flat bottom (Round 7 BLO) sits stable and level.
- Attaching the Cap: Stuff the Red cap lightly, match the 36 opening stitches to the top of the stem, and sew them securely together using the remaining red yarn tail.
Placing Decorations:
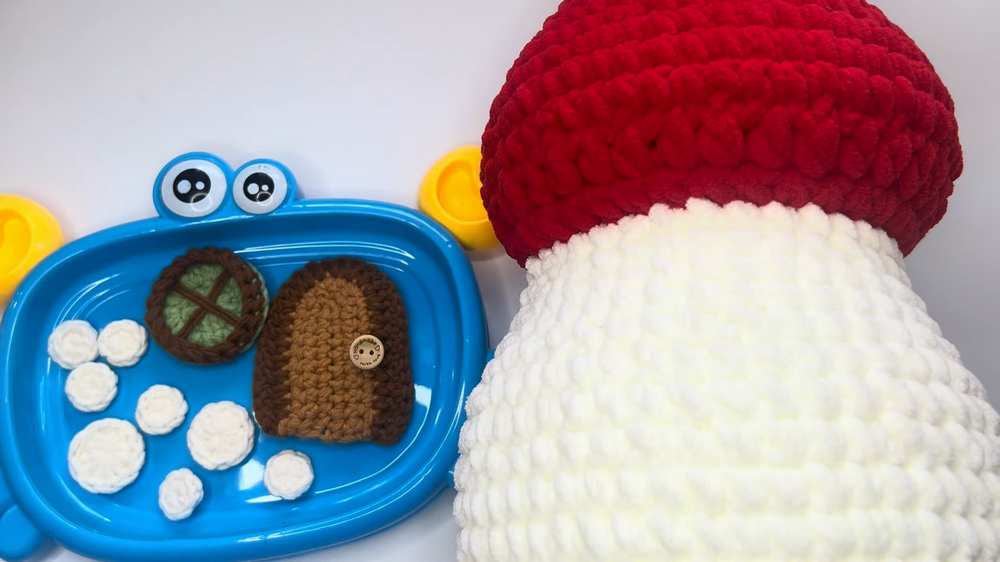
Use a hot glue gun (or sew manually) to attach the 8 white dots randomly across the surface of the red cap.
Glue or sew the Dark Brown/Green window onto the upper center of the stem.
Glue or sew the arched door onto the lower edge of the stem.
The Doorknob: Stitch or glue your small 1.5 cm button onto the side of the door to serve as the handle.
Your charming plush mushroom house is fully complete!
See More:
How to Crochet A Plastic Kawaii-Eyed Mushroom with Legs and Arms Plushie
Free Crochet Mushroom Plushies Pattern Series
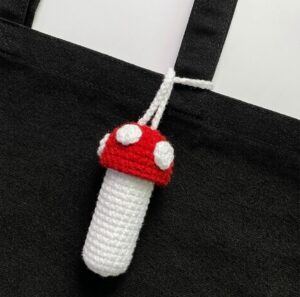
How to Crochet Mushroom Chapstick Holder & Charm for Fall
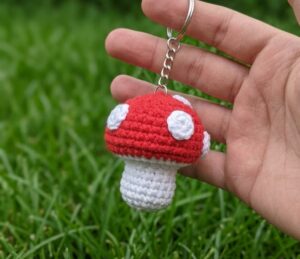
How to Crochet A Mushroom & Maple Leaf Keychain for Fall
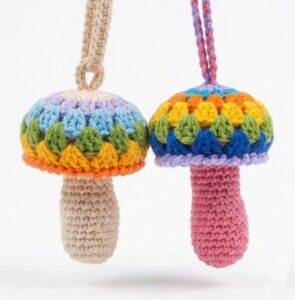
Let’s Crochet the Only Colorful 2-in-1 Mushroom for this Fall
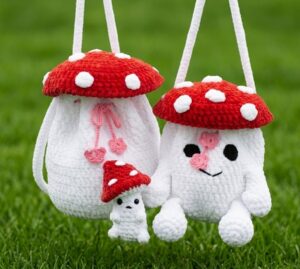
How to Crochet Back-to-School Mushroom Buddy Shoulder Bag for Kids & Adults
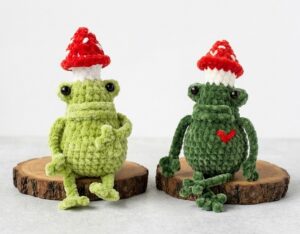
How to Crochet 20cm Variation of Mushroom Frog Plushie for Fall
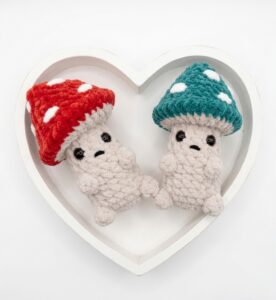
How to Crochet No-Sew Tilted Cap No-Sew Buddy Mushroom Plushie for Fall
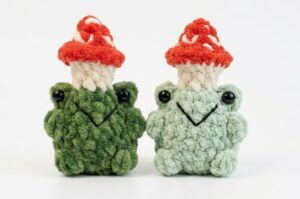
How to Crochet No-Sew Mushroom Hat Frog Plushie for Fall