Show support for Marifairyland!
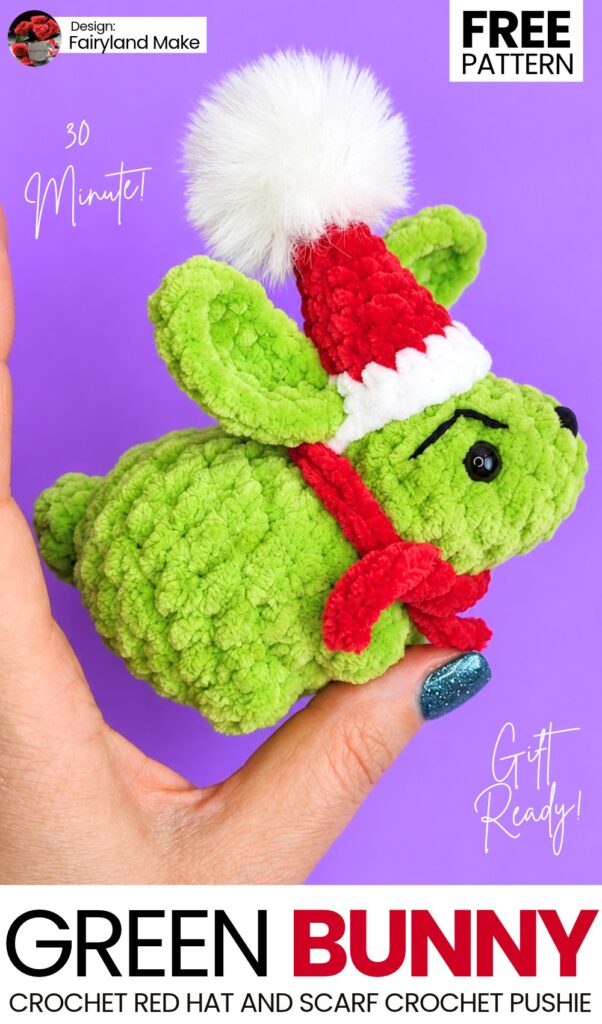
For today’s crochet “festive animal buddies” plushie series, I have chosen our LITTLE bunny in a lifelike pose plushie! So, learn how to crochet this UNIQUE green bunny in a straight Santa hat and a tiny crochet scarf with a FREE written pattern. This is a 15-minute crochet plushie that you can also crochet any time of the year. That’s why it is also a part of our “crocheting your favorite animal plushies in holiday accessories” series!
This is a quick, clever, and completely seamless amigurumi rabbit bunny project. Measuring approximately 9 cm (3.5 inches) long, the entire rabbit – including its nose, head, long ears, front and back paws, body, and fluffy tail –
is crocheted in one piece from front to back. There is zero sewing required for the limbs or ears, making it an ideal weekend project, market bestseller, or sweet gift.
Pattern to Crochet the Green Grinch Bunny Plushie for Gifting
Length: Approximately 9 cm (~3.5 inches)
Materials & Tools
Plush / Chenille Yarn: Super Bulky (Category 6, approx. 100 g / 120 m; such as Himalaya Dolphin Baby or YarnArt Dolce) in light grey, beige, or dusty blue (approx. 30–40 g).
Crochet Hook: 4.0 mm
Eyes: 8 mm black half-beads (or safety eyes)
Nose: 6 mm × 8 mm plastic safety/glue-on nose (pink or black) or black thread/yarn to embroider
Glue: Hot glue gun or fabric glue (if using half-beads and glue-on nose)
Embroidery Thread / Yarn: Black yarn or embroidery floss for the muzzle
Strong Thread: Neutral-colored strong thread for needle-sculpting the eye sockets
Fiberfill: Polyester stuffing (holofiber)
Notions: Stitch marker, tapestry needle, scissors, stuffing tweezers
Materials for Accessories
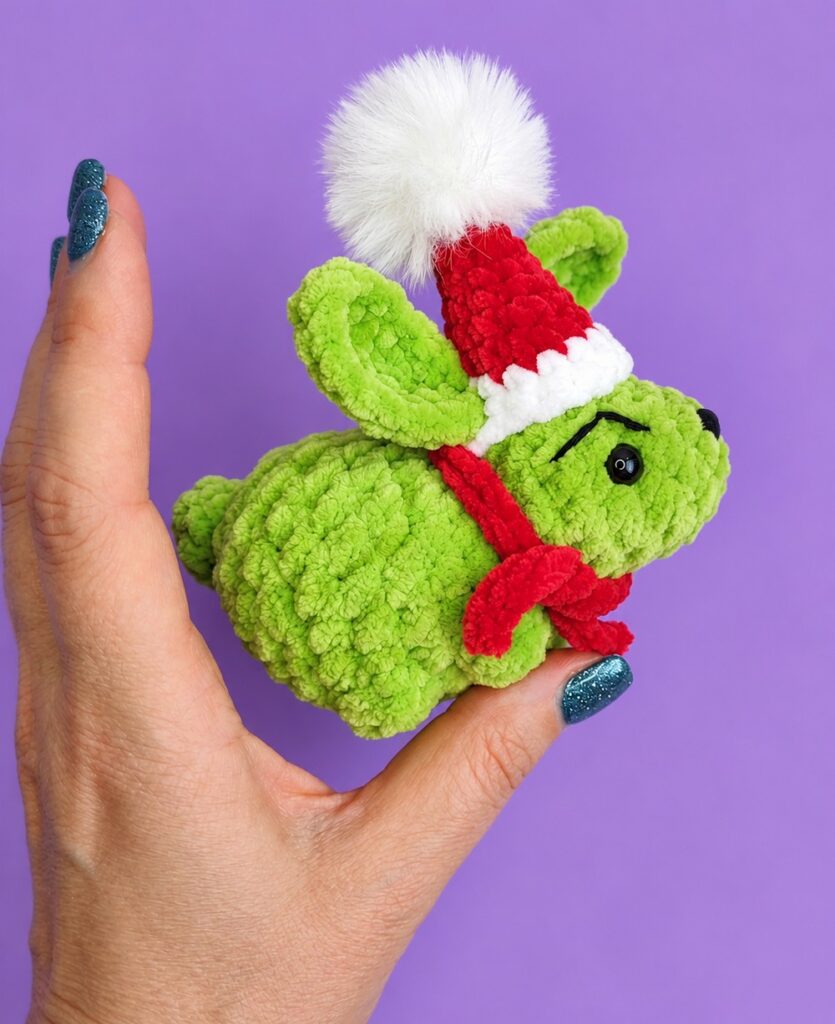
Hat Main Body & Scarf: Category 4 Plush Yarn in Main Color (Red or choice color)
Hat Brim: Category 4 Plush Yarn in White
Pom-Pom: 3-Inch Store-Bought Velvet White Pom-Pom
Crochet Hook: 3.0 mm
Other Supplies: Hot glue gun, scissors, yarn needle.
Abbreviations (US Terms)
ch: chain
sc: single crochet
inc: increase (2 sc in the same stitch)
dec: decrease (sc 2 stitches together)
hdc: half double crochet
dc: double crochet
tr: treble (triple) crochet (yarn over twice, insert hook, [yo, pull through 2] 3 times)
sl st: slip stitch
st(s): stitch(es)
[ ]: total stitch count at the end of the round
Video tutorial to Crochet the Bunny Plushie
Special Stitch
Bobble Stitch (Limbs & Tail):
Work 4 incomplete double crochets into the indicated stitch:Yarn over, insert hook into stitch, pull up a loop, yarn over, pull through 2 loops (2 loops on hook).
Repeat step 1 three more times in the exact same stitch (5 loops on hook).
Yarn over and pull through all 5 loops on hook.
Ch 1 to lock the bobble. (On the following round, work into the locking chain stitch to maintain your stitch count).
Pattern Instructions
Worked in continuous spiral rounds from the nose to the tail. Do not join rounds with a slip stitch unless instructed; use a stitch marker to mark the first stitch of each round.
1. Muzzle & Head
Round 1: Ch 2. In the 2nd ch from the hook, work 6 sc [6].
Round 2: 6 inc [12].
Round 3: 2 sc, inc, 2 sc, 2 inc, 2 sc, inc, 2 sc [16].
Round 4: 7 sc, 2 inc, 7 sc [18].
2. Ears Round (Crocheted Directly into the Head)
Round 5:
8 sc
Ear 1:
ch 8
Starting in the 3rd ch from hook: 1 sc, 1 hdc, 1 dc, 1 tr, 1 dc, 1 hdc down the chain.
Back on the head: 2 sc
Ear 2:
ch 8
Starting in the 3rd ch from hook: 1 sc, 1 hdc, 1 dc, 1 tr, 1 dc, 1 hdc down the chain.
Back on the head: 8 sc to complete round [18 sts around head].
3. Neck & Front Legs
Round 6 (Neck Decreases): (1 sc, dec) repeat 6 times around [12].
(Behind the ears, work decreases through both loops of the stitches to keep the fabric dense).Round 7 (Body Increases): (1 sc, inc) repeat 6 times around [18].
Round 8 (Front Legs):
2 sc
Front Leg 1: Bobble stitch (4 incomplete dc closed together, ch 1 to lock)
14 sc
Front Leg 2: Bobble stitch in the last stitch of the round [18].
4. Back & Body Shaping
Round 9: 9 sc, inc, 1 sc, inc, 6 sc (working across the body and into the locking ch-1 above each leg) [20].
Rounds 10–11 (2 rounds): 20 sc around [20].
Stuffing Tip: Lightly stuff the nose and head now with fiberfill, shaping the rounded cheeks.
5. Hind Legs & Back
Round 12 (Hind Legs):
Hind Leg 1: Bobble stitch in the very first stitch of the round
2 sc
Hind Leg 2: Bobble stitch in the next stitch
16 sc to end of round [20].
Round 13 (Body Decreases): 4 sc, (dec, 2 sc) repeat 3 times, dec, 2 sc [16].
6. Tail & Closing
Round 14 (Tail):
1 sc, dec, 1 sc, dec, 1 sc, dec
2 sc
Tail: Bobble stitch in the next stitch
dec, 1 sc, dec [12].
Final Stuffing: Firmly stuff the body and rump with fiberfill. Pay special attention to the upper curve of the back to give the bunny its natural rounded, hunched posture.
Round 15: 6 dec around [6].
Fasten off, leaving a 15 cm (6 inch) tail. Thread the tail onto a yarn needle, weave through the front loops of all 6 remaining stitches, pull tightly to close the opening, make a secure knot, and bury the yarn end deep inside the body.
7. Facial Sculpting & Details
Eye Placement & Sculpting (Face Indentation)
Mark the eye positions between Rounds 4 and 5 on either side of the head, spaced approximately 7–8 stitches apart.
Thread a long needle with strong thread:
Insert from underneath the chin and bring it out at the position of Eye 1.
Re-insert one stitch over and take the needle across to the position of Eye 2.
Insert one stitch over at Eye 2 and bring the needle back out under the chin.
Pull both thread tails gently to pull the eye sockets inward, creating natural indentations.
Tie a firm double knot under the chin and bury the thread tails inside the head.
Glue the 8 mm black half-bead eyes securely into the sculpted eye sockets using hot glue or craft glue.
Nose & Mouth
Option A (Plastic Nose): Glue the 6×8 mm nose in the center of the muzzle between Rounds 1 and 2.
Option B (Embroidered Muzzle):
Thread a needle with black yarn or embroidery floss.
Insert from under the chin and bring it out between Rounds 1 and 2 at the front of the nose.
Make a horizontal stitch across 1–2 stitches to form the top of the nose, followed by a vertical stitch straight down across Round 1.
Create two small diagonal stitches pointing downwards to form a cute bunny mouth.
Knot the threads securely under the chin, pull the knot inside the head, and trim any excess.
Abbreviations (US Terms)
mr = Magic Ring / Magic Circle
sc = Single Crochet
dc = Double Crochet
sl st = Slip Stitch
inc = Increase (2 sc in the same stitch)
ch = Chain
st(s) = Stitch(es)
[ ] = Total stitch count at the end of the round/row
1. Plush Beanie
Worked in continuous rounds.
Round 1: Using Category 4 Plush yarn and 3.0 mm hook, make 4 sc into a magic ring [4]
Round 2: (3 sc, inc) [5]
Round 3: (4 sc, inc) [6]
Round 4: (5 sc, inc) [7]
Round 5: (6 sc, inc) [8]
Round 6: (7 sc, inc) [9]
Round 7: (8 sc, inc) [10]
Color Change: Switch to White Plush Yarn on the final yarn-over of Round 7.
Round 8 (Round 11 in your count): 10 sc in White [10]
Round 9 (Round 12 in your count): 10 sc in White [10]
Fasten off and weave in the ends.
2. Pom-Pom Attachment
Warm up your hot glue gun.
Apply a generous dab of hot glue directly to the top tip (Round 1) of the beanie.
Firmly press the 3-inch store-bought white velvet pom-pom onto the glue. Hold securely for a few seconds until the glue sets completely.
3. Plush Scarf
Choose Option A (Slip Stitch Scarf) or Option B (Double Crochet Scarf) based on your preference.
Option A: Slip Stitch Scarf
Foundation: Using Category 4 Plush yarn and 3.0 mm hook, ch 17.
Row 1: Starting in the 2nd ch from the hook, work 1 sl st in each chain across [16 sl st].
Option B: Double Crochet Scarf
Foundation: Using Category 4 Plush yarn and 3.0 mm hook, ch 17.
Row 1: Starting in the 3rd ch from the hook, work 1 dc in each chain across [15 dc].
Fasten off and weave in all loose ends.
Gently smooth the fur and curve the ears forward or backward to give your bunny its final adorable expression!

See More:
Tester Call: How to Crochet Grinch Owl Dumpling in A Christmas Box Plushie
How to Crochet Grinch Mushy in Ruffle-Brim Santa Hat Miniature Amigurumi for Gifting
How to Crochet Mini Grinch Stingray in Santa Hat & Scarf Buddy Plushie for Gifting
Tester Call: How to Crochet Surprise Gift Amigurumi No-Sew Grinch-Eyed Ghost Buddy for Gifting
Tester Call: How to Crochet Plush Grinch Star Buddy & Ornament Gift for Christmas
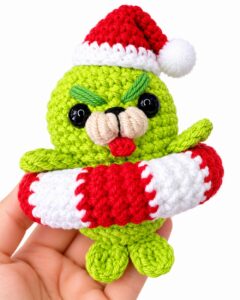
How to Crochet Grinch Seal in a Peppermint Swimming Tube Amigurumi Holiday Gift
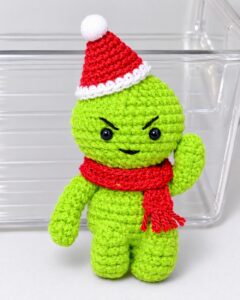
How to Crochet Amigurumi Grinch Smiski For Christmas Gifting
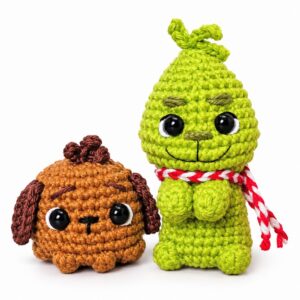
How to Crochet Peppermint Scarf & Cutest-Eyed Grinch Buddy Amigurumi Clip-Toy
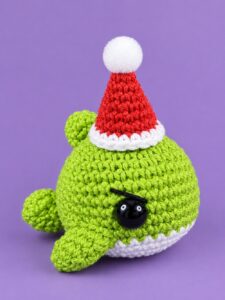
Tester Call: How to Crochet Amigurumi Miniature Grinch Whale Present Toy