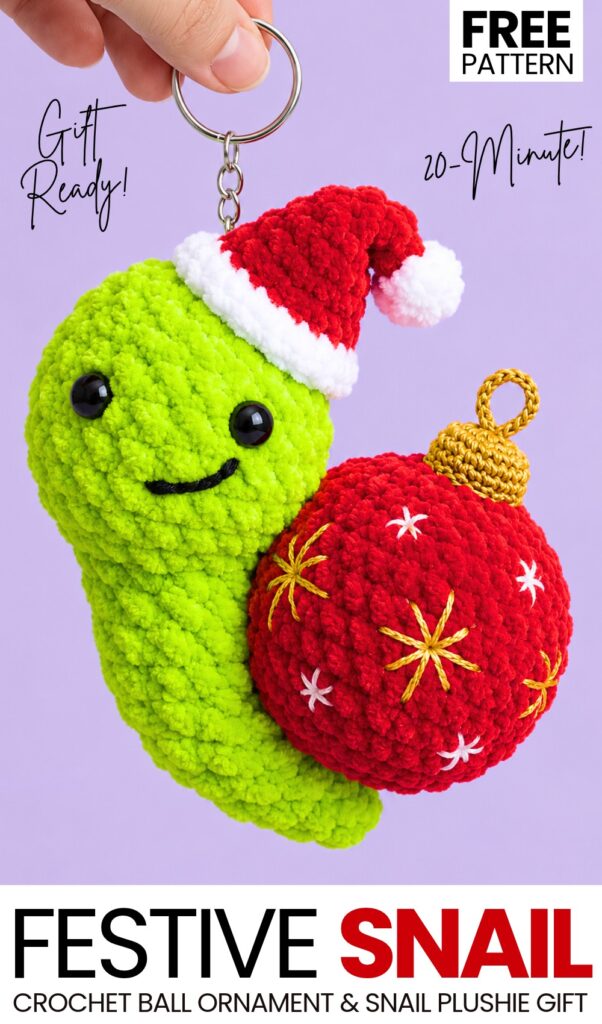
Inspired by the crochet heart shell snail plushie, today you will be learning an interesting & super cute variation of a crochet snail buddy plushie. Say welcome to the first crochet Christmas bauble shell green snail plushie that you can learn to crochet with a FREE written pattern in this tester call.
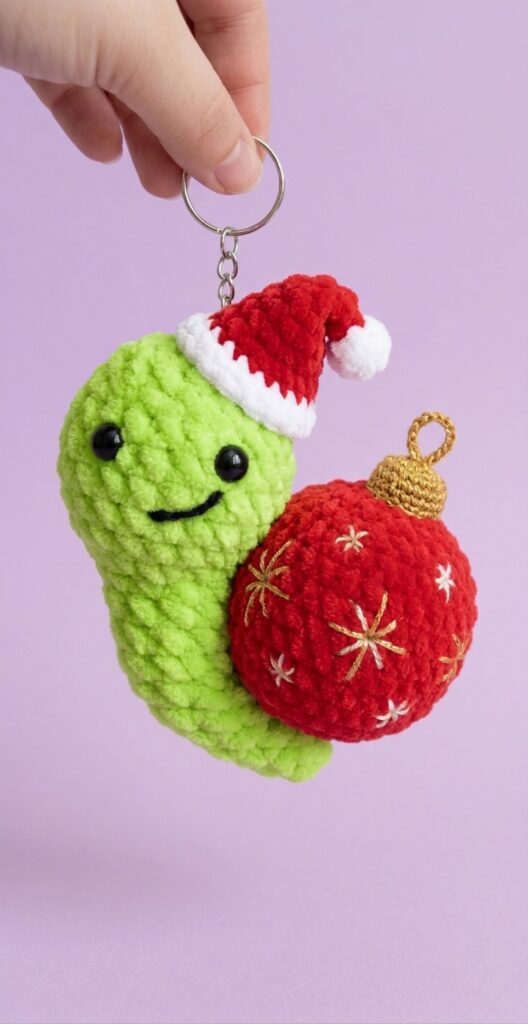
Our crochet snail plush wears a small crochet Santa hat that is again slouched and holds a bauble that is decorated with the golden snowflake embroidery and a bauble top with a loop.
So, it can also be used as a keychain for this Christmas. Now, continue reading to learn more about this amigurumi plush snail project!
Pattern to Crochet the Festive Green Snail Plushie Gift
Skill Level: Beginner – Level 4
Materials & Tools
Super Bulky Plush/Chenille Yarn (approx. 100 g / 120 m):
Color A (Body): Milky white, cream, or beige
Color B (Heart & Horns): Wine red, ruby red, or your favorite contrasting color
Crochet Hook: 4.5 mm
Safety Eyes: 8 mm (plug-in or glue-on)
Embroidery Thread / Fine Yarn: Black (semi-cotton or embroidery floss) for the smile
Fiberfill (Holofiber): For stuffing
Tapestry / Yarn Needle: With a large eye and blunt tip
Embroidery Needle: For the face details
Stitch Marker
Scissors
Hot Glue Gun (optional, to secure pieces before sewing and for glue-on eyes)
Keychain Clasp/Ring (optional)
Abbreviations (US Terms)
ch: chain
sc: single crochet
inc: increase (2 sc in the same stitch)
dec: decrease (single crochet 2 stitches together)
sl st: slip stitch
st(s): stitch(es)
- BLO: Back Loop Only
MR: magic ring
dc: double crochet
Bobble (Horn stitch): 4-dc bobble (yarn over, insert hook into st, yarn over, pull up loop, yarn over, pull through 2 loops) repeat 4 times in the same stitch until you have 5 loops on hook, yarn over and pull through all 5 loops.
Pattern Notes
The project is worked in continuous spirals unless stated otherwise. Use a stitch marker to mark the beginning of each round.
When working with plush chenille yarn, you can begin with a Magic Ring or a ch 2 method (working the initial stitches into the 2nd chain from the hook).
Keep tension even to prevent the filling from showing through.
Part 1: Snail Body & Head
Worked with Color A (Cream/White) and Color B (for horns).
Crocheted from the bottom tail tip up to the head.
Round 1: With Color A, ch 2, 6 sc in 2nd ch from hook (or 6 sc in MR) [6]
Round 2: 6 sc around [6]
Round 3: (2 sc, 1 inc) repeat 2 times [8]
Rounds 4–7 (4 rounds): 8 sc around [8]
Round 8: (3 sc, 1 inc) repeat 2 times [10]
Rounds 9–13 (5 rounds): 10 sc around [10]
Head Shaping:
Round 14: 10 inc [20]
Rounds 15–17 (3 rounds): 20 sc around [20]
Round 18: (8 sc, 1 dec) repeat 2 times [18]
Stuffing the Body: Lightly stuff the neck and mid-body. Leave the tail tip un-stuffed so it can curve neatly under the shell.
Round 19: (1 sc, 1 dec) repeat 6 times [12]
Stuffing the Head: Firmly stuff the lower portion of the head with fiberfill, smoothing out the sphere shape.
Round 20: Horns (Bobbles) Round
In this round, you will crochet the two small contrast horns directly into the head.
Work 5 sc in Color A (on the 5th sc, perform the final yarn-over with Color B to change colors).
In the next stitch, work a 4-dc Bobble in Color B. Before completing the final pull-through, change back to Color A, then make ch 1 with Color A to close and secure the bobble.
Work 5 sc in Color A (change to Color B on the last pull-through of the 5th sc).
In the next stitch, work a 4-dc Bobble in Color B. Change back to Color A on completion, then ch 1 with Color A to secure.
(12 sts around)
Trim the Color B yarn tails, knot them securely on the inside of the head, and tuck them in. Finish stuffing the top of the head firmly with fiberfill.
Closing the Head:
Round 21: 6 dec [6]
Fasten off, leaving a short tail. Thread the yarn through the front loops of the remaining 6 stitches, cinch firmly to close the top of the head, weave the tail through the head, and trim flush.
Part 2: Facial Features & Assembly
1. Safety Eyes
Insert/glue the 8 mm safety eyes between Rounds 17 and 18, spaced symmetrically across the face, roughly in line with the horns.
2. Embroidering the Smile
Thread a needle with fine black yarn or embroidery floss.
Insert the needle from the neck or back of the head and exit just below the right eye.
Create a diagonal smirk or a curved smile across the lower face, catching the thread with a tiny anchoring stitch in the center so the curve stays slightly upward.
Exit through the back/bottom, tie off, and bury the ends inside the head.
3. Attaching the Heart Shell
Positioning:
Place the snail body upright. Curve the tail slightly forward and bend the back so the neck sits upright.
Rest the pointed bottom of the heart into the natural crook where the tail meets the back.
One rounded lobe of the heart should nestle flush against the back of the neck/head, while the other lobe extends backward.
Securing:
Use a dab of hot glue along the contact line (along the back spine and behind the neck) to keep the heart in place while sewing.
Using a needle and matching yarn/thread, stitch neatly around the perimeter where the heart meets the snail’s body and neck to ensure it is securely attached.
4. Keychain Attachment (Optional)
Using pliers or a small crochet hook, attach a jump ring and keychain clasp to the top of the head right beside one of the horns. Ensure it catches through several stitches of the plush yarn so it holds weight securely
Pattern Instructions
1. Red Plush Sphere (13 Rounds)
Worked in continuous rounds using Red Category 4 Plush Yarn & 4.0 mm hook.
Round 1: 6 sc into mr [6]
Round 2: 6 inc [12]
Round 3: (1 sc, inc) × 6 [18]
Round 4: (2 sc, inc) × 6 [24]
Round 5: (3 sc, inc) × 6 [30]
Rounds 6–9 (4 rounds): 30 sc [30]
Round 10: (3 sc, dec) × 6 [24]
Round 11: (2 sc, dec) × 6 [18]
Stuff the sphere firmly with fiberfill now.
Round 12: (1 sc, dec) × 6 [12]
Round 13: 6 dec [6]
2. Bell Top Cap & Hanging Loop
Worked using Metallic Sport Yarn & 1.75 mm hook.
Cap
Round 1: 6 sc into mr [6]
Round 2: 6 inc [12]
Round 3: (1 sc, inc) × 6 [18]
Round 4: In BLO, 18 sc [18]
Rounds 5–8 (4 rounds): 18 sc [18] Fasten off.
Hanging Loop
Attach metallic yarn to the top center, ch 13, and sl st back into the first chain to form a loop. Fasten off.
Cap Assembly
Glue the ends of the 13-chain loop securely over/into the top of the bell cap.
Add a small amount of fiberfill inside the cap.
Apply hot glue around the inner edge/bottom of the cap while stuffing, and press it firmly onto the top of the Red Sphere.
3. Mini Santa Hat with Plush Pom-Pom Tip
Worked using 3.0 mm hook.
Pom-Pom Tip (White)
Round 1: 6 sc in magic ring [6]
Round 2: (inc, 2 sc) x 2 [8]
Round 3: (dec, 2 sc) x 2 [6]
Hat Cone (Red) Color change to Red on the final stitch of Round 3.
Rounds 4–5: 6 sc [6]
Round 6: (inc, 2 sc) x 2 [8]
Round 7: (inc, 3 sc) x 2 [10]
Round 8: (inc, 4 sc) x 2 [12]
Round 9: (inc, 5 sc) x 2 [14]
Round 10: (inc, 6 sc) x 2 [16]
Round 11: (inc, 7 sc) x 2 [18]
Brim (White) Color change to White on the final stitch of Round 11.
Round 12: Working in BLO, (inc, 8 sc) x 2 [20]
Round 13: (inc, 9 sc) x 2 [22]
Fasten off and weave in ends.
Guide to Slouch & Style the Santa Hat
Plush yarn naturally creates stiff fabric structures. To get that relaxed, folded look for your mini Santa hat, follow these steps:
1. Keep the Upper Cone Unstuffed
Leave the white pom-pom tip and the narrow red sections (Rounds 5–10) completely unstuffed.
Stuffing the cone will force it to stick straight up. Only lightly stuff the brim area if needed when attaching it to the ornament.
2. Soften the Stitches
Gently massage and pinch the narrow red section (Rounds 5–10) between your fingers to loosen the plush pile.
Optional Steam: Hold a steam iron or garment steamer about 2–3 inches away from the red section for a few seconds. Synthetics soften under mild steam, creating a soft drape. (Do not touch the hot metal directly to plush yarn!)
3. Crease and Secure the Slouch
Fold the narrow tip of the hat down along one side so the white pom-pom rests near the wider part of the cone or brim.
Locate the inner crease where the two sections touch.
Using Hot Glue: Place a tiny dot of hot glue inside the fold and press firmly for 5 seconds until set.
Using Tack Stitches: Thread a needle with red yarn, pass it through the back of the white tip and into the side of the hat, pulling gently to hold the bend, then knot securely inside.

See More:
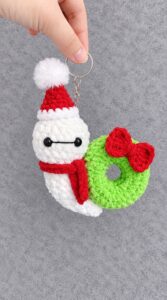
Tester Call: How to Crochet Mr. Baymax Snail in Santa Hat & Scarf with Christmas Wreath Shell Plushie

How to Crochet Mr. Reindeer Snail Buddy Holding a Treat Basket with Holly Leaves
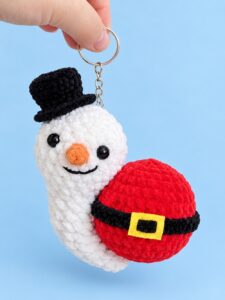
How to Crochet Plush Mr. Snow Snail with Santa Bauble Holiday Gift Plushie
Tester Call: How to Crochet Amigurumi No-Sew Baymax Kitty Cat Gift for Christams
How to Crochet Oh-So Cute Festive Reindeer Wallet for Christams
Tester Pattern: How to Crochet Peppermint Dumpling Plushie for Christams Gifting
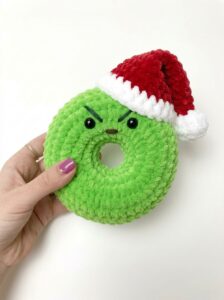
Tester Pattern: How to Crochet Green Christams Character Ornament Ring Pluhsie
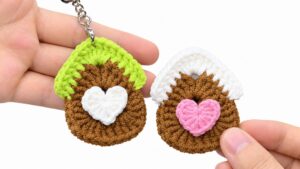
How to Crochet the CUTEST Mini Christmas Applique Keychain (Christams House)
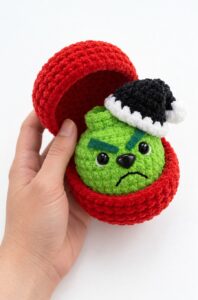
Tester Pattern: To Crochet A Plush Green Christams Character Food in Basket Plush