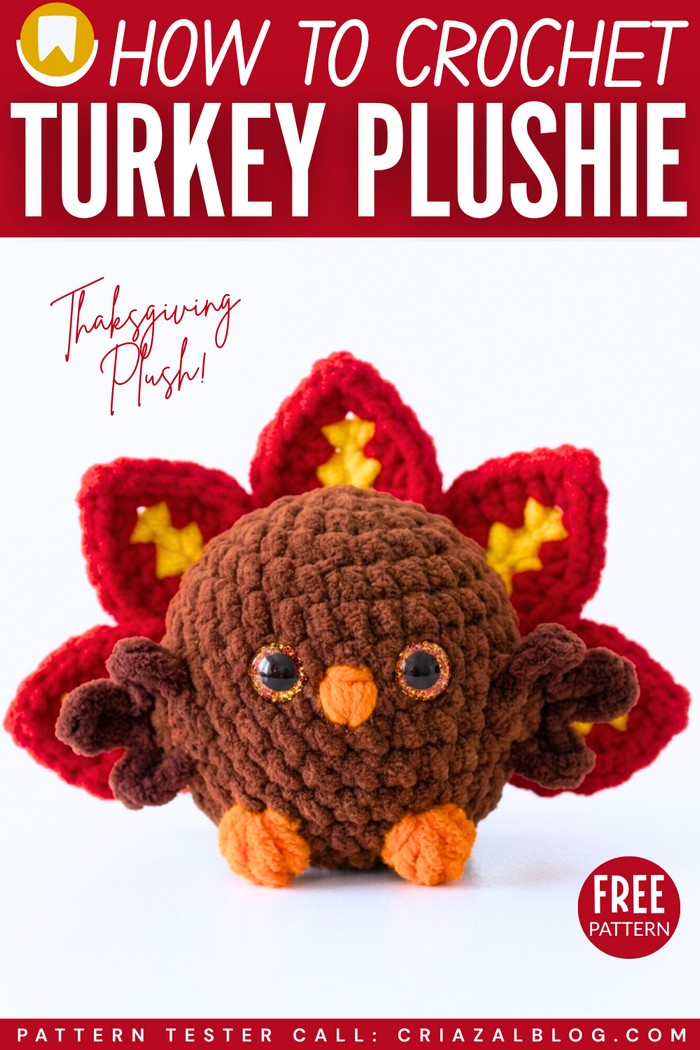
Learn how to crochet this UNIQUE no-sew and quick fall & Thanksgiving chonky turkey plushie with a free written pattern. It is my favorite variation of the peacock plushie made using the thin plush and cotton yarn. All you have to do is use the following colors: brown, red, yellow, and orange. It is just as fast as the first bird plushie but for Halloween.
The only new thing added is the turkey snood, which has to be embroidered. It is an irresistible Thanksgiving gift, decoration, and dining table buddy. You can use it as a bag charm.
Be sure to show me how your crochet turkey plushie turned out. You can also crochet this turkey plushie as a desk buddy and an anti-stress toy. It is also easier for beginners! So, let’s get started with the pattern.
[ez-toc]
Pattern to Crochet the Chubby Turkey Plushie
This crochet project features a miniature amigurumi turkey, perfect for a keychain or a small decorative charm. It uses soft chenille yarn to give it a “kawaii” (cute) and fluffy appearance.
Materials & Palette
Yarn (Chenille, e.g., 50g/135m):
Brown
Orange
Red
Yellow
Hook: 2.5 mm crochet hook
Eyes: 6 mm safety plastic eyes
Stuffing: Polyester fiberfill
Other: Scissors, sewing needle, stitch markers

Abbreviations (US Terms)
R: Round / Row
MR: Magic Ring
Ch: Chain
sc: Single crochet
sl st: Slip stitch
inc: Increase (2 sc in the same stitch)
dec: Decrease (2 sc together)
hdc: Half double crochet
dc: Double crochet
BO: Bobble stitch (5 incomplete dc finished together)
blo: Back loops only
Pattern Instructions
Body (Start with Brown Yarn)
R1: 6 sc in a MR (6)
R2: (inc) x 6 (12)
R3: (1 sc, inc) x 6 (18)
R4: (2 sc, inc) x 6 (24)
R5: (3 sc, inc) x 6 (30)
R6–10: 30 sc (30) — 5 rounds total
R11 (Feet Round): 13 sc in Brown, BO (change to Orange), 3 sc in Brown, BO in Orange, 12 sc in Brown (30)
Note: Change back to Brown yarn for the sc stitches between bobbles.
Eyes: Insert safety eyes between R6 and R7, leaving 3 stitches between them.
R12: (3 sc, dec) x 6 (24)
R13: (2 sc, dec) x 6 (18)
Stuff the body firmly with fiberfill.
R14: (1 sc, dec) x 6 (12)
R15: (dec) x 6 (6)
Fasten off, sew the remaining hole shut, and hide the yarn tail inside the body.
Wings (Make 2 — Start with Brown Yarn)
R1: 6 sc in a MR (6)
R2 (Feathers): Join Yellow yarn with a sl st into the first stitch of R1.
Ch 3, starting from 2nd ch from hook: 2 sl st. Sl st into the next st of R1.
Ch 4, starting from 2nd ch from hook: 3 sl st. Sl st into the next st of R1.
Ch 3, starting from 2nd ch from hook: 2 sl st. Sl st into the next st of R1.
Fasten off, leaving a long Brown tail for sewing.
Assembly: Sew the wings to the sides of the body between R6 and R10, leaving about 8 stitches between them at the front.
Tail Feathers (Make 5)
Foundation (Brown Yarn)
Make Ch 8. Starting from 2nd ch from hook: 7 sl st. Fasten off.
Edging (Red Yarn)
Join Red yarn to the first stitch of the Brown foundation chain.
Side 1: Ch 1, 1 hdc in first st, dc in next 4 st, 1 hdc in next st.
Tip: (2 sc, ch 2, 2 sc) in the last stitch to turn.
Side 2 (Working in blo): 1 hdc in next st, dc in next 4 st, 1 hdc in next st, 1 sc in last st.
Fasten off, leaving a long tail for sewing.
Detailing (Yellow Yarn)
Use Yellow yarn to embroider a vertical line down the center of each feather.
Final Assembly
Tail: Sew the first feather to the center of the back between R7 and R8. Sew the remaining 4 feathers in a fan shape around the first one, overlapping them slightly.
Beak (Orange Yarn): Embroider a small triangular beak centered between the eyes on R7.
Crest (Brown Yarn): Join Brown yarn to R1 (the top center of the head). Ch 6 and sl st back into the next stitch of R1. Fasten off and hide the tails.
See More:
Featuring: How to Crochet MOST Black, Blue, Red and Green Mini Bird Plushie (Toucan Plush)

Featuring: How to Crochet the Smallest Pumpkin Fall Turtle Plushie with Orange & Parrot

Pattern Tester: How to Crochet Pumpkin Ridges Face Donut Ring Plushie for Fall
![[PDF Pattern] Crochet A Plush Autumn Acorn-Lover Plushie for Fall](https://criazalblog.com/wp-content/uploads/2026/09/crochet-squirrel-2-225x300.jpg)
[PDF Pattern] Crochet A Plush Autumn Acorn-Lover Plushie for Fall
Featuring: How to Crochet Pumpkin Lover Puppy Plushie for Fall Decorations
Tester Pattern: How to Crochet A Face Pumpkin Fall Wind Spinner for Playing With
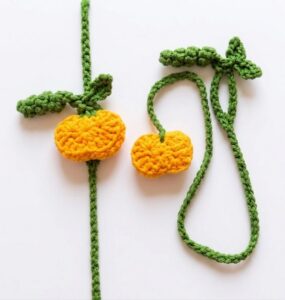
Featuring: How to Crochet Interlocking 3D Pumpkin Bookmark for Fall
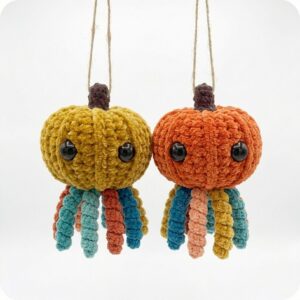
Tester Call: The Easiest Pumpkin-Octopus Hybrid Variation with UNIQUE Fall Pallete
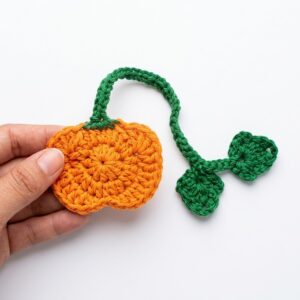
Featuring: How to Crochet A Back-to-School Pumpkin Bookmark for Fall