


Show support for Otakulandia!
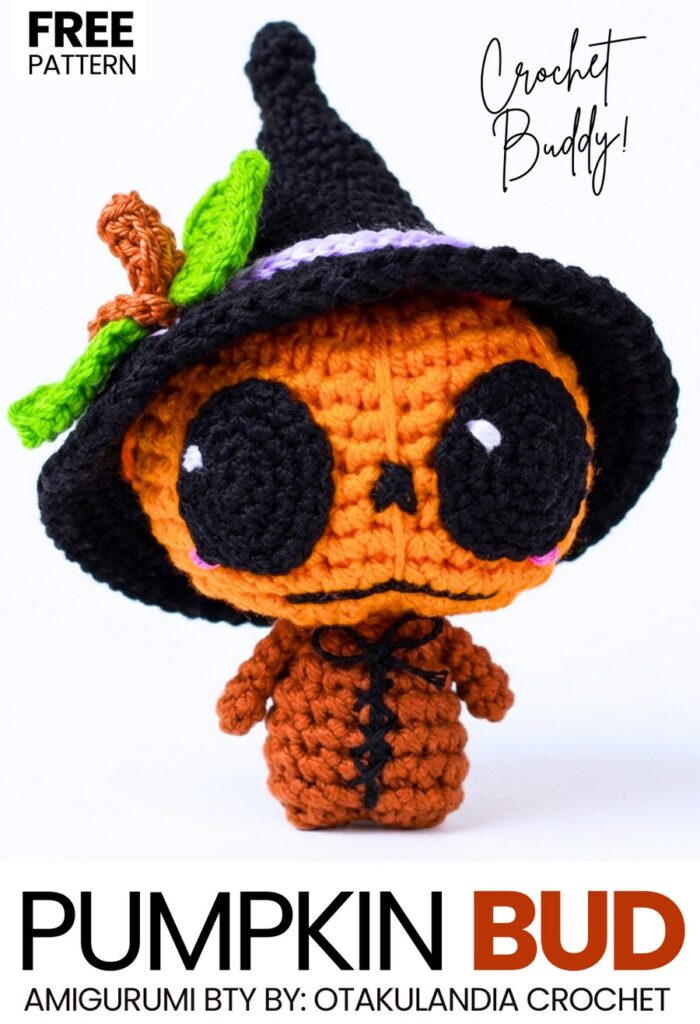
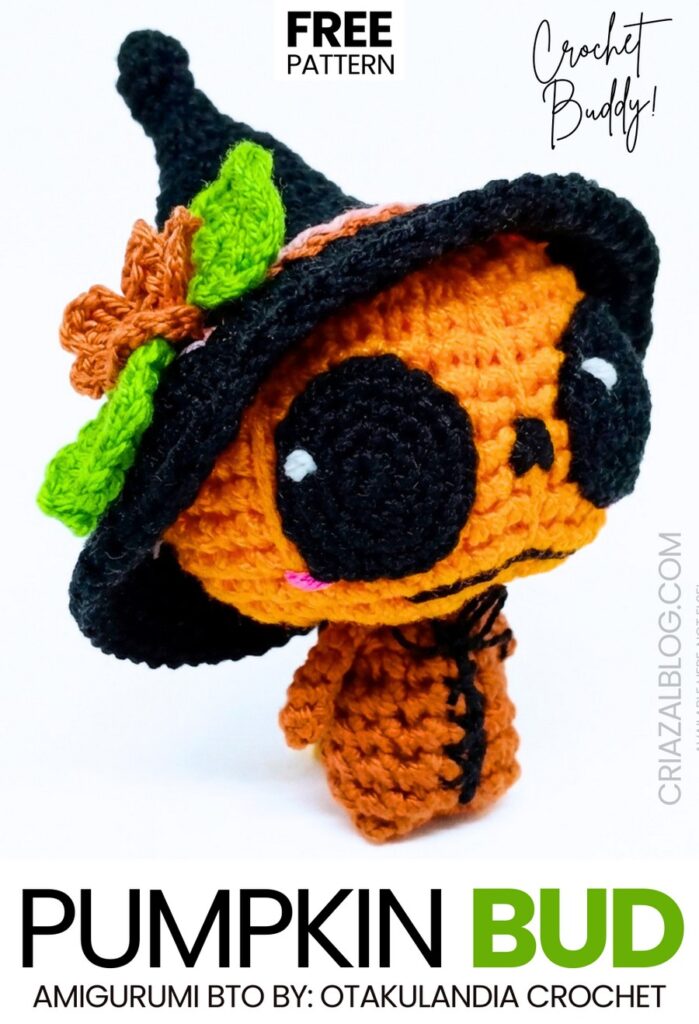
This Halloween, if you are looking for an absolutely kawaii and UNIQUE buddy amigurumi, learn how to crochet this little jack-o-lantern pumpkin man in a witch hat amigurumi! Using the doll base of this amigurumi Mr. Pumpkin amigurumi, you can easily crochet 2 more amigurumi-themed Halloween figures that will come next week. Our crochet pumpkin man is little, chibi, and has a no-sew little amigurumi body with bobble stitch legs and arms. Crochet this as a small welcome decoration for Halloween guests or a keychain for your treat bag.
You can also make a small accessory such as a sickle for your crochet Pumpkin man amigurumi. You will learn how to make a crocheted one in the crochet grim buddy amigurumi tutorial.
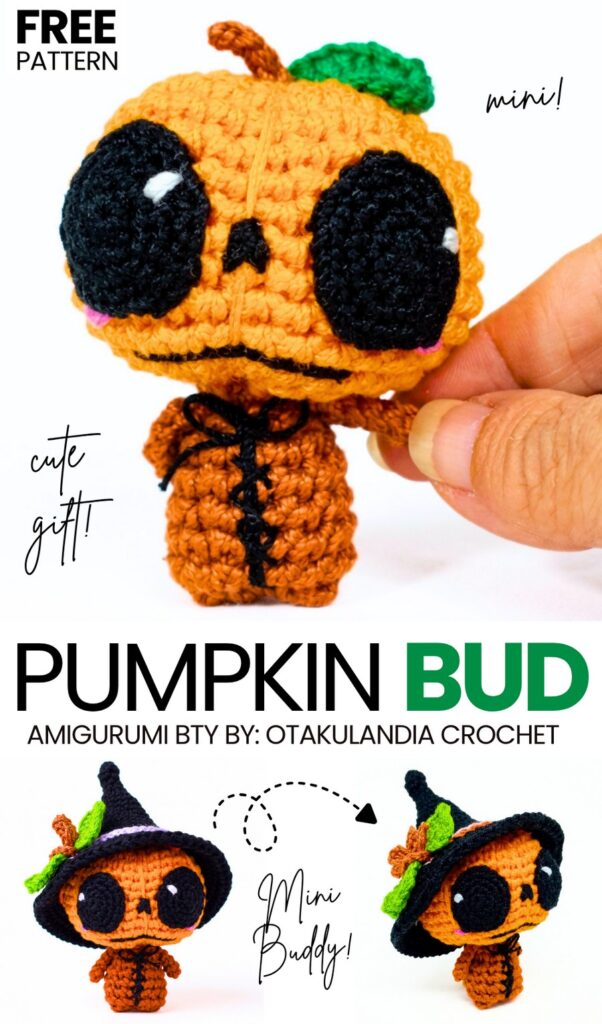
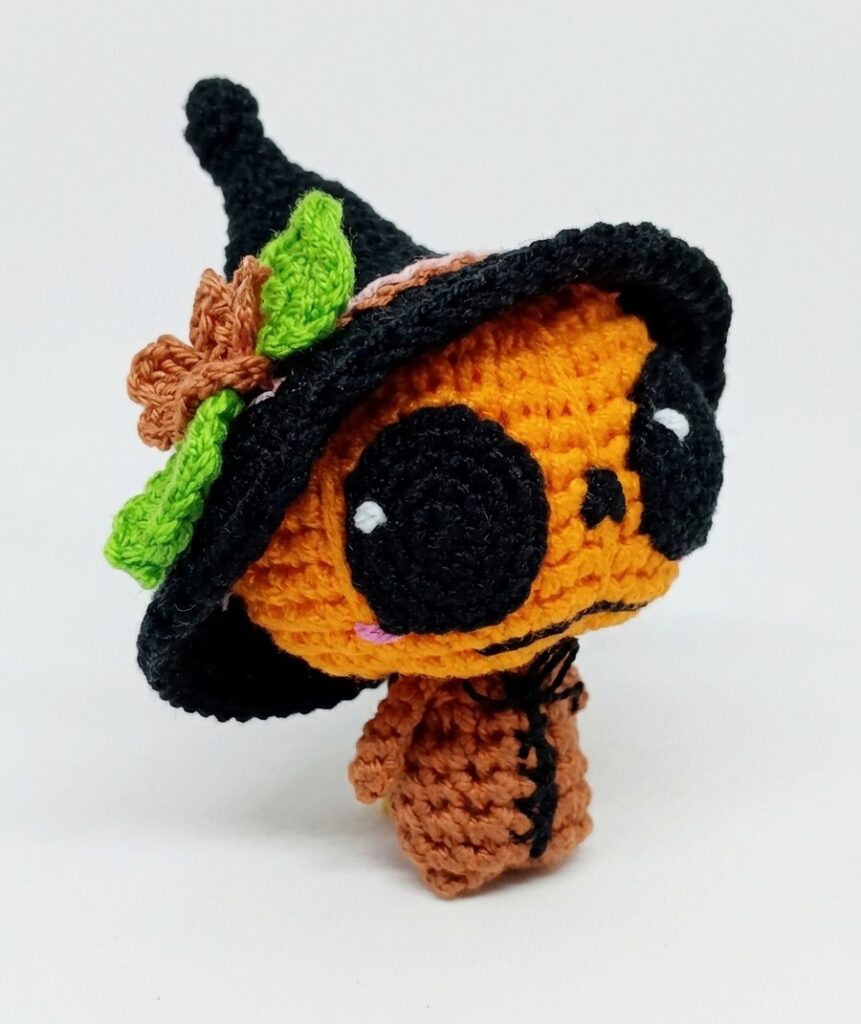
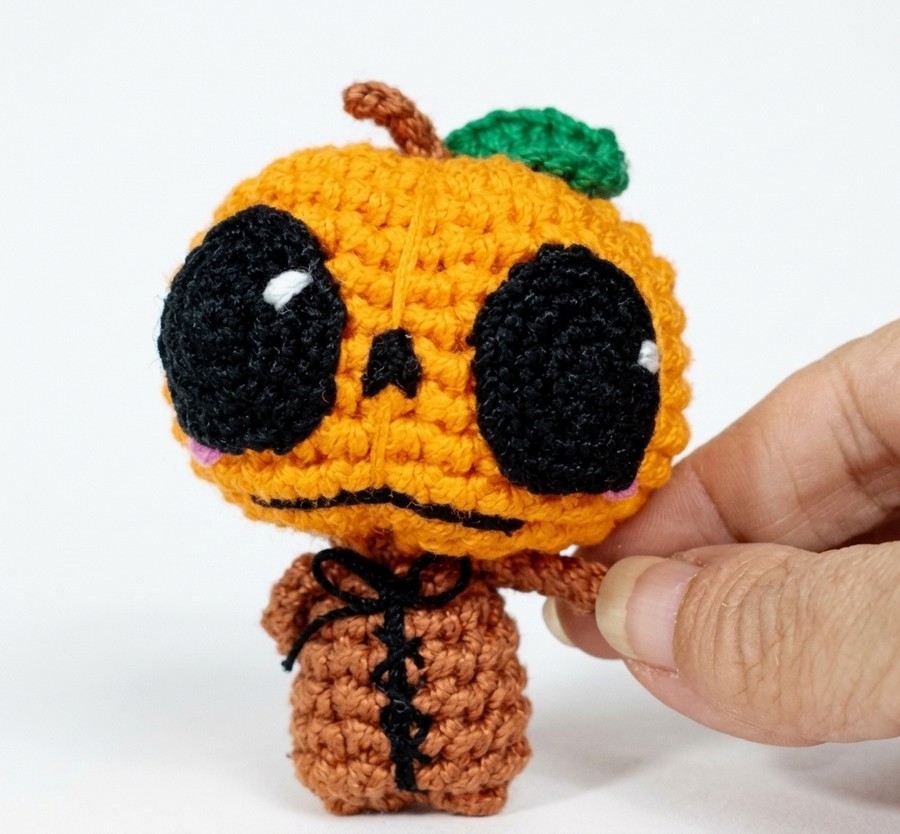
You can also crochet your amigurumi Pumpkin man using the thin plush yarn, and I highly recommend it. Our crochet pumpkin looks so cute with the crocheted larger black eyes, smile, and the skeleton body. The crochet witch hat is also decorated with a small double-leaf charm. Below, you will find both the step-by-step written instructions as well as the full video tutorial to crochet this standing amigurumi pumpkin buddy!
[ez-toc]
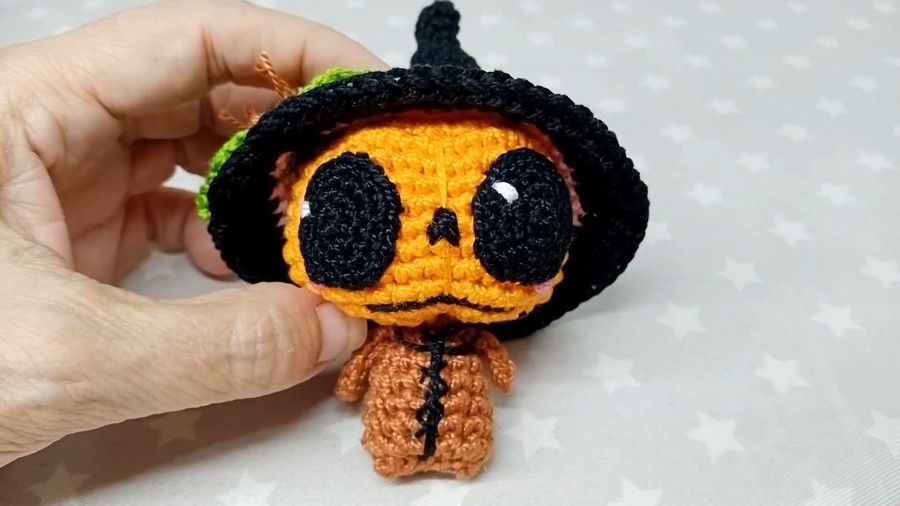
Pattern to Crochet the Halloween Kawaii Buddy Amigurumi
This crochet project is a small Halloween pumpkin witch doll. You crochet the body and head in one piece, starting from the top of the head down to the body. You crochet simple chain arms and flat circle eyes, then sew them onto the head and body.
You crochet an orange pumpkin suit with ridges that slips onto the body. You crochet a witch hat with a brim and sew or place it on top of the head. You use orange, black, green, purple, and skin-tone yarn to make the doll. The finished doll is small and works as a Halloween desk decoration or gift.
Materials Needed
- Yarn: Size 5 cotton yarn — skin tone for the head (use orange) and neck, borwn for the pumpkin body suit, black/dark purple for the witch hat, eyes, and dress base, and green for the pumpkin stem and vine details.
- Crochet Hooks: 2.55 mm for the main body/pumpkin and 1.75 mm for small facial details.
- Stuffing: Fiberfill toy stuffing.
- Notions: Tapestry needle, stitch marker, scissors, and embroidery thread.
Pattern Abbreviations
st / sts: stitch/stitches
MR: Magic Ring (Adjustable Loop)
ch: Chain
sc: Single Crochet
inc: Increase (2 sc in the same stitch)
dec: Decrease (single crochet 2 stitches together)
hdc: Half Double Crochet
dc: Double Crochet
sl st: Slip Stitch
BLO: Back Loop Only
Are you a Beginner? Learn Crocheting Easily!
You can learn to crochet better with this kawaii Mr. Pumpkin amigurumi tutorial as a beginner:
Crochet Instructions
Required Materials
Yarn: Size 5 cotton yarn in skin tone (beige), accent color (e.g., pink or dress color), and black for the eyes
Crochet Hooks: 2.55 mm hook (for head, body, and arms) and 1.75 mm hook (for eyes)
Tools & Notions: Tapestry needle, scissors, and fiberfill stuffing
Optional: Craft/silicone glue or lighter to secure attached eyes
Abbreviations & Terms
MR: Magic Ring (Círculo Mágico)
ch: Chain (Cadeneta)
sc: Single Crochet (Punto Bajo)
sl st: Slip Stitch (Punto Raso / Deslizado)
inc: Increase (2 sc in the same stitch)
dec: Invisible Decrease (2 sts joined into 1 working through front loops)
st(s): Stitch(es)
Rnd(s): Round(s)
Pattern Instructions
Head (Cabeza)
Hook & Yarn: 2.55 mm hook, double-stranded skin color yarn
Technique: Worked continuously in spiral rounds without joining
Rnd 1: Work 7 sc into a MR (7 sts)
Rnd 2: Work increases in sts around to reach 13 sc (13 sts)
Rnd 3: Work (1 sc, 1 inc) around to reach 20 sc (20 sts)
Rnd 4: Work (2 sc, 1 inc) around to reach 26 sc (26 sts)
Rnd 5: Work (3 sc, 1 inc) around to reach 32 sc (32 sts)
Rnds 6–14 (9 rounds): Work 32 sc in each round (32 sts per round)
Rnd 15: Work invisible decreases across all sts to reach 16 sc (16 sts)
Stuffing: Fill head partially with fiberfill
Rnd 16: Work invisible decreases across all sts to reach 8 sc (8 sts)
Note: Do not fasten off; continue straight into the body
Here, you have to attach the dress yarn!
Body & Legs (Cuerpo y Patitas)
Hook & Yarn: 2.55 mm hook, double-stranded dress color yarn
Rnd 1: Work 8 sc in skin color, switching to dress color on the last stitch (8 sts)
Rnd 2: Work (1 sc, 1 inc) around to reach 13 sc (13 sts)
Rnds 3–7 (5 rounds): Work 13 sc in each round (13 sts per round)
Closing: Fasten off leaving a tail for sewing
Leg Shaping:
Stuff the body firmly with fiberfill
Thread needle and sew the bottom edge flat using inner loops
Pass the needle through the bottom center and pull upward into the head, pulling taut to pinch the middle into two stubby leg shapes
Tie off securely and hide yarn tail inside
Arms (Brazos) — Make 2
Hook & Yarn: 2.55 mm hook, double-stranded skin color yarn
Row 1: Chain 14
Row 2: Starting in 2nd ch from hook, work 13 sl st across (13 sts)
Finishing: Fasten off leaving a long tail
Attachment:
Make a small hole at the neck side using hook handle
Pull arm yarn tail through the neck side and secure with a knot inside
Eyes (Ojos) — Make 2
Hook & Yarn: 1.75 mm hook, single-stranded black yarn
Rnd 1: Work 8 sc in MR (8 sts)
Rnd 2: Work (1 sc, 1 inc) around to reach 11 sc (11 sts)
Rnd 3: Work (2 sc, 1 inc) around to reach 15 sc (15 sts)
Rnd 4: Work (3 sc, 1 inc) around to reach 19 sc (19 sts)
Finishing: Work 1 sl st, fasten off leaving tail
Placement: Sew or glue eyes starting around Round 7 down from the top of the head, spaced about 3 stitches apart
Ridges
Creating Pumpkin Ridges: Thread a yarn needle with orange yarn. Wrap the yarn around the outside of the pumpkin ball from bottom to top 5 or 6 times, pulling slightly to create deep vertical indented ridges around the pumpkin suit.
Slip the pumpkin suit onto the lower body of the doll and sew lightly into place.
4. Witch Hat
Use 2.55 mm hook with Black or Dark Purple yarn.
Round 1: In Black, 4 sc in MR. (4 sts)
Round 2: [1 sc, 1 inc] × 2. (6 sts)
Round 3: 6 sc around. (6 sts)
Round 4: [1 sc, 1 inc] × 3. (9 sts)
Round 5: 9 sc around. (9 sts)
Round 6: [2 sc, 1 inc] × 3. (12 sts)
Round 7: 12 sc around. (12 sts)
Round 8: [1 sc, 1 inc] × 6. (18 sts)
Round 9: 18 sc around. (18 sts)
Round 10: [2 sc, 1 inc] × 6. (24 sts)
Round 11 (Hat Belt): Switch to Green or Purple yarn. Work 24 sc around. (24 sts)
Round 12 (Hat Brim): Switch back to Black yarn. Work in FLO (Front Loops Only): [1 sc, 1 inc] × 12. (36 sts)
Round 13: Work 36 sc around. Sl st to first st and fasten off, leaving a tail to attach to the head.
5. Eye Patches & Assembly
Eye Patches (Make 2):
Use 1.75 mm hook with Black yarn.
Round 1: 8 sc in MR. Sl st to join and fasten off, leaving a tail for sewing.
Assembly:
Sew the eye patches onto the head between Rounds 9 and 12, spaced 3 to 4 stitches apart.
Embroider small white eye highlights or facial details using fine thread.
Attach the arms to the sides of the neck.
Attach the witch hat securely to the top of the doll’s head.
Share on Social Media!
See More:
How to Crochet Jack SKELLINGTON Keychain Craft for Halloween
How to Crochet Mini Jack-o-Lantern Pumpkin Candy Holder for Halloween

Crochet CUTEST Guest-Welcoming BOO Ghost with Bow, Hat and Pumpkin Accessories

Tester Call: How to Crochet A Candy Corn, Pumpkin & Kawii Buddy Potted Plant Plushie

Featuring: How to Crochet the Smallest Pumpkin Fall Turtle Plushie with Orange & Parrot

Pattern Tester: How to Crochet Pumpkin Ridges Face Donut Ring Plushie for Fall

How to Crochet An Amigurumi Long-Legged Kawaii Pumpkin in Shoes Buddy

How to Granny Square with Pumpkin Applique in the Middle

Tester Pattern: To Crochet Pumpkin Hello Kitty Plushie with Big Paws Buddy
